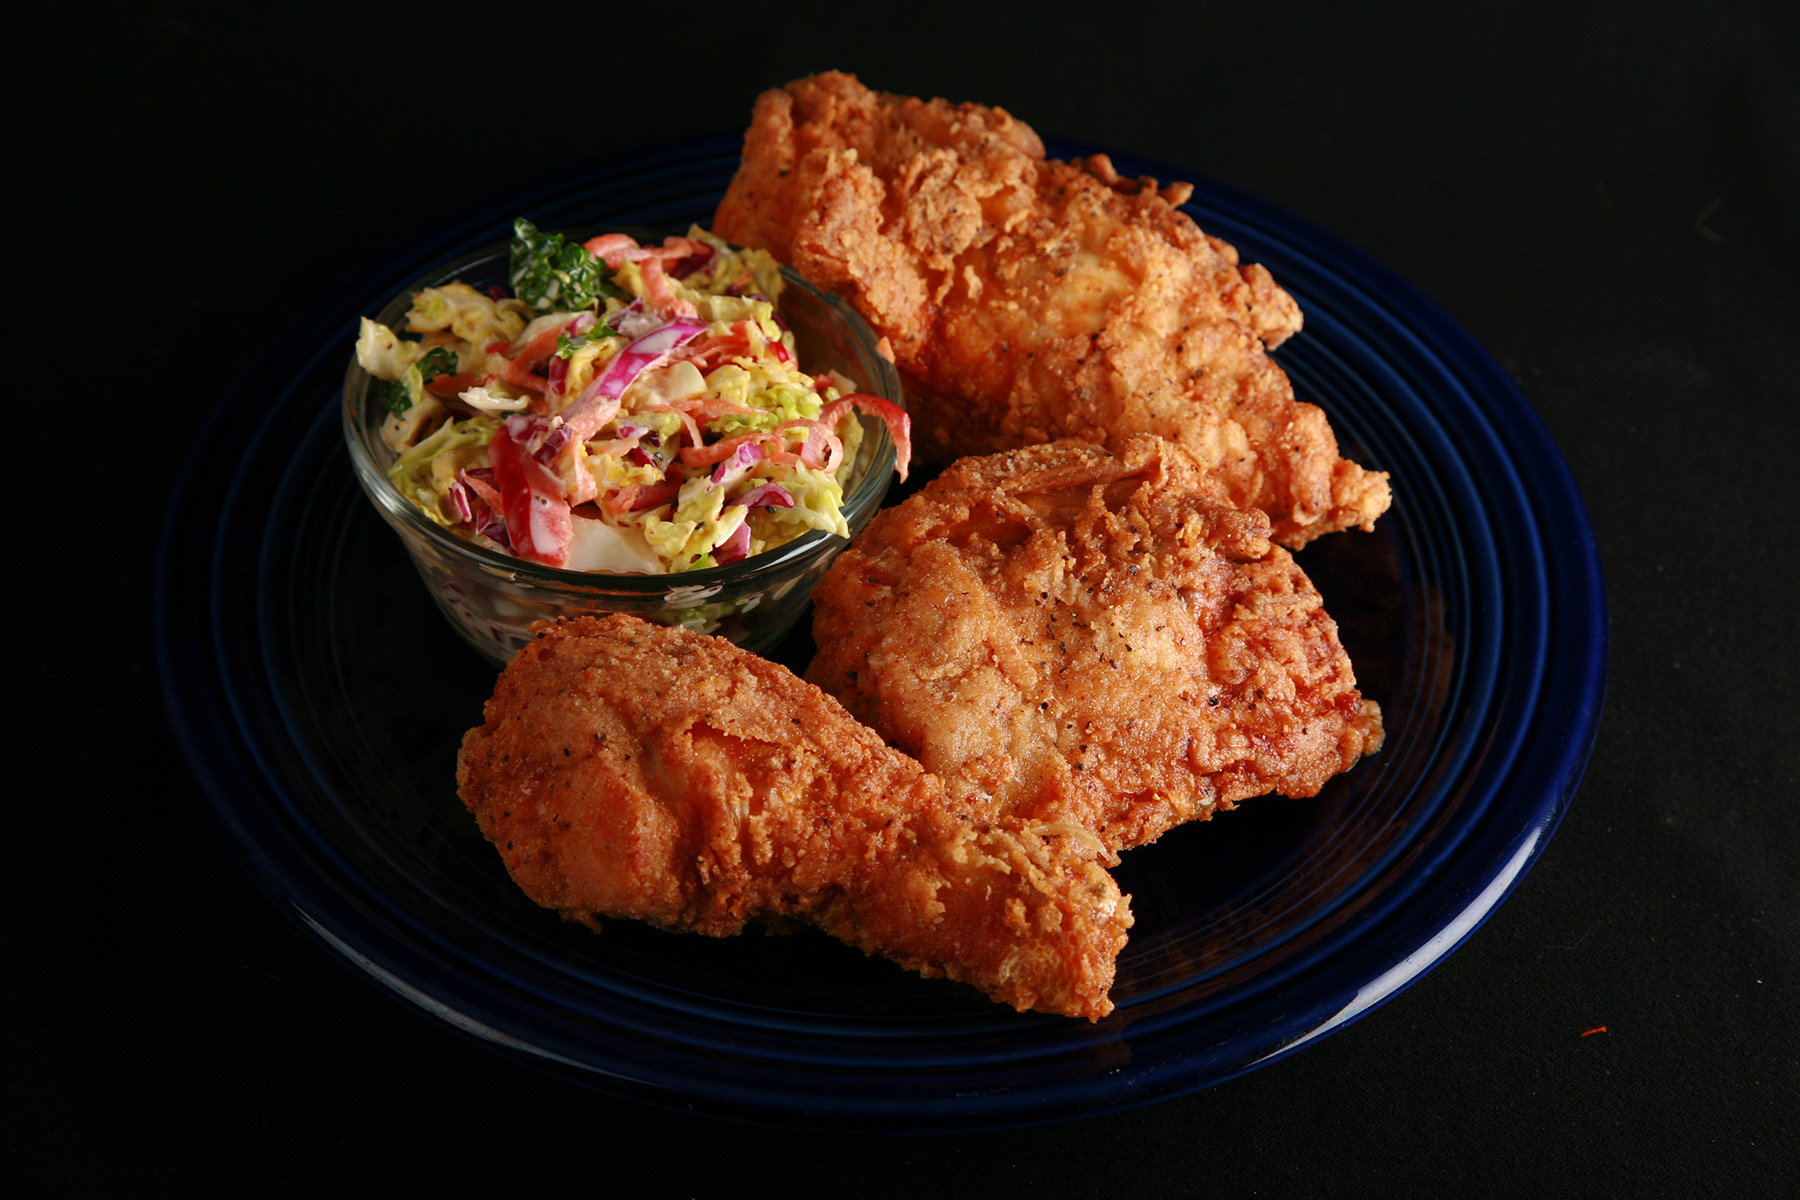
This Gluten-Free Fried Chicken recipe balances flavour and textures, to produce an outstanding fried chicken. You wouldn't know it's gluten-free!
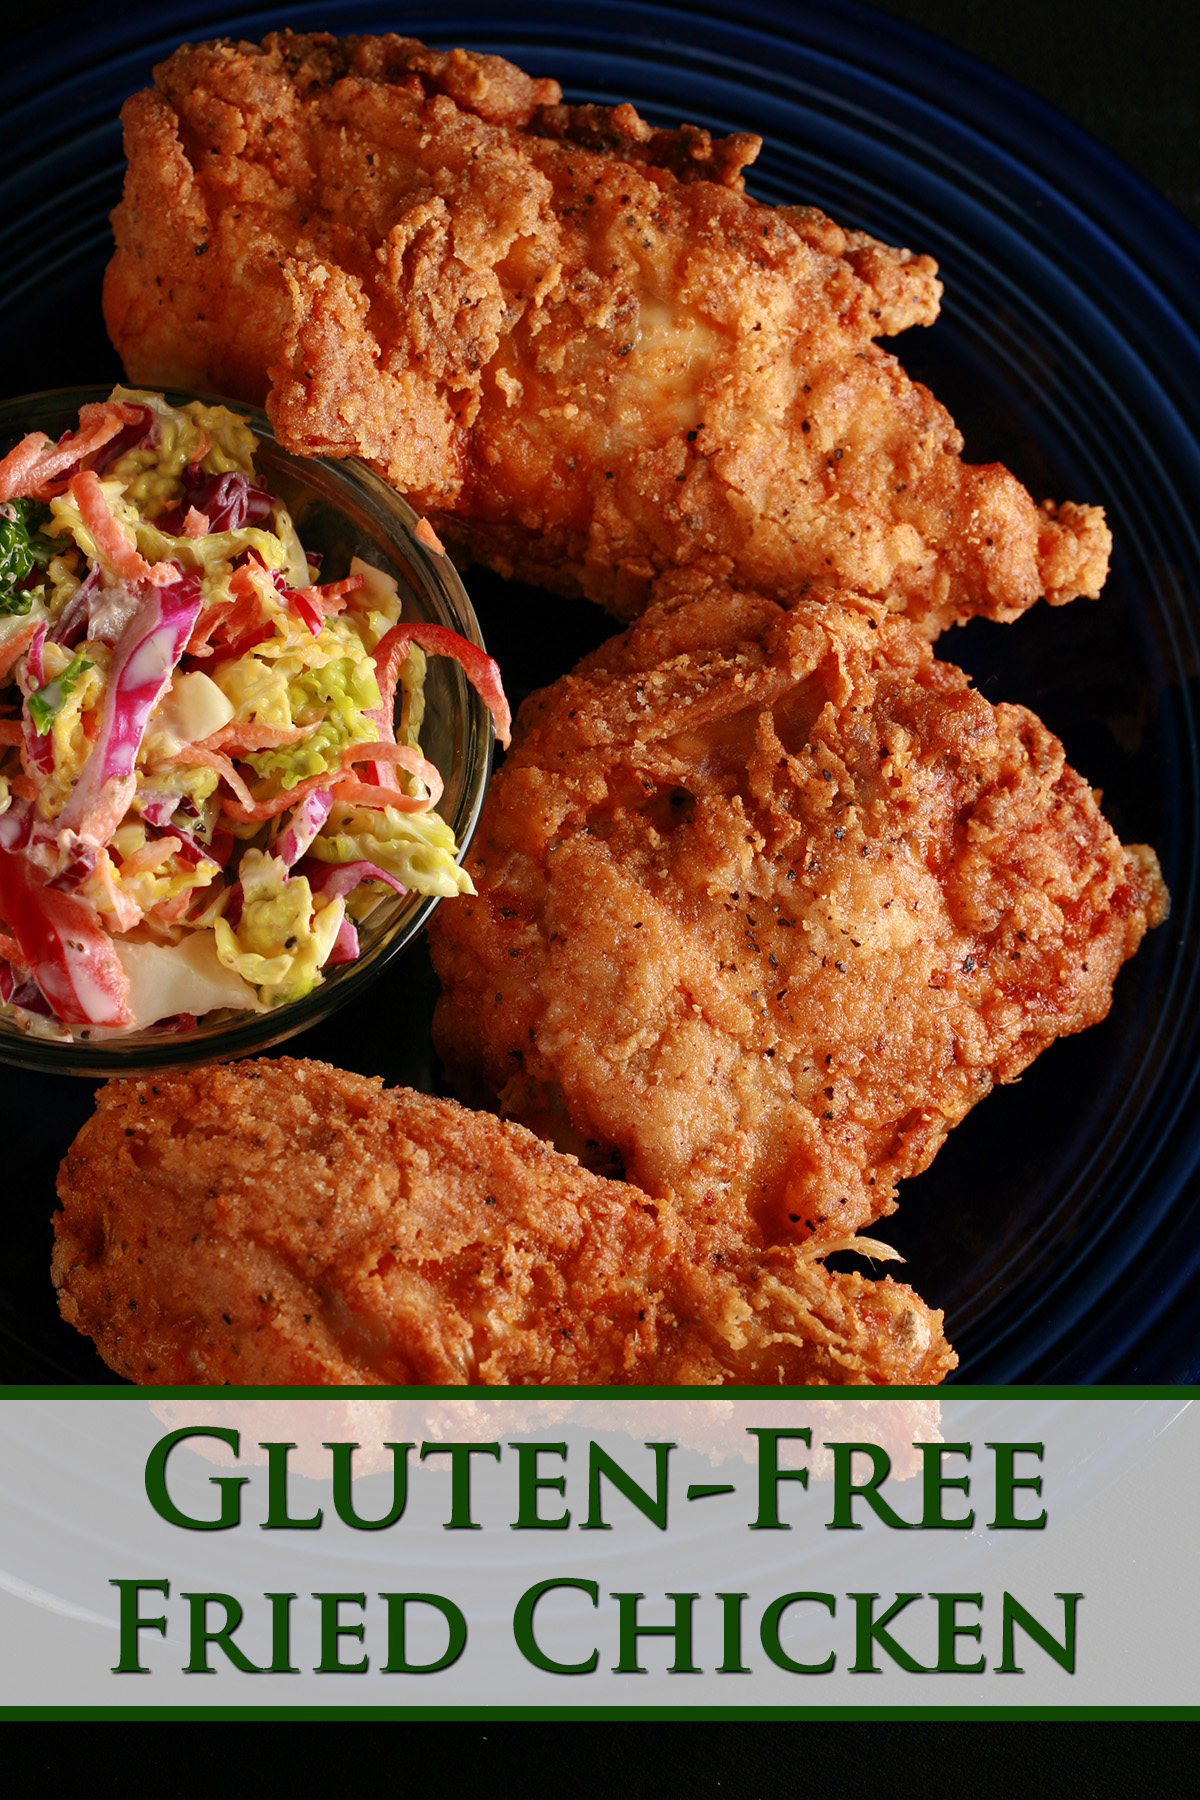
When this was first posted, it was Fried Chicken Day... so I figured it was about time to share my recipe for the best Gluten-Free Fried Chicken!
I developed this recipe for my first gluten-free cookbook, "Beyond Flour: A Fresh Approach to Gluten-Free Cooking and Baking".
When I started work on that book, I approached it as a giant gluten-free "wish list" - and traditional fried chicken was HIGH on the list of gluten free recipe requests from my readers and Kickstarter Backers.
It’s among the ultimate comfort foods, but - for being such a favorite food - that crispy fried chicken seemed out of reach for a lot of my readers with celiac disease or food allergies.
Between flavours, textures, and varying reactions to frying... there's a lot of really awful gluten-free fried chicken out there. NO MORE!
The Best Gluten Free Fried Chicken
Much like with the rest of the recipes in my Beyond Flour books, I looked at the flavours and properties of the various gluten-free flour alternatives out there, and combined them to come up with the BEST balance of flavour and texture ... as well as behaviour.
“Behaviour” was an important consideration when developing this gluten free fried chicken recipe. I wanted a flour blend that tasted great, held together, and fried up to a golden, crisp coating.
The seasonings were chosen specifically for that gluten-free flour mix, and balances everything out well.
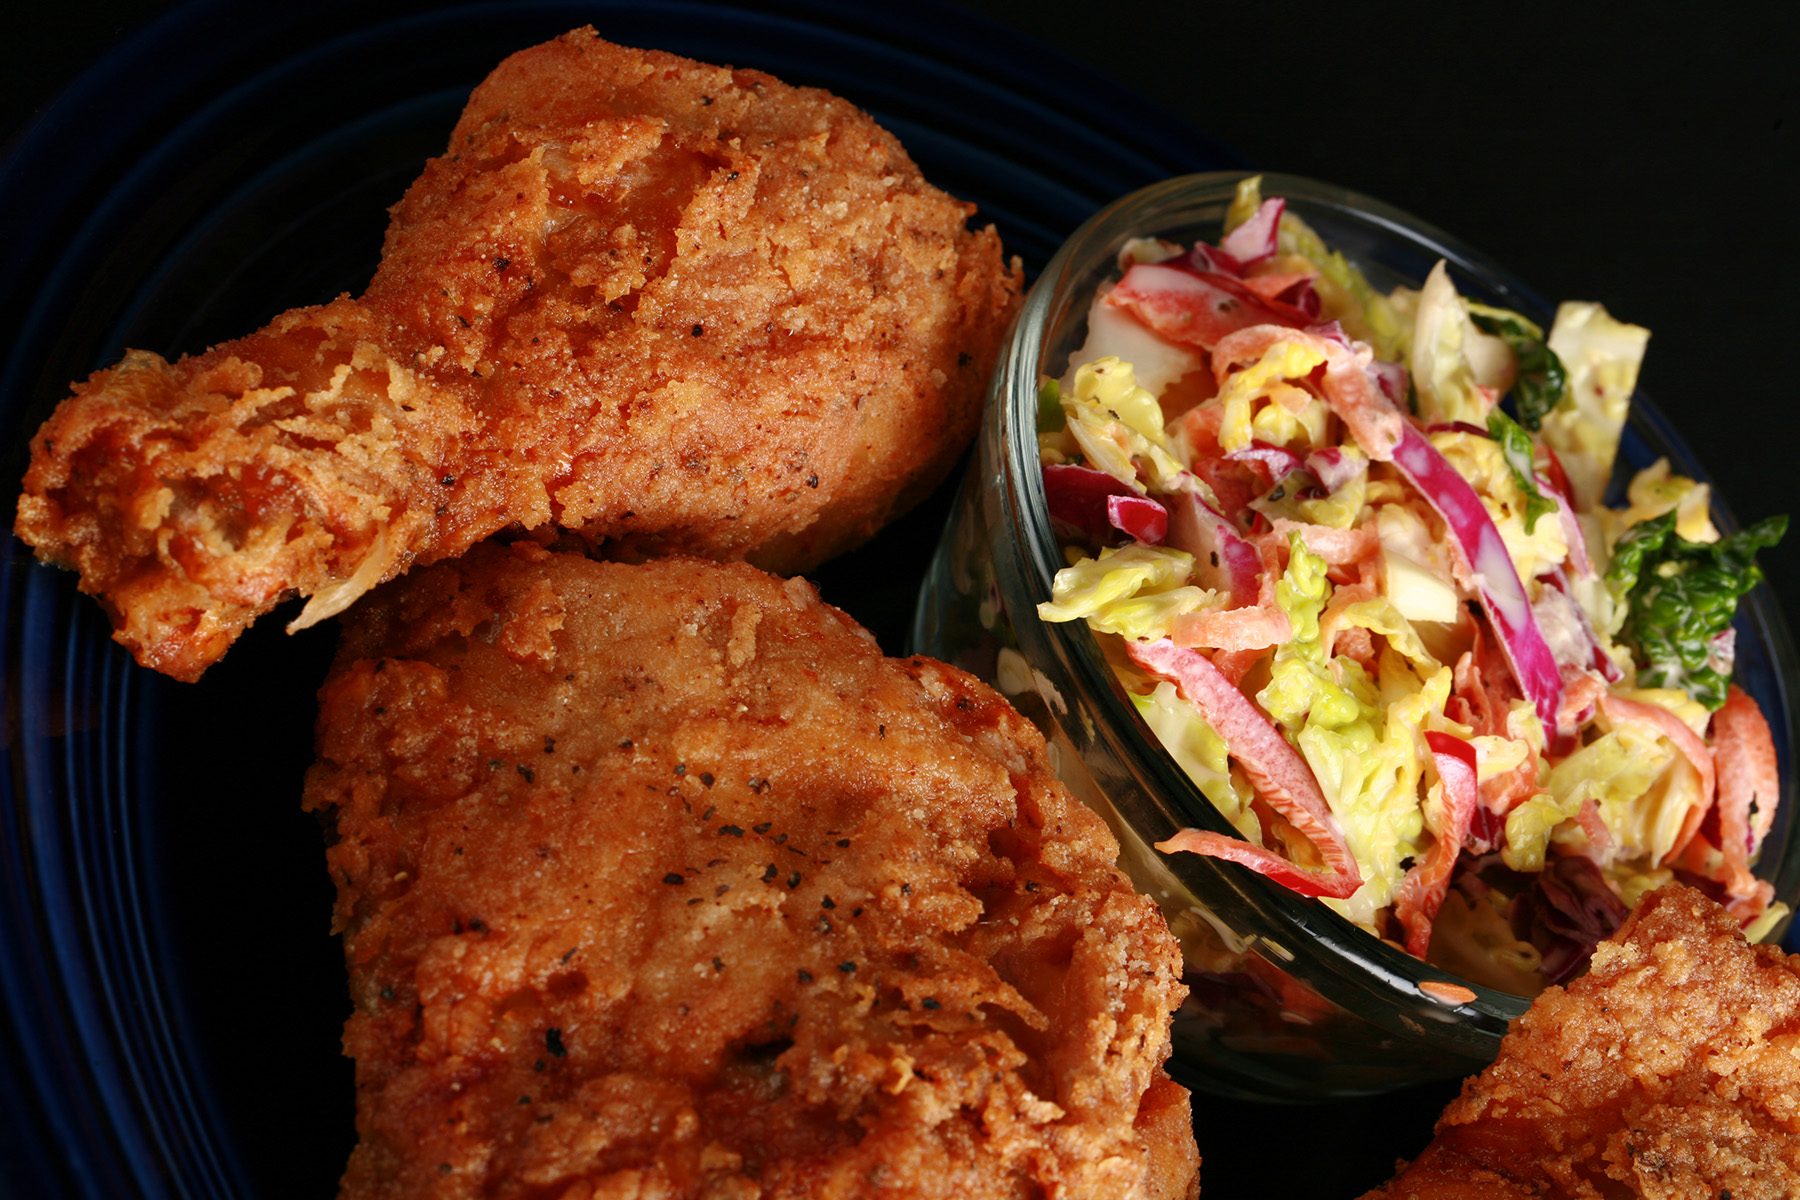
The resulting crispy gluten-free fried chicken tastes great - is very flavourful - with the texture of a normal, wheat-based southern fried chicken .
This chicken is the real deal!
It holds together well, without holding onto excess grease. There's no gummy feeling, or weird mouth feel.
It's just a genuinely great fried chicken recipe - and one that passes very well for a "normal" fried, coated chicken.
You can absolutely serve this crispy chicken to the entire family, guests, etc without worry!
About the Coleslaw...
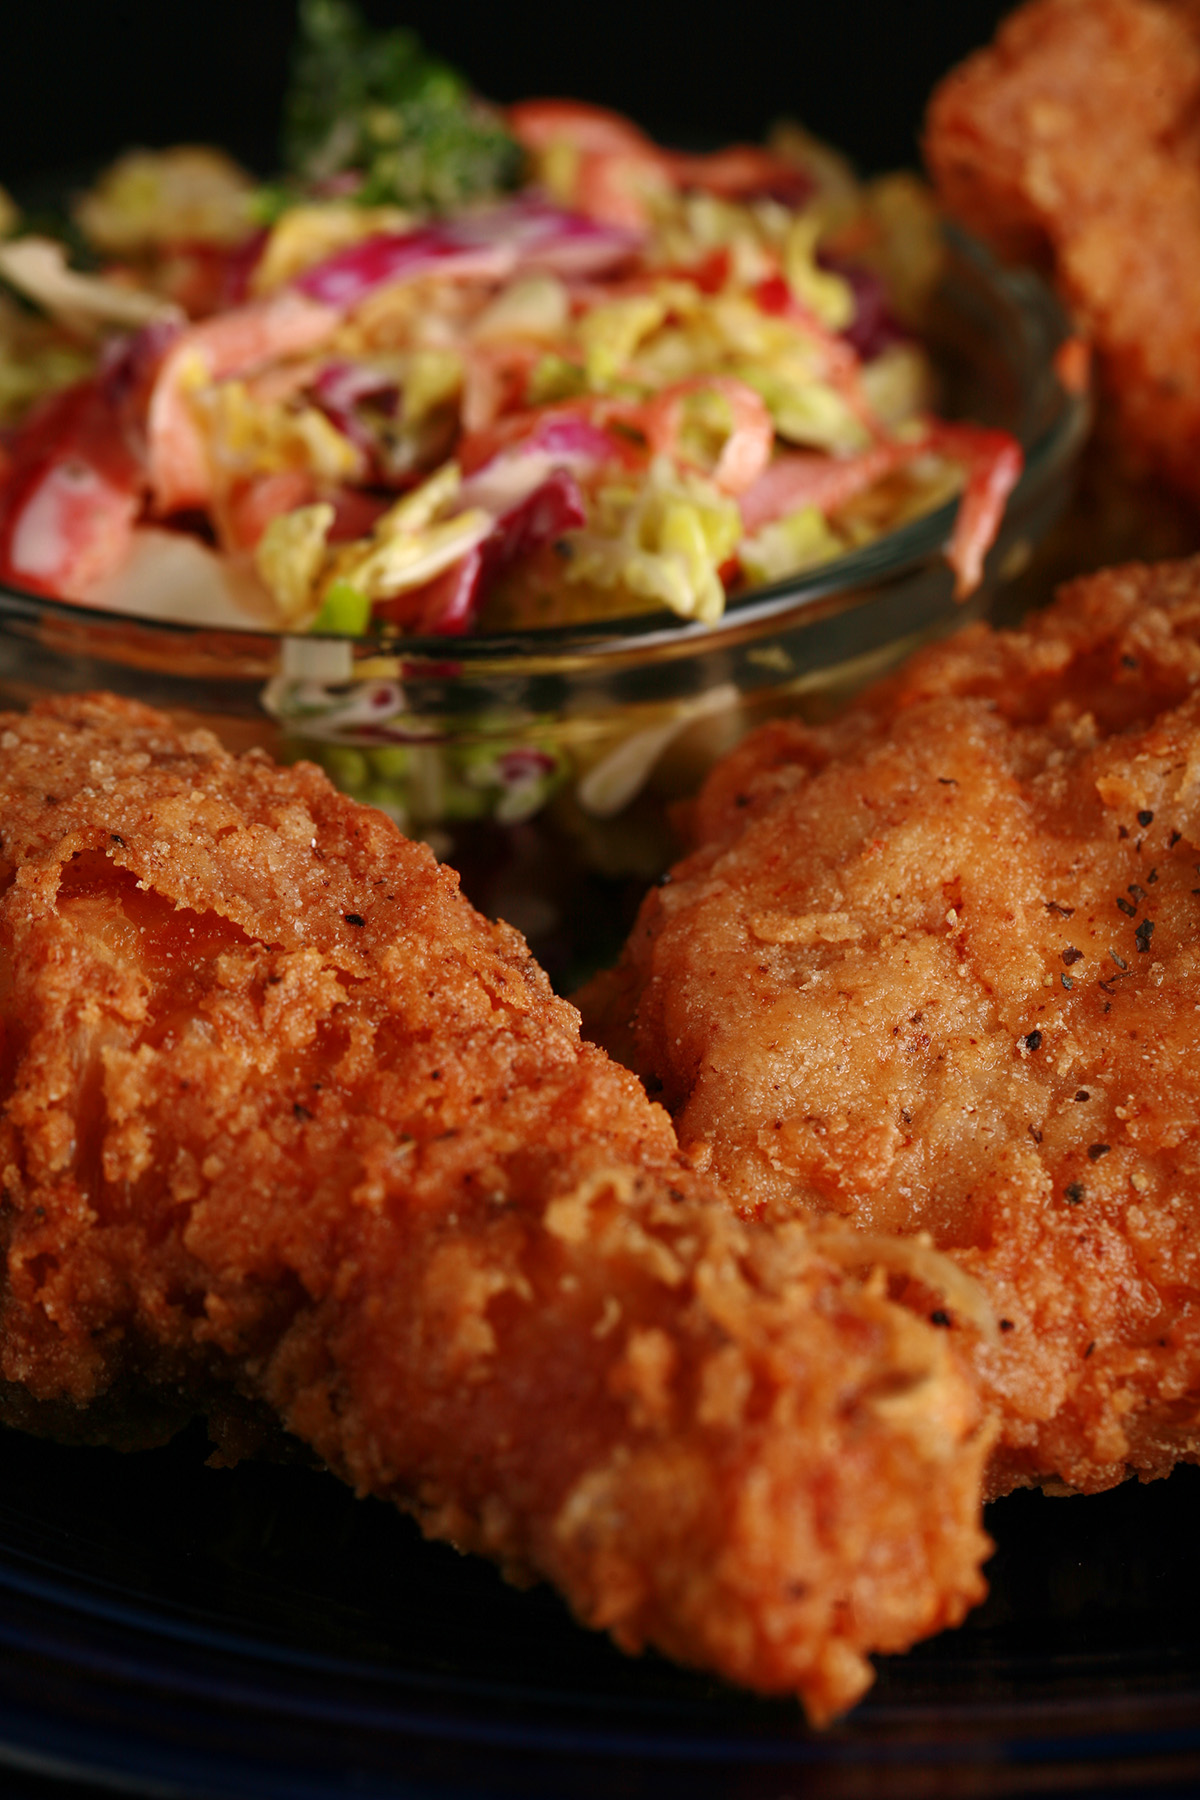
Note: The development of this recipe also spawned my Best Coleslaw Recipe EVER - as pictured here.
Equipment
There are a few things you’ll need to make this recipe.
Meat Thermometer
Let’s start with the easiest piece of equipment you’ll need - an Instant Read Meat Thermometer.
The internal temperature matters, both for food safety and quality reasons. You’ll want to use one of these whether you’re deep frying, air frying, or baking this recipe.
If you don’t already have such a device, I highly recommend getting one!
Deep Fryer
If you don’t have a deep fryer, you’ll want to use a heavy bottomed pot, or a fairly large skillet.
Alternately, you can use an air fryer, or bake this recipe - more on that in a bit.
Gluten Free Fried Chicken Ingredients
If you do any gluten free baking, you’ll probably have these ingredients on hand. If not, they should be easy to find in any larger grocery store.
The Chicken
This recipe makes about 10 chicken pieces, give or take. You can use whatever form of chicken - bone in or boneless - that you like.
We’ll generally go with bone in, skin on when we want actual “fried chicken”: chicken breasts, chicken thighs, chicken drumsticks, even wings.
Crispy chicken breast is my personal fav, though!
A whole chicken can be cut up into individual chicken parts, as an economical option.
Sometimes, we’ll use boneless, skinless when we’re looking to make gluten-free chicken fingers, etc.
The Coating
The coating is where most of the ingredients list gets used. It may look involved, but it really does closely resemble coating made from wheat flour!
Dry Mix
Like my other gluten-free recipes, I don’t use a premade all purpose flour for this recipe. My gluten-free flour blend for this recipe uses:
Corn Starch
Millet Flour
Sorghum Flour
White Rice Flour
Baking Powder
As well as spices :
Ground Black Pepper, Dried Sage, Paprika, Onion Powder, Garlic Powder, Sea Salt.
... I don’t use xanthan gum. Not only does it not need it, for this application... xanthan gum would get in the way of that perfectly crispy texture.
That’s the same reason you don’t see some of my other go-to flours and starches in this recipe.
Potato starch, coconut flour, tapioca starch, and even cassava flour are all great for bringing softer textures to some recipes, for moisture retention, etc...
... but those properties work against a good, crisp coating!
Wet Ingredients
The egg mixture uses just 2 simple ingredients - Buttermilk and Large eggs. Couple notes on that:
Buttermilk is the best option, but you can substitute milk, either as-is, or with a little bit of fresh lemon juice added, to make your own buttermilk substitute.
If you need a dairy-free option, use coconut milk, with a splash of lemon juice.
This dairy-free buttermilk will taste only a little different from actual buttermilk, and work just as well!
The Frying Oil
If you’re deep frying this recipe - I HIGHLY recommend it - you’ll want to use one of the vegetable oil options, like canola oil, corn oil, or sunflower oil. Peanut oil is another great option for cooking oil.
These are all great oils for frying - neutral flavours, high smoke point, low cost.
Just plain “vegetable oil” is my favorite oil for frying, mostly due to cost and convenience.
Olive oil is NOT appropriate for deep frying, but can be used as a spray if you’re baking or air frying these (more on that in a bit).
Coconut oil and avocado oil also aren’t great for deep frying, but work well as sprays for baking and use in the air fryer.
How to Make Gluten-Free Fried Chicken
Note: The process photos in this section are actually of my Keto Fried Chicken Recipe, over on my low carb blog. Exact same process, slightly different ingredients.
The full recipe is in the recipe card at the bottom of this post, this is the pictorial walk-through, with additional tips and information.
Prepare the Chicken
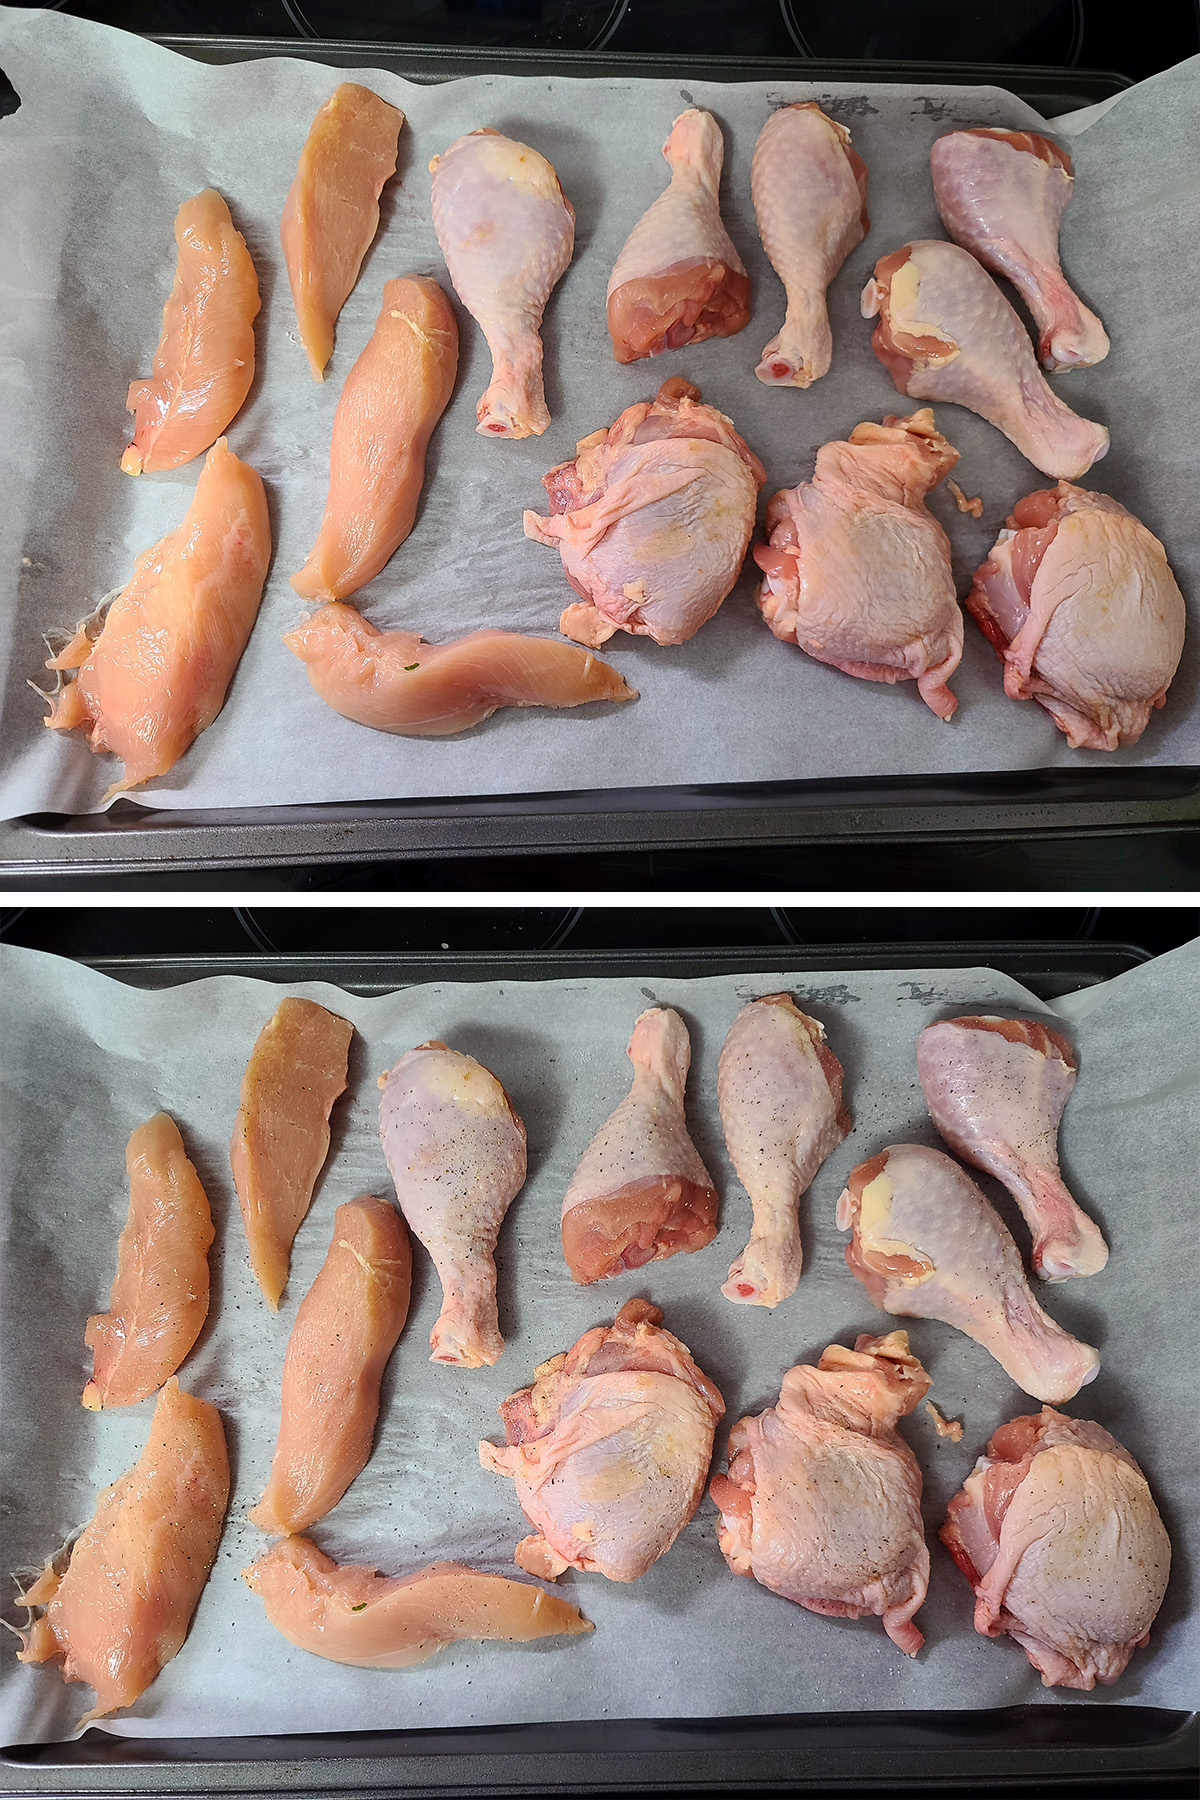
Arrange your pieces of chicken on a baking sheet (I line mine with parchment paper, for easy cleanup!).
Pat dry with paper towels, season well with salt and place in the fridge - uncovered - for one hour.
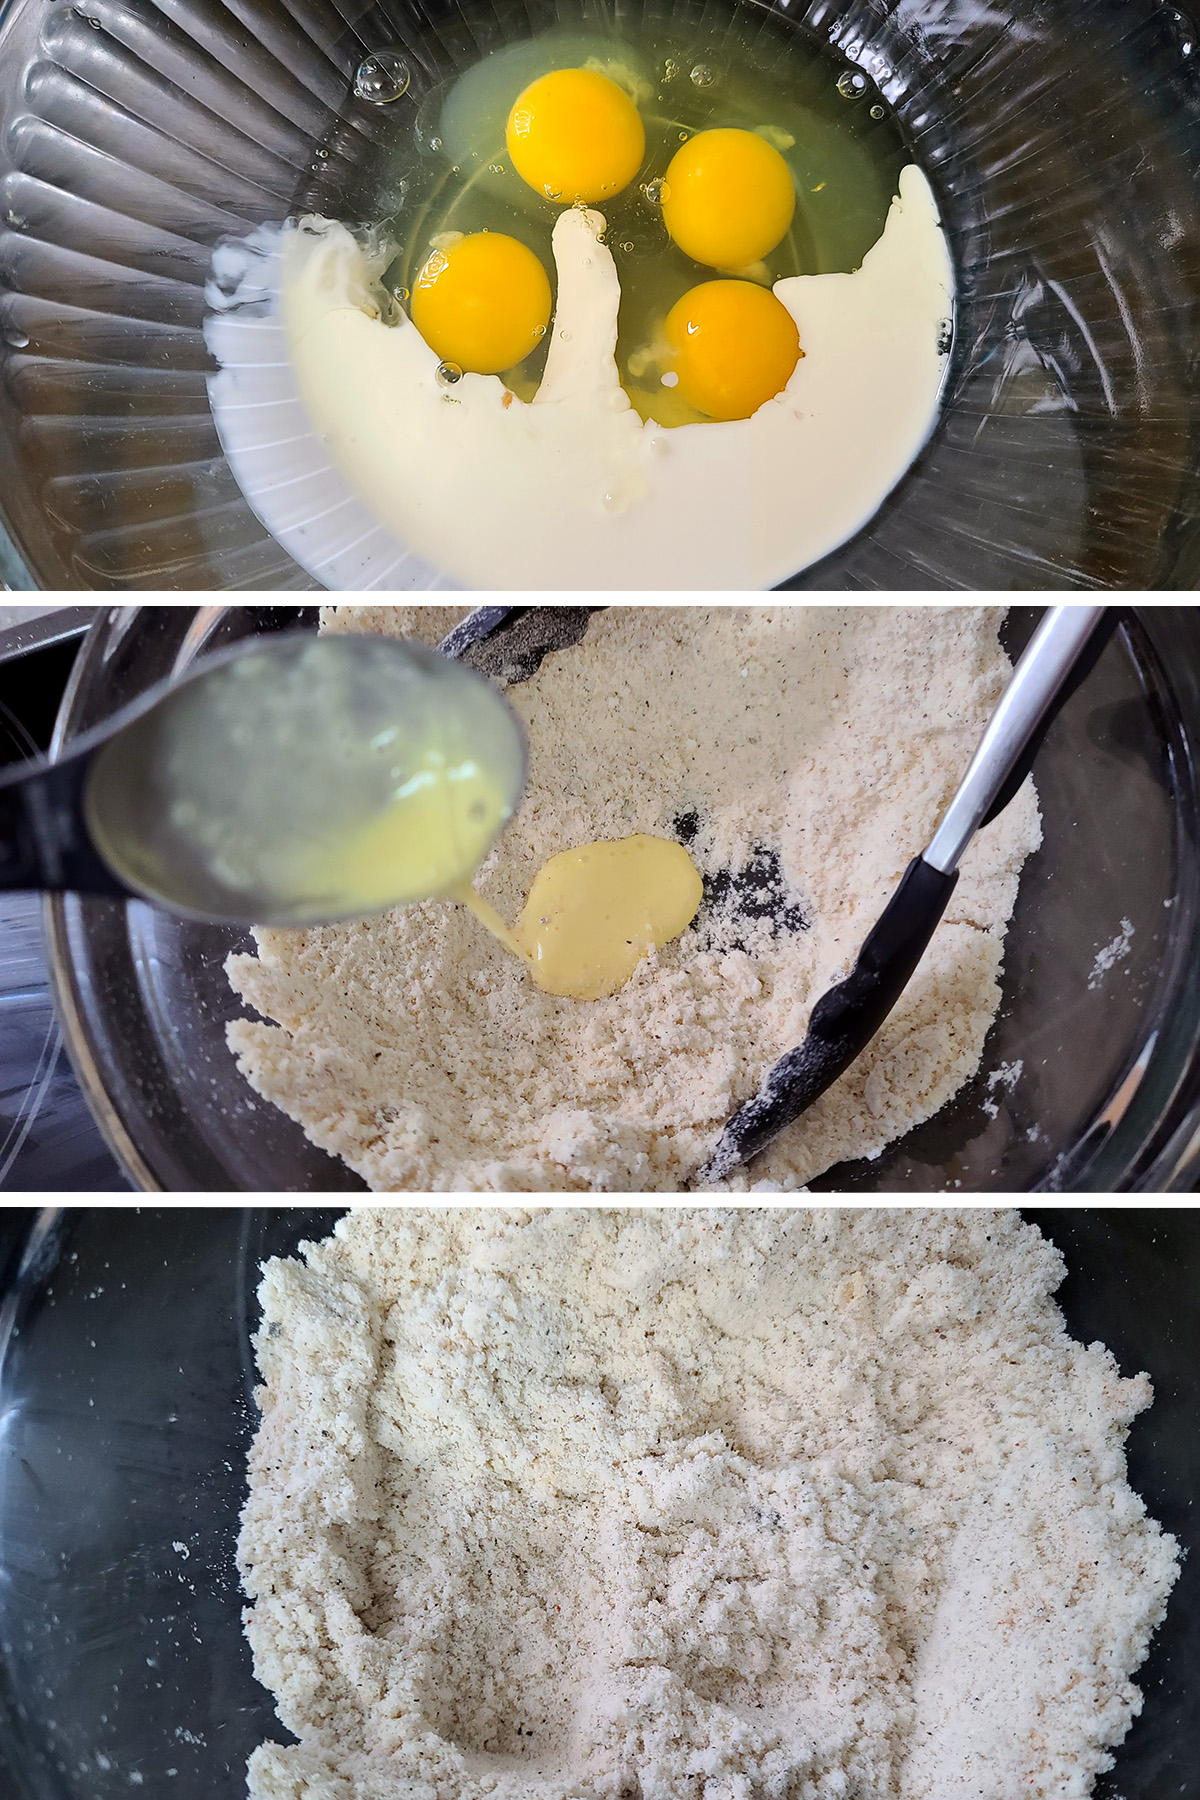
In a separate bowl - I’ll usually use a more shallow dish for this second bowl - whisk together dry ingredients until well combined.
Lightly dredge all rested pieces of chicken in flour mixture, shaking excess mixture back into the bowl.
Use your fingers to work the moisture into the dry mixture, creating some small lumps throughout.
Press flour mixture firmly against the piece of chicken to adhere, arrange on a baking sheet.
Once all chicken has been dipped and coated, allow to rest for 15 minutes.
Fry the Chicken
Heat oil 325 F (165 C) You can use a deep fryer, or a heavy pan.
If not using a deep fryer, use a deep, heavy pot or large dutch oven, filled to at least 3" deep.
I’ll usually heat the oil over medium-high heat, then turn it down to medium heat - or lower - when the oil reaches temperature.
Once oil reaches temperature, carefully place chicken in the hot oil, one piece of chicken at a time, avoiding splashing the oil.
Fry chicken in batches until nicely golden brown and crispy, and the internal temperature of the chicken reaches 165 F.
The cooking time will vary, but should take between 10-14 minutes, depending on the size/type of chicken pieces.
Note: For best results, allow oil temperature to come back up between batches. When the oil isn’t hot enough, your batter will absorb too much oil, and can turn out greasy, rather than crispy!
Transfer cooked chicken to a plate, wire rack, or pan lined with paper towels, to soak up excess oil.
Serve hot!
Leftover Chicken
Once cooled to almost room temperature, you can transfer any leftover fried chicken to an airtight container - or on a plate covered with plastic wrap - and keep it in the fridge for a few days.
The best way to reheat the next day is in an air fryer, but an oven or microwave will do if you don’t have one.
Alternate Cooking Instructions
Not wanting to mess around with the deep frying process, or just want to use less oil? There are different ways to cook it!
You can bake this “fried” chicken recipe, or use an air fryer. Here’s how:
Baked Gluten Free Fried Chicken
After you’ve fully coated all of the chicken pieces, pre heat oven to 400, line a sheet pan - or two - with parchment paper, spray with pan spray or olive oil, or avocado oil.
Arrange coated chicken on the prepared baking sheet(s), spray generously with oil.
Bake for 40-50 minutes, or until internal temperature of the chicken pieces reaches 165 F.
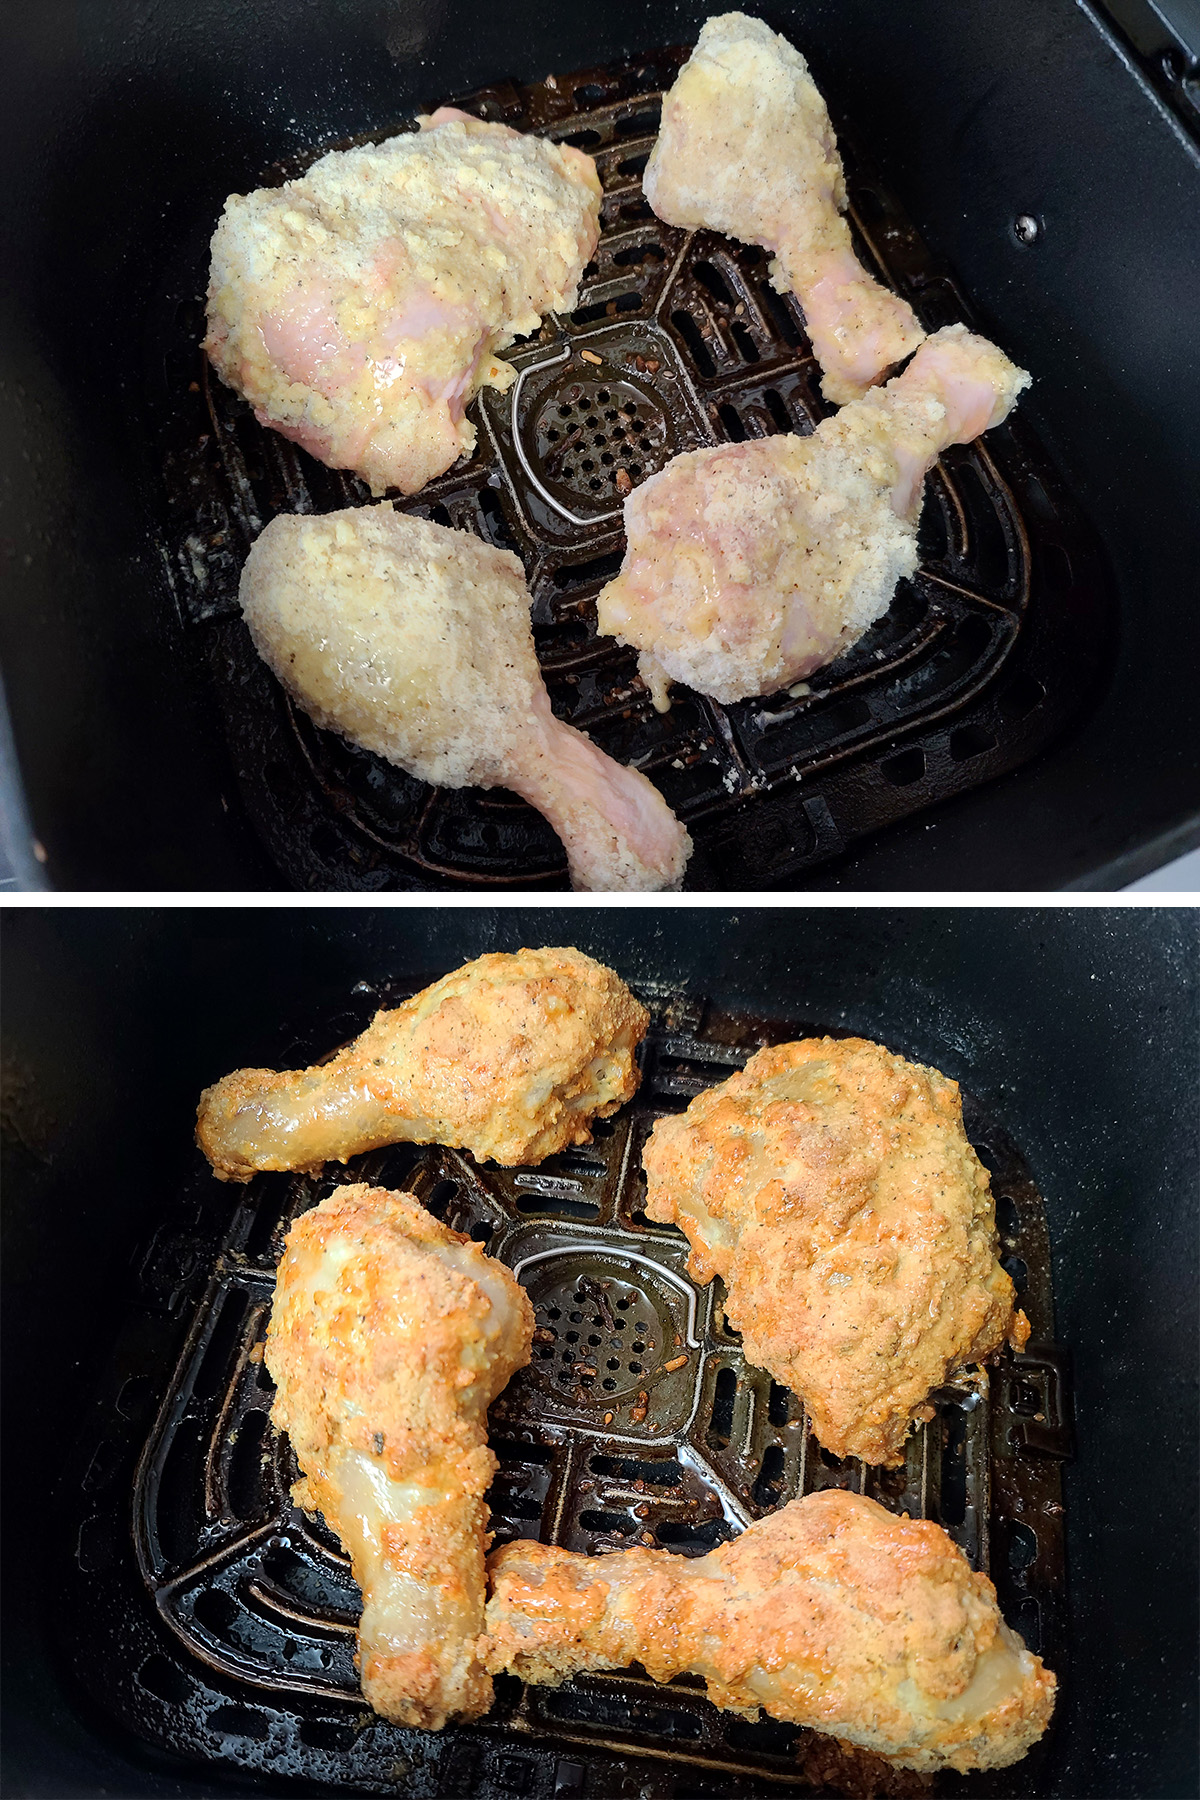
Air Fryer Gluten Free Fried Chicken
Air frying is the easiest way to get a good approximation of deep fried chicken, without all of the oil. It “fries” up more crisp than the baked version.
Once all of the chicken is coated and resting, preheat your air fryer to 400F.
Once heated, spray the air fryer basket with oil, and arrange breaded chicken pieces in a single layer, leaving a bit of space between each.
Air fry for about 20 minutes. About halfway through, re-spray the chicken, flip each piece, spray the new “top” side, and continue cooking.
Chicken is done when the internal temperature reaches 165 F.
Gluten-Free Fried Chicken Variations
This recipe is a great base recipe for making fried chicken, but can definitely be customized to your tastes. Here are a few ideas for you:
Vary the Format!
You can use this recipe to make gluten free chicken nuggets or chicken tenders!
I’ll usually skip the “add 1 tablespoon of wet mixture” step when making nuggets, though. Sometimes I’ll toss some sesame seeds in, for some added texture.
Just cut up some boneless skinless chicken breast into your choice of format - chunks for nuggets, long fingers for tenders - and follow the recipe for coating them.
You’ll need a shorter cooking time, so just keep an eye on it.
Spice it Up
If you’d like a bit more kick, add some Cayenne Pepper, Chili Powder, Hatch Chile Powder, and/or Smoked Serrano Powder to the dry mix.
Alternately, you can add some hot sauce to the wet mix.
Serve with ranch dressing!
More Gluten-Free Main Dish Recipes
Looking for more dinner ideas? I’ve got you covered! Try one of these gluten free recipes ...
Cream Cheese Stuffed Everything Bagel Chicken
Creamy Mushroom Risotto
Gluten-Free Bacon Poutine Pizza
Gluten Free Beef Stroganoff
Gluten-Free Beet Gnocchi
Gluten Free Chicken Mushroom Tourtiere
Gluten-Free Coconut Shrimp
Gluten Free Cod Au Gratin
Gluten-Free Cod Cheeks & Dressing
Gluten Free Crab Cakes
Gluten-Free Creamy Chicken Wild Rice Soup
Gluten Free Creamy Creole Pasta
Gluten-Free Creamy Creole Soup
Gluten Free Detroit Style Pizza
Gluten Free Fish Fingers & Custard
Gluten-Free French Onion Soup Tart
Gluten Free Perogies
Gluten-Free Sesame Chicken
Gluten Free Spicy Orange Chicken
Gluten-Free Square Root Tart
Gluten Free Tourtiere
Gluten-Free Tuna Noodle Casserole
Portabello Mushroom Pizzas
Share the Love!
Before you chow down, be sure to take some pics of your handiwork! If you post it to Bluesky, be sure to tag us - @CelebrationGen. We're also on Pinterest, so you can save all your favourite recipes to a board!
Also, be sure to subscribe to my free email newsletter, so you never miss out on any of my nonsense.
Finally, if you love this recipe, please consider leaving a star rating and a comment, and/or sharing the link on social media!
Crispy Gluten-Free Fried Chicken Recipe
Equipment
- Deep Fryer or
Ingredients
- About 10 chicken pieces to fry - thighs drumsticks, breasts, etc
- Salt
- 4 Large eggs
- ⅓ cup Buttermilk
- 1 cup Corn starch
- ½ cup Millet flour
- ½ cup Sorghum flour
- ¼ cup White rice flour
- 1 teaspoon Baking powder
- 1 teaspoon Pepper
- ½ teaspoon Salt
- ½ teaspoon Dried sage
- ¼ teaspoon Paprika
- ¼ teaspoon Onion powder
- ¼ teaspoon Garlic powder
Instructions
- Arrange chicken on a baking sheet, season well with salt and place in the fridge - uncovered - for one hour.
- In one large mixing bowl, whisk together eggs and buttermilk, set aside.
- In a separate large bowl, whisk together dry ingredients until well combined. Lightly dredge all rested chicken in flour mixture, shaking excess flour mixture back into the bowl.
- Measure about 1 tablespoon (15 ml) of buttermilk/egg mixture into the dry ingredients. Use your fingers to work the moisture in to the dry mixture, creating some small lumps throughout.
- One piece at a time, dip chicken into egg mixture, and then into flour mixture. Press flour mixture firmly against the chicken to adhere, arrange on a baking sheet. Once all chicken has been dipped and coated, allow to rest for 15 minutes.
- Heat oil 325 degrees F (165 C) You can use a deep fryer, or a heavy pan. If not using a deep fryer, use a deep, heavy pot, filled to at least 3" deep.
- Once oil reaches temperature, fry chicken in batches until nicely browned and crispy. This should take between 10-14 minutes, depending on the size/type of chicken pieces. Allow oil to come back up to temperature between batches.
- Transfer cooked chicken to a plate or pan lined with paper towels, to soak up excess oil.
- Serve hot!











Leave a Reply