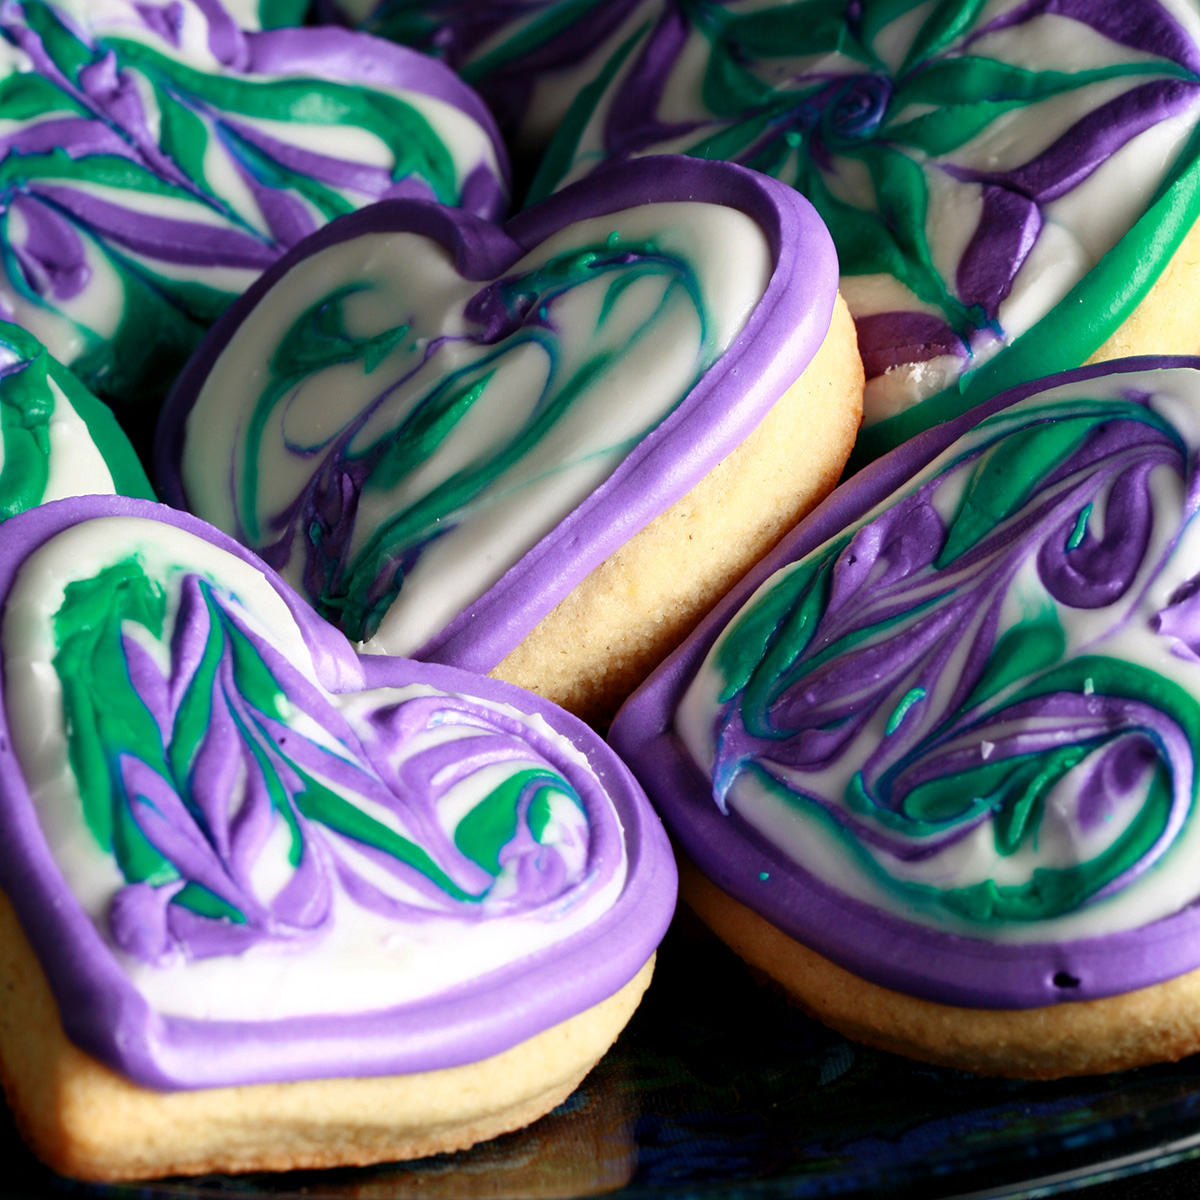
These Gluten-Free Sugar Cookies are tasty on their own, but are fantastic for decorating! Easy to make, rolls nicely, minimal spread.
Note: This recipe was first posted on my original blog, Celebration Generation, on August 22, 2020. It was transferred over to this blog - existing comments and all - on Feb 26, 2021. It was updated on 3/8/22.
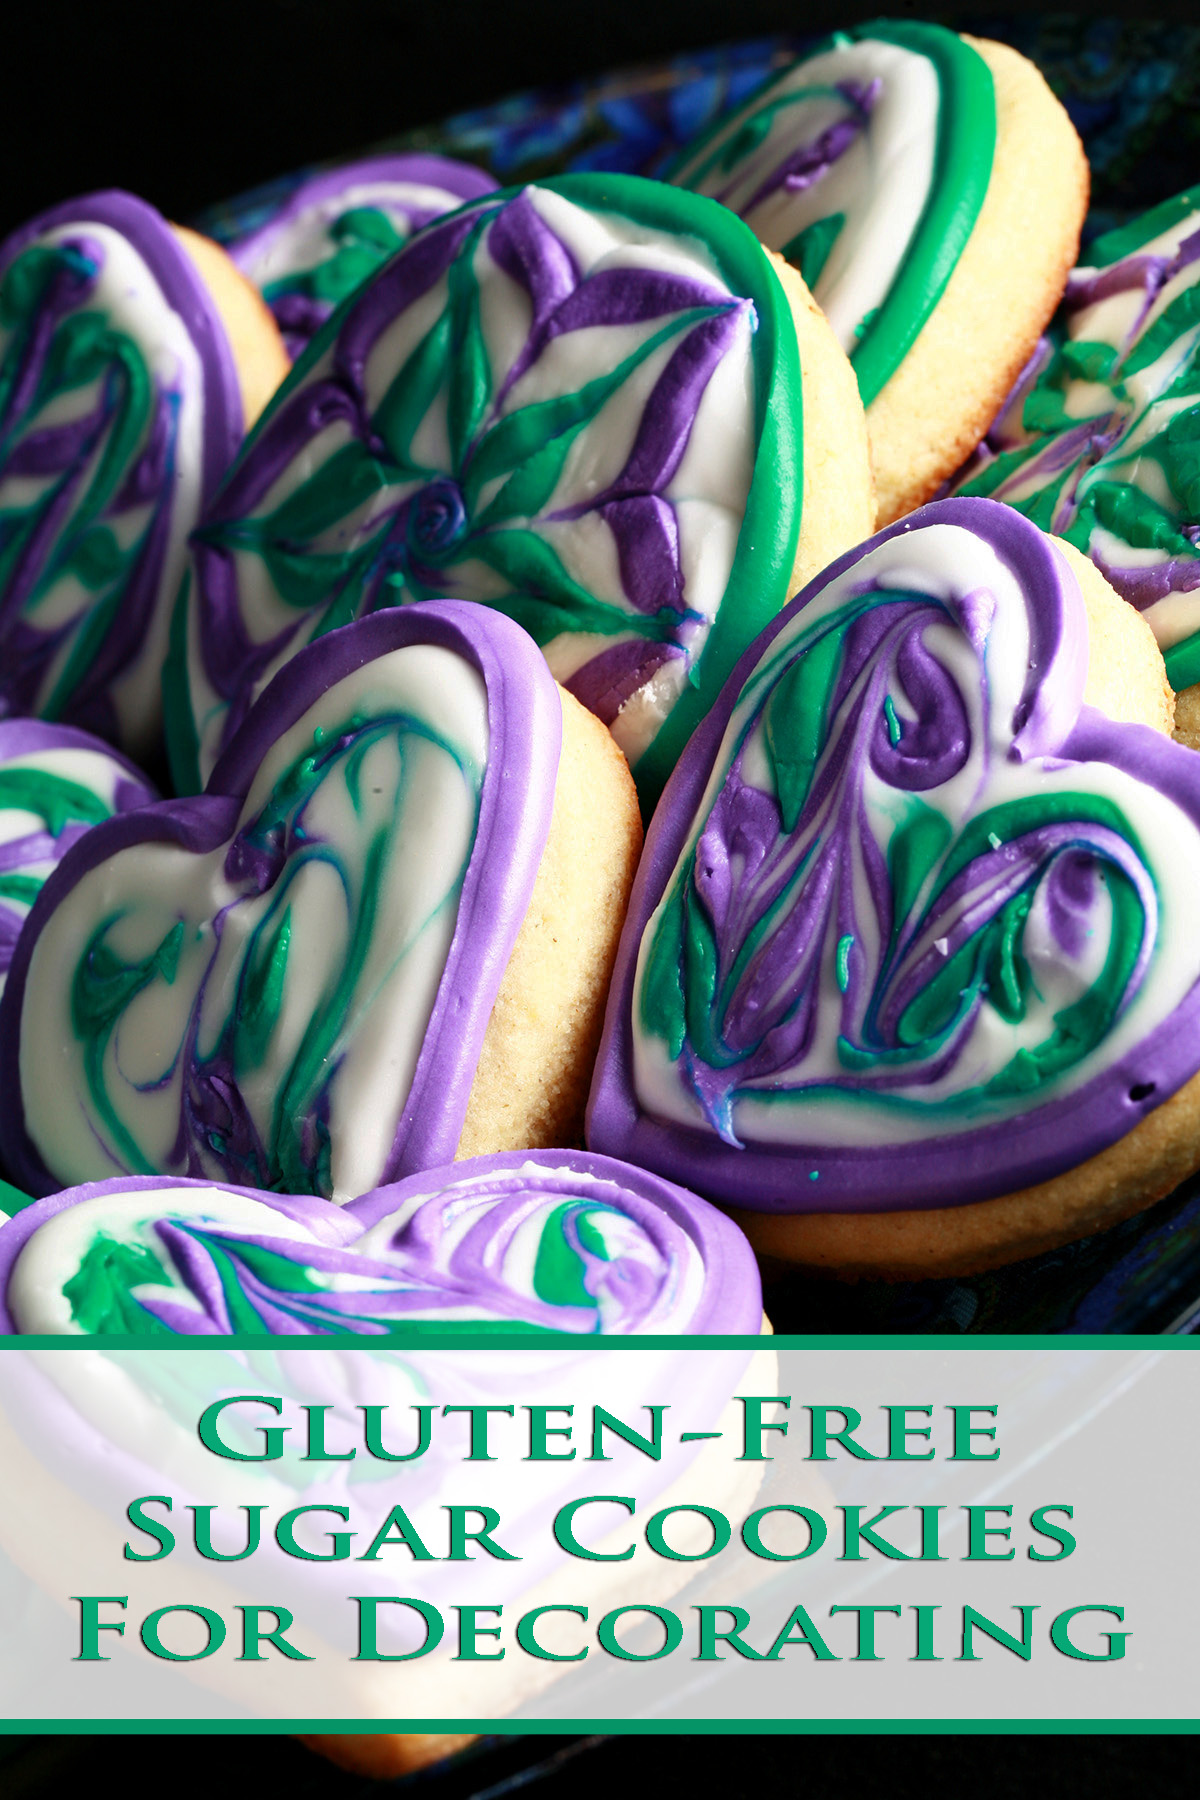
This is the time of year where thoughts turn to Christmas cookies - Not only as a tasty menu item, but as an activity central to the holiday traditions of many.
Rolling out the dough for classic sugar cookies, using fun holiday cookie cutters to cut festive shapes, baking them up, and decorating them with brightly colored royal icing is always a fun part of the holidays to look forward to.
Even beyond the winter holiday season, rolled sugar cookies can be seen as a versatile special occasion cookie.
Simply change out the cutters and colours, and you’ve got an activity - and dessert for Valentine’s Day, Easter, Canada Day, Halloween, etc!
Gluten-Free Cookies
The thing is, many gluten-free options out there ... just aren’t good. Textures, tastes, etc.
I learned early on that “Tastes just like the real thing!” means something entirely different to gluten-free people.
I think that after you’ve been off gluten for a while, either memory fades or desperation sets in, and you lose track of what “normal” tasted like... or felt like.
No judgment here - I’m the same way, and totally acknowledge it. I think you get to the point where it’s just “OMG A COOKIE”, and convince yourself it’s edible, you know?
It’s why - when I was writing Beyond Flour and Beyond Flour 2 - I tested all my gluten-free recipes exclusively on people who aren’t gluten-free. When *THEY* say “as good or better”, I know I can trust it!
Being on a gluten-free diet can lead to people feeling excluded, and never is that more the case than during the holidays.
A typical holiday spread MAY include coconut macaroons or meringues, but other than that ... offerings usually aren’t set up with gluten-free people in mind.
That’s part of why these gluten-free cut-out cookies - and the rest of my gluten-free cookie recipes - are so great.
The Best Gluten-Free Sugar Cookies
They taste, look, and feel like normal sugar cookies, so you can just make a batch for everyone - no need to make 2 separate batches!
With this gluten-free sugar cookie recipe, I wanted something that would brown a LITTLE - with crispy edges - that is sturdy enough that it’ll hold up to decorating but tender enough that it’s nice to eat.
It’s a cookie, after all!
The gluten-free sugar cookie dough had to hold together well for rolling out, and hold its shape through baking - much the same as any regular, wheat flour rolled cookie dough.
It took a bit of experimentation, but here we are: A great recipe for gluten free cutout sugar cookies!
It is easy to make, rolls out beautifully, spreads minimally when baking, looks like it should, is a nice, soft sugar cookie to bite into, and tastes delicious!
No weird mouth feel, either!
You know, pretty much anything you could want in a gluten-free recipe!
Sugar Free Cookies
Need a gluten free sugar cookie recipe that's also low carb?
Now I have a fantastic Keto Sugar Cookies recipe, over on my keto blog!
There's even a Sugar Free Royal Icing recipe to go with it.
The Secret to Gluten-Free Baking
The big secret to gluten-free cooking and baking is that “all-purpose” gluten-free flours... aren’t really all-purpose.
Sure, they’ll get the job done... but in trying to be all things to every dish, they don’t work *great* for any of them.
Passable, sure - which is fine if you’re just cooking for yourself.
If you’re looking to make gluten-free food that passes as “normal” to feed everyone, though? There aren’t many things that the “all-purpose” gluten free flour blends are perfect for.
It’s because all-purpose wheat flour really is all-purpose - It’s super neutral so works for both savoury and sweet dishes. It thickens, it browns, it crisps..
Depending on how you use it, you can work the gluten to create something chewy (like bread), or you can AVOID developing the gluten, and get something delicate and flaky - like pie crusts or shortbread.
Basically, regular flour is a jack-of-all-trades workhorse that no single gluten free baking flour really replicates, and that all purpose gluten-free flour blends can’t really match.
Making Gluten-Free Flours WORK
So, generally, you have to mix flours - whether using a ready-made mix, or doing your own.
One type of flour may work to hold things together, while a different flour may add crispiness, or the ability to brown, or a chewy texture.
Developing good gluten free recipes is all about assembling a team to get the job done.
How gluten-free flours react with water vary wildly, so that’s another balance to keep in mind - and a big part of why many recipes don’t work well when converted from normal flour to a GF version.
Some GF flours need more water than wheat does, to achieve the same texture/volume, etc. Some need extra time to absorb moisture in order to work properly.
Then, there’s the matter of flavour. While wheat flour is pretty neutral, many gluten-free flours are anything but... which is a blessing and a curse.
Early on in the “all purpose gluten-free flour blend” days - and still to some degree, with lower priced GF all purpose flour versions - there was a lot of bean flour being used.
It’s cheaper than many of the other gluten-free flours, so you’d find a lot of mixes based with that and/or rice flour.
Great for many savoury dishes... not so much when it comes to cookies. That’s part of how GF cookies ended up with such a bad reputation.
Great Flours for Gluten-Free Cookies
The thing is, many gluten-free flours have a taste that’s GREAT for cookies, especially when combined with other flours being chosen for their tastes and properties.
Coconut flour, Oat flour, Sorghum flour - they all actually contribute *flavour* to the mix!
However, the proportions needed vary wildly. Coconut flour helps make a chewy cookie “pass” - without a gross texture! - but too much of it would ruin a shortbread.
Oat flour tastes great - and is great for fibre - but the flavour can overwhelm if it’s not balanced out.
Basically, designing gluten-free recipes that pass as regular food is a bit of a matrix - balancing not only the flavours, but also the properties of each.
A bit tricky, but fun for problem solving!
Anyway, I could go on all day about GF recipe development, but you’re here for the cookies!

Ingredients
Anyway, enough of the generalities about gluten free baking, let’s look at what you’ll need for this specific recipe.
In terms of the flours, starches, and related ingredients, you’ll be using:
Brown Rice Flour
Sorghum Flour
Coconut Flour
Tapioca Starch / Tapioca Flour
Xanthan Gum
Plus you’ll want some Corn Starch for rolling them out.
If corn starch doesn’t work for you, Potato Starch is a good substitute for this use.
Unsalted butter
Granulated sugar
Large eggs
Vanilla extract (or Almond extract)
Baking powder
Salt
Royal Icing
If you’re decorating these, you’ll also want to make some royal icing.
I have fantastic recipes for both traditional royal icing and meringue powder royal icing on my Easy Spider Web Cookies post on Celebration Generation.
One takes raw egg whites, the other takes meringue powder. Aside from that, you need powdered sugar, lemon juice, and food coloring.
Variations
While you don't want to mess with the main ingredients in this recipe, you CAN tinker with the flavourings.
The vanilla extract can be swapped out for any other flavouring.
When I'm doing Halloween cookies, I'll sometimes swap it out for anise flavour... or I'll use anise in the royal icing, and flavour the cookie with orange flavouring.
Depends on what mood I'm in - and the audience.
You can add the zest of an orange, lime, or lemon - or a combination - to this recipe with the butter. Use lemon or vanilla extract when you're doing zest - either way tastes fabulous!
Back on the subject of Halloween - you can dye the dough with a bit of food colouring. Black bat cookies, orange pumpkins - whatever you like.
Just have fun with it!
Equipment
There are a few items you’ll need to make these cookies.
Mixer
This dough works best when you use a stand mixer (with the paddle attachment) or electric hand mixer to make it.
Rolling Pin
You can use any rolling pin, but I LOVE this Rolling pin with adjustable thickness guides.
It makes it super easy to get a perfectly even roll - important, when it comes to decorated cookies!
Cookie Cutters
Just use your favorite cookie cutters in whatever shape(s) you want / are appropriate for whatever occasion you’re baking cookies for!
Decorating Supplies
- I like to use disposable Pastry Bags for this, personally. You’ll want one piping bag for each colour you do, plus an extra for the white.
- Couplers and Piping Tips. Using a coupler and tips are totally optional for this. It just gives it a cleaner appearance, than if just cutting the tip of the bag off. I like to use a smallish round tip, usually a 3 or 4.
- Gel Food Colouring - I prefer gel food colouring over paste or liquid colour. It’s super concentrated, available in a ton of colours, and doesn’t screw with the icing viscosity too much.
Several brands make gel colour, you can get it on Amazon or at your local cake decorating supply store.
How to Make Gluten-Free Decorated Sugar Cookies
The actual recipe is at the bottom of this post in a recipe card, here’s a quick walk through with some additional information.
1. In a large bowl or the bowl of a stand mixer, cream together butter and sugar - at medium speed - until smooth and fluffy.
2. On medium-low speed, add in eggs, one at a time, beating well between each addition. Add vanilla extract, and mix until well incorporated and smooth
3. In a separate bowl, whisk together all dry ingredients (except sugar and corn starch) until well combined, set aside.
4. Slowly add flour mixture to the mixer bowl, and carefully mix until well incorporated and smooth.
5. Wrap dough in plastic wrap, chill for 1 hour. For best results, do NOT skip this step!
7. Generously sprinkle clean work surface with corn starch - potato starch if needed - roll dough to ¼" thick (can be slightly thicker).
8. Use cookie cutters to cut out whatever shapes you’d like.
9. Place cookies 2" apart on prepared baking sheet, bake for 8-10 minutes, or until bottoms look lightly golden.
10. Allow cookies to cool on cookie sheet for at least 5 minutes before moving. You can use a wire rack if you like.
11. Cookies need to cool completely to room temperature before decorating.
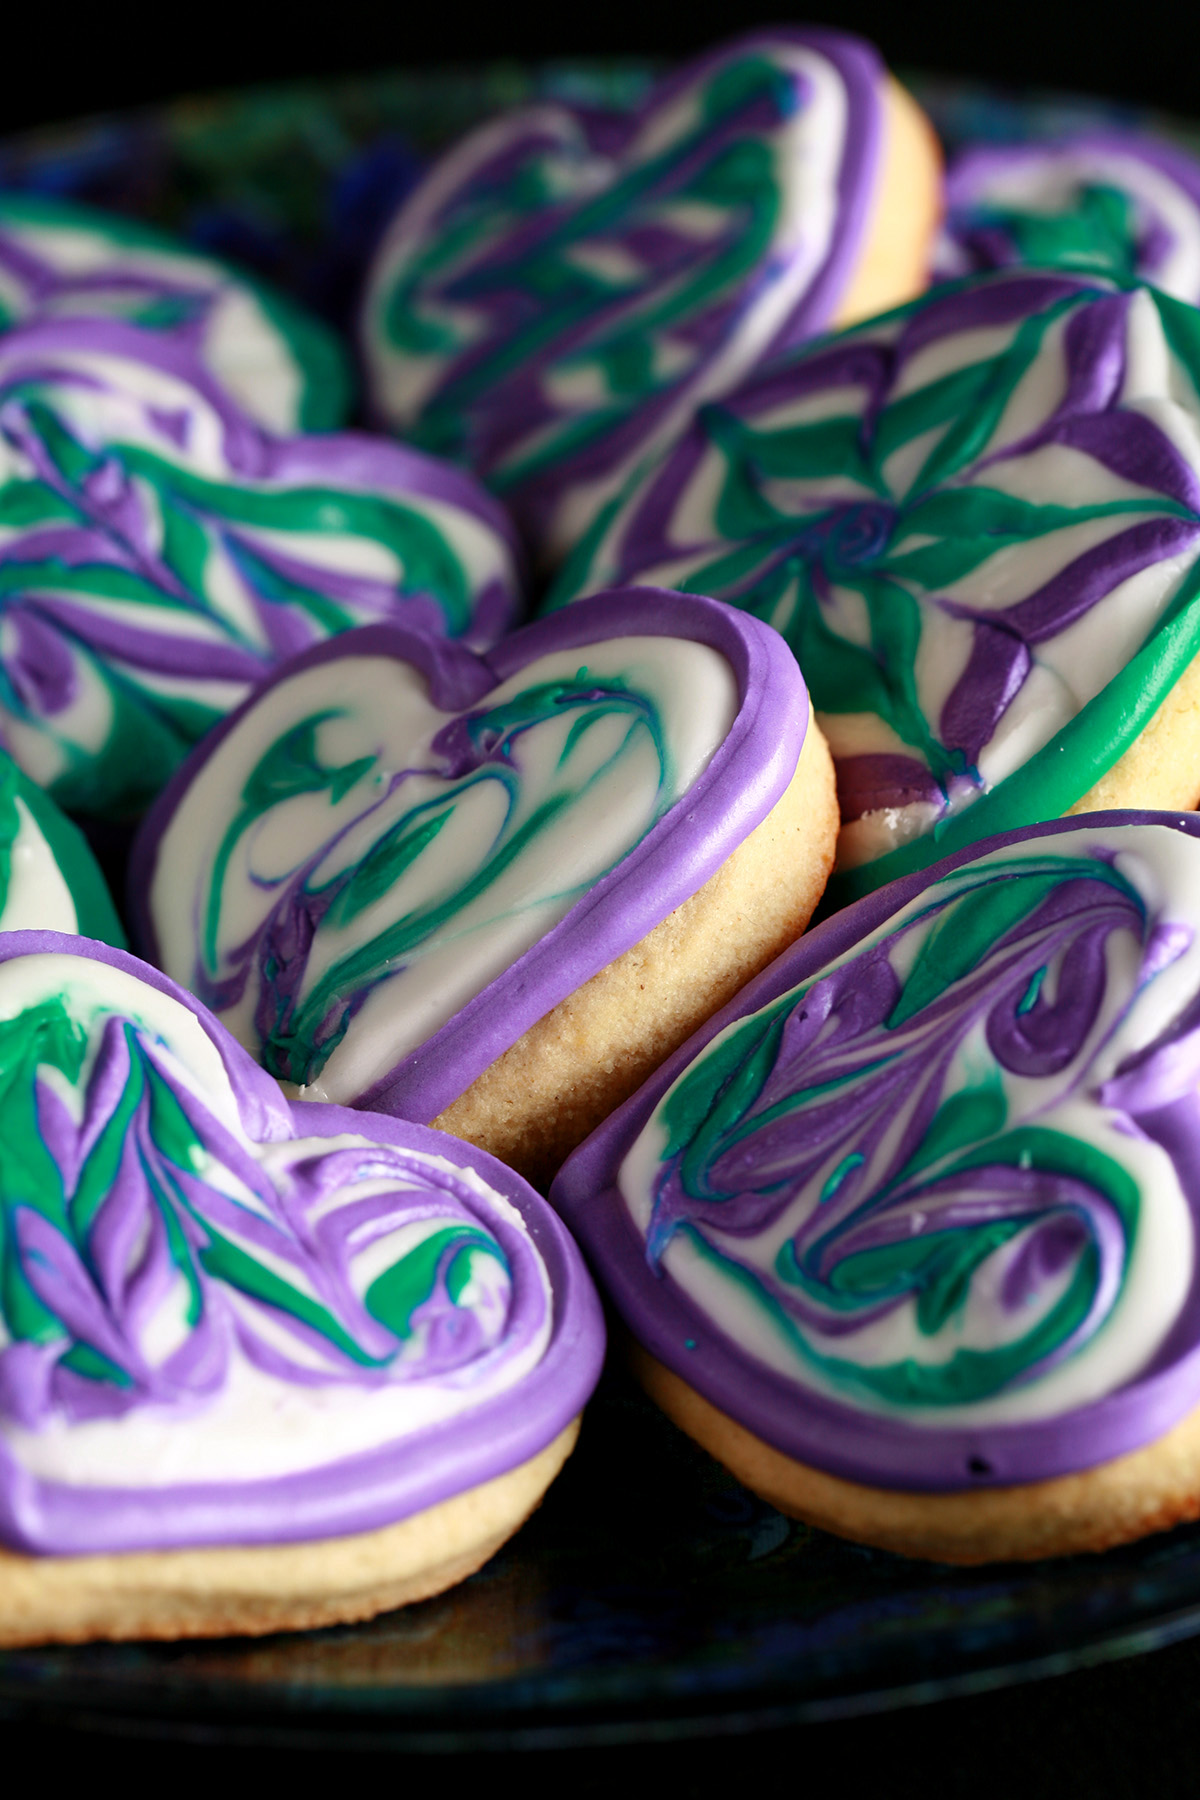
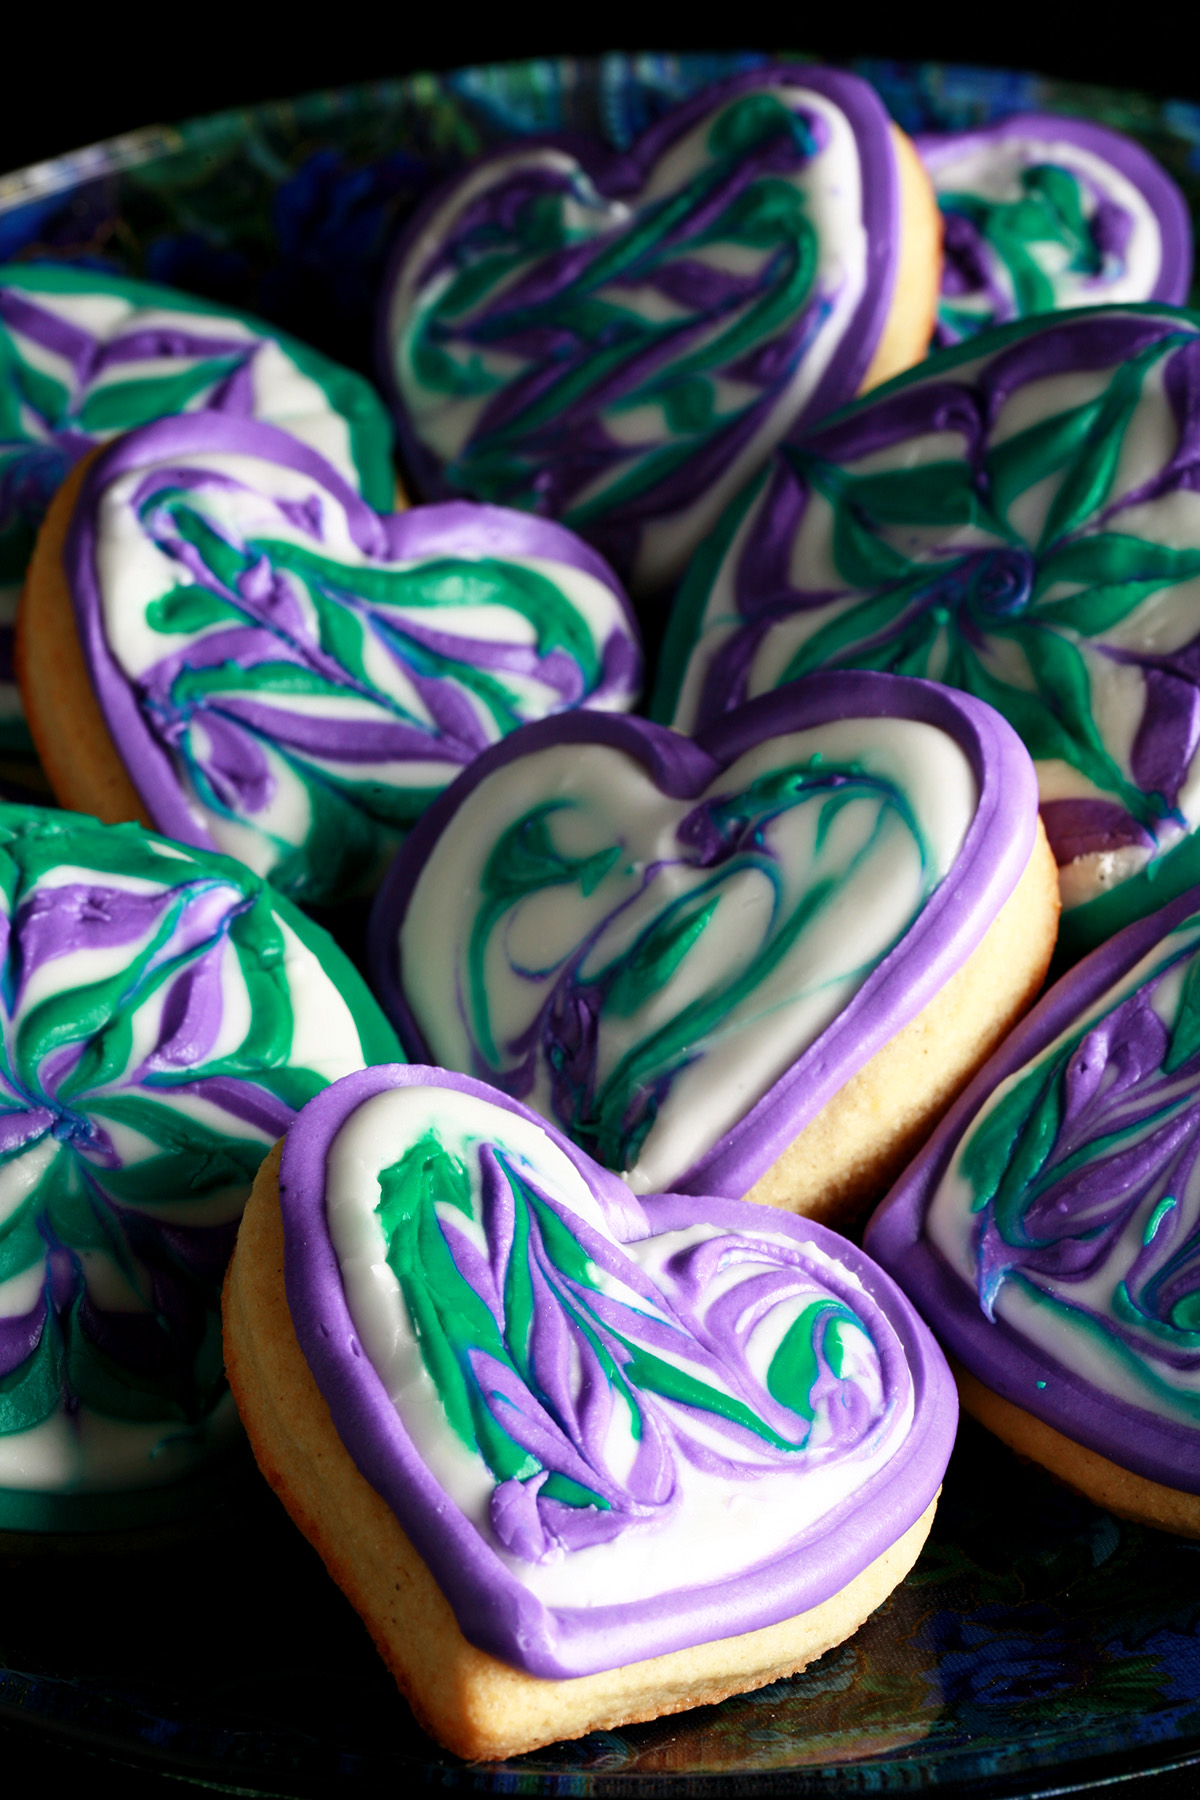
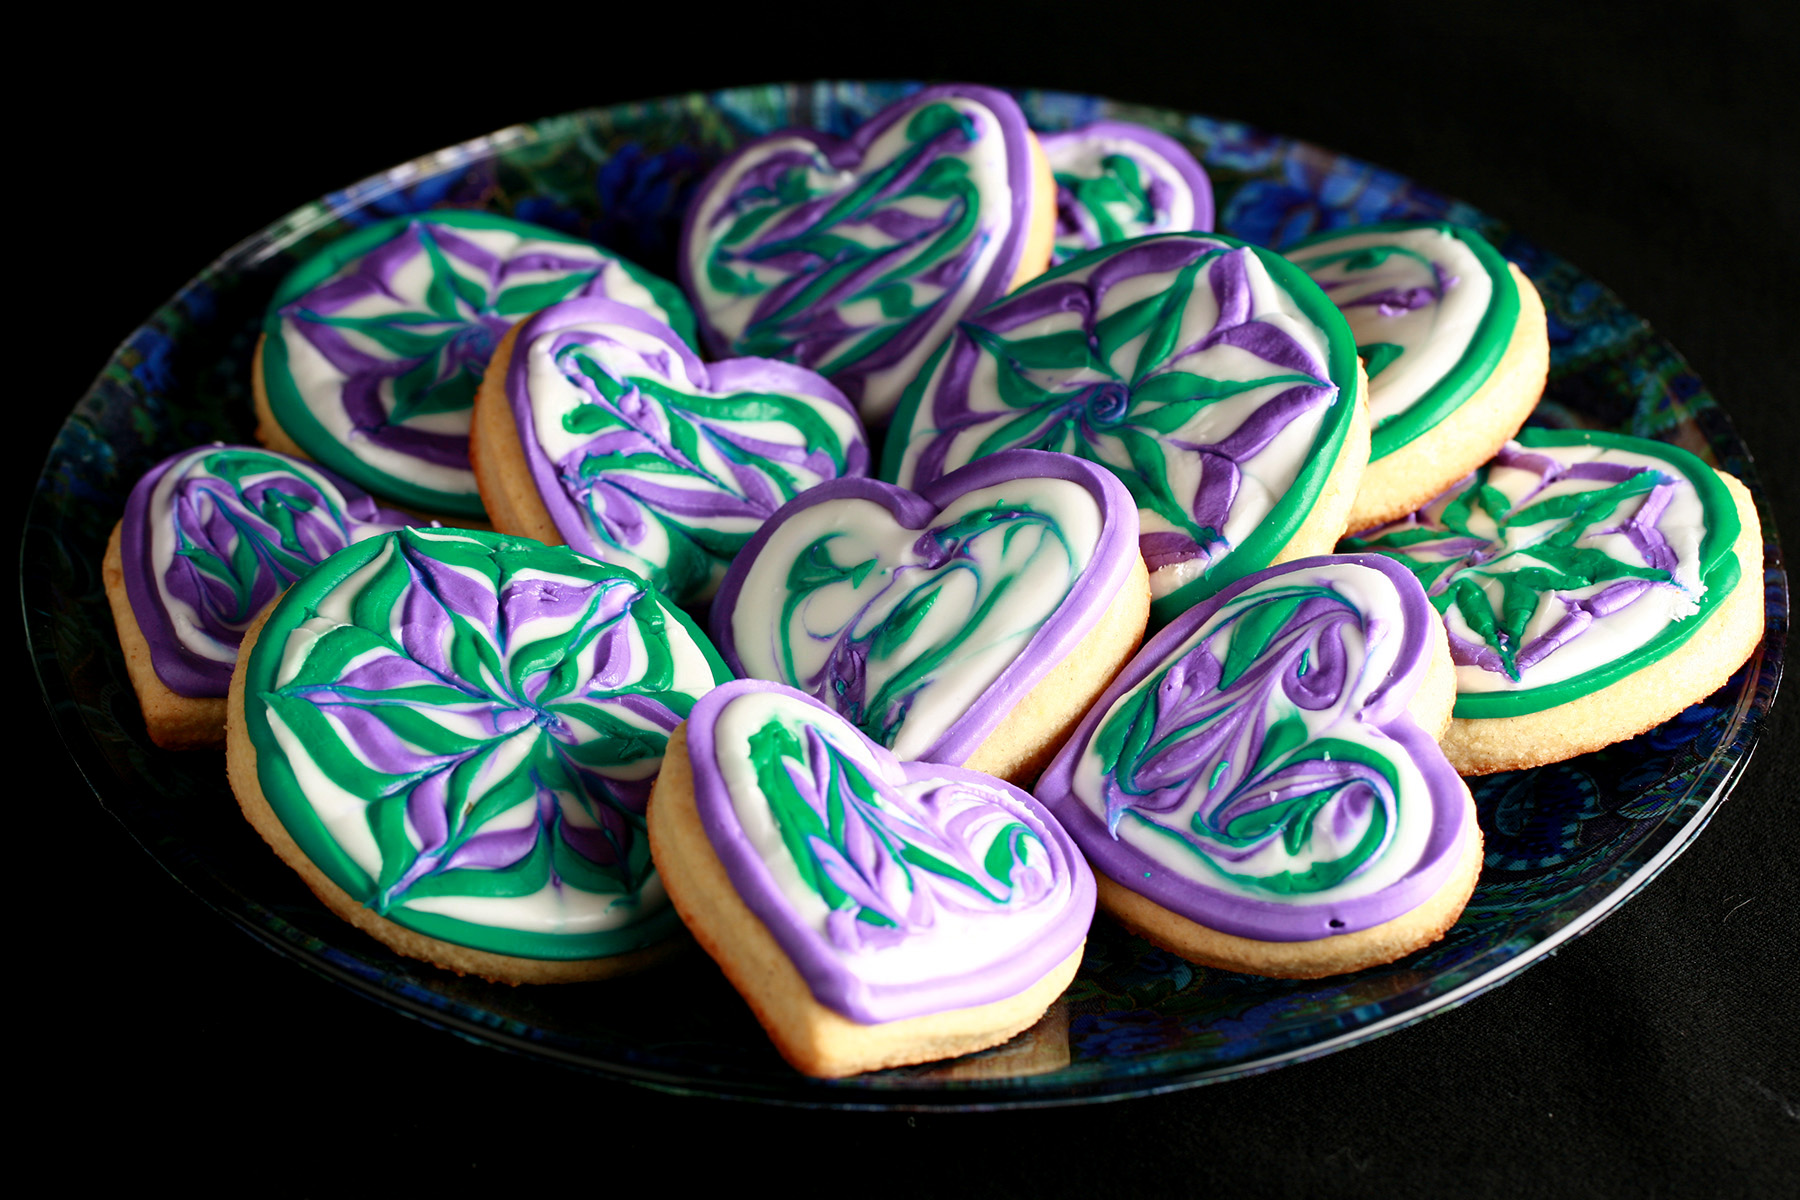
12. Decorate with Royal Icing, if desired.
13. Store cookies in an airtight container for up to a week.
More Gluten Free Cookie Recipes!
Looking for even more recipes for fantastic gluten free cookies that *everyone* will love? Look no further!
Gluten Free Apple Pie Cookies
Gluten-Free Candy Cane Cookies
Gluten Free Carrot Cake Cookies
Gluten-Free Chewy Banana Oatmeal Cookies
Gluten Free Chewy Chocolate Cookies
Gluten-Free Chocolate Chip Cookies
Gluten-Free Cowboy Cookies
Gluten Free Do-Si-Dos
Gluten-Free Fig Newtons
Gluten Free Fruitcake Cookies
Gluten-Free Gingerbread Cookies
Gluten Free Ginger Molasses Cookies
Gluten-Free Graham Crackers
Gluten Free Imperial Cookies
Gluten-Free Jacques Torres Style Chocolate Chip Cookies
Gluten-Free Oatmeal Butterscotch Cardamom Cookies
Gluten Free Peanut Butter Cookies
Gluten-Free Pecan Pie Cookies
Gluten Free Red Velvet Cookies
Gluten-Free Sandwich Cookies
Gluten Free Shortbread Cookies
Gluten-Free Snickerdoodles
Gluten-Free Unicorn Poop Cookies
... and there’s even more - be sure to check out our Gluten-Free Cookies and Bars recipe section!
Share the Love!
Before you chow down, be sure to take some pics of your handiwork! If you post it to Bluesky, be sure to tag us - @CelebrationGen. We're also on Pinterest, so you can save all your favourite recipes to a board!
Also, be sure to subscribe to my free email newsletter, so you never miss out on any of my nonsense. Well, the published nonsense, anyway!
Finally, if you love this recipe, please consider leaving a star review and comment about it!
Gluten-Free Sugar Cookies for Decorating
Equipment
Ingredients
- 1 cup Brown rice flour
- 1 cup Sorghum flour
- ¼ cup Coconut flour
- 2 tablespoon Tapioca Starch/Flour
- 2 teaspoon Xanthan gum
- 1 teaspoon Baking powder
- ½ teaspoon Salt
- ¾ cup Butter softened
- 1 ¼ cup Granulated sugar
- 2 Large eggs
- 1 teaspoon Vanilla extract
- Corn starch for rolling
- Traditional Royal Icing
- or
- Meringue Powder Royal Icing
Instructions
- Whisk together all dry ingredients (except sugar and corn starch) until well combined, set aside.
- In a stand mixer, cream together butter and sugar until smooth and fluffy.
- Add in eggs, one at a time, beating well between each addition. Add vanilla extract, and mix until well incorporated and smooth.
- Slowly add dry mix to the mixer bowl, and carefully mix until well incorporated and smooth.
- Wrap dough in plastic film, chill for 1 hour.
- Preheat oven to 400 F (200 C), line cookie sheets with parchment paper
- Generously sprinkle clean work surface with corn starch, roll dough to ¼" thick (can be slightly
- thicker).
- Use cookie cutters to cut out whatever shapes you’d like.
- Place cookies 2" apart on prepared cookie sheets, bake for 8-10 minutes, or until bottoms look lightly golden.
- Allow cookies to cool on cookie sheets for at least 5 minutes before moving.
- Cookies need to cool completely before decorating.
- Decorate with Royal Icing







Leave a Reply