

These Gluten-Free Gingerbread Cookies can be baked soft or crispy, and taste even better than the wheat version. Fun for decorating, too!
Originally posted November 30, 2021. Updated 11/16/2022.

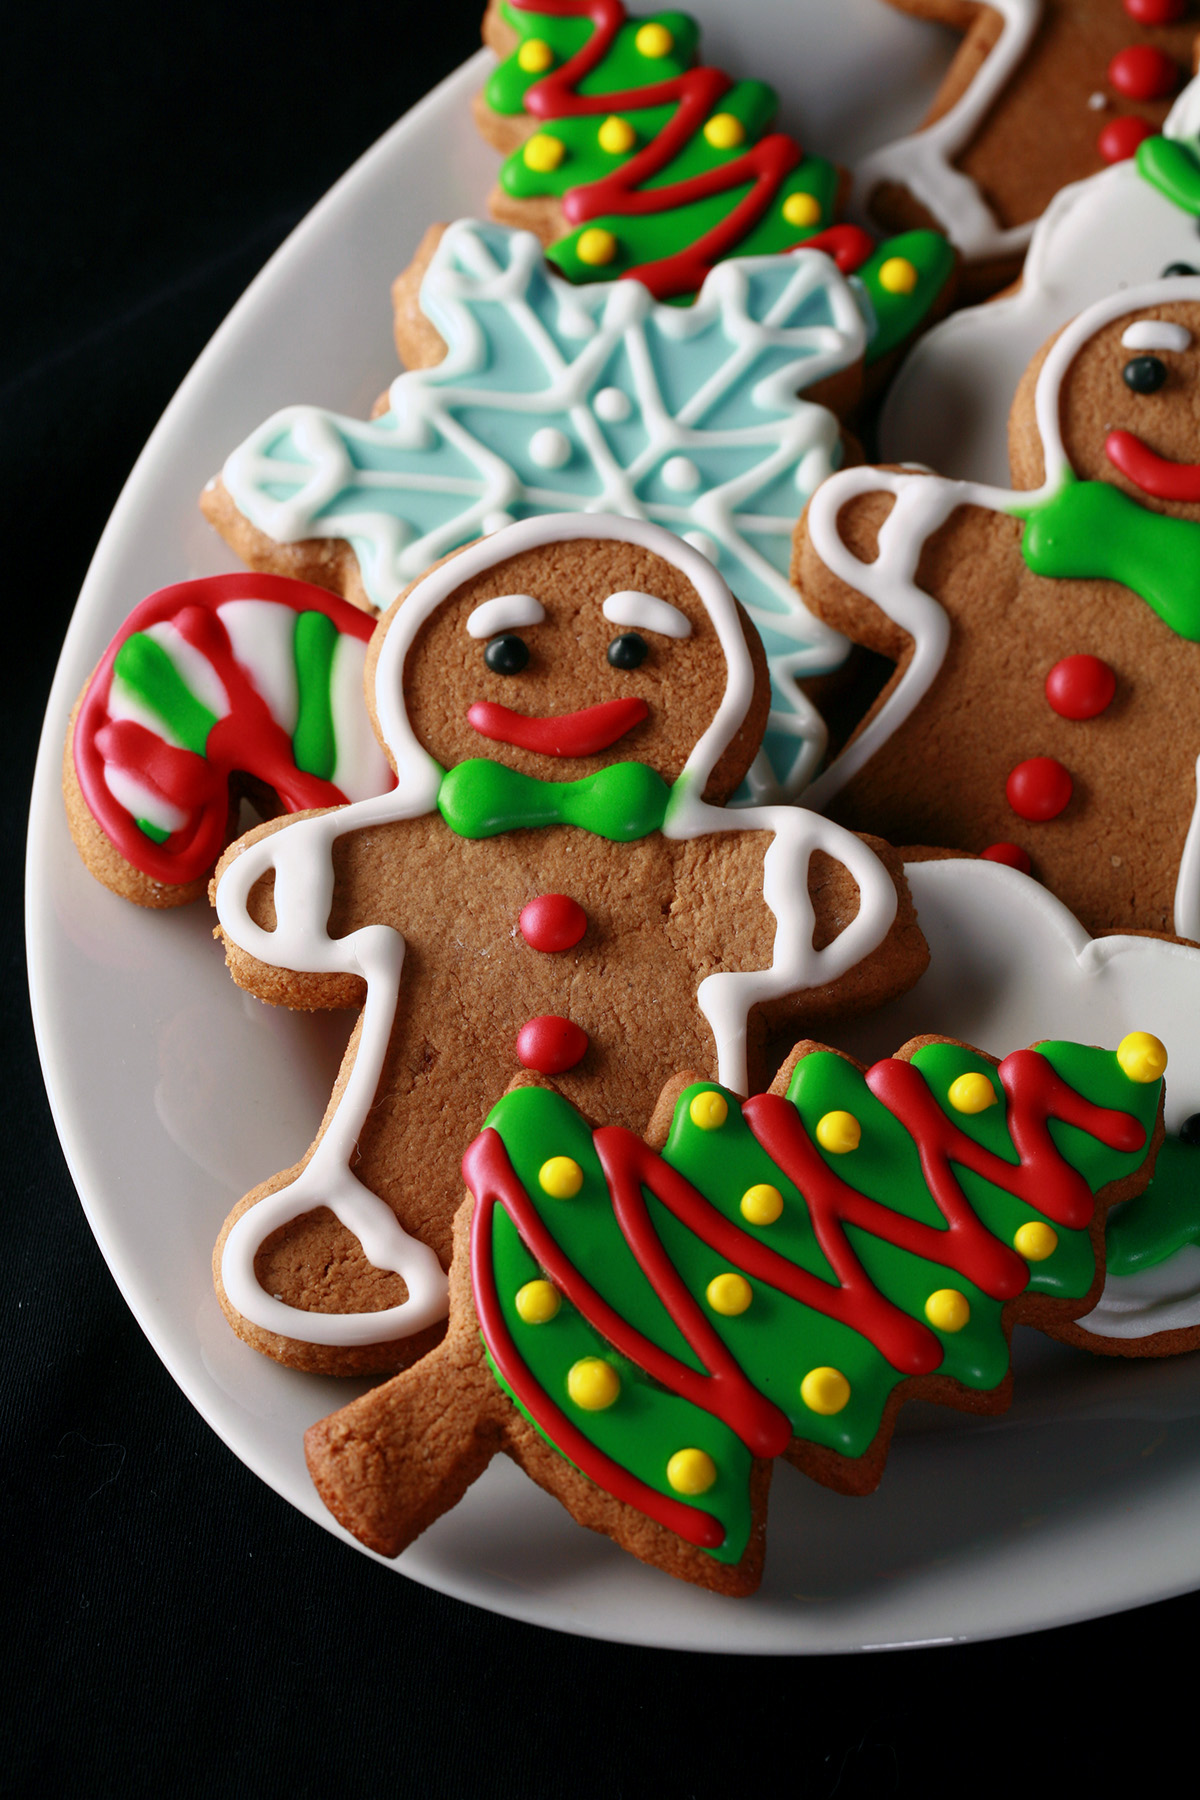
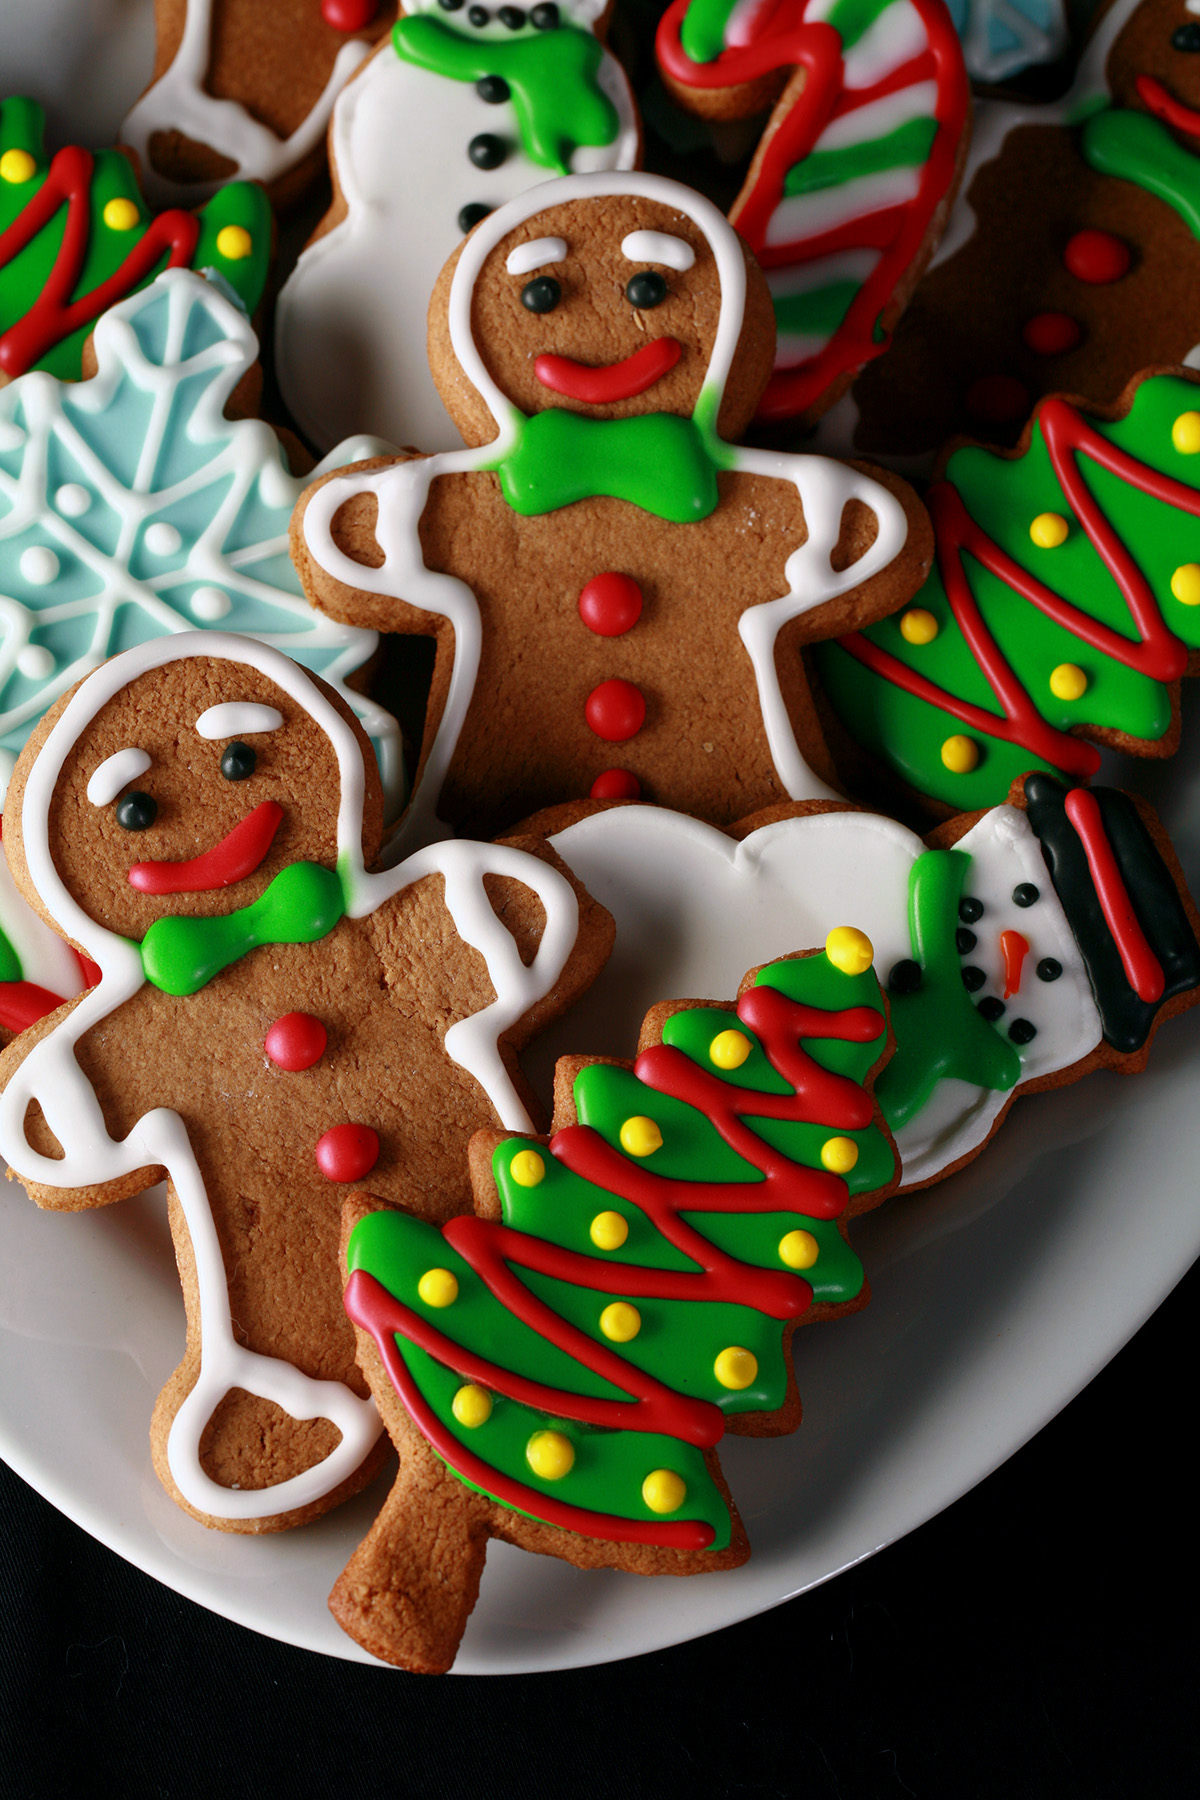
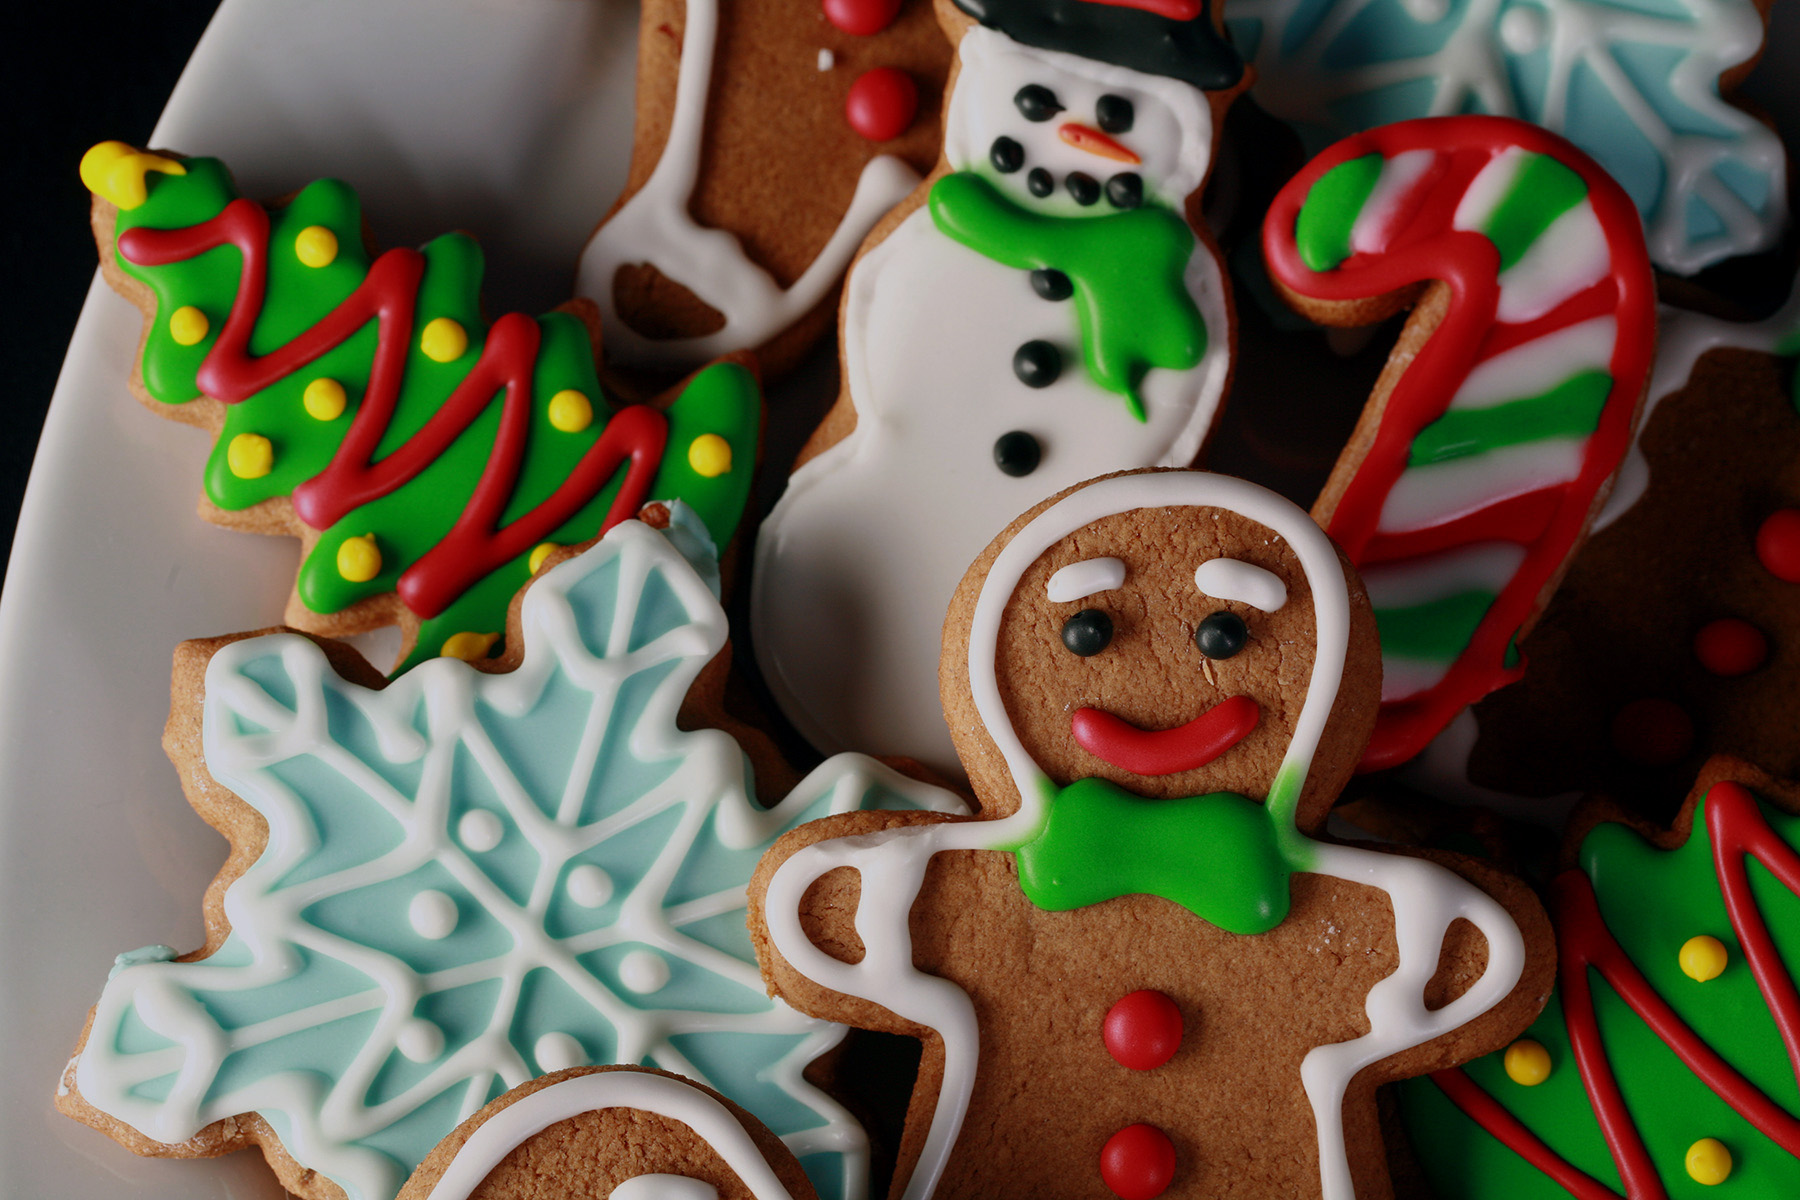
Decorated gingerbread cookies are always a favorite Christmas cookie when it comes to gift boxes of holiday cookies, dessert spreads at holiday parties, or just a plate left for Santa!
Very few people can resist the smell of gingerbread cookies baking in the oven.
I’m not one to let food allergies get in the way of deliciousness at all, but especially when it comes to this time of year!
So, time to share my wonderful recipe for gluten-free gingerbread men!
This is the perfect recipe to feel included in the festivities, and to be able to include others in the holiday fun!
It’s an easy recipe to make the delicious gluten free cookies, and they’re so much fun to decorate. (See my post on Decorated Sugar Cookies for more info on decorating cookies!)
The flours and proportions I chose for this recipe creates a gingerbread cookie that is as good - or better! - than normal flour cookies.
The taste and texture is so convincing, that no one will grumble at "having" to eat gluten-free cookies!
This gingerbread cookie recipe is low-to-no spread, meaning it’s great to use with cookie cutters.
It’s also customizable, both in terms of texture, and finished presentation... More on that in a bit!
Sugar Free Cookies
Need a gluten free gingerbread cookie recipe that's also low carb?
Now I have a fantastic Keto Gingerbread Cookies recipe, over on my keto blog!
There's even a Sugar Free Royal Icing recipe to go with it.
Ingredients
The ingredients list may look long, but they’re all simple ingredients that are easily found at most larger grocery stores - if you don’t already have them in your pantry!
A few notes for you:
Gluten-Free Flour Blend
As with all of my gluten-free baking, I designed this recipe with specific gluten free flours - and proportions of them - to ensure the BEST result.
This way of designing the recipes not only ensures the best gluten free cookies on both my end and yours, my gluten free cookies are generally tastier than their full-gluten counterparts.
The taste and texture of these cookies are fabulous, no one ever realizes that they’re gluten free.
Anyway, I’ve never found all purpose flour blends to actually be all purpose, and - as they differ wildly in composition - they’re not great for consistency from brand to brand.
Brown Rice Flour
Sorghum Flour
Coconut Flour
Tapioca Starch / Tapioca Flour
Corn Starch (Plus extra for rolling)
Xanthan Gum
Spices
I use a fairly basic spice combo:
Ground Ginger
Ground Cinnamon
Ground Cloves
If you’d like to use a premixed gingerbread spice mix, I recommend using 1 ½ - 2 Tablespoons of it.
Royal Icing
Whether you’re thinking gluten free gingerbread men cookies, Christmas trees, snowflakes, or whatever else... if you’re going to decorate these, I recommend using royal icing.
I’ve got more details and recipes for them further down in this post.
Everything Else
Rounding out this recipe, you will need:
Dark brown sugar
Unsalted butter
Molasses
Large eggs
Pure Vanilla Extract
Baking powder
Baking soda
Salt
— I just don’t have anything else to say about these ingredients!
Note: This recipe makes about 30 3 ½" cookies. The actual output will depend on how thick you roll them, and the size/shape of your cookies.

Helpful Tips
Before I get to the recipe and decorating info, a few tips and tricks for you:
Soft OR Crispy Gluten Free Gingerbread Cookies!
Rolled out to ¼" or slightly thicker, this recipe makes for thick, soft gingerbread cookies
If you prefer your gingerbread to be crispy, roll them out slightly thinner than ¼".
Baking time will also matter - for softer cookies, keep an eye on them and don’t overbake.
For cookies that are more crisp, you’ll want them baked a little longer.
Decorating Gluten-Free Gingerbread Cookies
While these cookies are fantastic on their own, a bit of frosting really elevates them, and makes them look even more festive!
Here are a few things to know:
Baking Techniques
If you’re going to be decorating the cookies, there are a few things that you can do when actually making the cookies, that will give you the best surface to work with.

Use a Rolling Pin with Thickness Guides
While I generally use an old-school wooden rolling pin and just freehand it, when I’m decorating cookies I like to use a rolling pin with thickness guides on it - it’s the best way to get a perfectly even roll.
This is the rolling pin, I use and I LOVE it.
It even comes with a silicone work mat, which is great not only for keeping work surfaces clean, but also for measuring out whatever it is that you’re rolling.
Thoroughly Chill The Dough
In addition to the initial hour chill time, I like to chill the cutout cookies for another 20 minutes or so, before baking.
Working with the dough to cut it out - the kneading, rolling, general handling - can warm it up a bit.
Chilling the cut-out pieces gives the cookie the best chance to bake up a bit before the butter melts.
As pictured in this entry, though, I didn’t bother doing the second chill. As you can see, you still get nice shapes without it - they’d just have sharper edges with more chill.

Press the Cookies After Baking
When the cookies come out of the oven, I like to place a piece of fresh parchment paper on top of the cookies, then put a cookie sheet down on top of it.
I LIGHTLY press down to just flatten out any distortions that may have occurred during baking - it really makes for a perfectly flat cookie.
Note: You CAN decorate cookies that aren’t perfectly flat, but due to the nature of this style of decoration, they’re likely to run off the edges.

This is a simple way to get perfectly flat decorating surfaces!
How to Make Gluten-Free Gingerbread Cookies
The full recipe is in the recipe card at the end of this post, here is a pictorial walk through.
In a large bowl - the bowl of a stand mixer fixed with a paddle attachment, or just a large mixing bowl if you’re using a handheld mixer - cream butter and sugar on high speed, until light and fluffy.
Be sure to scrape down the sides of the bowl with a rubber spatula a few times as you go, to make sure it’s all creamed.
Add eggs, molasses, and vanilla, mix at low speed until everything is fully incorporated and smooth.
Slowly add this dry ingredients mix to the mixer bowl of wet ingredients, and carefully mix until well incorporated and smooth.
I’ll usually use a low medium speed for this.
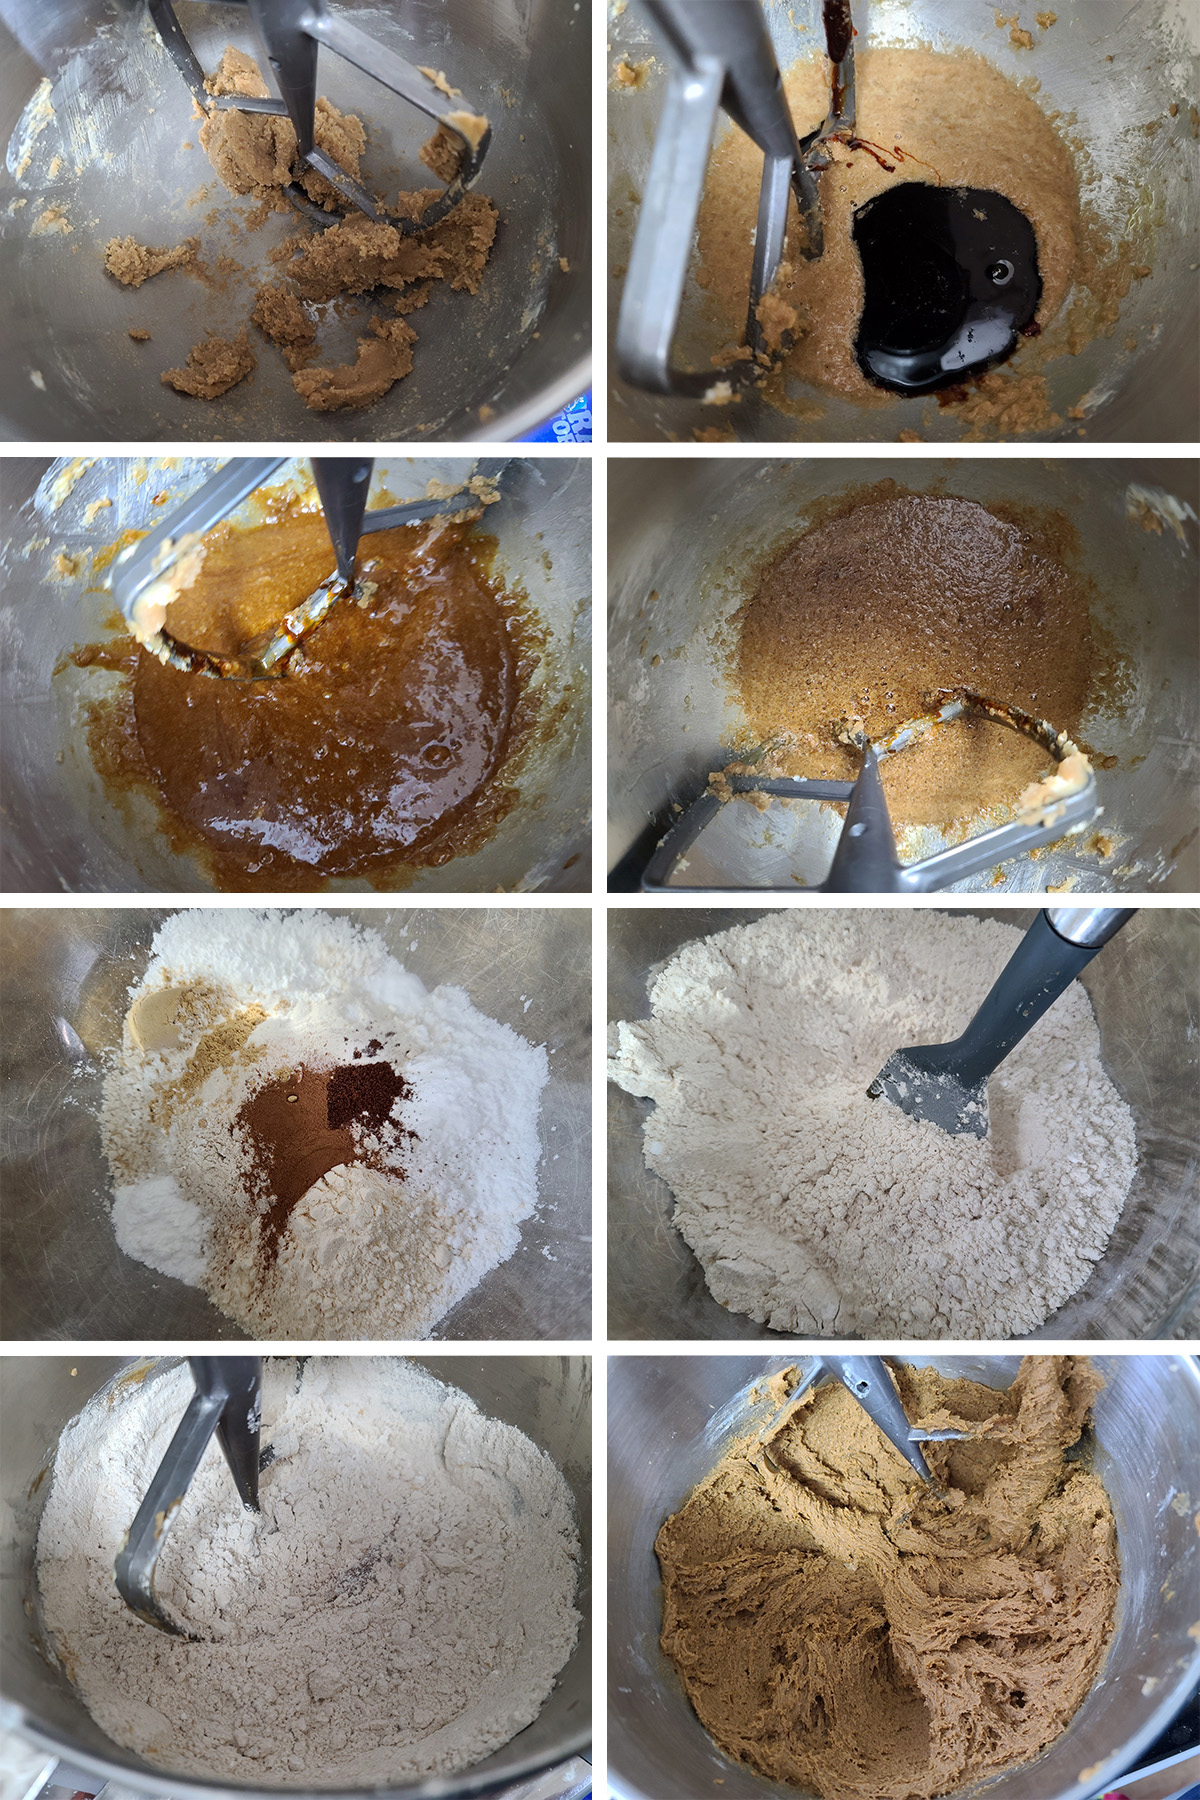
The cookie dough will be very sticky - this is what you want!

Note: This is an important step. For best results, don’t skip or shorten the chilling time!
Preheat the oven to 375 F (190 C), line baking sheets with parchment paper.
Generously sprinkle clean work surface with corn starch, roll dough to ¼" thick (can be slightly thicker).

Gently place cookies 2" apart on a prepared baking sheet.

After each round of cutting out shapes, gently knead the scraps of dough back together and roll out again.

Bake 7-10 minutes. The freshly baked cookies will look puffy, but flatten out a little as they cool. Don't overbake if you want them soft!

This is great when you're doing flood decorating.
Allow cookies to cool completely - to room temperature - before decorating with royal icing.
You can use a wire rack / cooling rack if you like, I usually don’t bother.

Decorating Gluten-Free Gingerbread Cookies
These are great on their own, but look even more festive with the addition of piped royal icing accents. Here’s what you need to know:
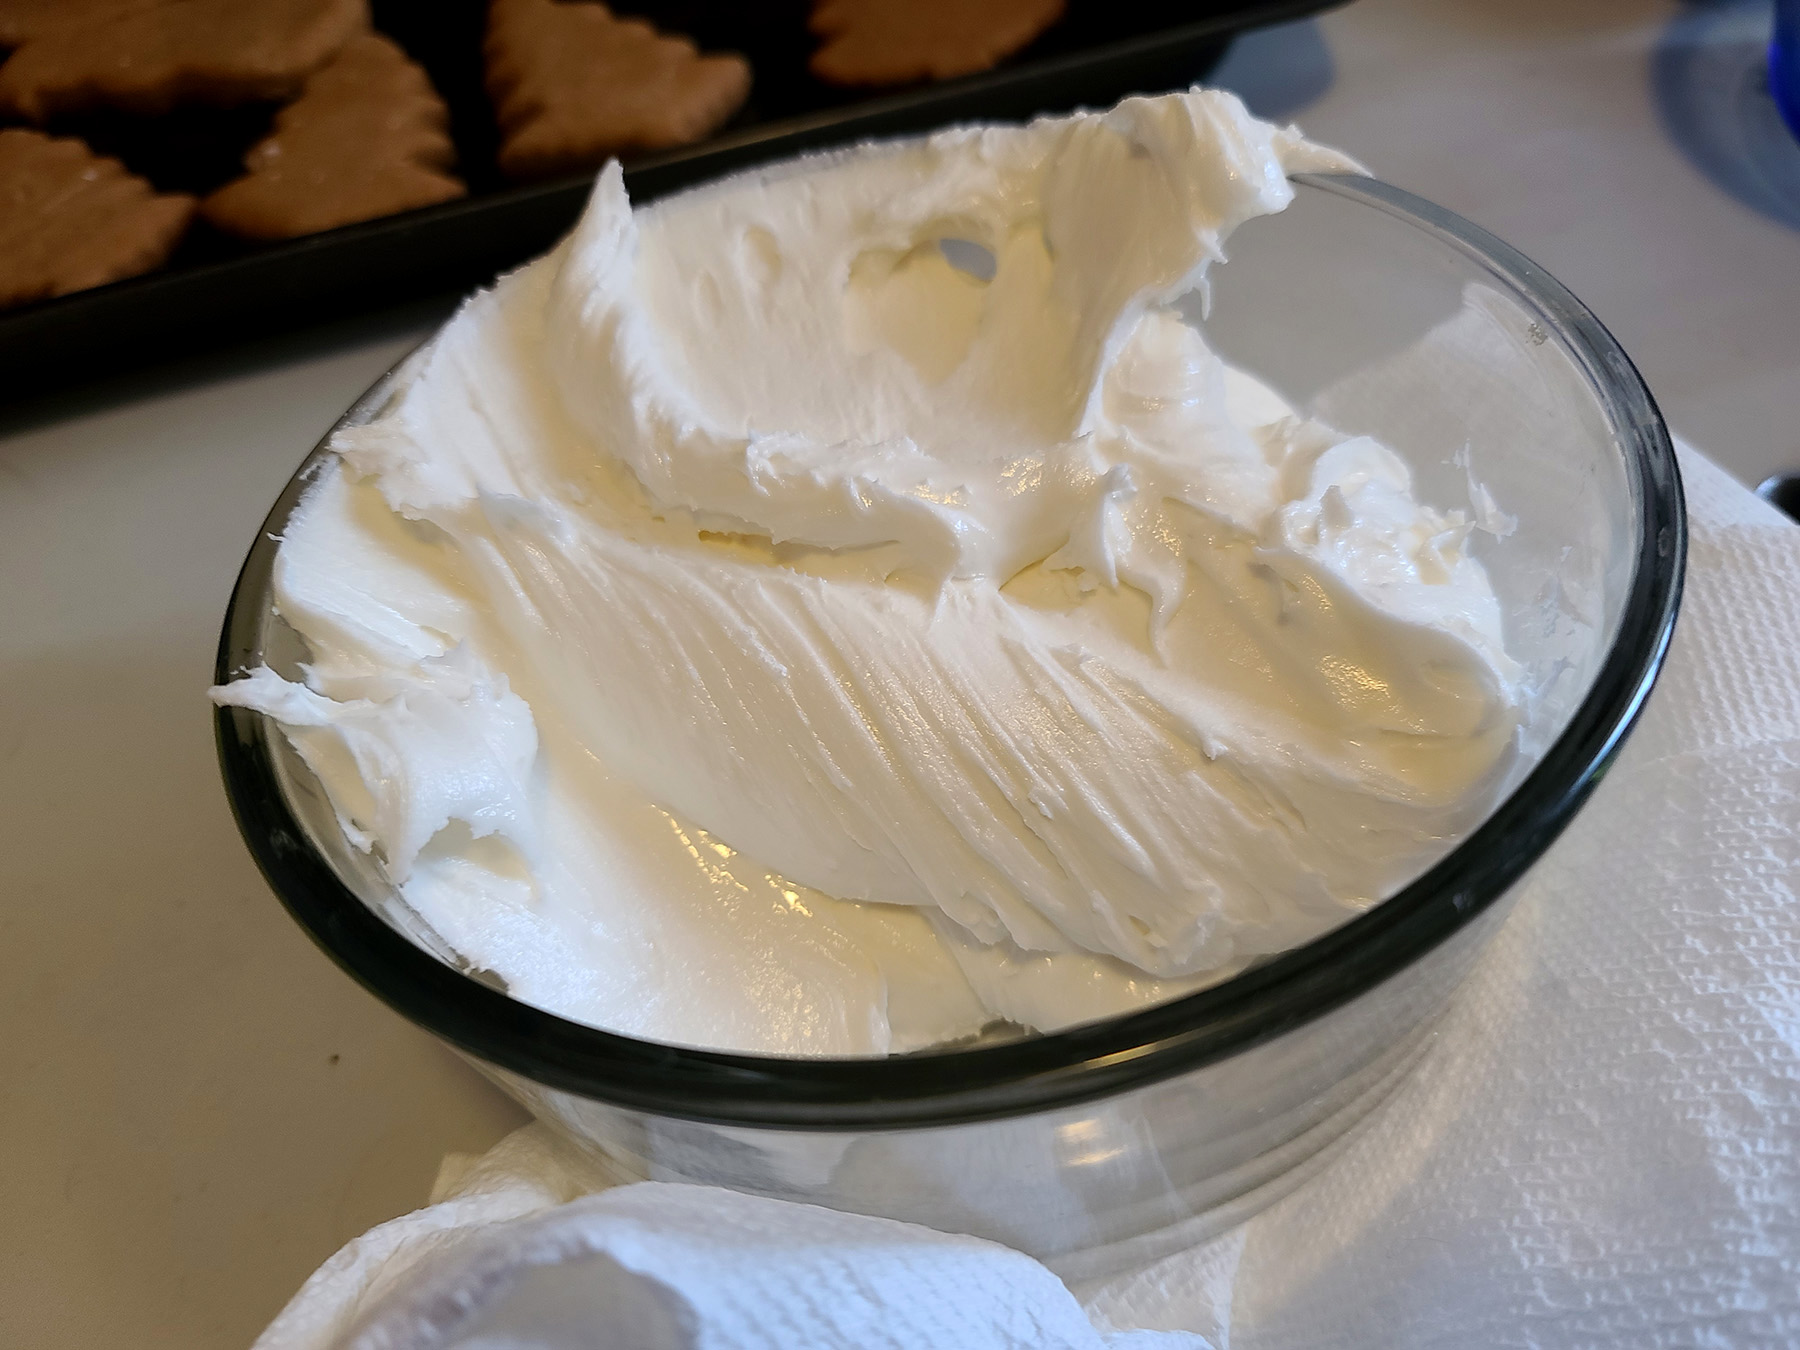
The Icing
Royal icing is the traditional way to frost gingerbread cookies. It’s a thick, egg-based frosting that pipes easily and dries hard.
There are two main types of royal icing, it’s up to you which you want to use:
Traditional Royal Icing
Traditional Royal Icing is made from raw egg white. It’s generally regarded as safe, but may not be the best option for pregnant people, immunocompromised people, etc.
Traditional royal icing dries harder than Meringue Powder Royal Icing, and is cheaper to make.
For full details, see my post on Traditional Royal Icing.
4 Large egg whites
1 tablespoon Lemon juice
4-6 cups Icing (powdered) sugar
In clean stand mixer, whip egg whites until foamy. Add lemon juice, whip for another minute.
Slowly add powdered sugar until cookie icing reaches desired consistency.
Note: This recipe makes plenty of frosting for this batch of cookies, if you’re mostly piping them.
If you’re doing a lot of flood decorating, you’ll want to make 1.5 or 2x as much frosting.
Meringue Powder Royal Icing
Meringue Powder Royal Icing is also egg-based, but uses meringue powder instead of raw egg. This makes it a safer option for people who need to worry about such things.
Meringue Powder Royal icing dries a little softer than Traditional Royal Icing does, which makes it nicer to eat.. But meringue powder makes this frosting quite a bit more expensive than Traditional Royal Icing.
For full details, see my post on Meringue Powder Royal Icing.
4 Cups Icing Sugar
¼ cup Meringue Powder
⅓ cup lukewarm water
Combine icing sugar and meringue powder in the bowl of a stand mixer - ideal - or large mixing bowl (to beat with an electric hand mixer)
Add water, mix on low speed until combined.
Turn speed up to high, beat for a couple minutes until thick, smooth, and glossy.
Check the frosting for consistency, adjust as needed for your intended usage.
Note: This recipe makes plenty of frosting for this batch of cookies, if you’re mostly piping them.
If you’re doing a lot of flood decorating, you’ll want to make 1.5 or 2x as much frosting.
Storing Royal Icing
Whichever recipe you’re using, you can make the frosting earlier in the day.
If you're not using it immediately, transfer the frosting to an airtight container as soon as you’re done beating it.
Cover surface with plastic wrap, and secure lid tightly.
Re-whip before use.
Important: Cover the frosting tightly with plastic wrap when not in use.
Have the wrap sitting right on the surface with NO air pockets, vent holes, etc - The frosting dries out FAST.<./div>
Royal Icing Consistency
Note: Whichever recipe you choose, you’ll have to pay attention to the viscosity AFTER adding the food colouring. (More on food colouring in a bit!)
To start off, you will want a fairly thick frosting – but still smooth and workable – for piping details and borders.
I aim for slightly too thick when actually making the frosting, so I can adjust it as I go when decorating.
It’s easier to add water - a little at a time - than to re-thicken a frosting that’s too thin!
A good way to figure out if your frosting is the right consistency is to pull a spoon through the middle of the frosting bowl.
If the frosting settles out in less than 5 seconds, it’s too runny. Add a little more powdered sugar.
If the frosting settles out in 5-10 seconds, you’re good to go!
If the frosting takes longer than 10 seconds to settle, it’s too thick. Add a little water or lemon juice and try again.

Colouring Your Royal Icing
The colours I used were all gel colour, which I prefer over paste or liquid (Wilton is a paste, grocery store colour is liquid).
If you are finding that your red is not red, and your black is just grey or blueish/purpleish, I definitely recommend going for non-Wilton gel colour!
Americolor gel paste colourings are what I used when I was still living in the USA.
Americolor can be hard to come by in Canada, so now that I'm back home, I use ChefMaster, which is the option more readily available here!
Either way, the gel colors are widely available at cake decorating supply stores, as well as online... but any food colouring will work!
Just be sure to adjust your frosting colour BEFORE adding any water to adjust for consistency!
Decorating with Frosting
I have a full post on Decorated Sugar Cookies that is *packed* with all kinds of information and tips on decorting.
As an overview, though:
There are two main techniques for decorating gingerbread cookies:
Piping
With this technique, you fit a pastry bag with a coupler and tip of your choice*, fill the bag with royal icing, and pipe your designs out on the cookies.
Tips come in different styles, so you can pipe round “string” style, make stars, leaves, etc.
* Note: If you’re looking for super basic piping, you can skip the coupler and tip, just filling the bag directly. Snip the tip of the pastry bag off to the size you want to pipe.
9 times out of 10 - including for the photos in this post - I skip the coupler and just pipe from the bag. I’m way too lazy to mess around with tips!
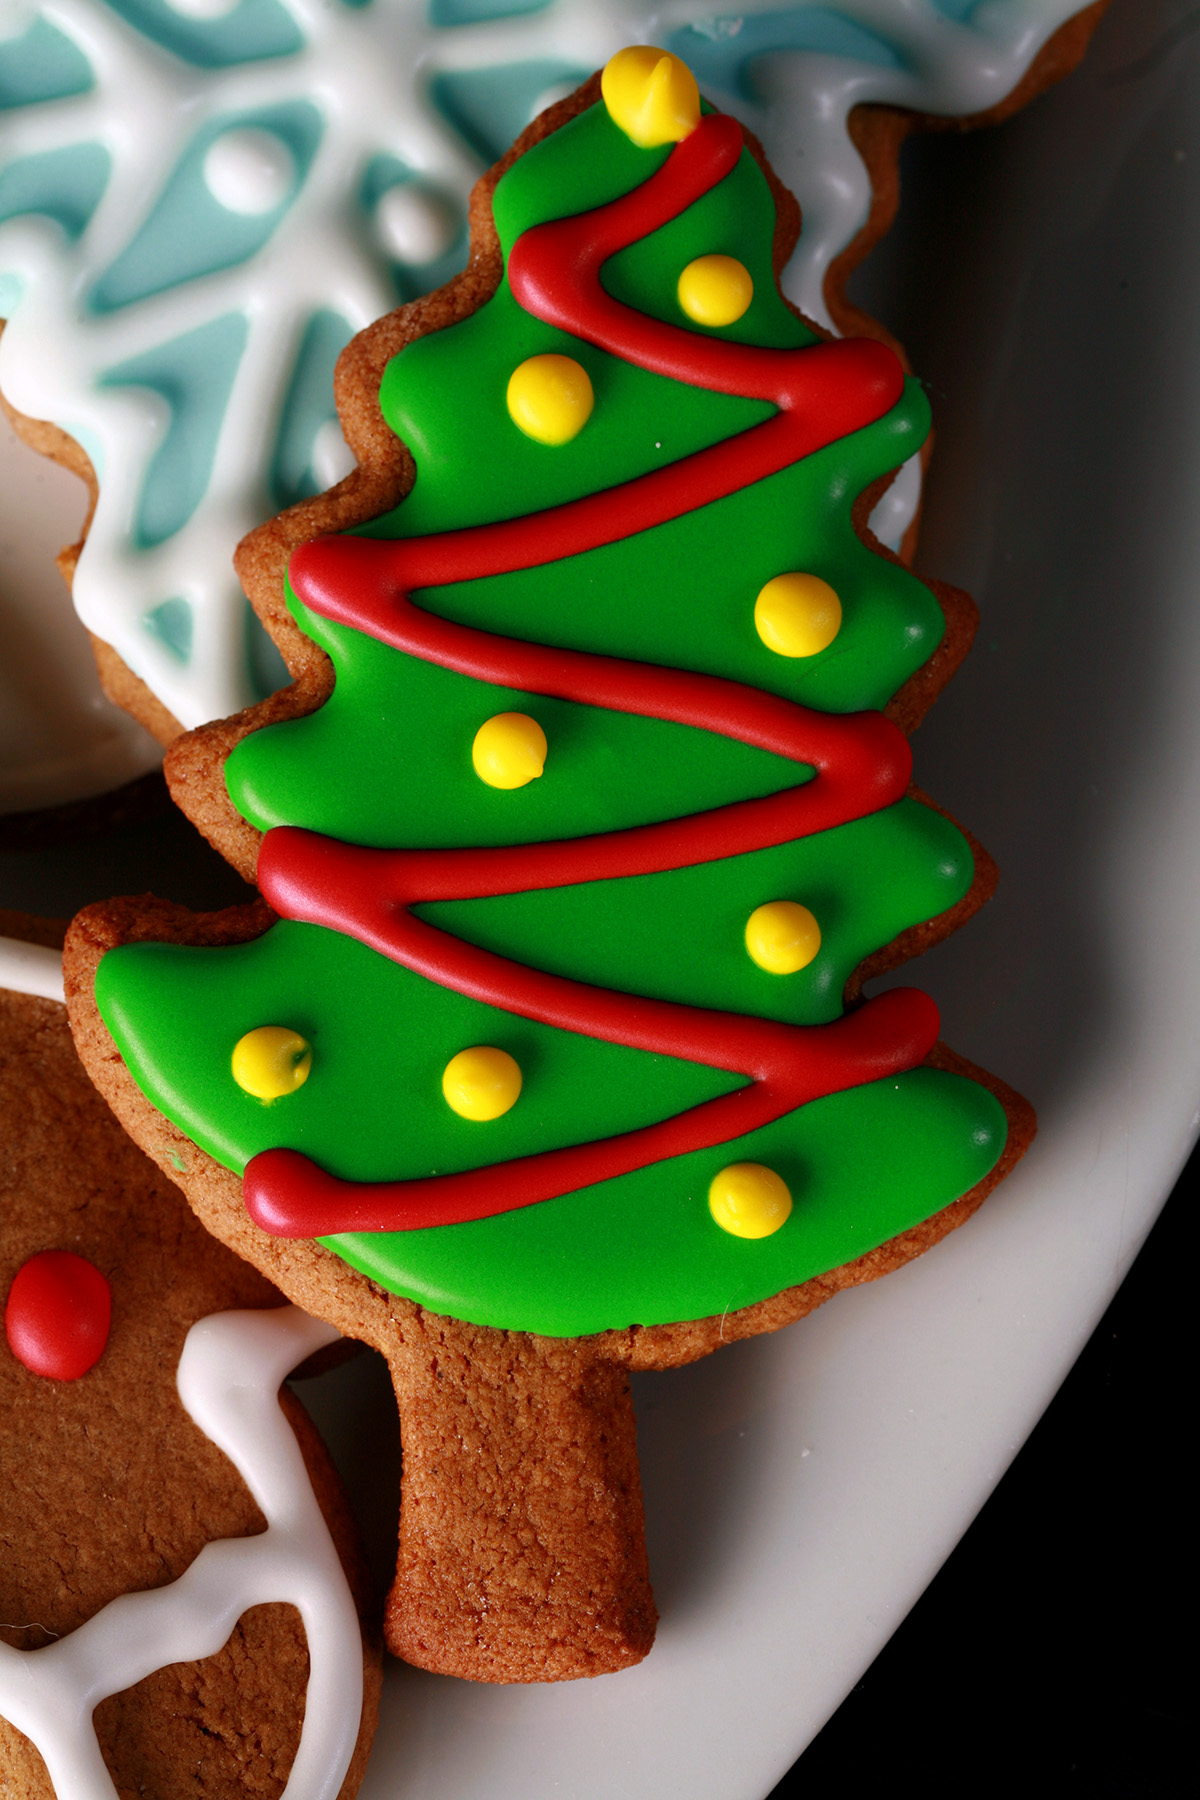
Flooding
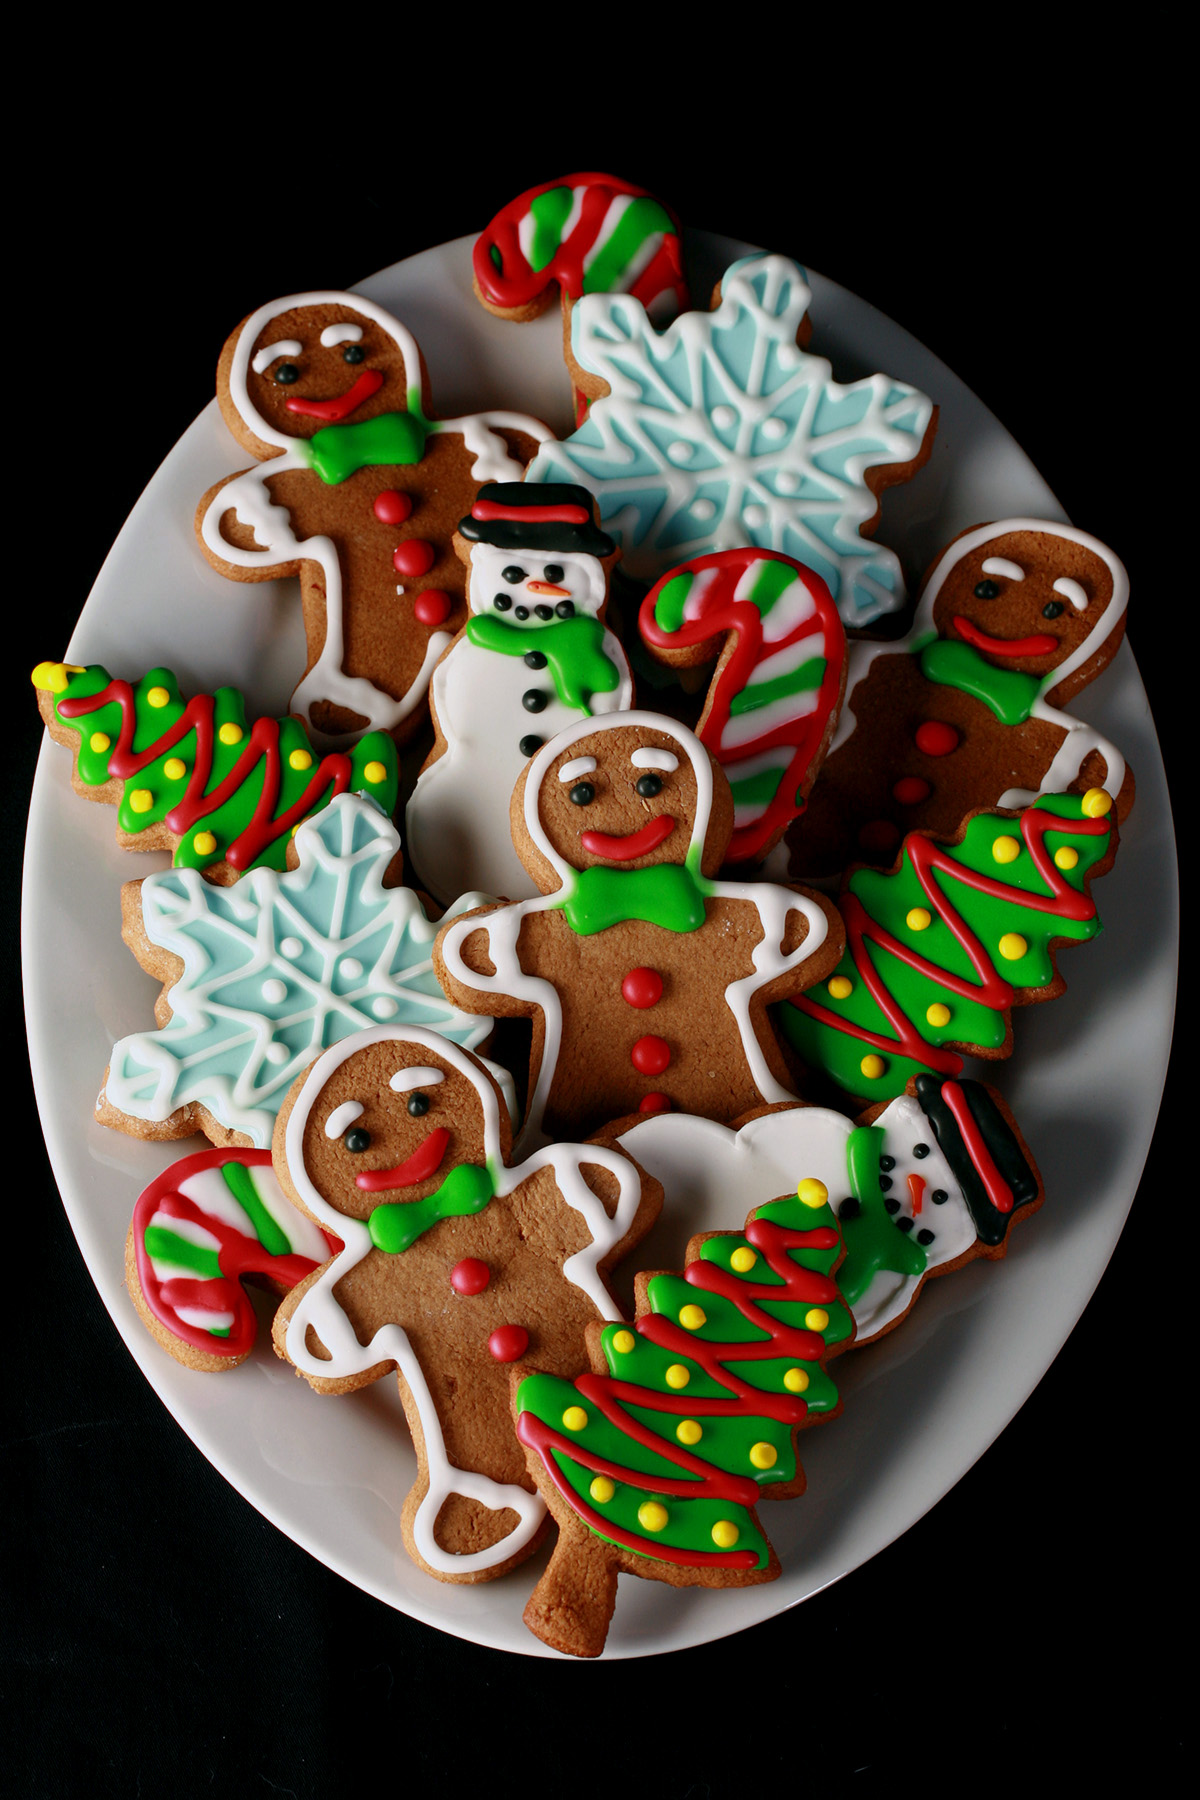
“Flooding” is when liquid frosting is piped in such a way as to cover an area of cookie with a solid colour. Most of the cookies in this post - everything except the gingerbread men - were flooded before being piped on.
To flood your cookies:
Carefully pipe your outer border, inside the outer edge of your first cookie.
I like to leave a bit of an unfrosted border along the outside of the cookie top, to help prevent it from spilling over the sides.
Once the outer edge is piped, quickly - but carefully - fill in the center of the cookie with frosting.
You don’t have to pipe all of the frosting in, think of it more as “flooding” - you can use the frosting bag to sort of encourage frosting to spread, pushing it around as you’d adding more.
Carefully set the cookie aside to fully dry - at least an hour - before piping more decoration on top.
Note: Frosting will be fragile for several hours, I recommend letting them dry at least overnight before handling, stacking, or packaging the finished cookies!
Decorating with Candy
For more colour, use the frosting as "glue" to secure various candies to your gingerbread people!
Skittles, Smarties (The Canadian kind!), M&Ms, Sprinkles, etc are all great options to easily bring more colour to your gluten-free gingerbread cookies.
Kid-friendly, too!
Gluten-Free Sugar Cookies
In the mood to expand your holiday tray with even more decorated cookies?
Be sure to try my Gluten-Free Sugar Cookies as well!
More Gluten-Free Holiday Recipes!
Looking for something festive - for the whole family? Here are some great options!
Cranberry Chicken
Cranberry Jello Salad
Gluten-Free Candy Cane Cookies
Gluten Free Fruitcake
Gluten-Free Gingerbread Scones
Gluten-Free Fruitcake Cookies
Gluten Free Maple Pumpkin Pie
Gluten-Free Pumpkin Spice Mini Doughnuts
Gluten Free Paska [Easter Bread]
Gluten-Free Sauerkraut Buns [Pyrizhky]
Gluten Free Stuffing Recipe
Pumpkin Cheese Ball - Classier Version
Pumpkin Cheese Ball - Trashier Version
Roasted Carrots & Parsnips
Slow Cooker Pork Tenderloin with Fruit Sauce
Sweet Potato Souffle

Share the Love!
Before you chow down, be sure to take some pics of your handiwork! If you post it to Bluesky, be sure to tag us - @CelebrationGen. We're also on Pinterest, so you can save all your favourite recipes to a board!
Also, be sure to subscribe to my free email newsletter, so you never miss out on any of my nonsense.
Finally, if you love this recipe, please consider leaving a star rating and a comment!


Gluten-Free Gingerbread Cookies
Equipment
- Parchment Paper
- Holiday cookie cutters
Ingredients
- ½ cup Butter softened
- ¾ cup Dark brown sugar packed
- 2 Large eggs
- ½ cup Molasses
- 1 tablespoon Vanilla extract
- 1 ¼ cup Brown rice flour
- 1 ¼ cup Sorghum flour
- ⅓ cup Coconut flour
- ¼ cup Tapioca starch
- ¼ cup Corn starch
- 2 teaspoon Xanthan gum
- 1 ½ teaspoon Baking powder
- ¾ teaspoon Baking soda
- ½ teaspoon Salt
- 1 tablespoon Ground ginger
- 2 teaspoon Cinnamon
- ¼ teaspoon Ground cloves
- Corn starch for rolling
- Royal icing for decorating
Instructions
- In stand mixer, cream butter and sugar until fluffy.
- Add eggs, molasses, and vanilla, mix on low speed until everything is fully incorporated and smooth.
- In a large bowl, mix together remaining ingredients.
- Slowly add this dry mix to the mixer bowl,and carefully mix until well incorporated and smooth.
- Chill dough for 1 hour.
- Preheat the oven to 375 F (190 C), line baking sheets with parchment paper.
- Generously sprinkle clean work surface with corn starch, roll dough to ¼" thick (can be slightly thicker).
- Use cookie cutters to cut out whatever shapes you’d like, place cookies 2" apart on prepared baking sheets.
- Bake 7-10 minutes. Cookies will look puffy, but flatten out a little as they cool. Don't over bake if you want them soft!
- Allow cookies to cool completely before decorating with royal icing.
Nutrition
More Gluten-Free Cookies!
Looking for even more fantastic gluten-free cookies that *everyone* will love? Look no further!
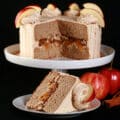
Gluten-Free Apple Pie Cookies
Gluten Free Carrot Cake Cookies
Gluten-Free Chewy Banana Oatmeal Cookies
Gluten Free Chewy Chocolate Cookies
Gluten-Free Chocolate Chip Cookies
Gluten Free Do-Si-Dos
Gluten-Free Fig Newtons
Gluten Free Graham Crackers
Gluten-Free Imperial Cookies
Gluten Free Oatmeal Butterscotch Cardamom Cookies
Gluten-Free Pecan Pie Cookies
Gluten Free Red Velvet Cookies
Gluten-Free Sugar Cookies for Decorating
Gluten Free Unicorn Poop Cookies


Have made these gingerbread cookies several times and shared them with others. It is simple and absolutely delicious.
This recipe is amazing! After many disappointing gluten free cutout cookie attempts in the past, these turned out so delicious. My mom, who has been gluten free for years, was so thrilled and kept saying they taste the same as the real thing! I cut the recipe in half for a first trial, used coconut sugar instead of brown sugar, and since she can't eat eggs, I substituted a chia egg. And the results were still amazing! Thank you so much, this is definitely going to be added to our recipe book for future use!