

AIP Bread Stuffing

This AIP Bread Stuffing is not only AIP and Paleo, it's a proper bread based stuffing that tastes great and has a great texture!
Note: This recipe was first posted on my original blog, Celebration Generation, on October 14, 2020. It was transferred over to this blog - existing comments and all - on 3/4/2021
This past weekend marked my first holiday dinner while on the AIP - autoimmune protocol - diet.
I’ve been Paleo before, I’ve done a (relatively!) Low carb Thanksgiving before, but AIP was a unique set of constraints for me.
For those who aren’t familiar, the AIP diet eliminates most allergenic/inflammatory foods for a period of time, then slowly reintroduces them to see what you may have a problem with. At first, it eliminates grains, dairy, nuts, seeds, nightshades, processed sugar, and... probably some other things, too.
I started seeming to develop a nightshade issue and some other weirdness this year, so here we are.
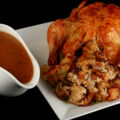
Planning Thanksgiving was ... an adventure. I wanted a proper, full Thanksgiving - turkey, stuffing, gravy, cranberry sauce, and pie.
Well, the seasonings for everything had to change, as many were now out - pepper, nutmeg, etc. I’d have to figure out a grain-free gravy and pie crust, and the cranberry sauce and pie had to be made without granulated sugar.
The stuffing had to be grain-free, but I wanted a BREAD stuffing - none of the “apples and sausage” stuff. It’s fine enough for a chicken, but that Paleo stuffing just never felt “Thanksgiving” to me, you know?
I wanted the taste and texture of proper bread stuffing. Chestnuts may be out, but I wasn’t willing to compromise on the bread thing. So, I had to design something from the ground up!
AIP Bread for the Stuffing
I’m not aware of any AIP bread - at least not locally - and I get the feeling that I’d be too offended at the cost of any such thing to be able to buy it at all, much less shred it up and make stuffing from it.
SO, I decided to make a type of bread product to use as a base.
I was going to start with a biscuit-type base, not wanting to mess around with yeast, rise times, etc. Basically, I wanted to basically be able to throw it in a pan, toss that in the oven, and easily have a bread-type product to use for my AIP Bread Stuffing.
I didn’t want to spend all day fussing around with a finicky loaf. It didn’t have to look pretty, it just had to do its job.
So, over the course of planning it out, the idea evolved to more of a cake batter or quick bread type setup. I didn’t even want to cut the lard in, biscuit-style, so I melted it.
It took only about 2 minutes to make the batter and get it in the oven. Super easy!

I was SHOCKED when it came out of the oven. I was expecting something passable, maybe kind of crumbly, and definitely “It’s going to be mixed in with other stuff and soaked with broth, so whatever”.
... it actually had a really nice texture and flavour, and could definitely be eaten on its own. I’m going to have to play with it, because I have IDEAS.
After a quick cool down, I was able to chop/rip it up and use it as a bread in my stuffing, no problem.

Before I get to the actual stuffing recipe, a couple more things to address:
AIP Poultry Seasoning
As I was looking to make an AIP bread stuffing that was closer to my grandmother’s stuffing, than something like my normal, full gluten Savoury Mushroom Chestnut Stuffing, I would need Poultry Seasoning.
Unfortunately - as is the case with many seasoning mixes on the market - poultry seasoning isn’t AIP compliant. (Black Pepper and nutmeg). So, I’ve come up with a homemade, AIP compliant poultry seasoning:

1 tablespoon Dried Sage
2 teaspoon Dried Thyme
1 ½ teaspoon Dried Marjoram
1 teaspoon Dried Rosemary
¼ teaspoon Ground Cloves
Measure the ingredients into a spice grinder, blitz until it’s a nice, even powder.
Store in an airtight canister until use.
Variation
The above recipe makes a poultry seasoning that is pretty close to the common retail poultry seasoning blend.
I also make a version that’s tweaked to include summer savoury, as it’s one of my very favourite herbs, For that version, I make the base recipe above, and add an extra teaspoon of Sage, and 1 tablespoon dried summer savoury.
Yum!
Note: If you don’t need to be AIP, or have reintroduced pepper and nutmeg, feel free to use a purchased poultry seasoning in this recipe.
AIP Turkey Gravy
This marked my first time making a grain-free gravy. I make excellent Gluten-Free gravy, but going completely grain-free was a bit of a different beast!
This gravy acts a bit differently than other gravies, but comes together into a proper gravy... just don’t worry if it looks weird along the way!
½ cup Lard
½ cup Cassava Flour
3 cups Turkey drippings and/or stock
AIP Poultry Seasoning
Salt
Melt the lard in a small/medium pot. Add cassava flour, stir with a whisk until well incorporated. It will be mostly liquid at this point.
Carefully add turkey drippings/stock to the pot, a little at a time. It will seize up into a clumpy, gelatinous mess at first - just keep adding a bit more stock and whisking until it’s smooth.
Once all of the stock has been added and you have a smooth gravy, press it through a wire mesh sieve, scraping the gravy back and forth so the gravy itself passes through, leaving any gelatinous blobs that didn’t get incorporated. Discard the blobs.
Season the gravy with poultry seasoning and salt, to taste.

AIP Stuffing: The Verdict
I’ll admit, I’m an absolute stuffing snob - let that knowledge frame my commentary below, LOL.
This is not a bad stuffing at all! As we served it on Thanksgiving, I told my husband (who’s not AIP, gluten-free, or anything) that I’d put it on par with a packaged stuffing mix, like Stovetop.
He disagreed and said it was WAY better than Stovetop.
As he went back for seconds of it, he mentioned that maybe he should make some normal stuffing for himself, or he’s going to plow through my special AIP stuffing. Fair enough.
This stuffing reheats really well, I was enjoying it for several days! While “This is really decent stuffing” isn’t exactly the highest praise I’ve labeled a recipe with, I think it’s a glowing review considering the limitations with AIP.
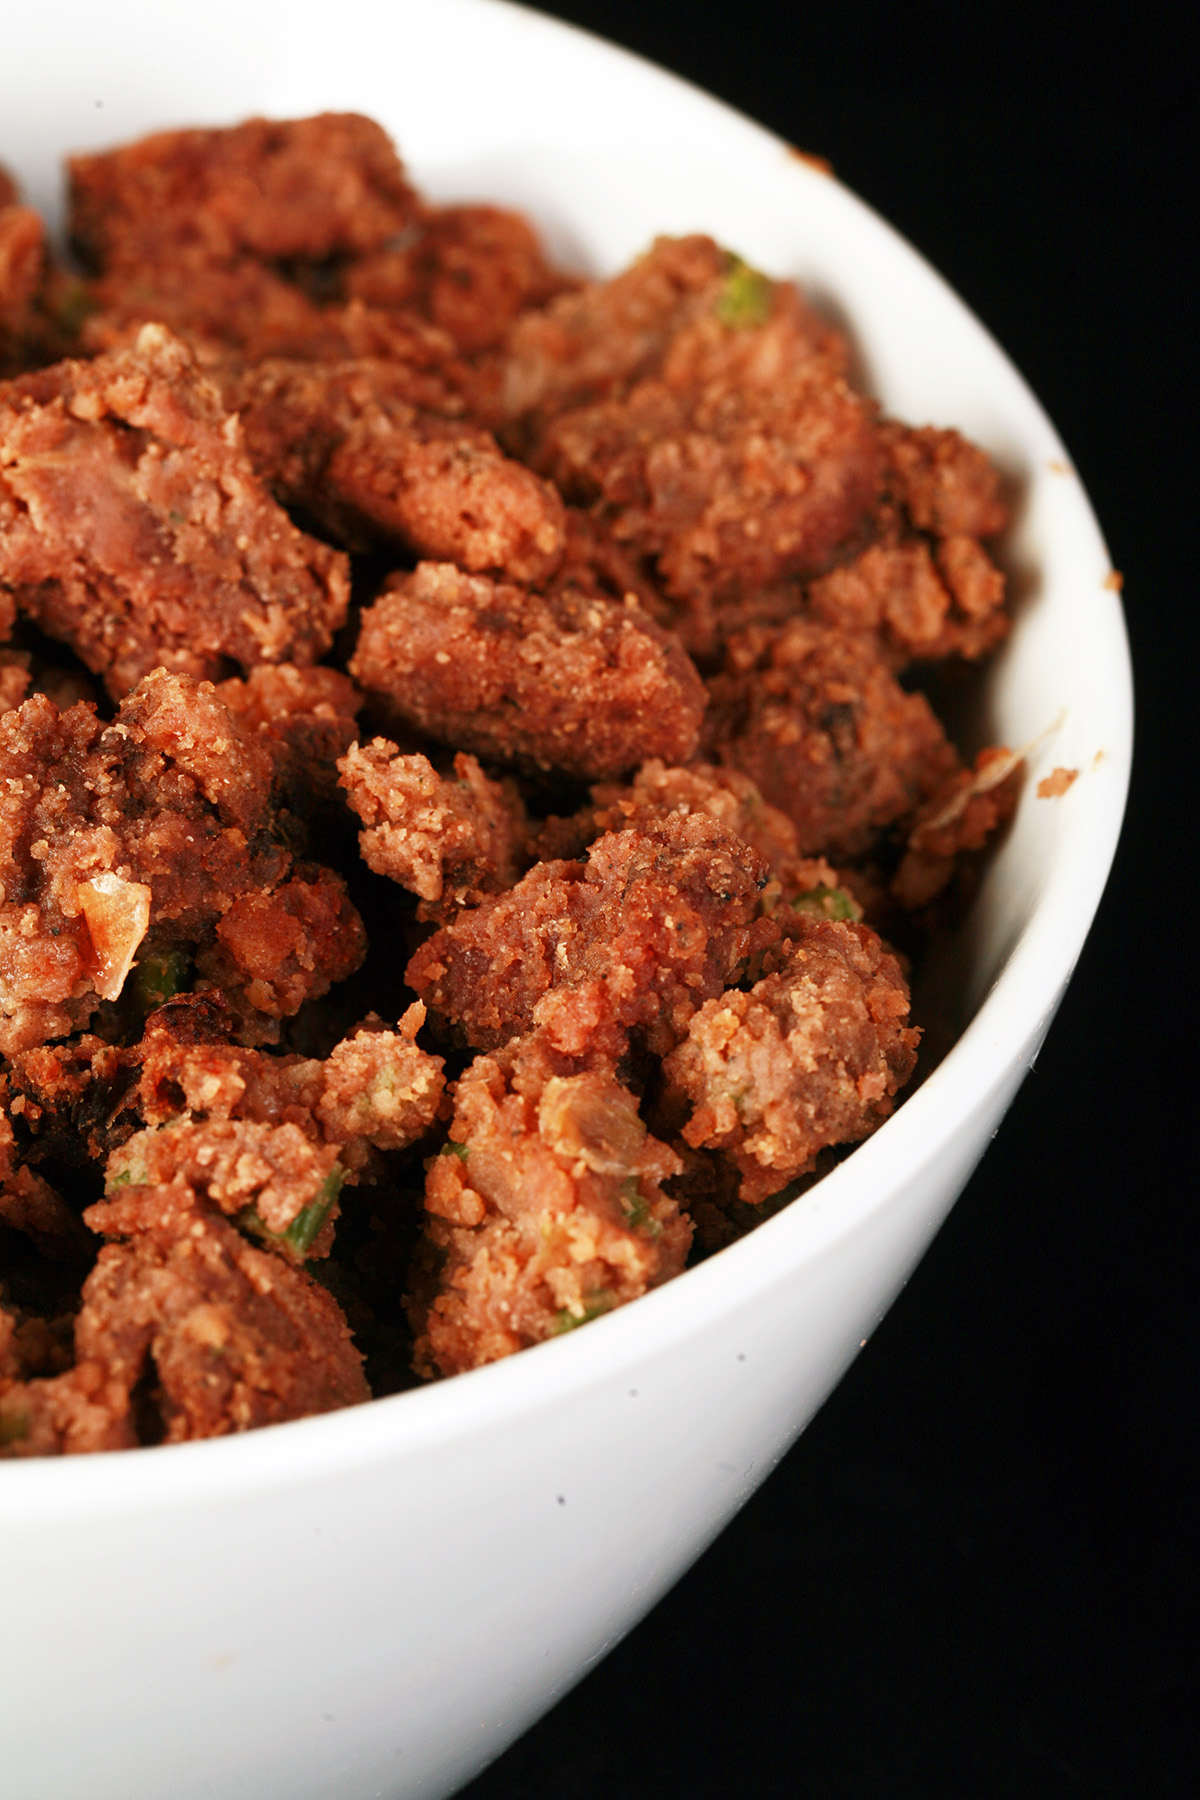
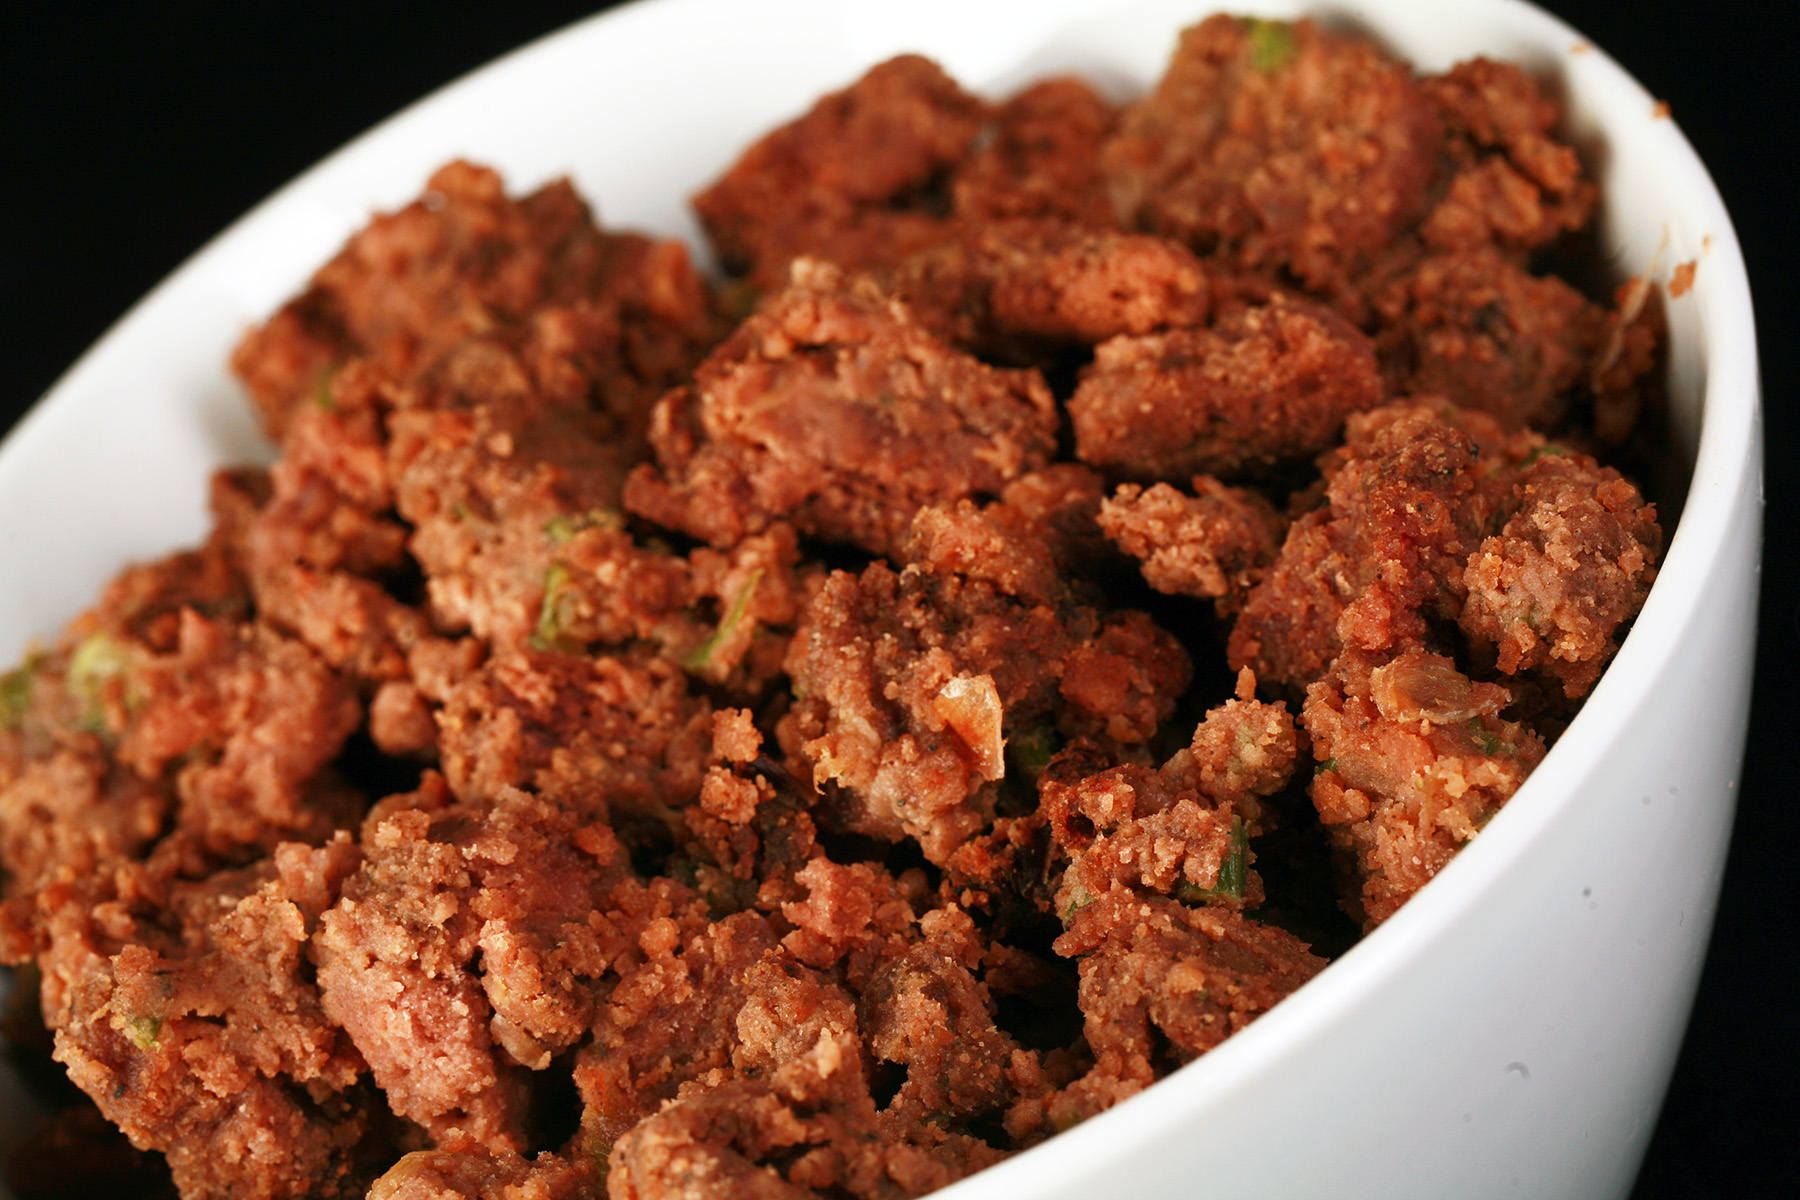
When it comes down to it, it was an obviously bread-based stuffing with an appropriate texture (no gumminess, not crumbly, etc), it tasted like Thanksgiving, and I didn’t feel like I was eating a stuffing *substitute*
... it’s just not really on par with my full gluten, full of yummy chestnuts normal stuffing, you know?
Totally suitable as a stuffing, though. It was nice to have a full, proper Thanksgiving dinner!

More Paleo Recipes
Looking for more recipes that are not only gluten-free, but grain free - or AIP friendly? Here are a few more options!
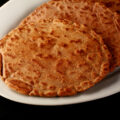
AIP / Paleo Flatbread
AIP / Paleo Ranch Dressing
Calamansi Paleo Panna Cotta
Mango Salsa for Fish Tacos
Paleo Cassava Flour Tortillas
Paleo Chicken Pad Thai
Paleo Chicken Shawarma
Paleo Fish Tacos
Paleo Sweet Potato Gnocchi [AIP]
Quick Beet Pickles [AIP & Paleo]
Share the Love!
Before you chow down, be sure to take some pics of your handiwork! If you post it to Bluesky, be sure to tag us - @CelebrationGen. We're also on Pinterest, so you can save all your favourite recipes to a board!
Also, be sure to subscribe to my free email newsletter, so you never miss out on any of my nonsense.
Well, the published nonsense, anyway!

Now, on to that AIP Bread Stuffing recipe!

AIP Bread Stuffing
Equipment
Ingredients
Bread:
- 3 cups Cassava Flour
- ⅓ cup Tapioca Starch/Flour
- 1 tablespoon Unflavoured Gelatin Powder
- 2 teaspoon Baking Soda
- 1 ½ teaspoon Salt
- ½ cup Lard
- 1 tablespoon Apple Cider Vinegar
- 2 cups Water or Chicken broth
Stuffing:
- 5 Celery Ribs
- 1 Large Onion
- Olive oil
- 1+ cup Chicken broth
- 1 ½+ Tbso AIP Poultry Seasoning Recipe in post
- Salt
Instructions
Bread:
- Preheat oven to 350, grease an 8 x 8" glass baking pan with lard or olive oil.
- In a medium or large bowl, mix together the cassava flour, tapioca, gelatin, baking soda, and salt.
- Melt the lard, add to the bowl along with apple cider vinegar and broth.
- Stir just until dough comes together. Don’t over stir or beat it.

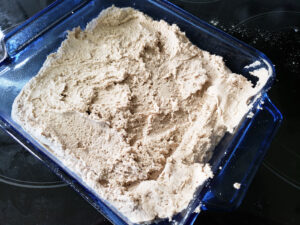
- Spread dough / batter into prepared baking pan.
- Bake for 35 minutes, turn the oven off and leave it in for another 10-15 minutes, until cooked through.
- Remove from oven and allow to cool to room temp.

Stuffing:
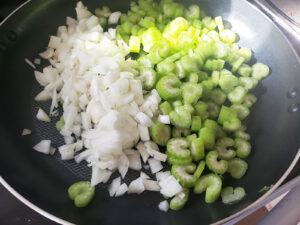
- Once you’re ready to proceed, chop your celery and onion into small pieces, add to a large pan with a bit of olive oil.
- Saute veggies until starting to soften. Add broth, continue to heat through.
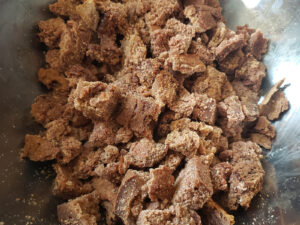
- As veggies are cooking, cut or tear your bread into small, bite sized pieces. Add to the pan, gently stir to coat the bread in veggies and broth.
- Season with poultry seasoning and salt, to taste.
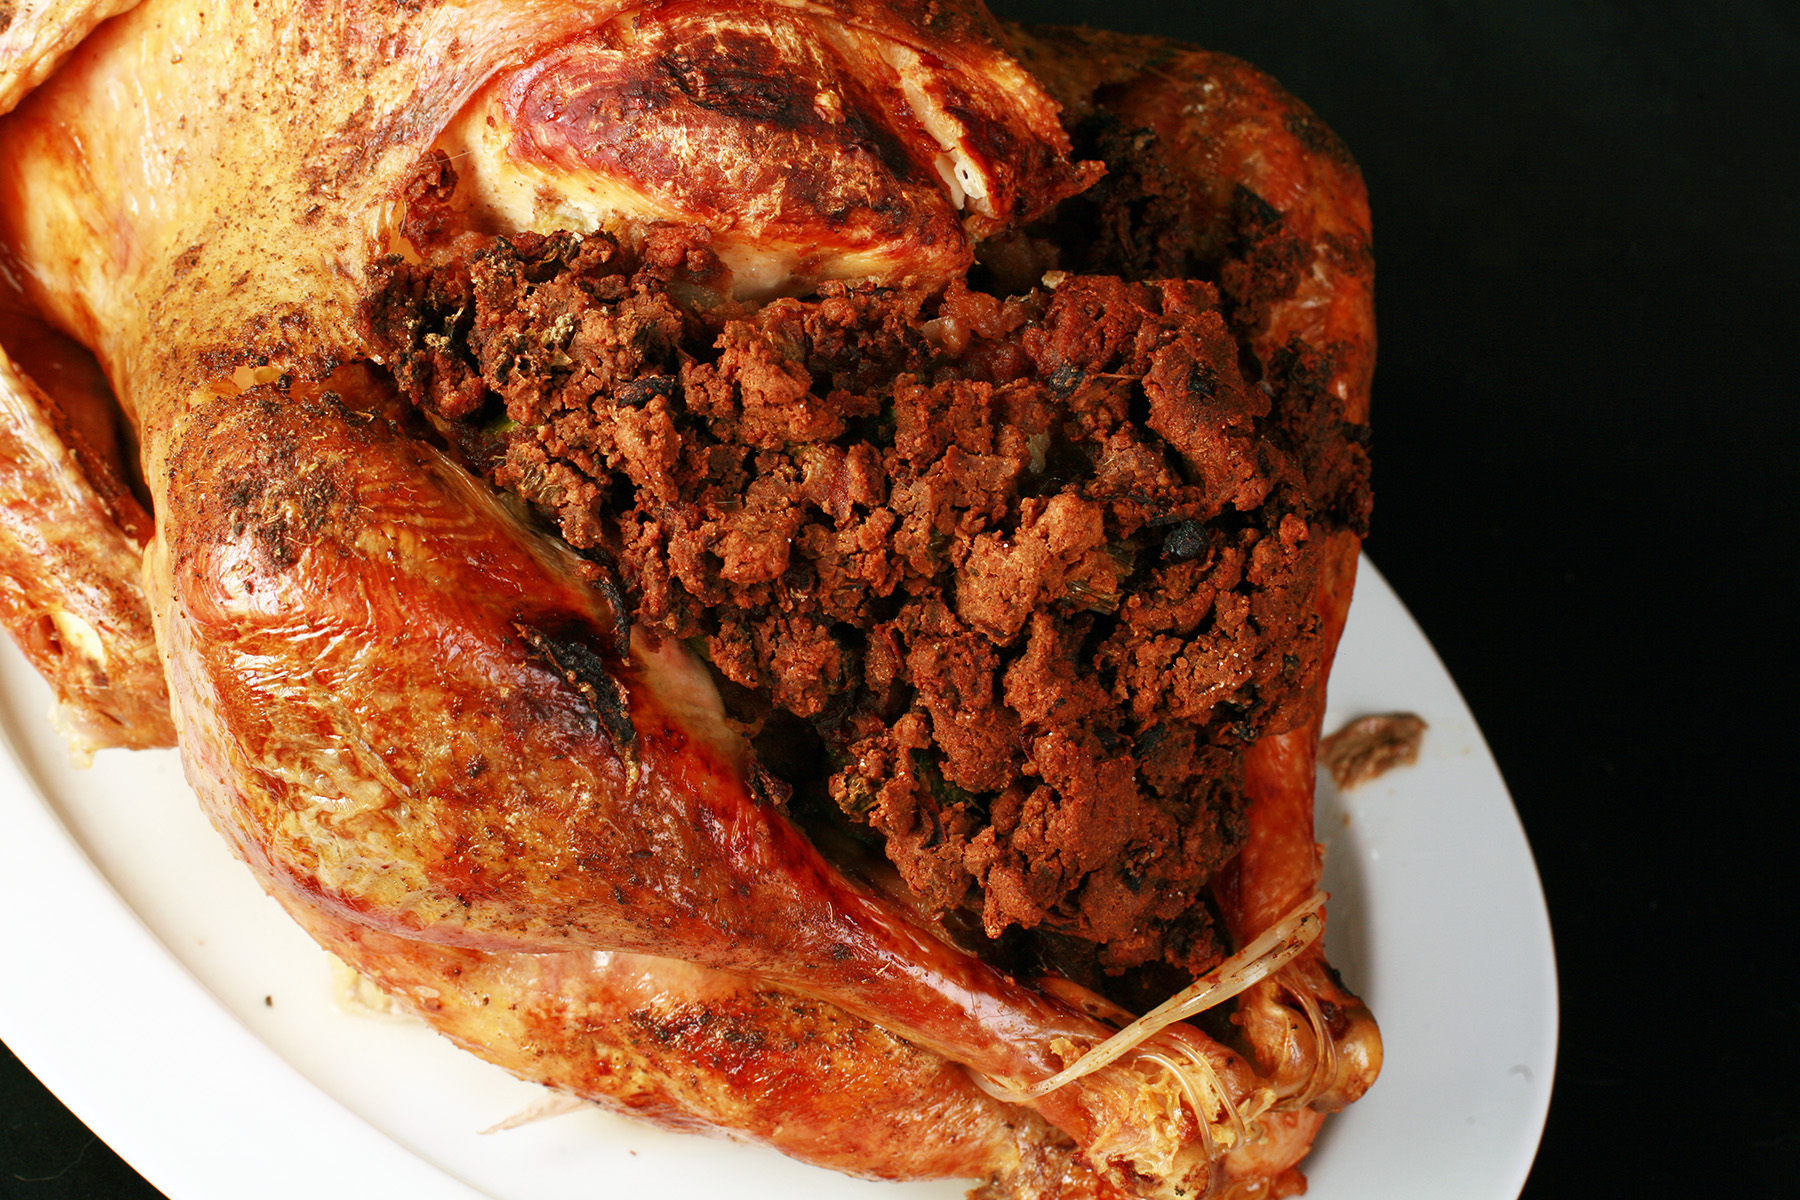
- Test for moisture - 1 cup should be good if you’re stuffing it into a turkey, but you may want a bit more if you’re cooking it separately.
- Stuff into a turkey and roast as usual, or scoop into a baking dish and bake at 350 for 20 minutes or so, until browned and crispy on top.


Leave a Reply