

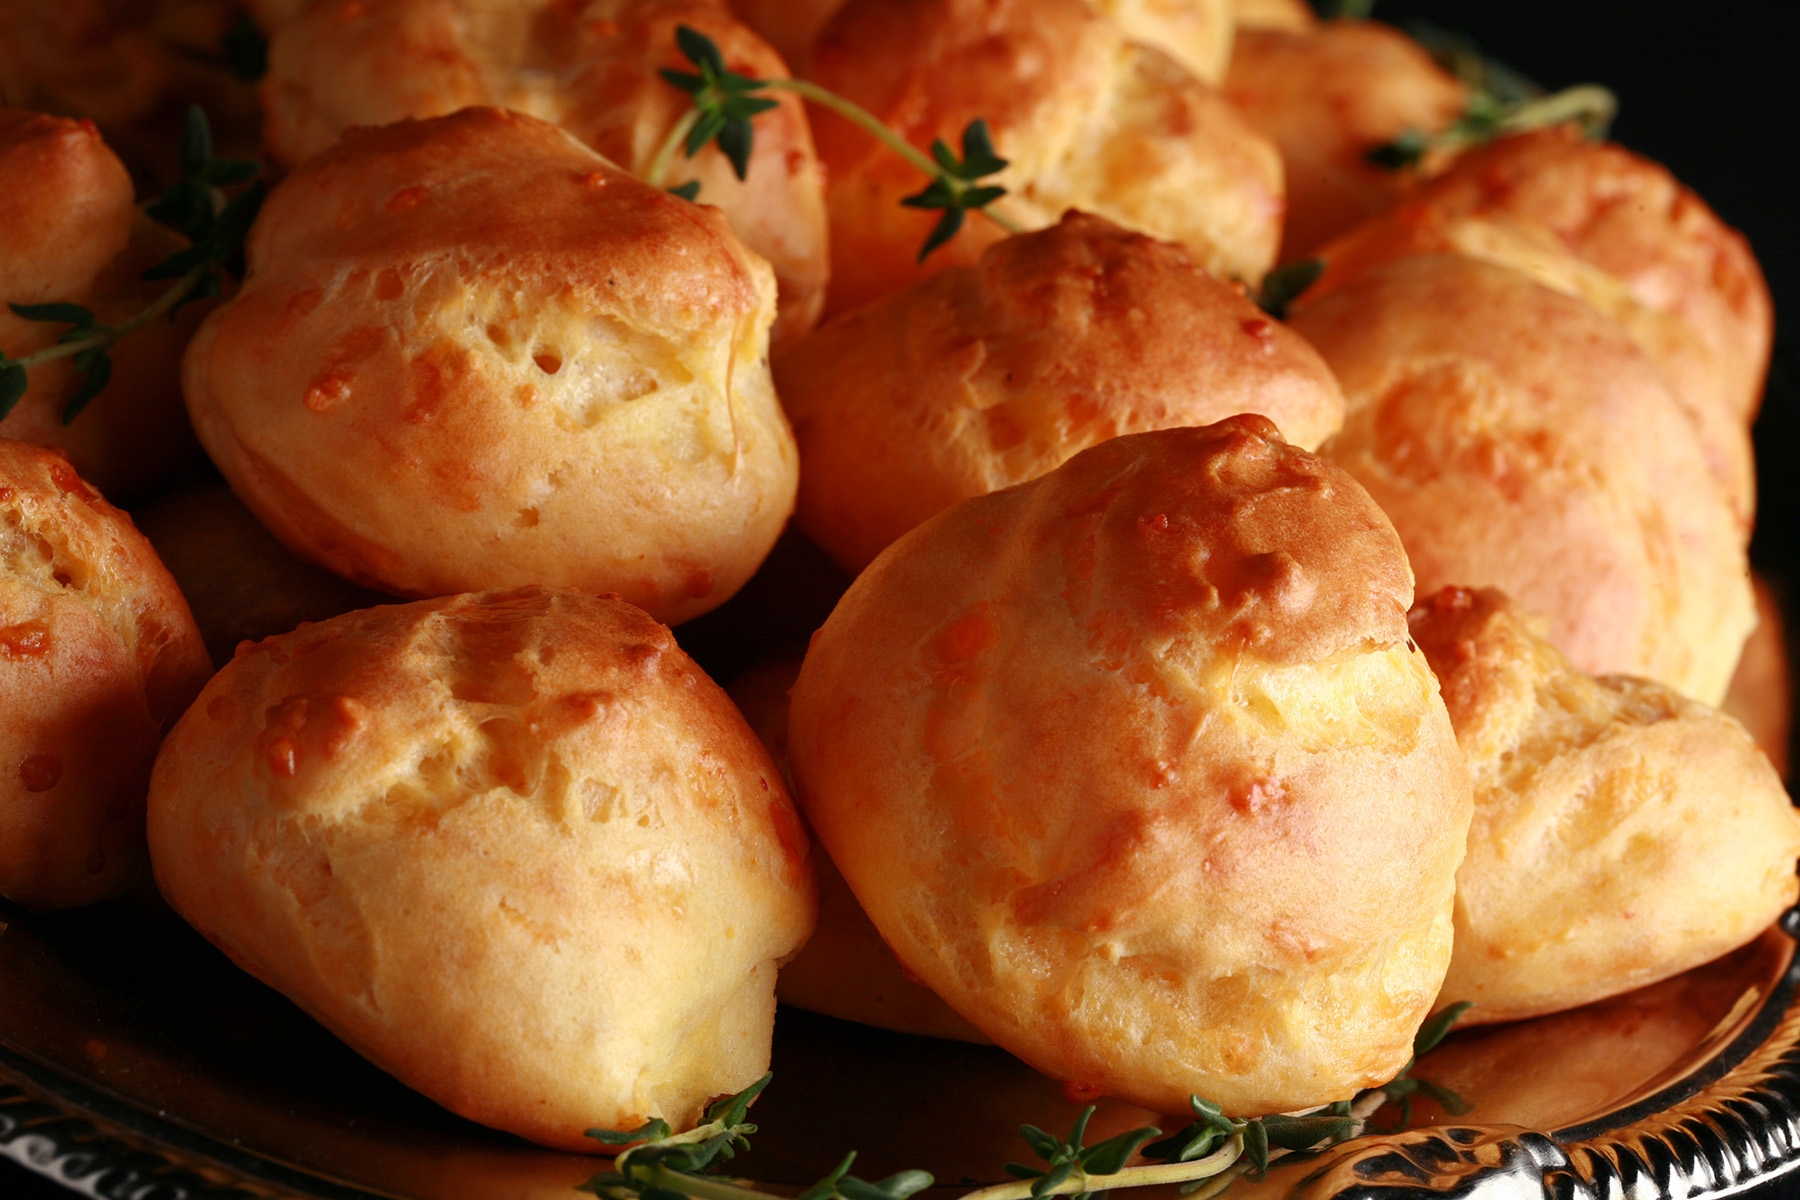
These Gluten-Free Gougères are a very tasty - and accurate! - gluten free version of a classic French pastry. Serve warm or cold.

Gougères are one of my favourite recipes to come out of my Beyond Flour recipe development... I don't know why I haven't blogged the recipe before now!
These are easier to make than you may think, and absolutely worth the effort!
What are Gougères?
Gougères are a traditional French pastry that’s been around for a few hundred years.
A choux dough - a wet dough with a lot of egg in it - has cheese added to it, is piped or spooned into little balls, and baked.
As it bakes, the air trapped in the dough expands, and the egg in the dough builds a structure, which is baked into place.
After baking, they’re allowed to try out a little bit - to prevent collapse.
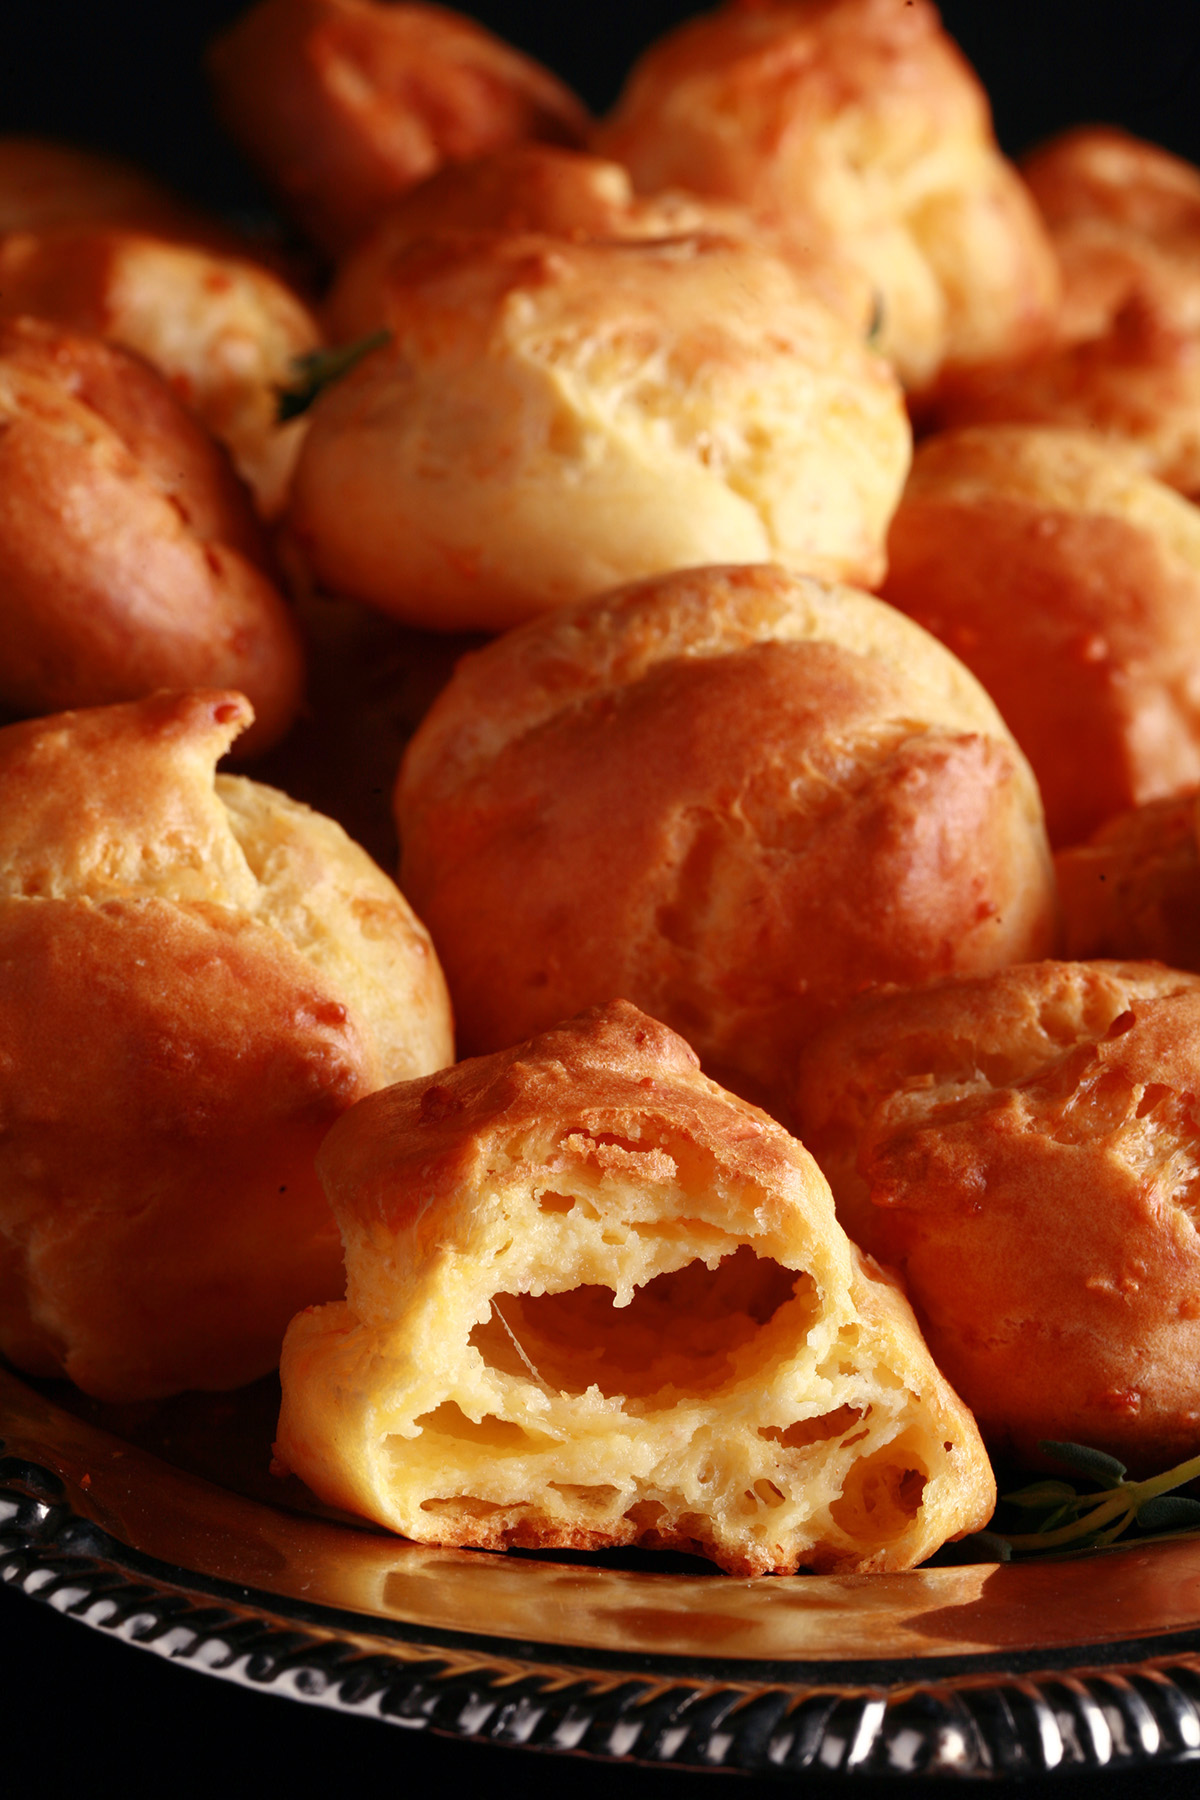
If you’ve had a cream puff (minus the cream, anyway!), you have an idea of what to expect: An airy pastry with a few big holes.
... just add cheese and spices, and you’ve got yourself a Gougère!
These are traditionally made with wheat flour. For a gluten-free version, I picked a combination of gluten-free flours that work well with each other, and the flavours / properties involved with a gougère.
Gluten-Free Gougères Variations
This recipe is my favourite way to make Gluten-Free Gougères, but there’s a lot of room to play with the recipe.
A few ideas:
Change the Cheese
This is traditionally made with Gruyere cheese, but we’ll routinely switch it up.
In the progress photos (taken for a separate batch than the pro shots!), I used a bit of whatever we had to use up, including some sharp cheddar.
Jalapeno havarti is fun, as is smoked cheese. Just use actually smoked cheese, smoked flavour is nowhere near as tasty!
Change the Seasonings
If you want a more traditional flavour, skip the cayenne and mustard, and use some green herbs, like thyme, chives, and/or parsley.
If you want more kick, add some smoked serrano powder.
Try garlic - powder or freshly crushed. When I’m using fresh garlic, I press it right into the butter mixture, in the first step. It infuses the butter mixture with garlic flavour.
Add Stuff
You can add finely chopped bits of whatever you’d like. I’ll add one or more of the following, when I add the cheese:
- Crispy bacon
- Firmer deli meats, like salami
- Jalapeno peppers (Especially with cheddar and the addition of garlic!)
- Green onions
Serving Gluten-Free Gougères
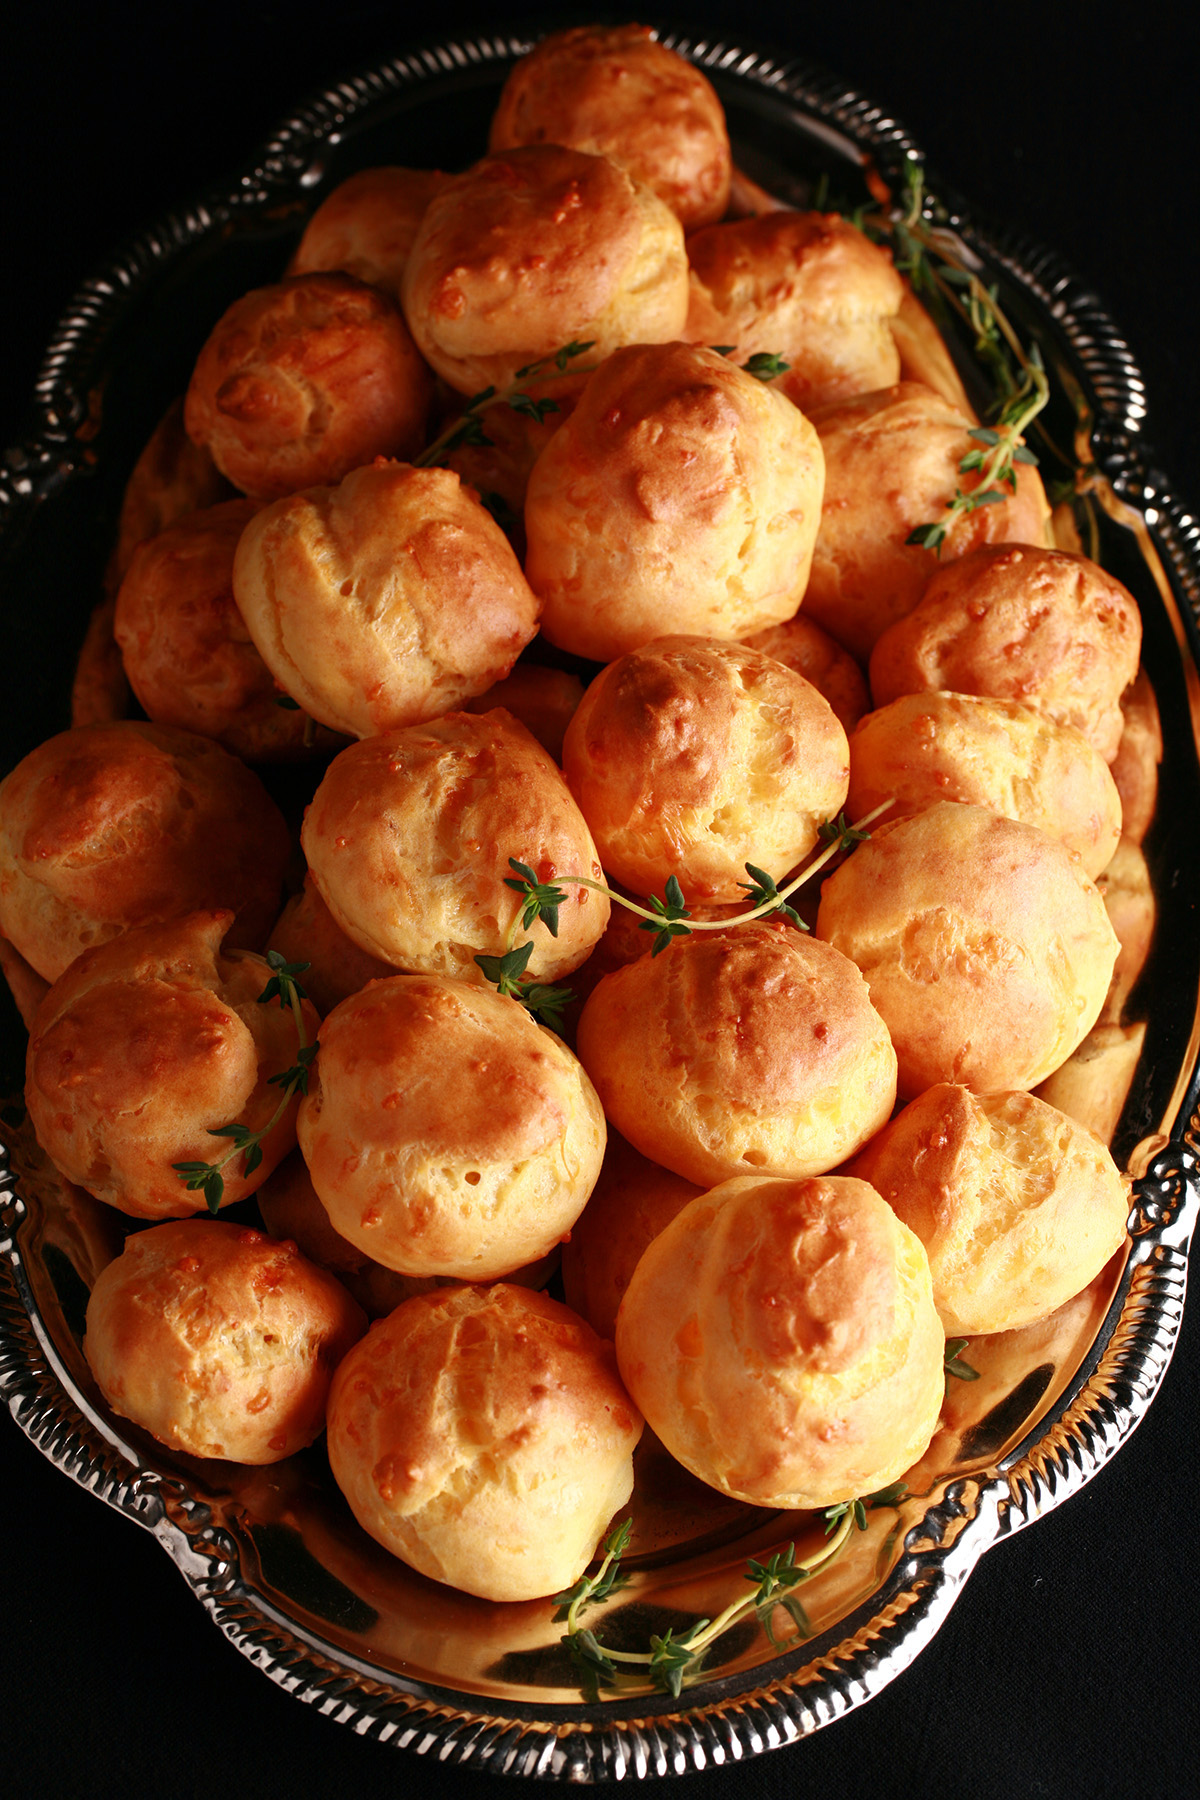
Gougères can be served warm, room temperature, or even chilled.
To be honest, I’ve never had these chilled, and have only ever had them *almost* cooled to room temperature.
We, uh... don’t have a lot of self control when we pull a batch of these out of the oven.
Generally speaking, we’ll just eat them warm, as-is.
If we’re feeling fancy, we’ll split them open and put stuff in them - a bit of herbed cream cheese, some smoked salmon mousse, a little goat cheese, a bit of liver pate ... whatever.
If you pipe them slightly bigger, they can be sliced in half to make mini sandwich-style hors d'ouevres!
How to Make Gluten-Free Gougères
Preheat oven to 400 F (200 C). Line a baking sheet with parchment paper or a nonstick baking sheet.
Note: It’s very important to not grease the pan - it can cause the pastries to flatten!
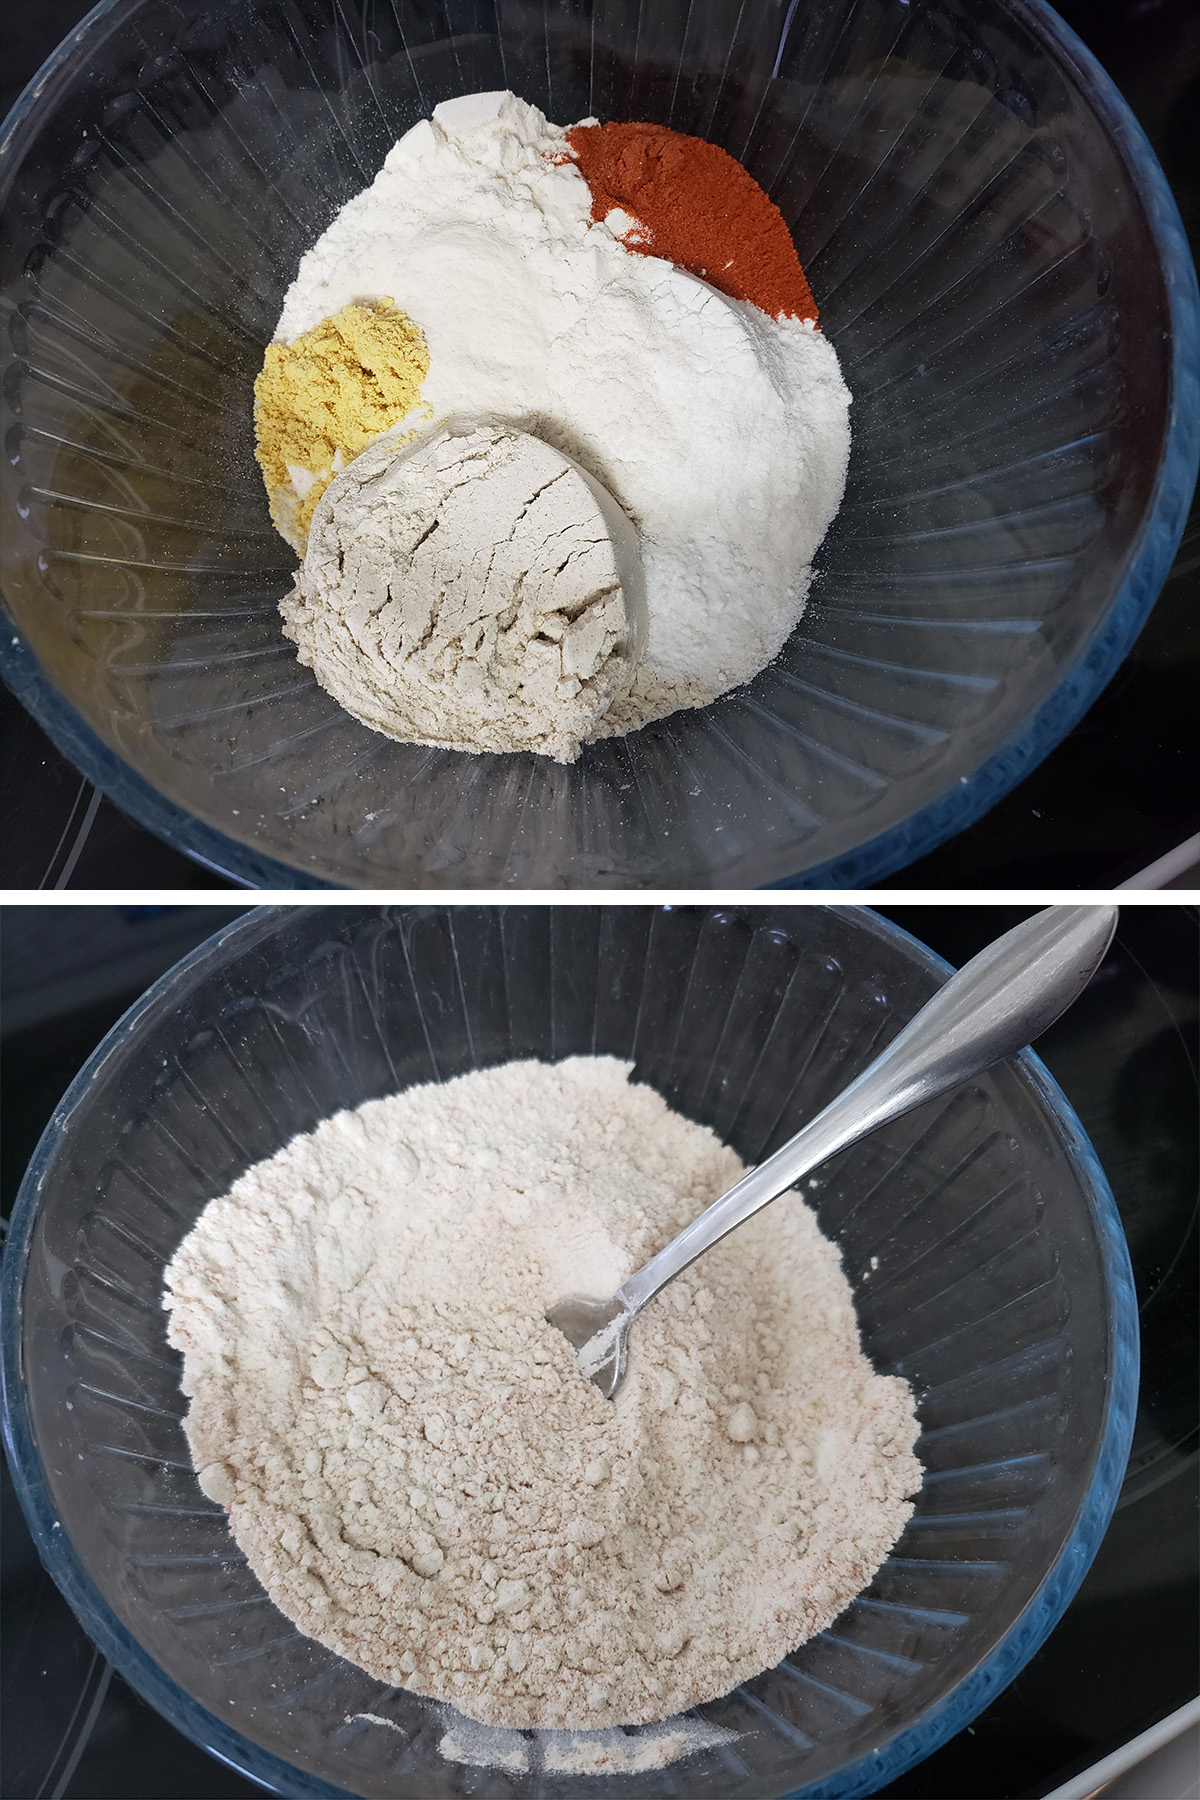
In a small bowl, combine flours, cayenne, mustard powder, xanthan gum, and baking powder. Set aside.
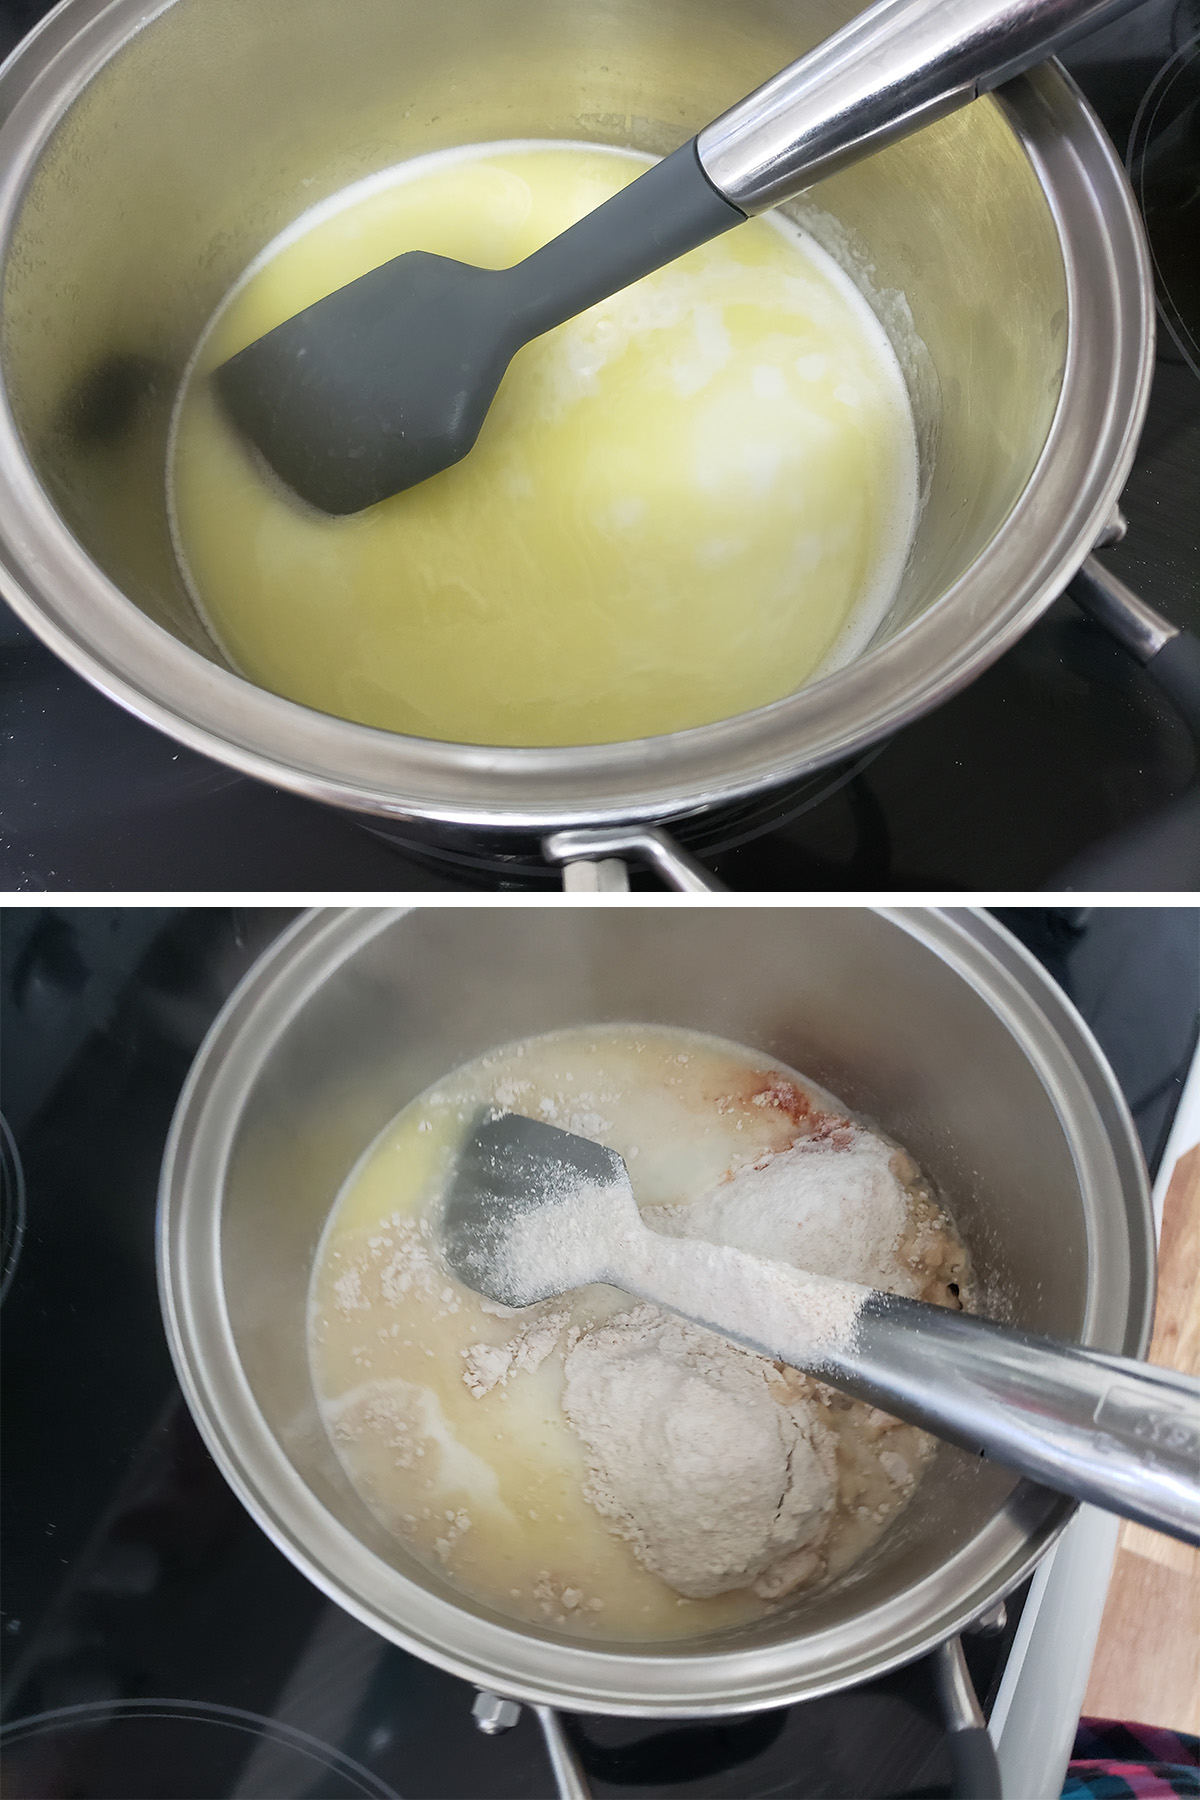
Combine milk, butter and salt in a medium saucepan, heat to a boil.
Once boiling, remove from heat. Add flour mixture, stirring until well incorporated.
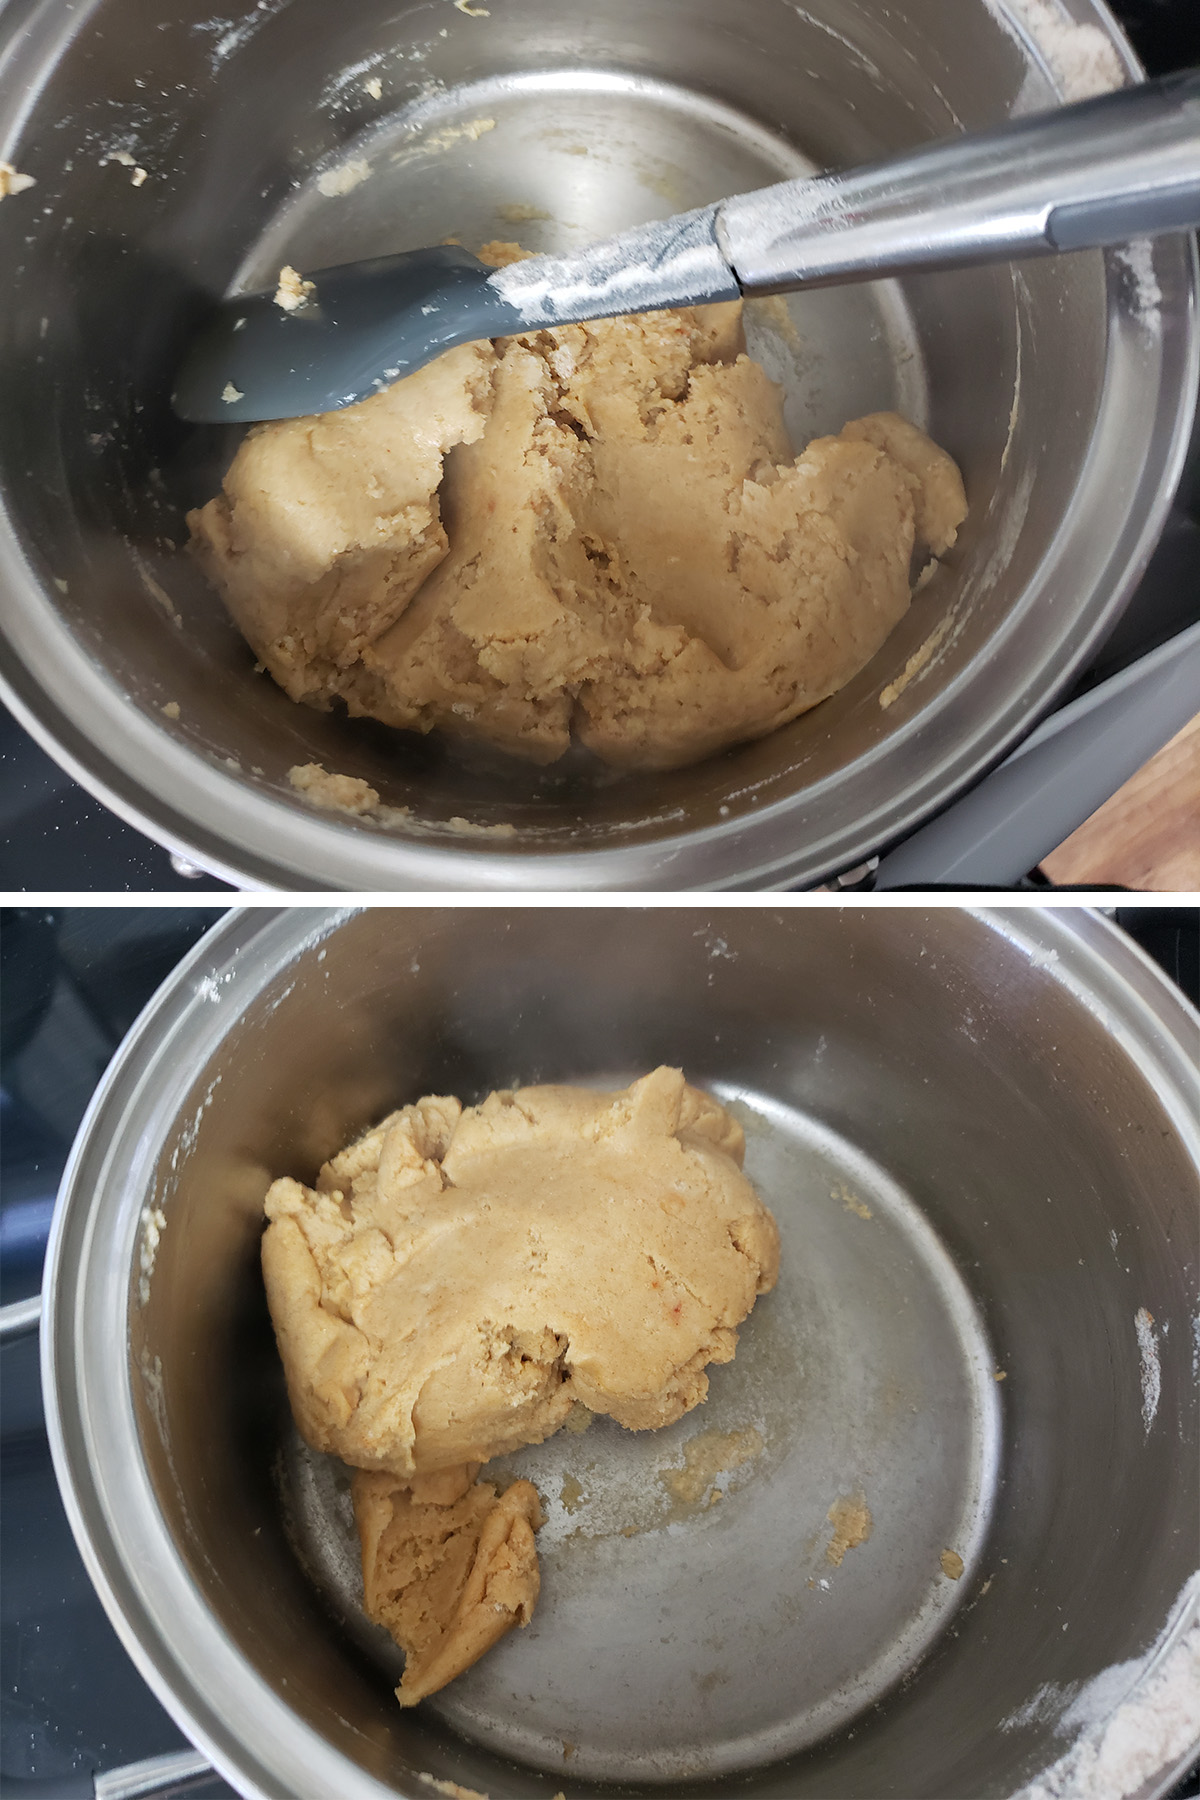
Reduce heat to medium, return the saucepan to the stovetop. Cook for another minute or so, until the dough comes together, leaving the sides of the pan.
Transfer dough to the bowl of your stand mixer. Using the paddle attachment, beat the dough for a minute or so to allow it to cool slightly.
Meanwhile, beat together eggs and egg whites in a small bowl.

With the mixer set to medium, add egg mixture to dough a little at a time, allowing eggs to fully incorporate into the dough before adding more.

It may look like a separating mess, but I promise it will come together!

Once all of the eggs have been added and the dough is once again smooth, add cheese and continue beating it to melt and distribute the cheese.
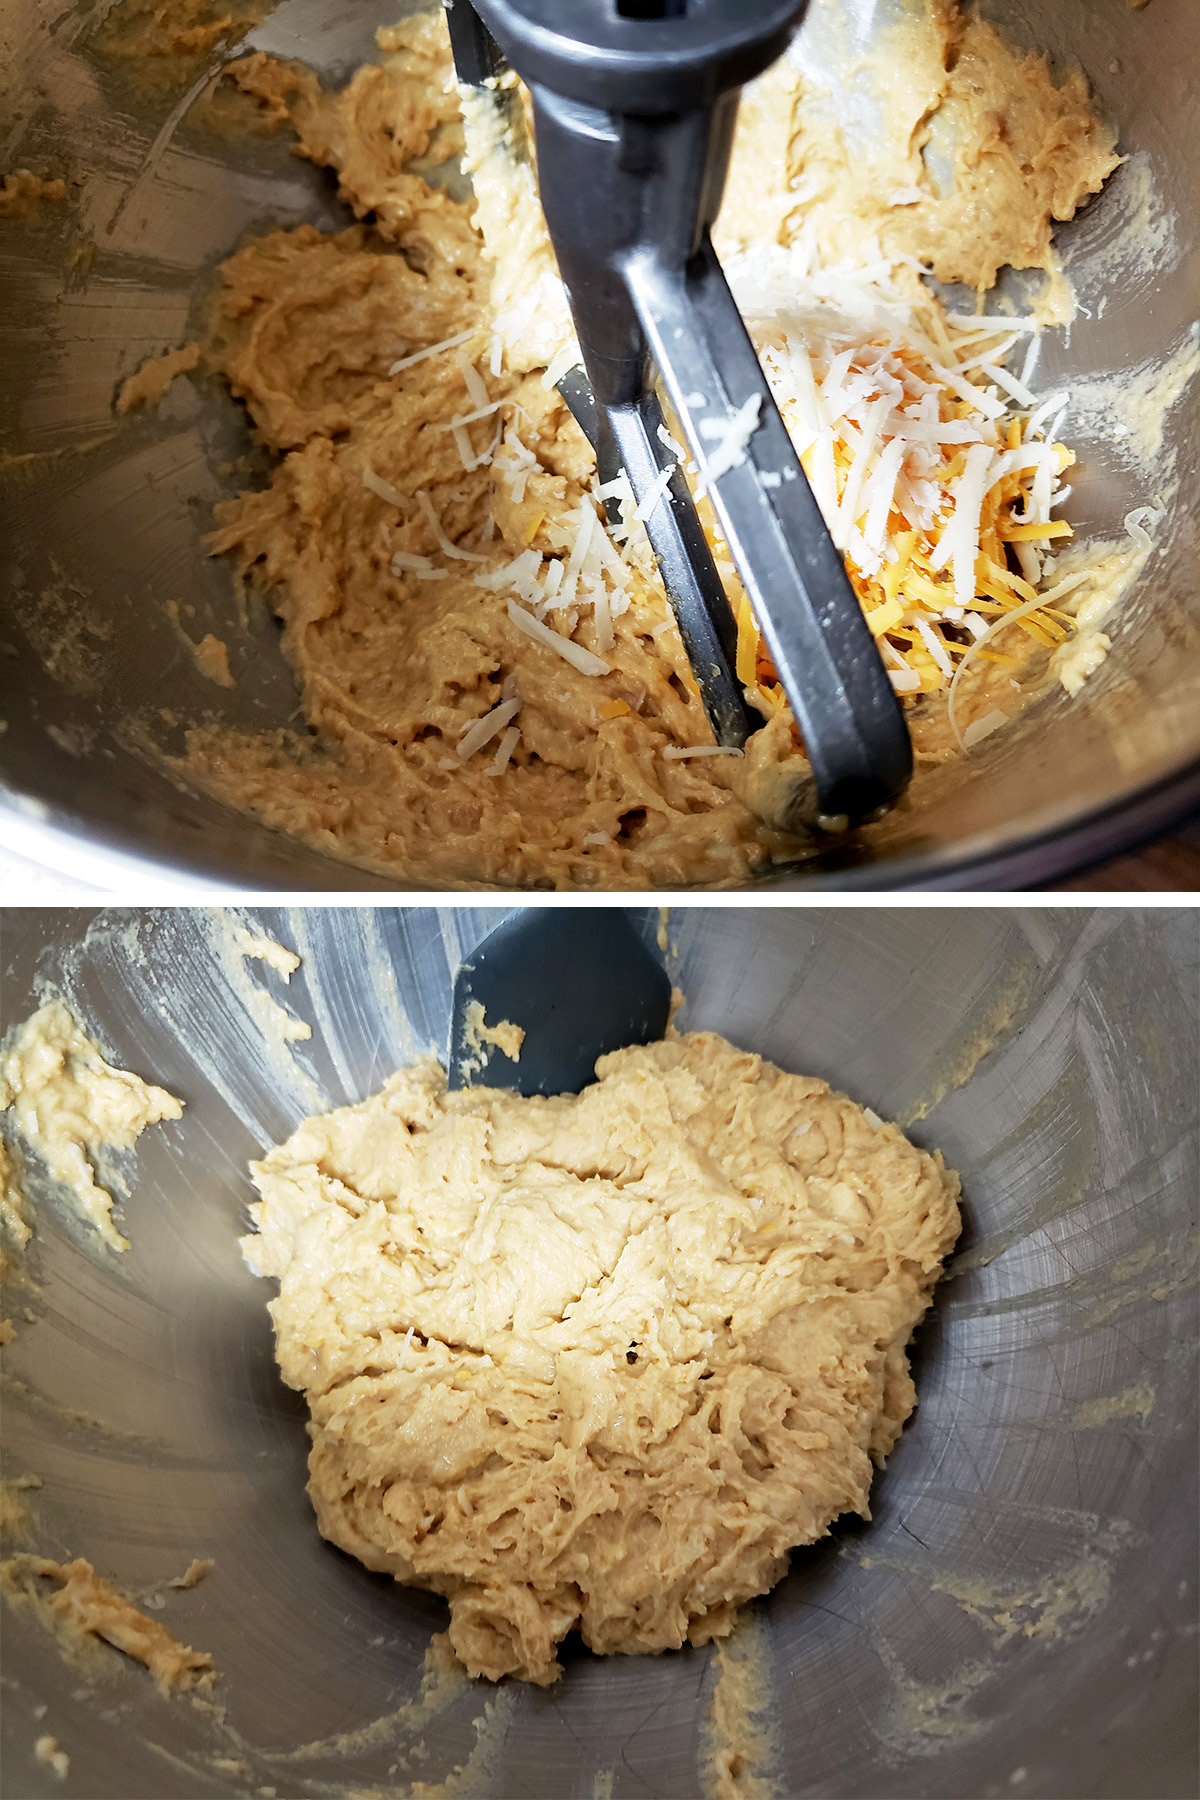
Once the dough is smooth and shiny, it’s ready to pipe or spoon! It’ll be soft and a bit sticky, but more or less be able to hold its shape.
Using spoons or a pastry bag, make walnut-sized mounds of batter, leaving 2" of space between each.
Use a moistened finger to pat down any peaks of dough that may form as you finish piping each.
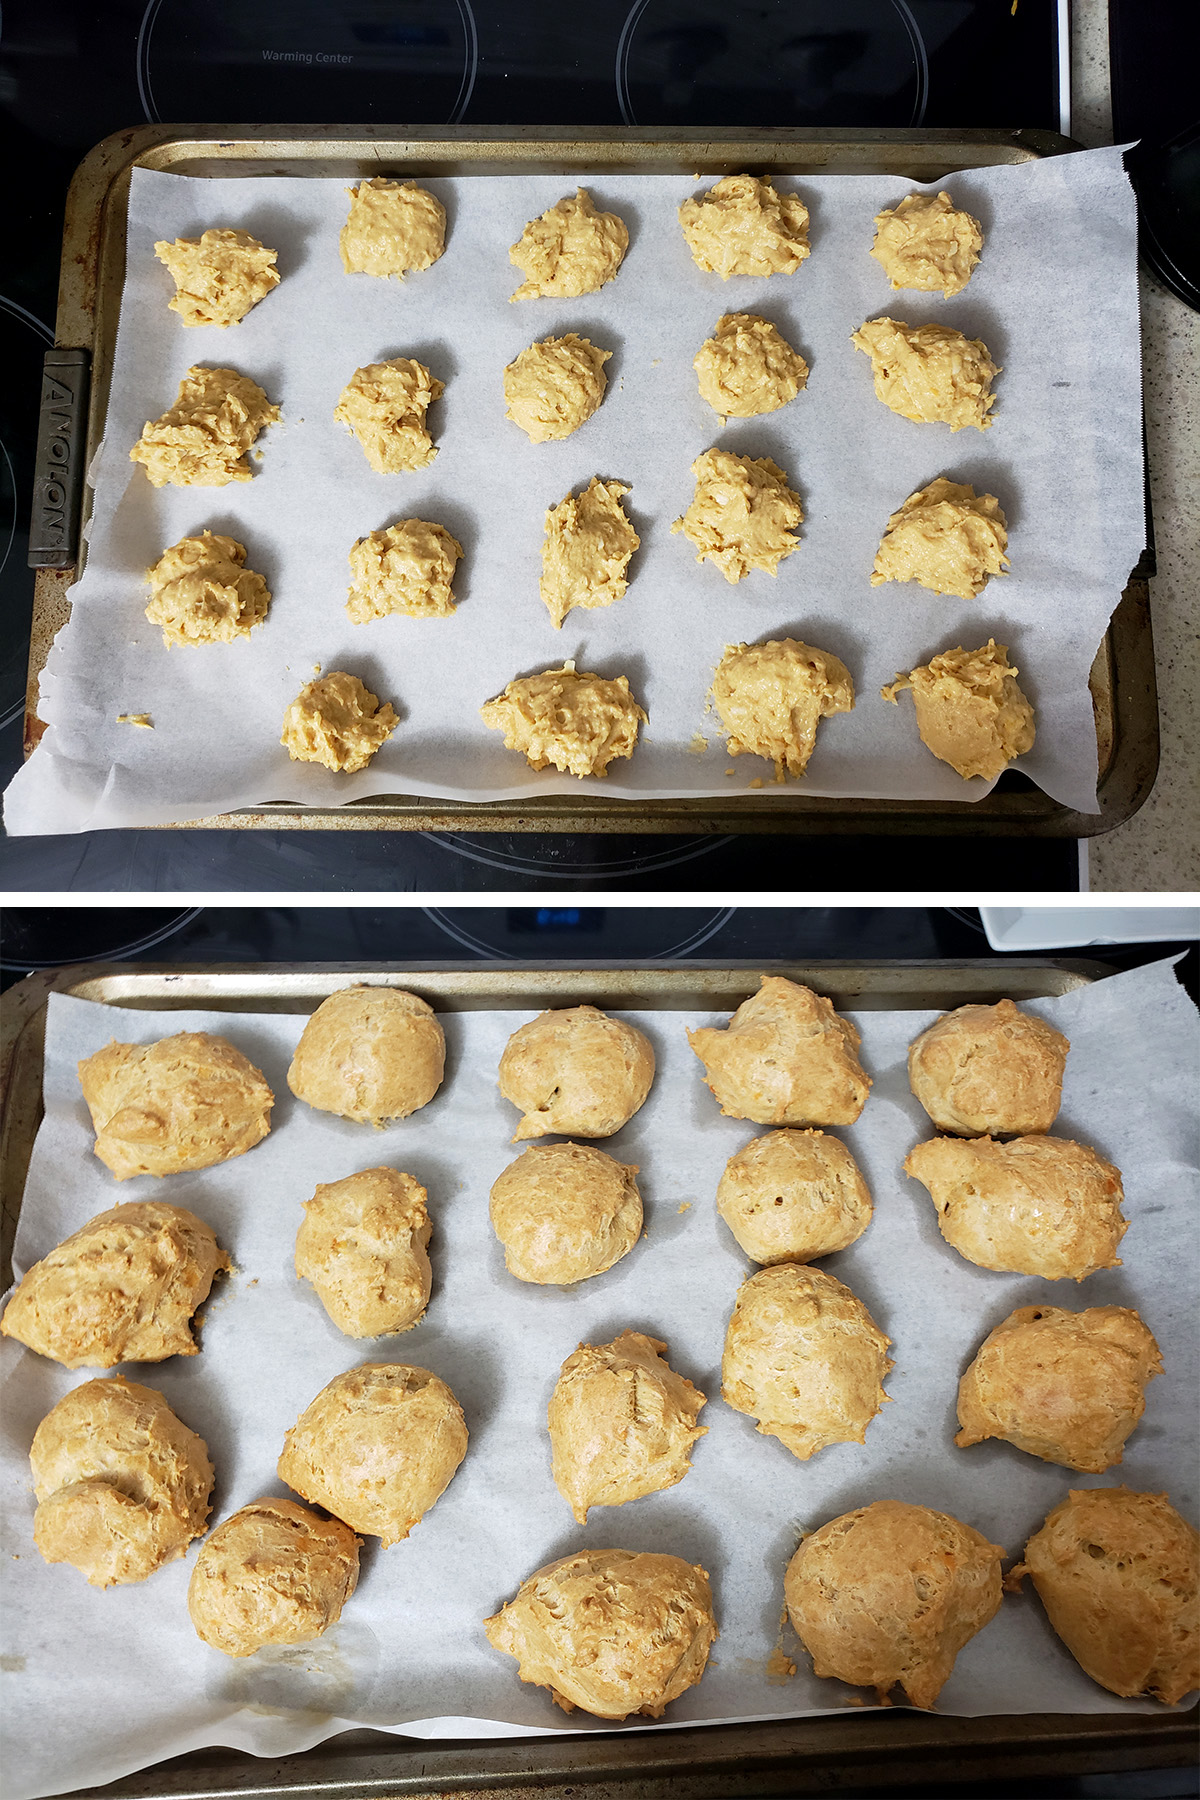
Bake for 12 minutes, then - WITHOUT opening the oven door - turn the temperature down to 350 F (180 C) and bake for another 25 minutes.
Crack the oven door open a few inches, turn the heat off, and allow the puffs to cool in the oven for 30 minutes.
Note: This step allows the insides to dry out, providing a stronger structure to prevent collapse.

More Gluten-Free Snacks and Appetizer Recipes!
Looking for even more fantastic gluten-free munchies that *everyone* will love? Look no further!
Ahi Tuna Nachos
Gluten Free Air Fryer Jalapeno Poppers
Gluten-Free Beaver Tail Recipe
Gluten Free Cheez-Its
Gluten-Free Chicken Nuggets
Gluten Free Chicken Pakora
Gluten-Free Chicken Satay
Gluten Free Corn Dogs
Gluten-Free Doughnut Holes Recipe
Gluten Free Fried Brie
Gluten-Free Jamaican Beef Patties
Gluten-Free Mixed Vegetable Pakora
Gluten Free Mushroom Turnovers
Gluten Free Paneer Pakora
Gluten-Free Pizza Bites
Gluten Free Samosa Recipe
Gluten-Free Soft Pretzels
Gluten Free Sauerkraut Buns [Piroshki]
Gluten Free Tempura
Hot Smoky Bacon Crab Dip
Jalapeno Popper Dip
Loaded Mini Baked Potatoes
Marinated Feta Cheese
My Gluten-Free Cookbooks!

If you're interested in gluten-free cooking and baking, you should definitely check out my gluten-free cookbooks: Beyond Flour: A Fresh Approach to Gluten Free Cooking & Baking, and the sequel... Beyond Flour 2. You can order them right here on my website, through Amazon, or through any major bookseller.
Share the Love!
Before you chow down, be sure to take some pics of your handiwork! If you post it to Bluesky, be sure to tag us - @CelebrationGen. We're also on Pinterest, so you can save all your favourite recipes to a board!
Also, be sure to subscribe to my free email newsletter, so you never miss out on any of my nonsense.
Well, the published nonsense, anyway!


Gluten-Free Gougères
Equipment
- Parchment Paper
Ingredients
- 1 cup Milk
- ¼ cup Butter
- ½ teaspoon Salt
- ⅓ cup Sweet rice flour
- ⅓ cup White rice flour
- ⅓ cup Millet flour
- ¼ teaspoon Cayenne pepper
- ½ teaspoon Mustard powder
- 1 teaspoon Xanthan gum
- ½ teaspoon Baking powder
- 3 Large eggs
- 2 Large egg whites
- 1 cup Grated Swiss cheese
Instructions
- Preheat oven to 400 F (200 C).
- Line a baking sheet with parchment paper or a nonstick baking sheet. It’s very important to not grease the pan - it will cause the pastries to flatten!
- In a small bowl, combine flours, cayenne, mustard powder, xanthan gum, and baking powder. Set aside.
- Combine milk, butter and salt in a medium sauce pan, heat to a boil.
- Once boiling, remove from heat. Add flour mixture, stirring until well incorporated.
- Reduce heat to medium, return saucepan to stove top. Cook for another minute or so, until the dough comes together, leaving the sides of the pan.
- Transfer dough to the bowl of your stand mixer. Using the paddle attachment, beat the dough for a minute or so to allow it to cool slightly.
- Meanwhile, beat together eggs and egg whites in a small bowl.
- With the mixer set to medium, add egg mixture to dough a little at a time, allowing eggs to fully incorporate into the dough before adding more.
- It may look like a separating mess, but I promise it will come together!
- Once all of the eggs have been added and the dough is once again smooth, add cheese and continue beating it to melt and distribute the cheese.
- Once the dough is smooth and shiny, it’s ready to pipe or spoon! It’ll be soft and a bit sticky, but more or less be able to hold its shape.
- Using spoons or a pastry bags, make walnut-sized mounds of batter, leaving 2" of space between each.
- Use a moistened finger to pat down any peaks of dough that may form as you finish piping each.
- Bake for 12 minutes, then - WITHOUT opening the oven door - turn the temperature down to 350 F (180 C) and bake for another 25 minutes.
- Crack the oven door open a few inches, turn the heat off, and allow the puffs to cool in the oven for 30 minutes.
- This step allows the insides to dry out, providing a stronger structure to prevent collapse.


Leave a Reply