When doing an AIP diet - or going Paleo - sometimes, you just want a doughy bread for your souvlaki. Here's my AIP Paleo Flatbread recipe!
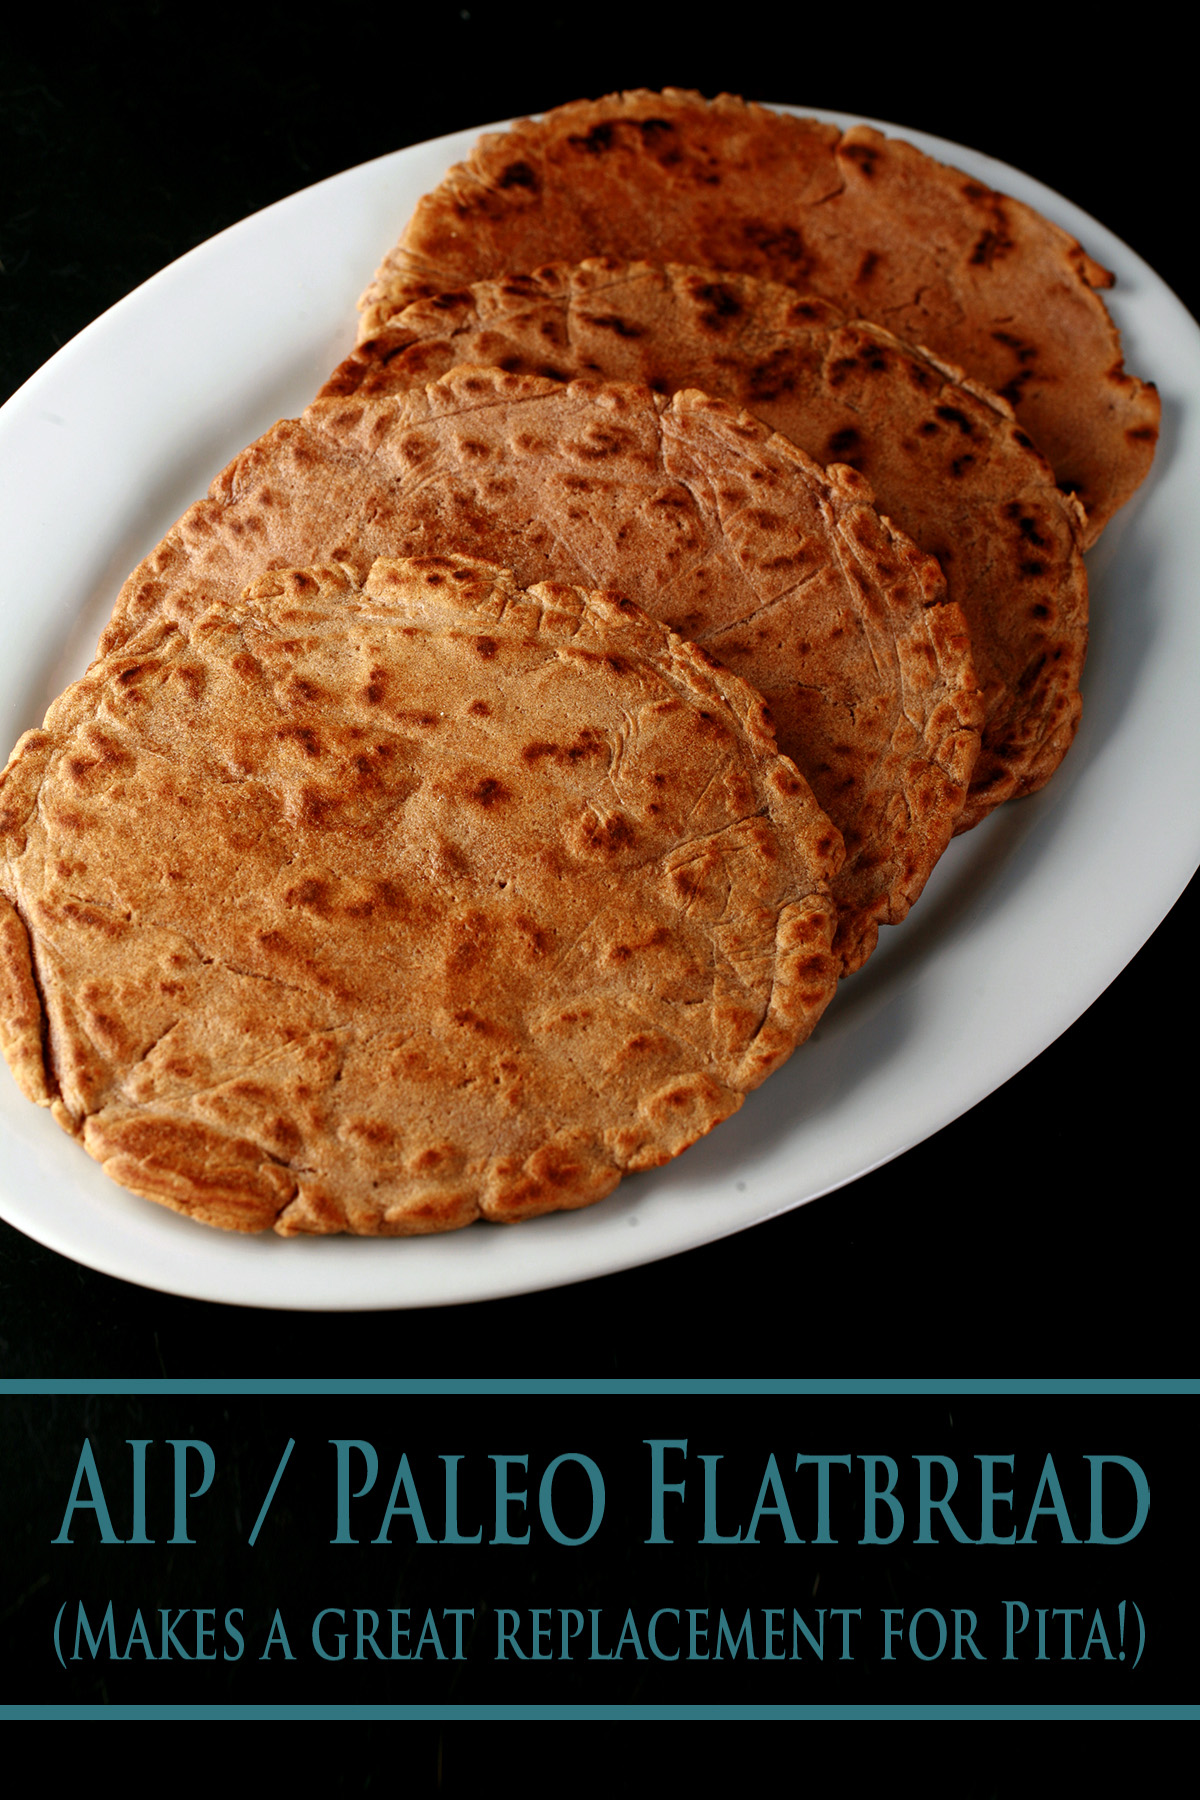
Today’s recipe is the first in a of recipes, which - when grouped together - creates a VERY acceptable Chicken Souvlaki.
... just AIP and Paleo friendly!
Before I get to my AIP souvlaki and tzatziki recipes, though... let’s address the pita bread!
The ability to use bread substitutes - and not be obsessing about carbs - is a big part of what made going AIP palatable for me.
Some of our favourite meals during my time on AIP were based around the bread.
One of our biggest go-to meals was my Paleo Fish Tacos - served with my Mango Salsa.
Another huge favourite around here was my Paleo Chicken Shawarma. Unf. SO good!
Both the tacos and the shawarma were served on my Paleo Cassava Flour Tortillas.
Note: Don’t need AIP / Paleo?
If you’re looking for a fantastic gluten-free tortilla and DON’T need it to be Paleo or AIP compliant, be sure to try my Gluten-Free Hybrid Tortillas.
They act like a flour tortilla, and taste like freshly roasted corn!
AIP / Paleo Flatbread
Eventually, I found myself wanting a bread with a bit more heft.
While I’m sure a souvlaki wrap would be fine in my tortillas, I wanted a thick, doughy bread... and the taste of yeast.
So, I played around with cassava flour and some other ingredients, until I came up with *the* recipe I settled on, going forward.
This comes together relatively quickly - not a lot of work time, but there is some rise time - and easily.
I just blitz the ingredients together in a food processor, no kneading needed!
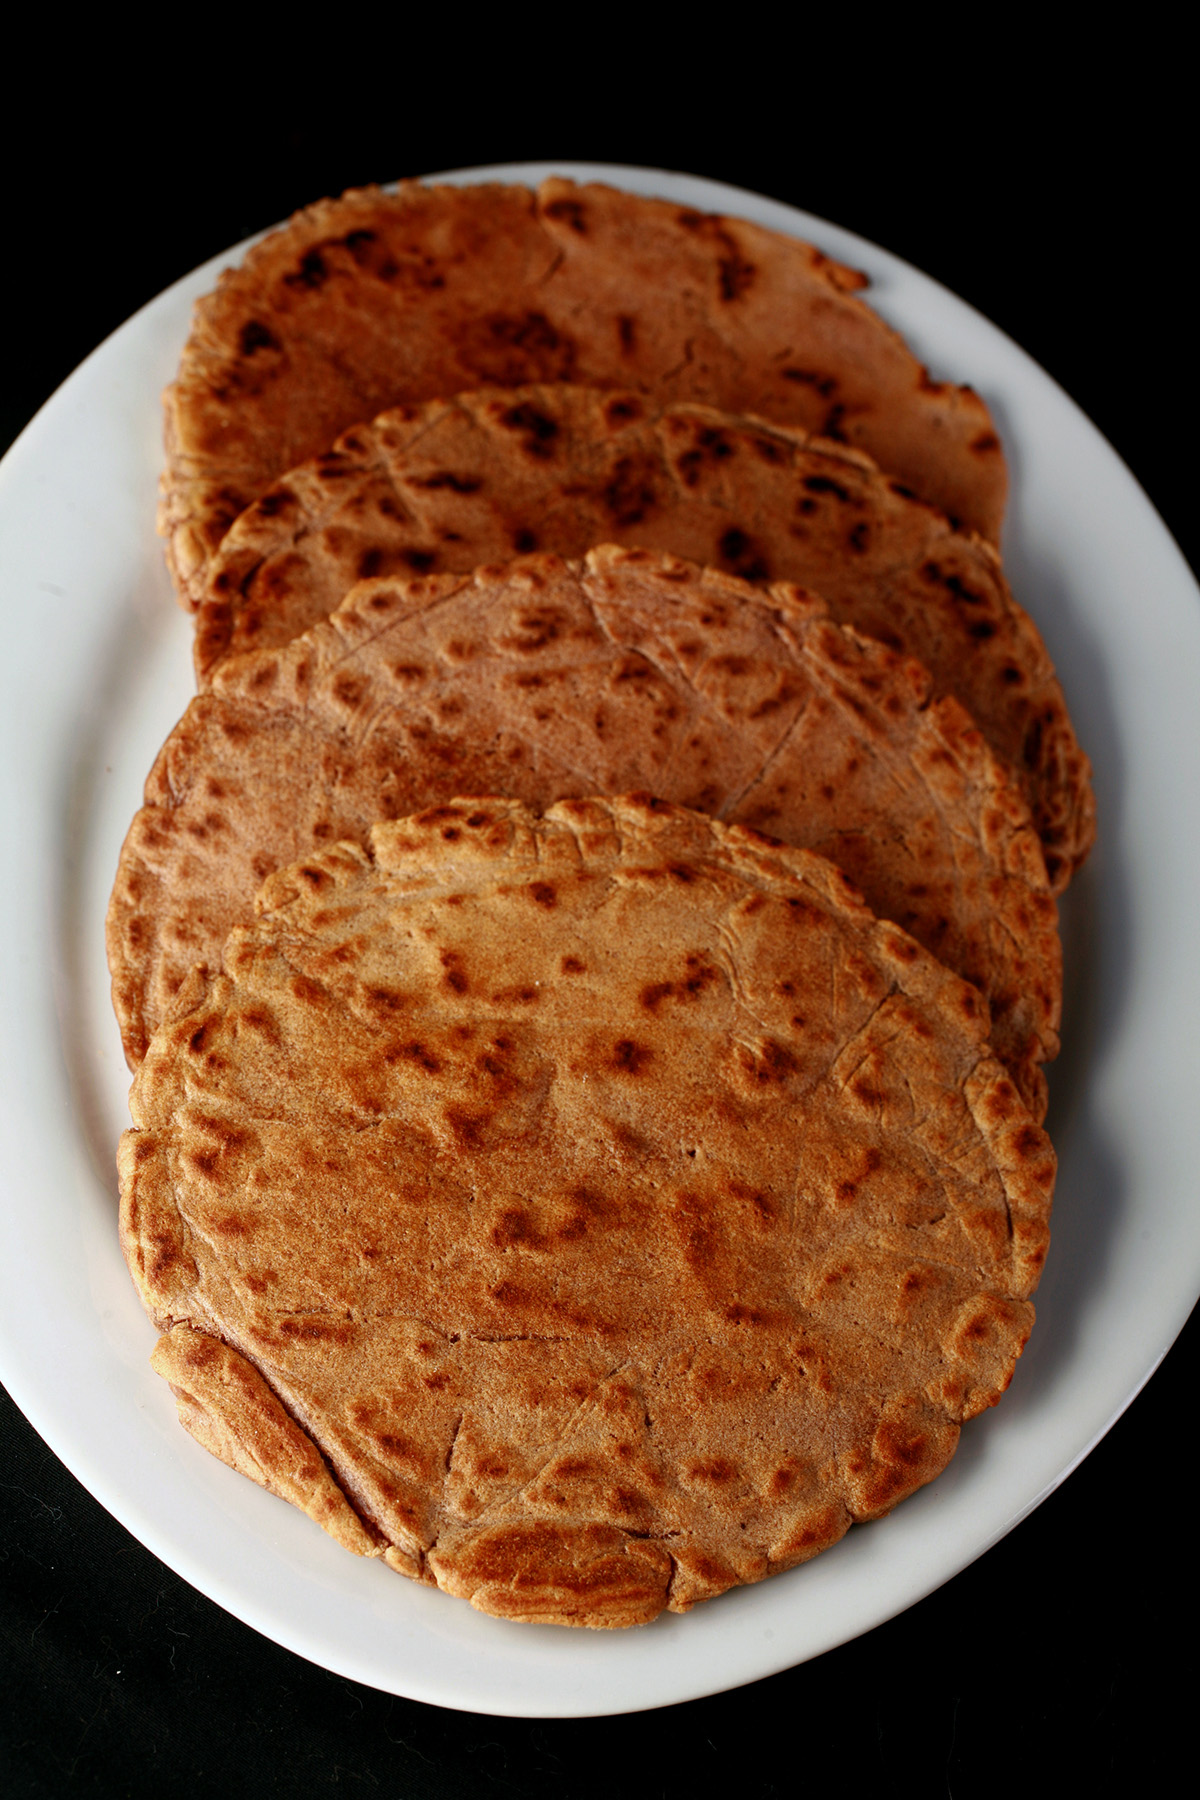
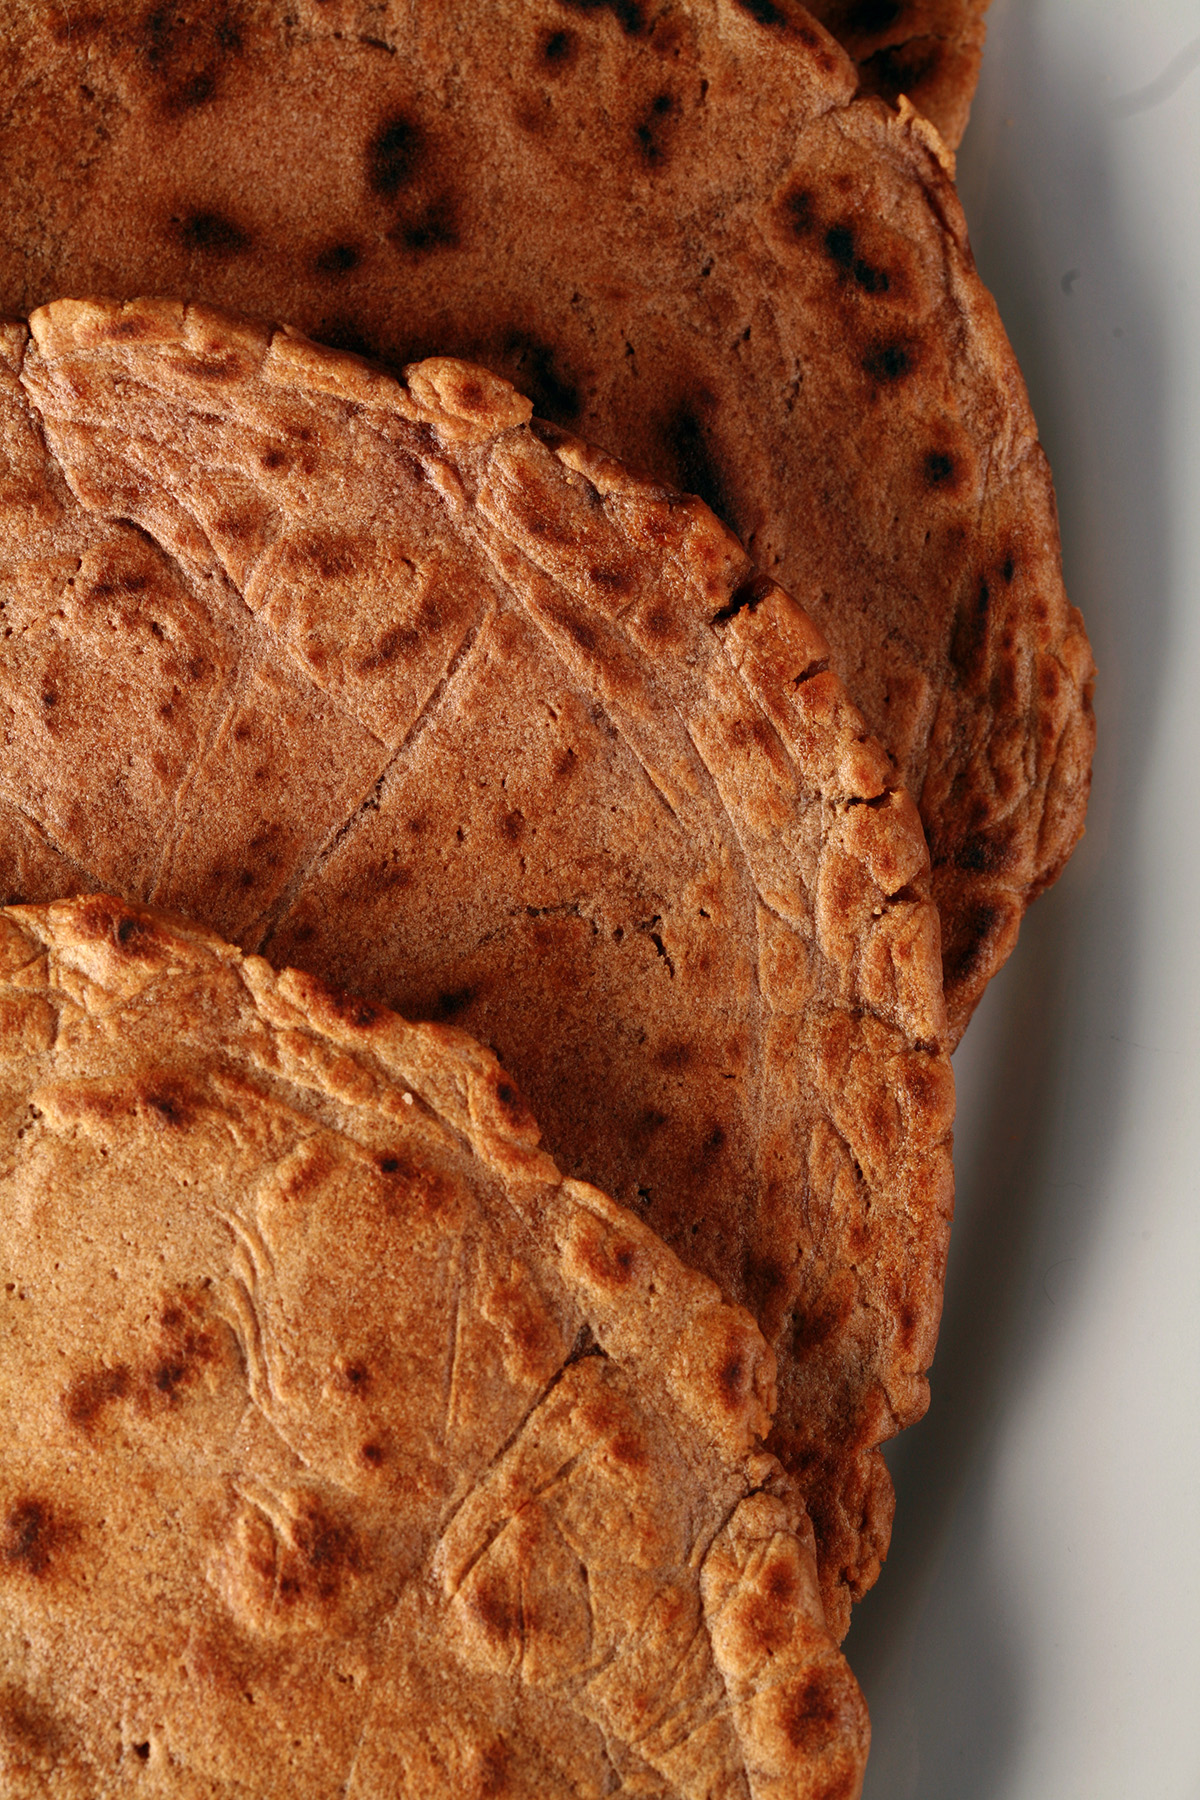
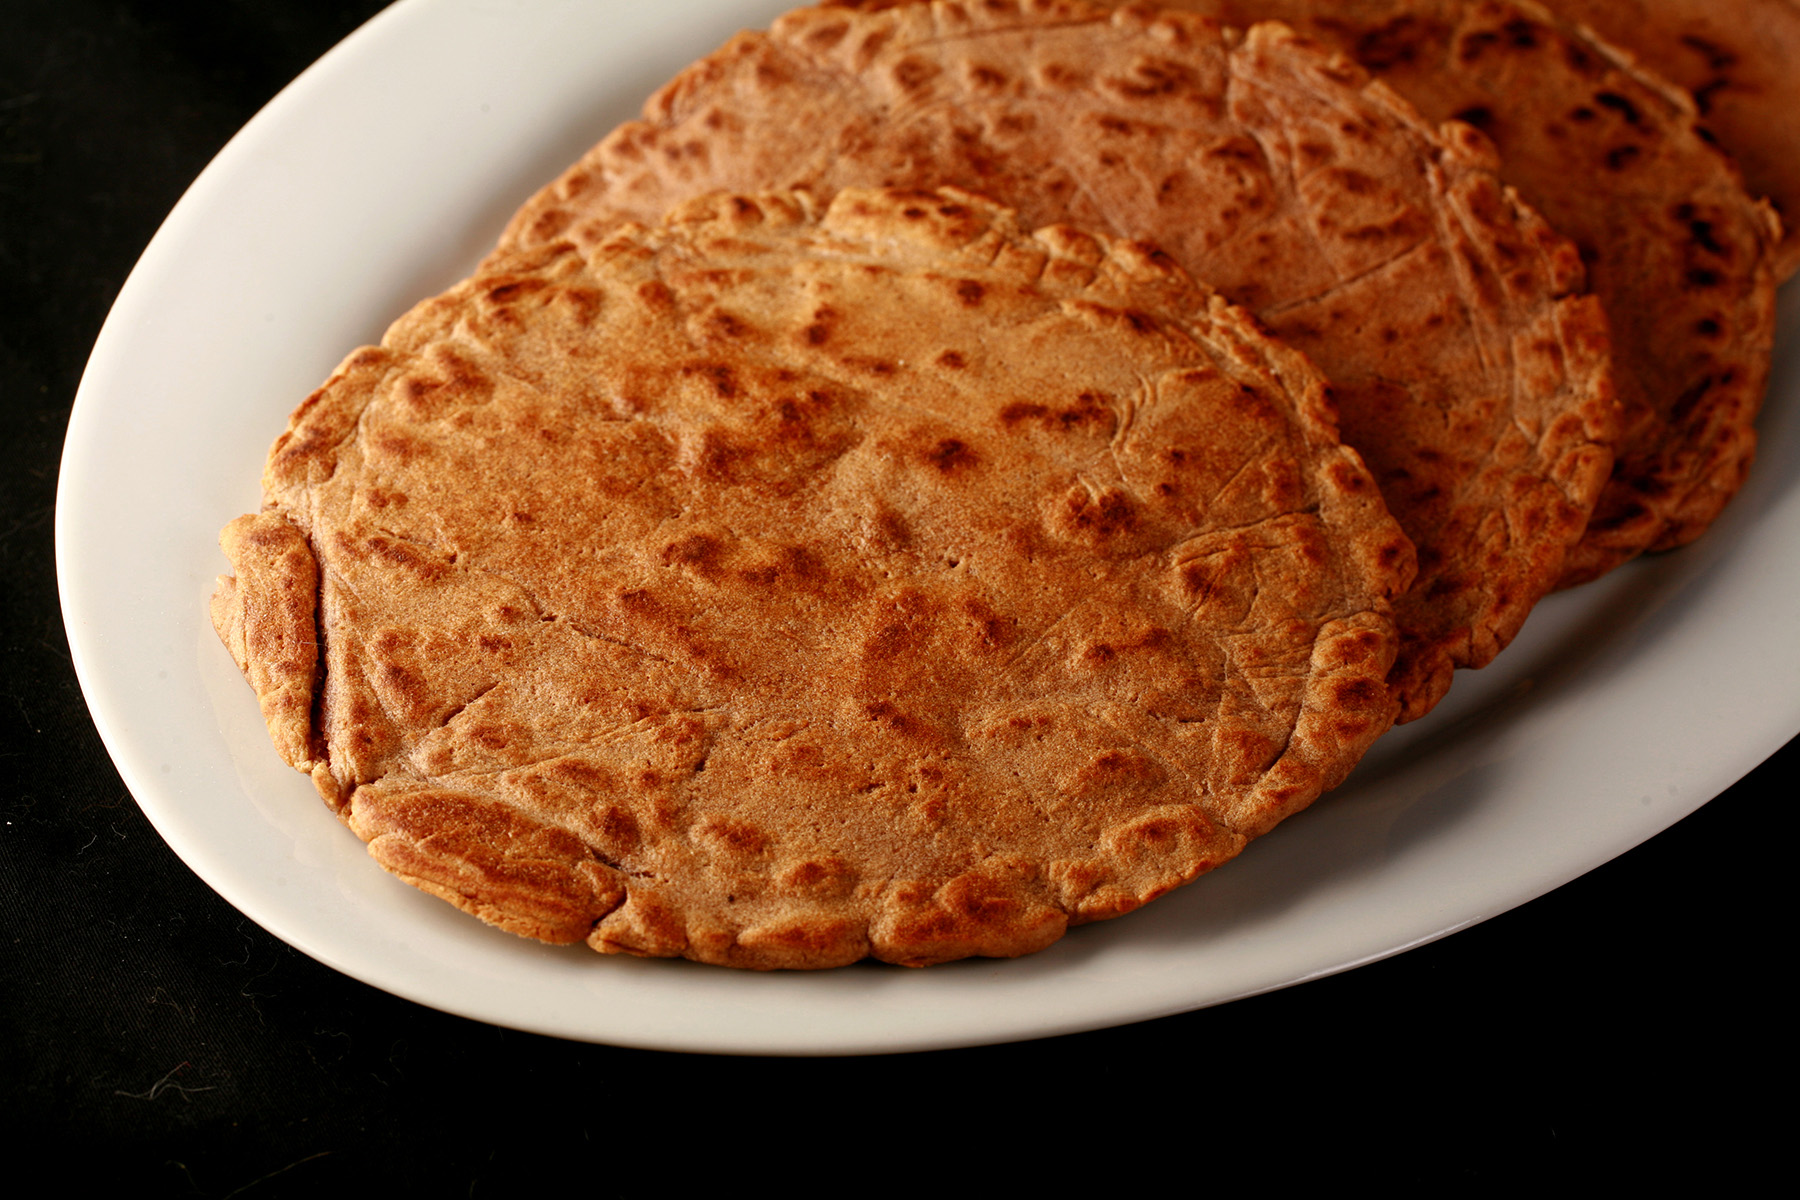
This recipe produces a nice, thick flatbread that can be used not only as a souvlaki wrap, but as a pita.
While it doesn’t for the air pocket inside - as normal pitas can - it’s thick enough to be split in half.
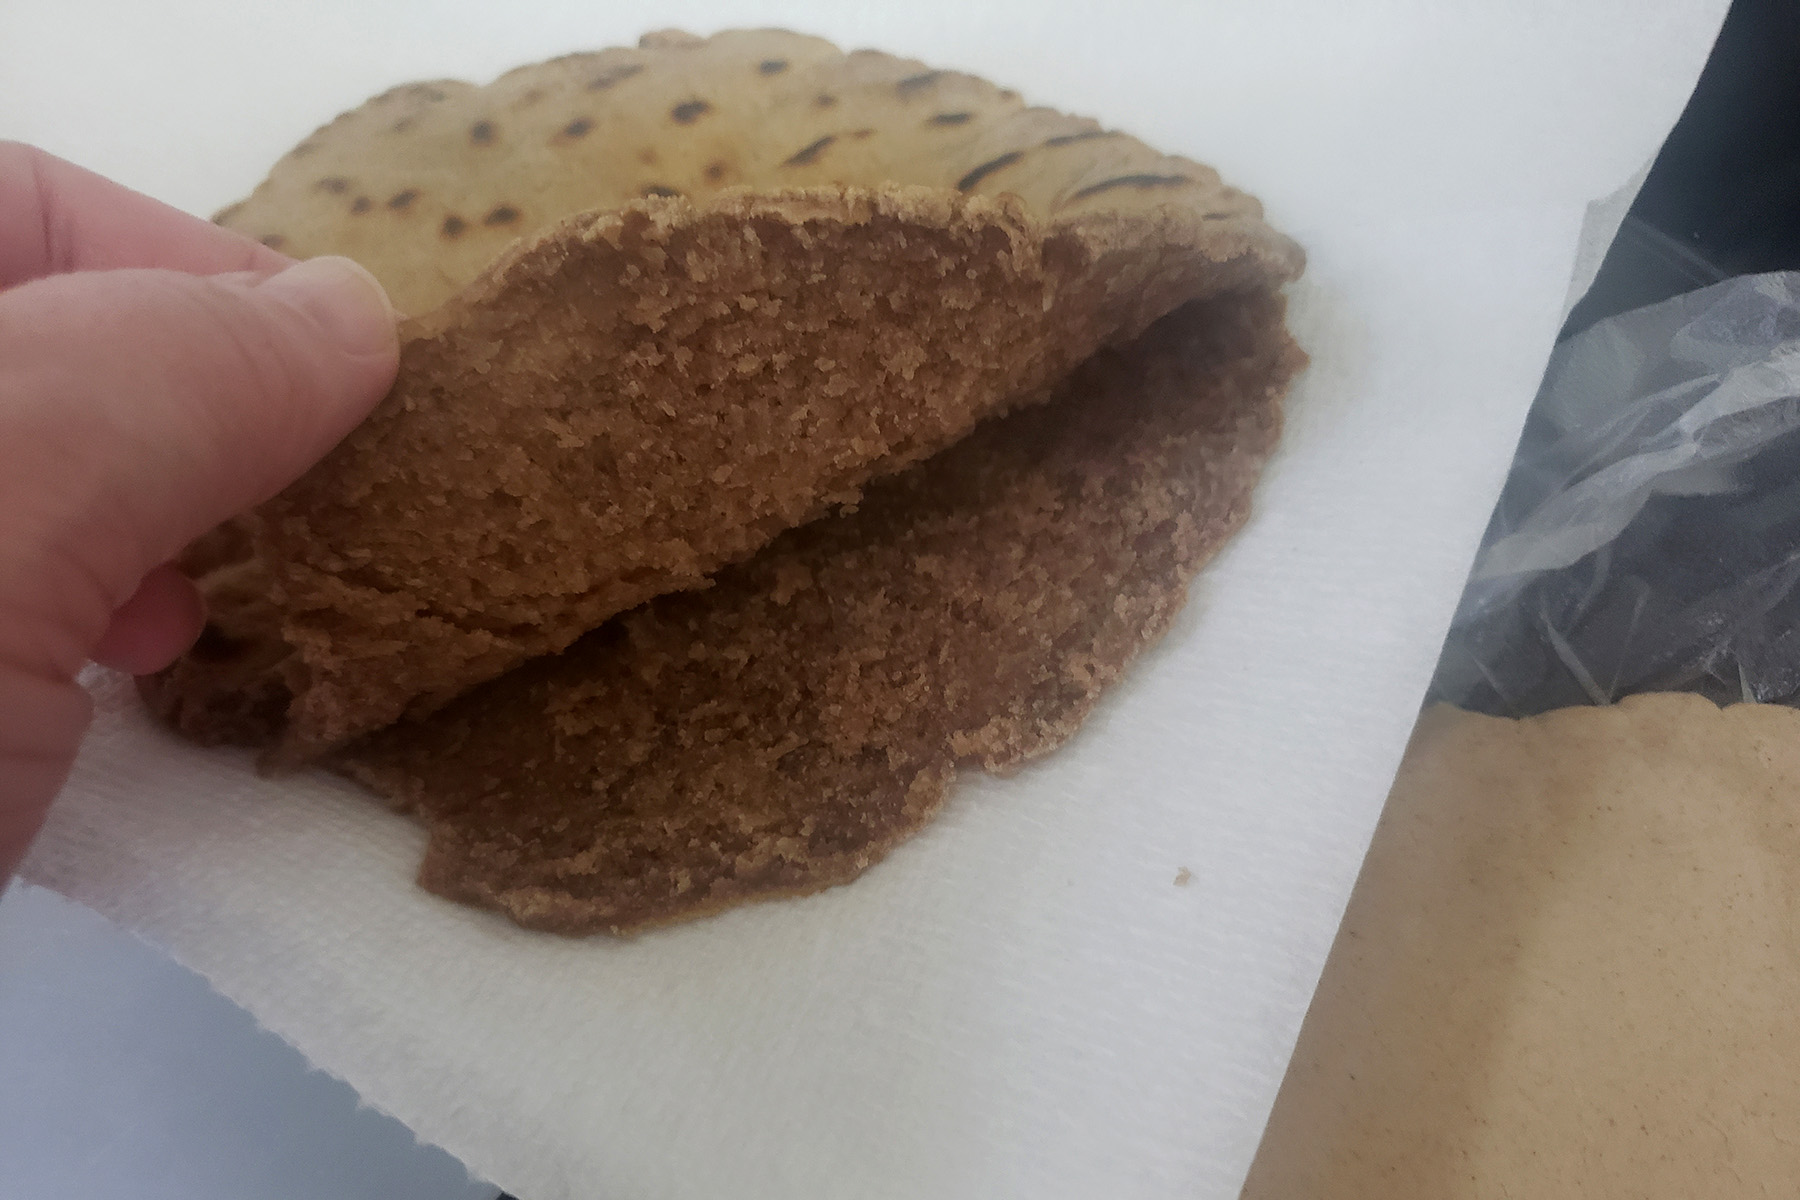
Not the prettiest bread ever, but it works!
Also, you can drizzle these with olive oil and your favourite toppings, for topped flatbread.
Sauteed mushrooms and onions with a bit of thyme? SO good.
I hope you enjoy this recipe, whatever you end up making with it!

AIP Souvlaki!
Equipment For Making AIP Paleo Pitas
Food Processor
I make this dough in a food processor. It’s easy to do - no mess, no fuss.
You could probably make it in a regular bowl - using a potato masher to break up the lard throughout - but I haven’t tried it that way.
Tortilla Press
While you don’t NEED a tortilla press for this recipe, it’s really nice to have on hand - it makes for nice, flat pitas of even thickness.
I actually have two tortilla presses - I bought them when I first went AIP, as AIP tortillas made the whole thing worth doing, LOL.
Yes, it broke my “No single-purpose items” kitchen rule, but I don’t regret a thing! Now, I can press tortillas out in no time, it's just SO much easier than rolling out.
It was SO absolutely worth the (reasonable!) price and storage space, I ended up buying a second. I’d started out with a small, 7.5" press, and eventually added a larger one.
THIS is the first one I bought, and I definitely recommend it.
I don't have a lot of experience with tortillas presses, though, so for all I know, the more expensive ones are better. I just know that this makes things so quick and easy, I have no complaints at all!
This 10" Cast Iron Tortilla Press is the second one I bought, and works better for this recipe.
How to Make AIP / Paleo Flatbread
Full recipe follows, here's a pictorial overview:
Make Your Dough
Combine warm water with honey, stirring until honey is almost dissolved. Add yeast, stirring until incorporated.
Loosely cover bowl with plastic wrap. Set aside in a warm place for 10 minutes, or until foamy.
Measure the cassava flour tapioca starch, baking powder, and salt into a food processor, blitz to combine.
Add lard to the processor, blitz just a few times to break up the lard and distribute a little.
Add coconut cream and oil, once again blitzing until combined.
Add water/yeast mixture, once again mixing until fully combined.
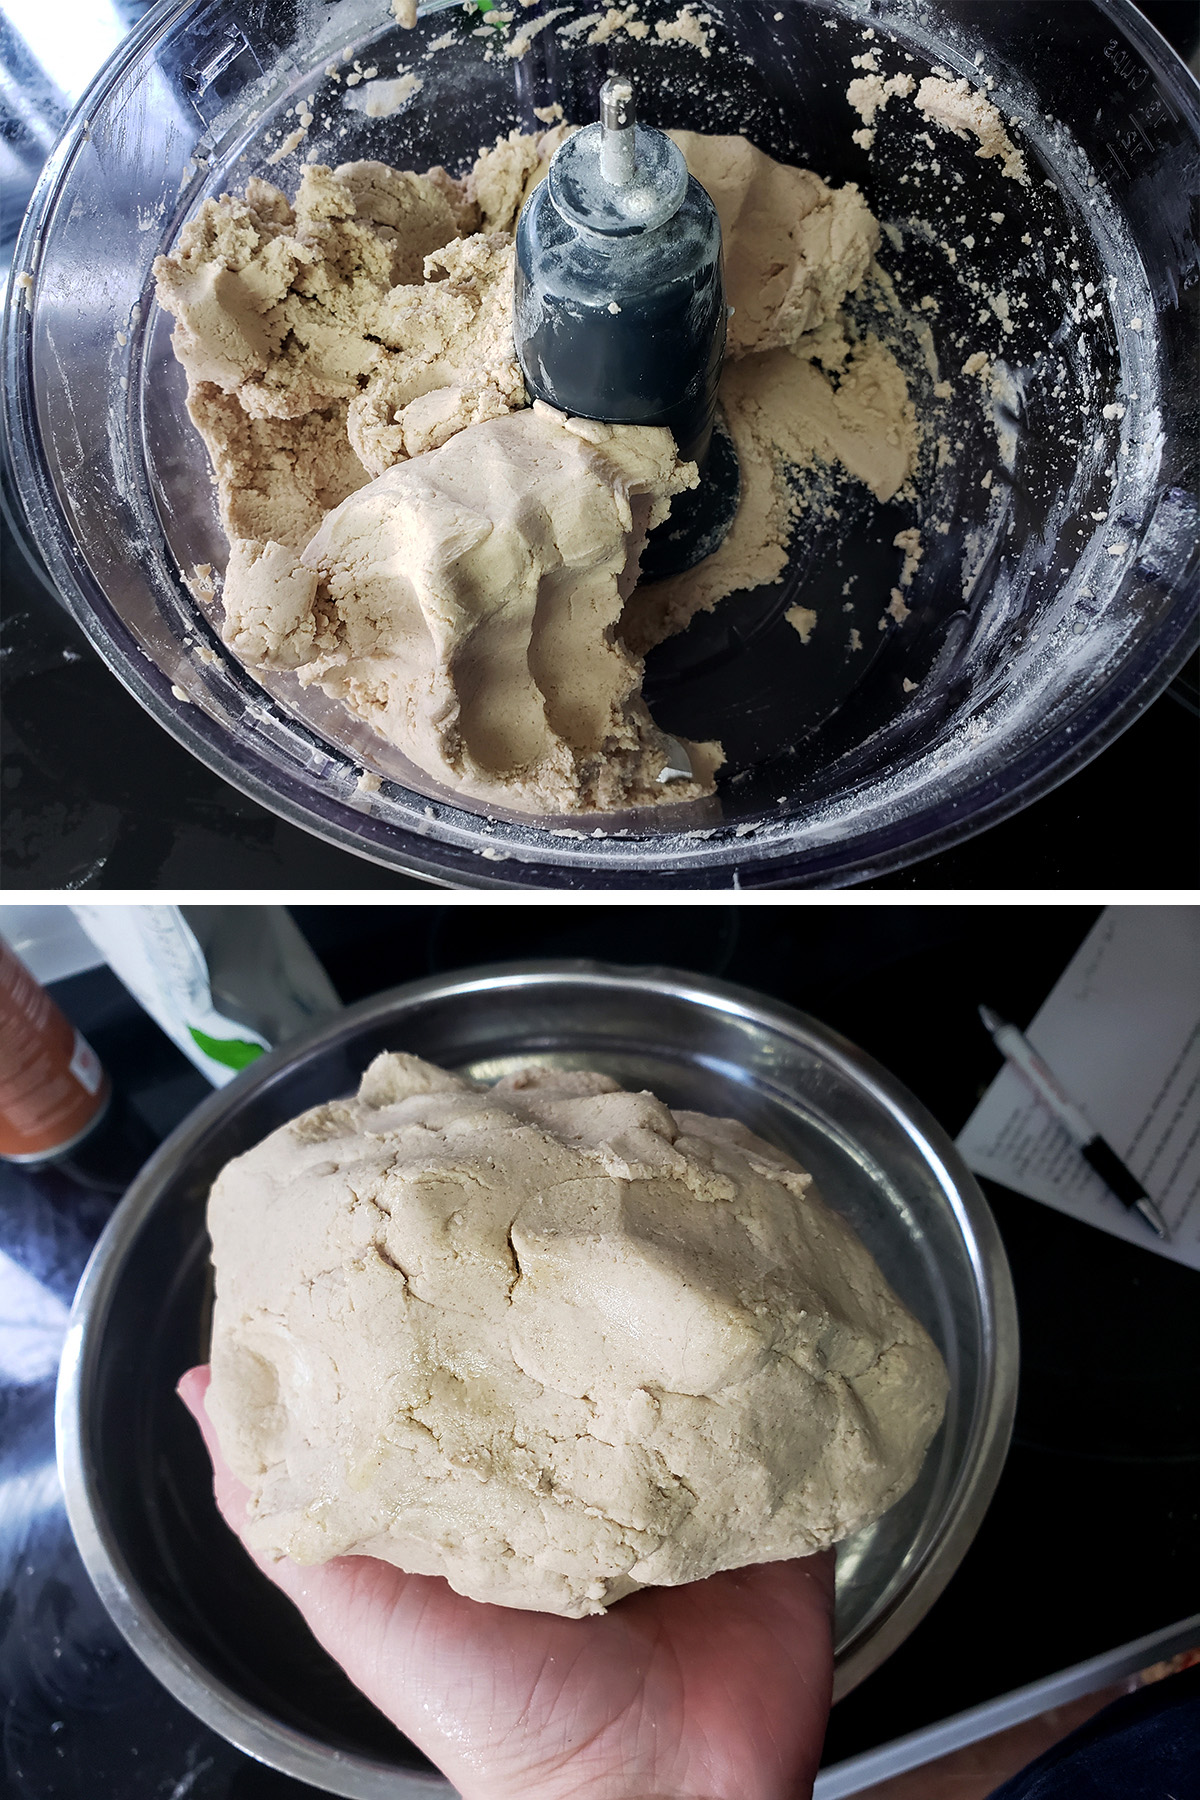
With clean or gloved hands, pinch a little of the mixture together. It should hold well, without being sticky. If it doesn't hold together, add a small amount of water - just a few drops at a time - combine, and test again.
When you’re happy with the texture, transfer dough to a greased bowl. Loosely cover bowl with plastic wrap, allow to rise in a warm area for at least 2 hours.
Form & Cook Your Flatbreads
Divide dough into 4 balls, each about the size of a tennis ball. I liike to roll the dough into a log and slice it into even pieces.
Using greased hands, form dough into circles about 7-8" in diameter.
If you have a tortilla press, you can use it to flatten the dough to an even thickness - just don't press TOO hard. You're not making tortillas here, after all - you want some thickness to it!
Heat up a large nonstick pan - I like to have it about medium-high. You don’t want to heat a nonstick pan on high, but you do want it pretty hot for this.
One at a time, cook your pita rounds. Spray your pan with olive oil, the lay a pita round in the pan. Allow to cook for 2-3 minutes, or until it starts to puff up a bit.
Spray the top of the pita with more olive oil, flip, and cook for another 2-3 minutes.
Once pita is cooked through and browning on both sides, remove from the pan and place on a cooling rack, while you repeat with the remaining pita rounds.
To use, reheat in a dry nonstick pan, before serving.
More Paleo Recipes
Looking for more recipes that are not only gluten-free, but grain free - or AIP friendly? Here are a few more options!
AIP Bread Stuffing
AIP / Paleo Ranch Dressing
Calamansi Paleo Panna Cotta
Mango Salsa for Fish Tacos
Paleo Cassava Flour Tortillas
Paleo Chicken Pad Thai
Paleo Chicken Shawarma
Paleo Fish Tacos
Paleo Sweet Potato Gnocchi [AIP]
Quick Beet Pickles [AIP & Paleo]
Share the Love!
Before you chow down, be sure to take some pics of your handiwork! If you post it to Bluesky, be sure to tag us - @CelebrationGen. We're also on Pinterest, so you can save all your favourite recipes to a board!
Also, be sure to subscribe to my free email newsletter, so you never miss out on any of my nonsense.
Well, the published nonsense, anyway!
AIP Flatbread
Equipment
- Food Processor
Ingredients
- ½ cup Warm water
- 2 ½ teaspoon Active Dry Yeast
- 1 teaspoon Honey
- 1 ⅔ cup Cassava Flour
- ⅓ cup Tapioca Starch
- 1 teaspoon Baking powder
- ¾ teaspoon Salt
- ½ cup coconut cream
- ¼ cup lard
Instructions
- Combine warm water with honey, stirring until honey is almost dissolved. Add yeast, stirring until incorporated.
- Loosely cover bowl with plastic wrap. Set aside in a warm place for 10 minutes, or until foamy.
- Measure the cassava flour tapioca starch, baking powder, and salt into a food processor, blitz to combine.
- Add lard to the processor, blitz just a few times to break up the lard and distribute a little.
- Add coconut cream and lard, once again blitzing until combined.
- Add water/yeast mixture, once again mixing until fully combined.
- With clean or gloved hands, pinch a little of the mixture together. It should hold well, without being sticky.
- If it doesn't hold together, add a small amount of water - just a few drops at a time - combine, and test again.
- When you’re happy with the texture, transfer dough to a greased bowl. Loosely cover bowl with plastic wrap, allow to rise in a warm area for at least 2 hours.
- Divide dough into 4 balls, each about the size of a tennis ball. Using greased hands, form dough into circles about 7-8" in diameter.
- Heat up a large nonstick pan - I like to have it about medium-high. You don’t want to heat a nonstick pan on high, but you do want it pretty hot for this.
- One at a time, cook your pita rounds. Spray your pan with olive oil, the lay a pita round in the pan. Allow to cook for 2-3 minutes, or until it starts to puff up a bit.
- Spray the top of the pita with more olive oil, flip, and cook for another 2-3 minutes.
- Once pita is cooked through and browning on both sides, remove from the pan and place on a cooling rack, while you repeat with the remaining pita rounds.








I'm making these now...my question is, step #5 says "add coconut cream and oil," but there's no oil listed in the recipe. I added 2T MCT oil out of sheer randomness and will let you know how it goes...
The oil was supposed to say lard, which was the version of fat called for in the recipe.