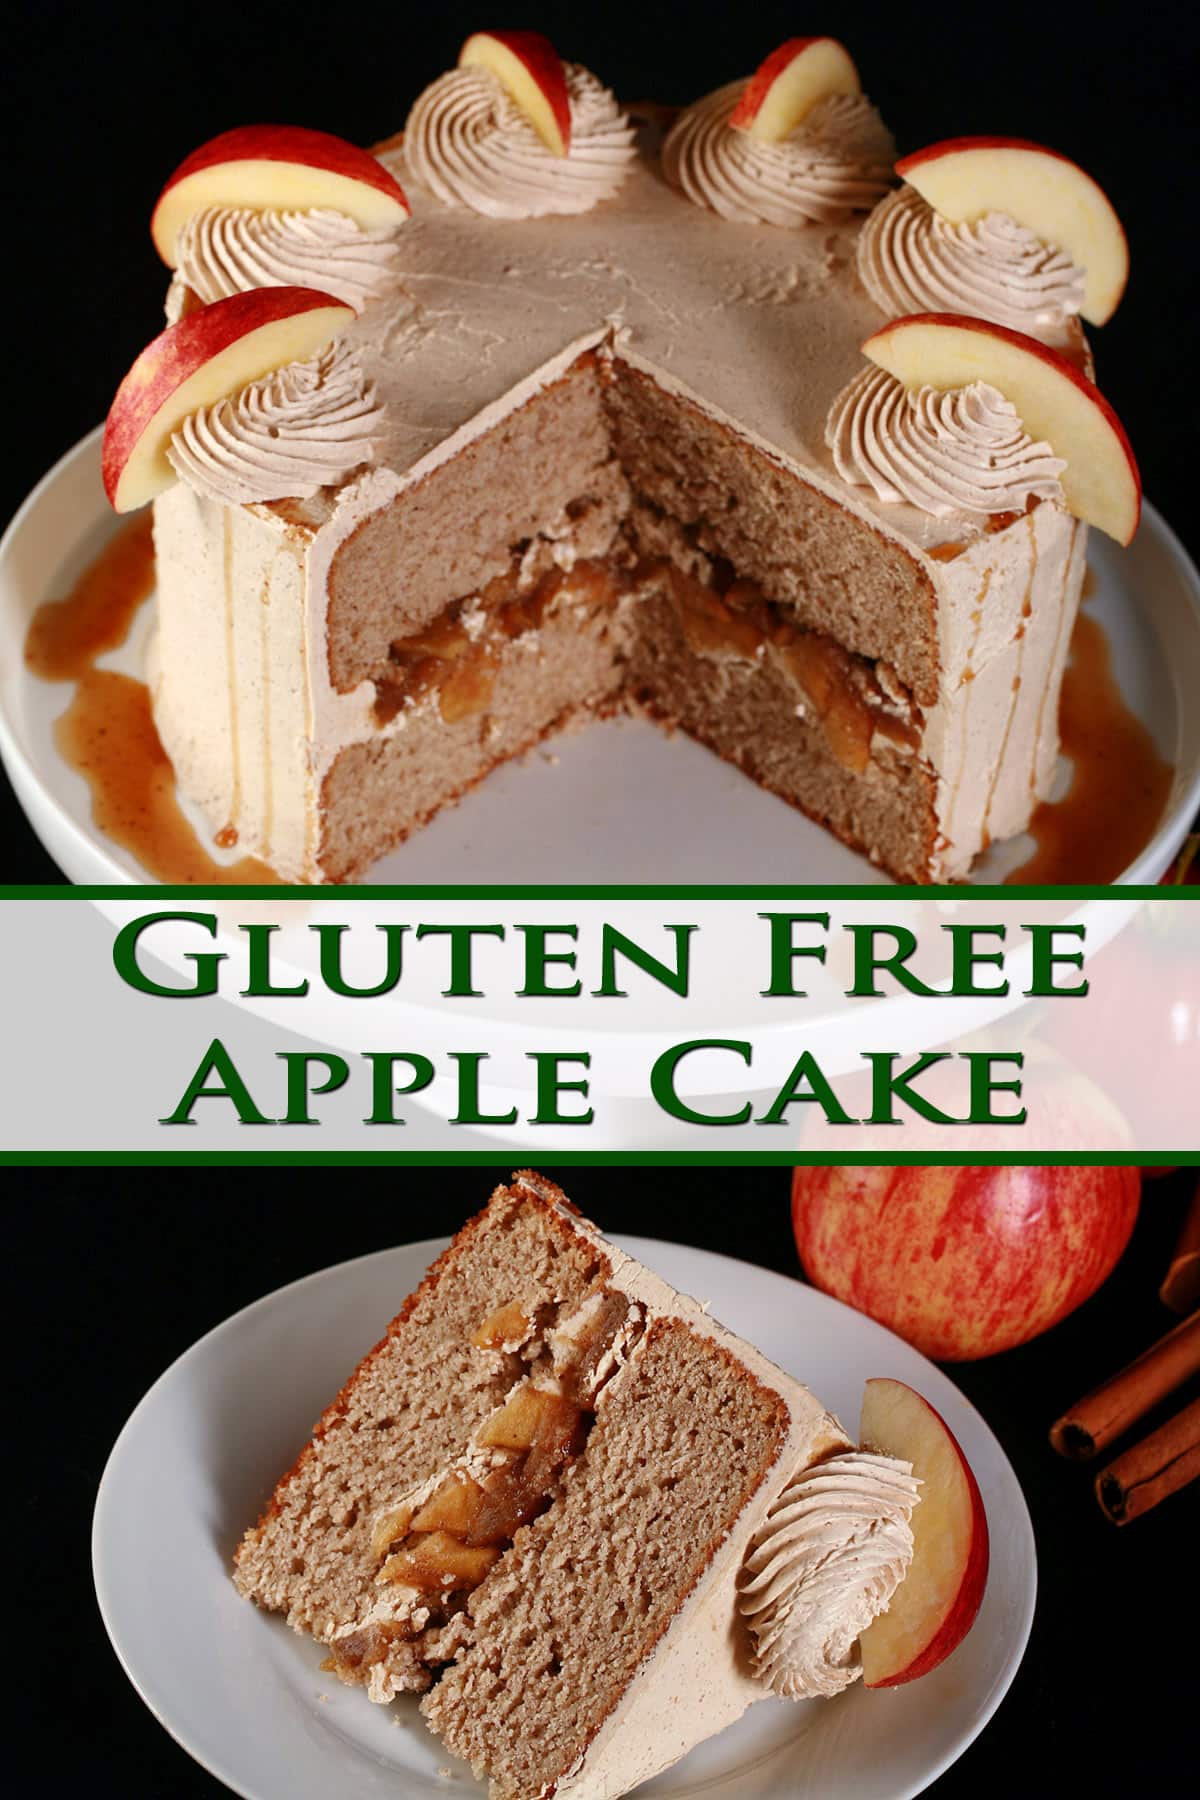
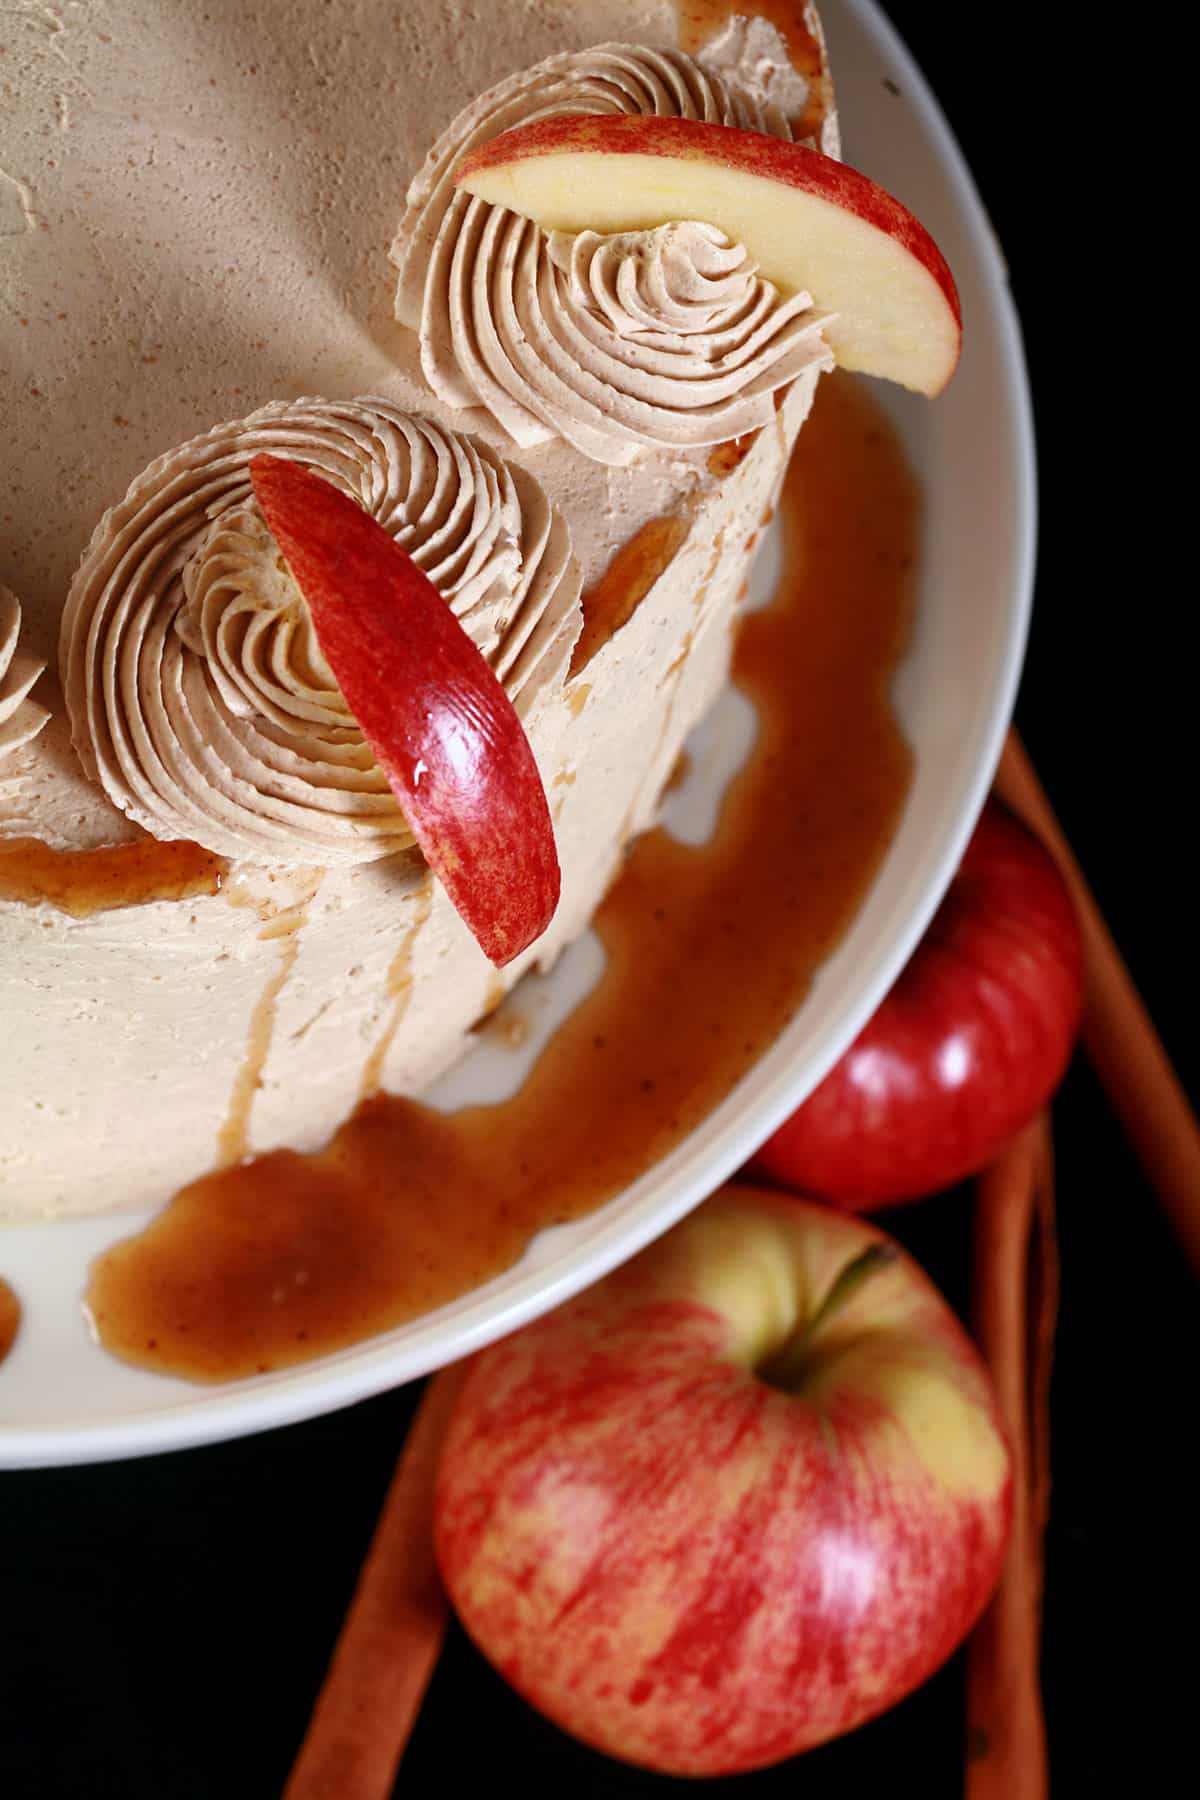
This delicious gluten free apple cake is everything you want in a fall dessert - a delicious spice cake, apple filling, and brown sugar frosting.
Yes, there is a fantastic recipe for Gluten Free Fruitcake, but that seems different somehow. I’m talking cakes of the “cupcake and frosting, slice it up for a birthday” variety!
Anyway... Kind of embarrassing, for someone formerly employed as an “Evil Cake Overlord”, IMHO.
So, time to finally get around to making a gluten-free version of some of my most popular cake recipes from back in the day!
Let’s start with this gluten-free apple cake recipe. It was originally “Autumn Apple” on my wedding & event cakes menu:
Our traditional vanilla cake, lightly spiced with cinnamon and nutmeg. We layer it with a freshly made filling of caramelized apples, cinnamon, butter and brown sugar (with or without raisins), drizzled with caramel.

In this new recipe based on that torte, the apple flavor isn’t just relegated to the filling, but incorporated into the gluten free cake itself, via shredded apple. This not only elevates the flavor profile, it helps ensure a moist cake.
This is going to be a photo - and instruction - heavy post, but I promise this gluten free apple cake recipe is not as intimidating to make as it may look.
None of it is super time sensitive, and the elements - cake, frosting, and filling - can all be made ahead of time, and assembled when you’re ready.
So pour a cup of coffee if you need it, and I’ll show you how to make the BEST apple cake!

Ingredients
This may look like a whole laundry list, but they’re mostly simple ingredients that should be readily available in most grocery stores.
This gluten free apple torte consists of 3 main recipes: the cake, the filling, and the brown sugar Swiss meringue buttercream we frost it with.
The Apple Spice Cake
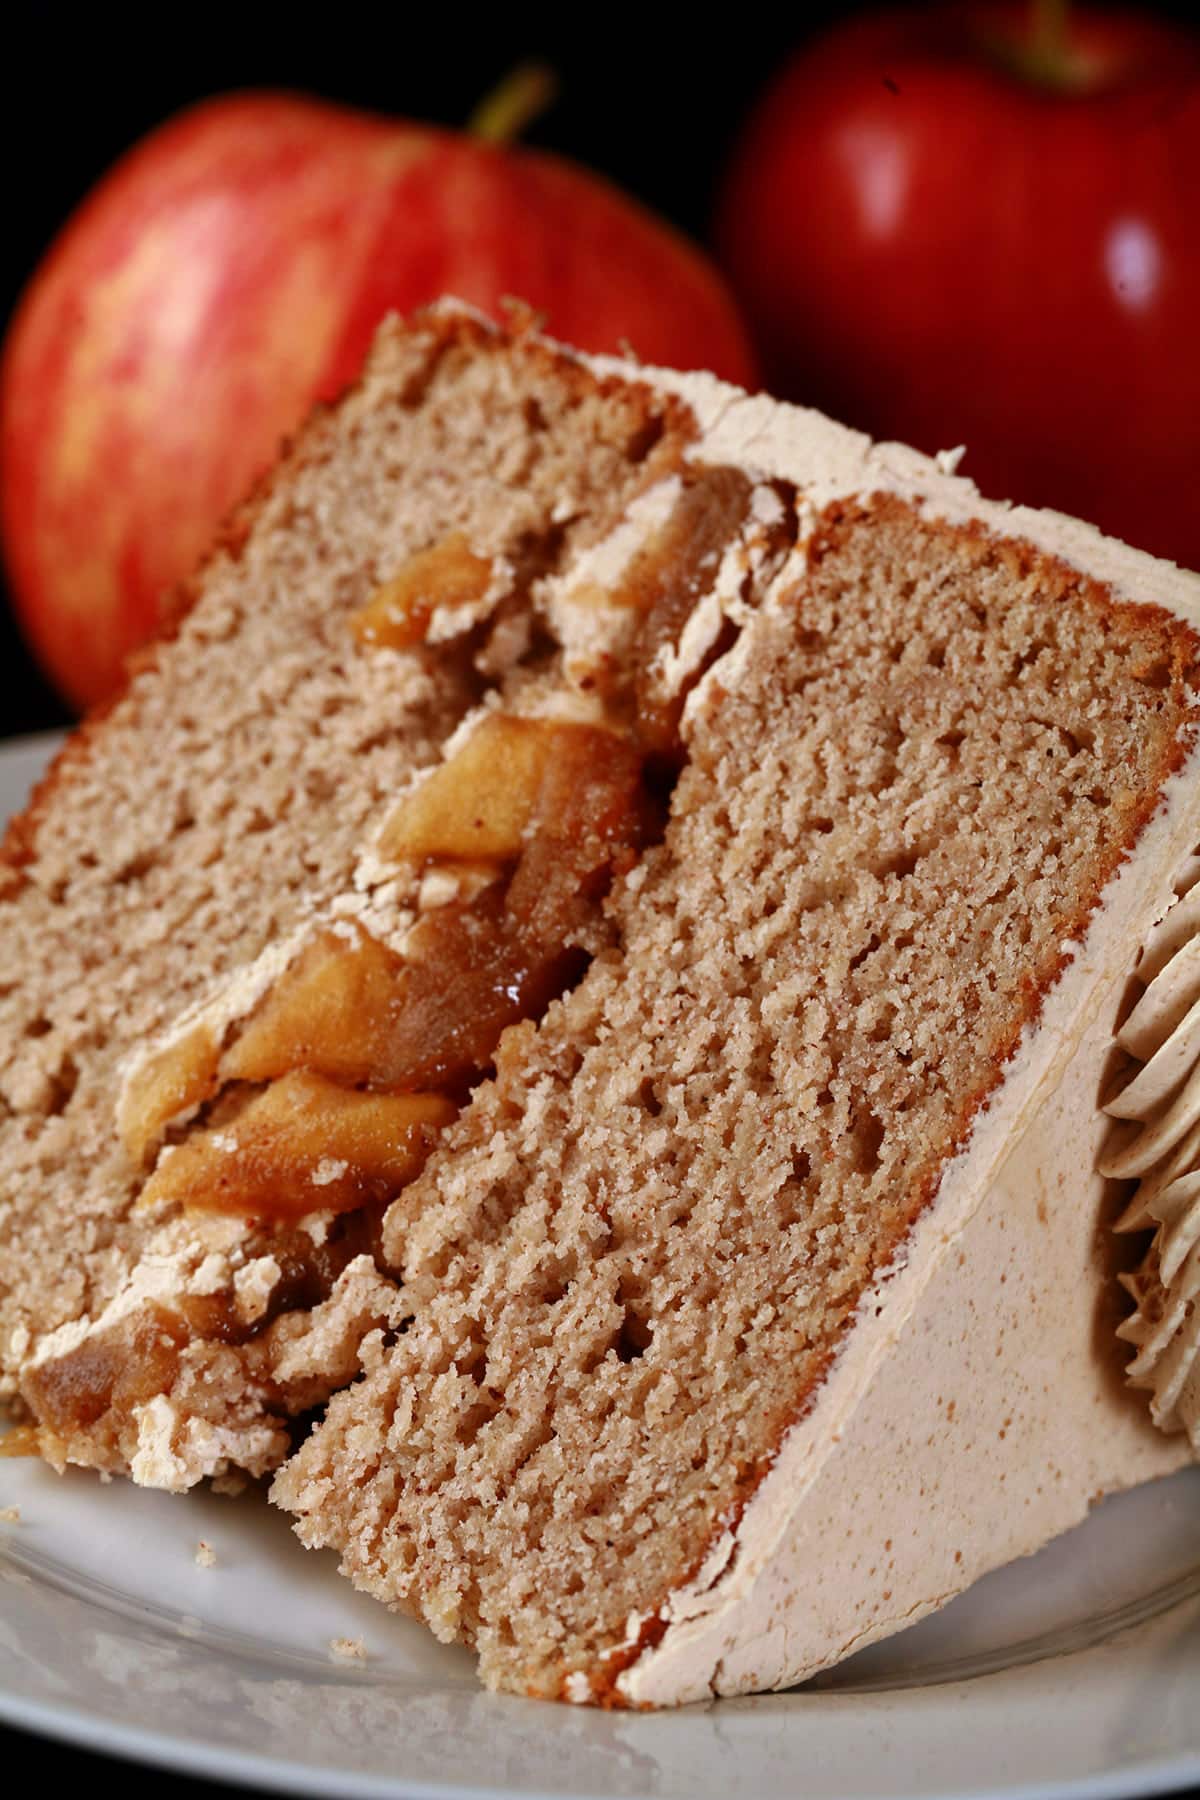
This cake turns out a beautiful texture - soft, similar to what you’d get from a regular, full gluten box mix cake!
The Flours
As with all of my gluten-free baking, I use individual gluten-free flour varieties - and supporting ingredients and techniques - to develop these recipes from scratch, rather than use a premade gluten free flour blend.
I don’t find the all purpose gluten free flour blends to give consistent results across brands, or the BEST result for all recipes.
By blending flours, starches, and techniques for each recipe specifically, you’ll more closely replicate the results you see from regular flour / all purpose wheat flour.
Light Buckwheat Flour
Sorghum Flour
Coconut Flour
White Rice Flour
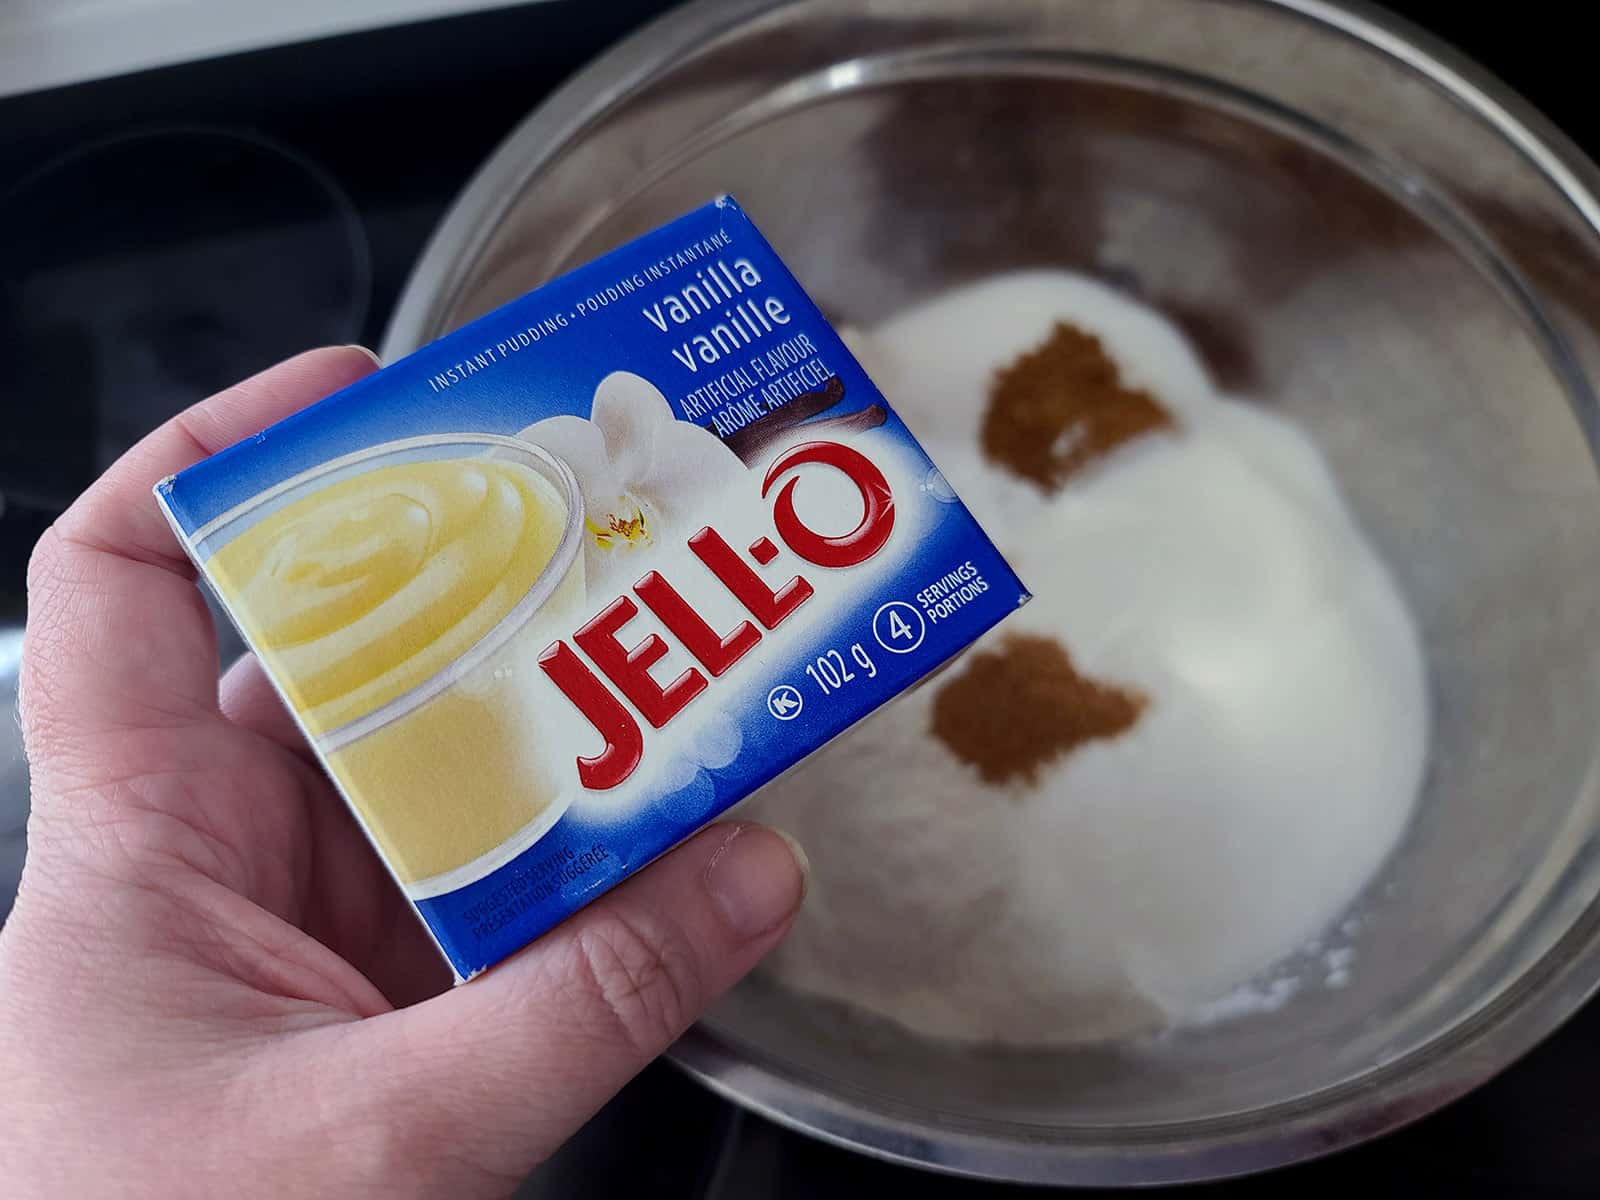
Instant vanilla pudding mix
... and no xanthan gum! Between the pudding mix and the technique I use, you don’t need it.
Everything Else
In addition to the flours and related items, you’ll need:
Granulated sugar
Buttermilk
Unsalted butter
Large apple
Large eggs
Baking powder
Cinnamon, Nutmeg, Salt
Vanilla extract
Oil spray
The Caramelized Apple Filling
This filling actually serves 2 purposes - cooking the apples to put in the cake, and producing caramel sauce for drizzling on the cake.
Fresh Apples
I like to use tart apples - or slightly tart apples - for this cake. Mutsu are the BEST apples, but Granny Smith and Pink Lady are other good options.
I’ll usually have an extra apple on hand for garnishing the finished cake - just be sure to soak the slices in lemon juice before using, to prevent oxidation.
Everything Else
The rest of the filling is really straightforward:
Butter
Brown sugar
Cinnamon, nutmeg, salt.
... no real notes on them!
Brown Sugar Swiss Meringue Buttercream
Rather than using a powdered sugar based frosting for this gluten-free apple cake, I like to use a brown sugar buttercream.
Swiss meringue is made using different inigredients - and technique - from your usual icing sugar buttercream, but it’s worth the bit of extra cost and effort.
This makes a silky smooth, luxurious buttercream. If you’ve never had it before, you’re missing out - give it a try!
You’ll need:
Egg whites
Brown Sugar
Unsalted butter
Vanilla extract
... and that’s it!

How to Make Gluten-Free Autumn Apple Cake
The full recipe is in the recipe card at the end of this post, here is a pictorial walk through with some additional info.
Gluten-Free Apple Spice Cake
First step: preheat oven to 350°F (180°C). Liberally grease two 8" round cake pans with vegetable shortening, and/or spray with nonstick spray.

Carefully separate eggs, placing yolks in the large bowl of flour mixture, and the egg whites in a separate bowl*
*A VERY clean medium bowl (if using an electric mixer), or in the bowl of a stand mixer.
Add the buttermilk, shredded apple, melted butter, and vanilla to the bowl of dry ingredients. Whisk until smooth and well combined, set aside.

Gently fold whipped egg whites into the main cake mixture, until all of the “white” disappears.

Bake until golden and cake tester or butter knife inserted into center of cake comes out clean and cake springs back - about 45-60 minutes.

Note: Ideally, allow to cool to room temperature, wrap tightly with plastic wrap. Allow cake to sit overnight, make frosting & ice cake the following day.
Caramel Apple Filling
While the cake bakes, make the filling.
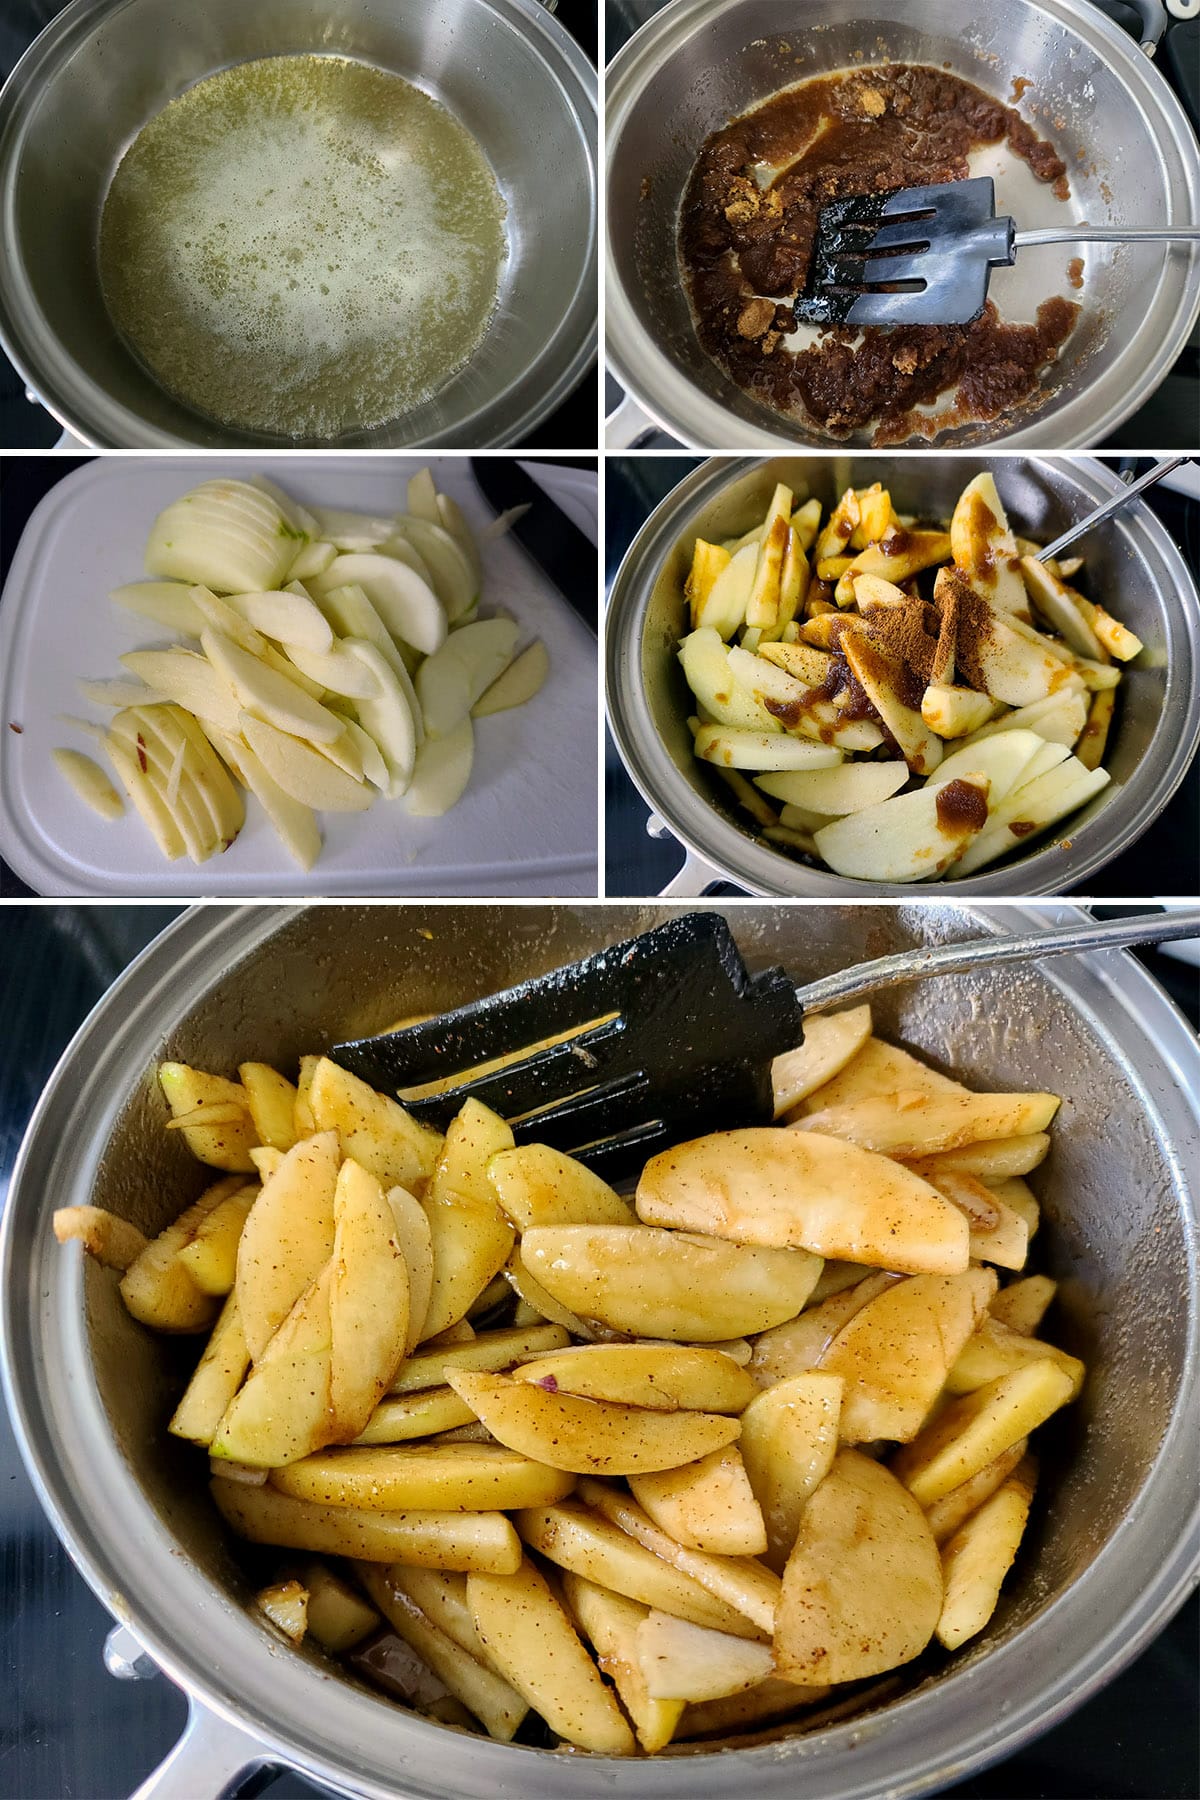
In a medium saucepan, melt butter over medium heat.
Add brown sugar, cinnamon, nutmeg, and salt , stirring until well combined.
Add apple slices (or chopped apples, if you prefer), and cook until tender.
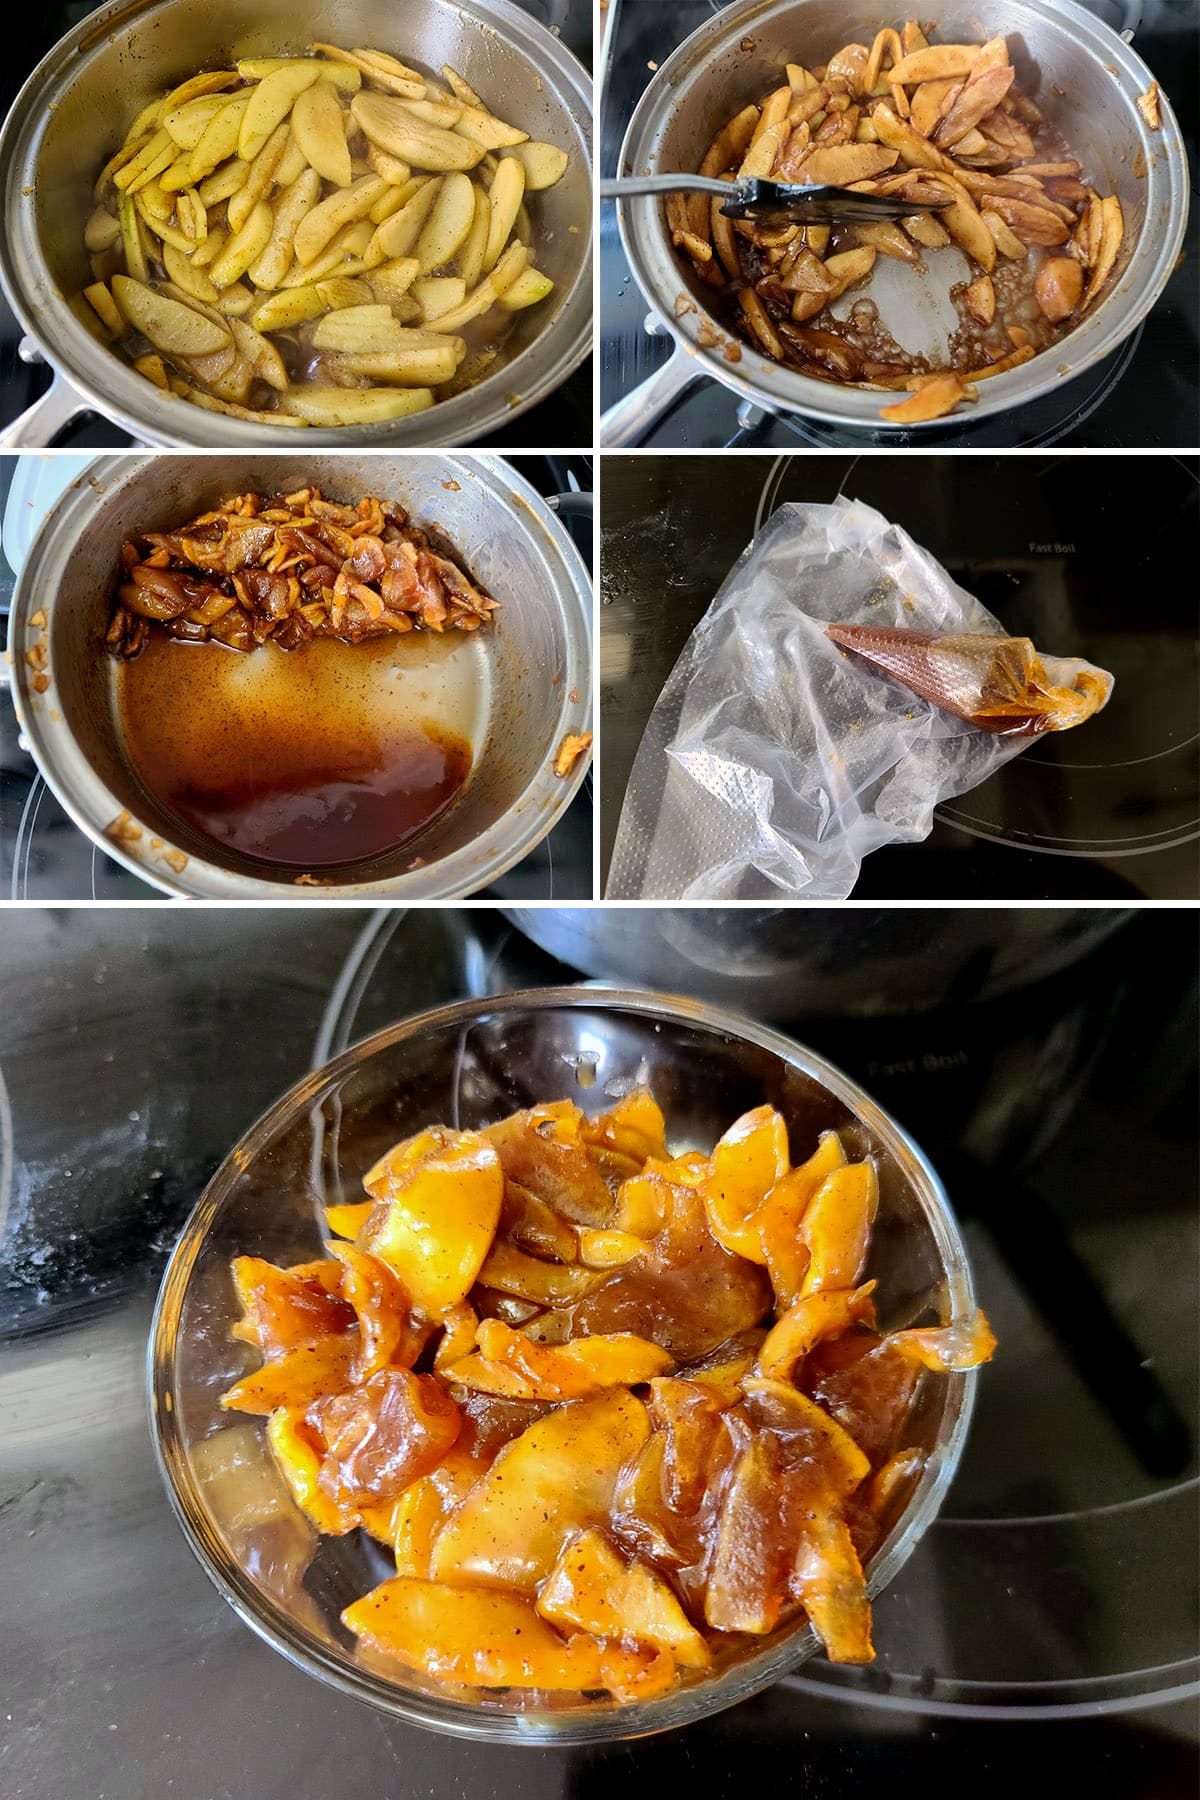
Remove from heat, allow to cool to room temperature.
Note: I like to drain the apples off the syrup, and put the syrup in a pastry bag to be drizzled on top of the cake, later.
Brown Sugar Swiss Meringue Buttercream
Mix egg whites and brown sugar in a very clean metal mixing bowl, and place over a pot of simmering water on your stove top.
Note: As with all meringue recipes, be VERY careful when separating your eggs. Even the slightest speck of egg yolk in the whites will prevent this frosting from properly whipping up!

Whisk occasionally until it hits 160°F (72°C) on a candy thermometer.
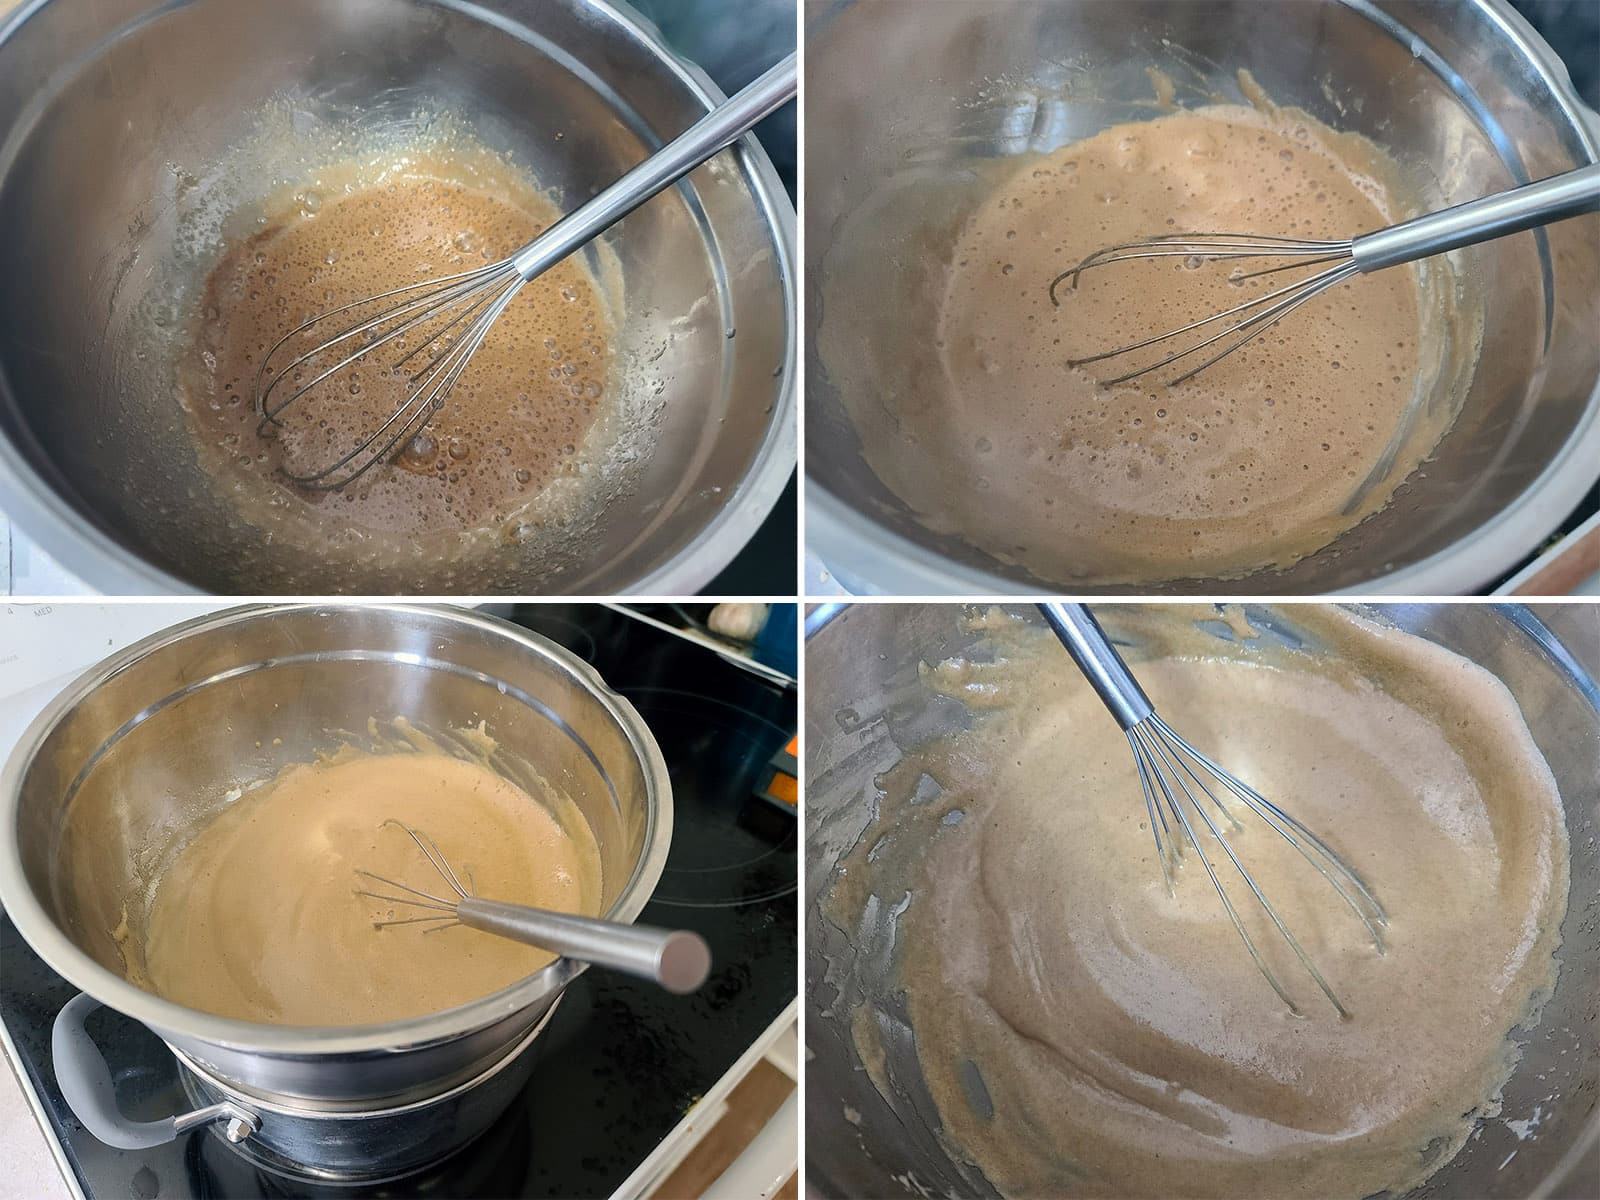
Move egg & sugar mixture to your stand mixer and whip on high (using the whisk attachment) until stiff peaks form, and mixture is relatively cool.

When meringue has reached the stiff peaks stage, change the mixer over to the paddle attachment.
With the mixer on LOW speed, add the butter a chunk at a time.
Add flavoring, continuing to mix until fully incorporated.
Once butter and flavoring are incorporated into the mix, turn speed back up to high and whip until you have a smooth buttercream.
It will go through some weird stages before this point – soupy, maybe curdled. Don’t worry! It will come together!

Assembly
Level your cakes by cutting the rounded “dome” off the top of each cake round.

Take one round of leveled cake, and center it on your board or drum. The frosting will act as a glue, lightly holding the cake in place.
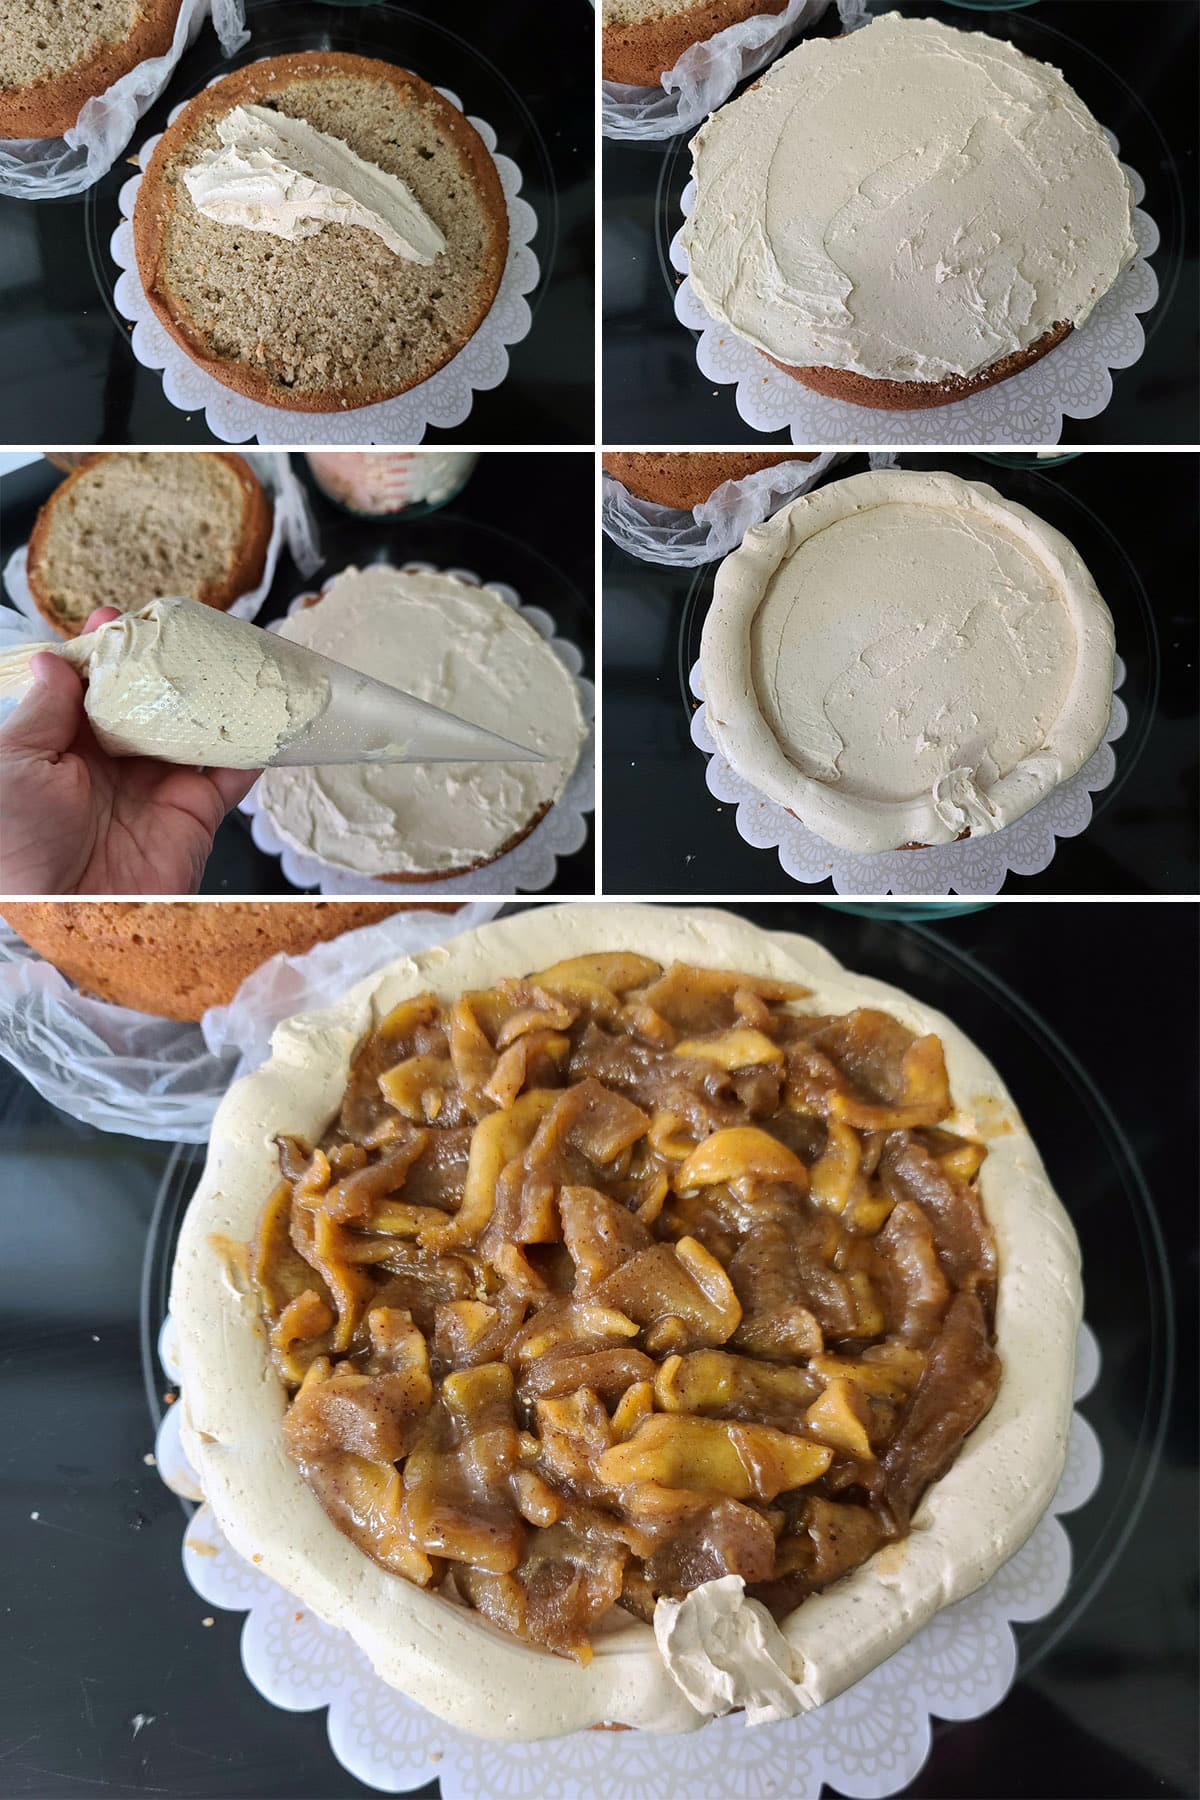
Spread a little bit of the frosting on the cake round, smoothing to an even layer.
Spoon some brown sugar Swiss meringue buttercream into a pastry bag, and cut the tip off - aim for about ½" diameter hole.
Use the decorating bag to evenly pipe an unbroken border along the top edge of the bottom layer. This border should be positioned slightly to the inside of the edge.
Spread the cooled apple filling inside this “dam”, top with second layer of cake. For easier handling, you can wrap the cake in plastic and chill for an hour at this point.
This step will very likely stir up some crumbs as you go - that’s perfectly ok! This is why we call it a “crumb coat”, after all!
When your cake is completely coated with frosting, return it to the fridge to chill for another 30 minutes or so.

I like to frost the sides first, before scooping a generous amount of frosting onto the top of the cake. I spread it out from the center of the cake, towards the edges. Once the top and sides of frosting meet, I tidy it all up with a few more swipes of my spatula.
Note: I went a bit lighter on frosting this time, to allow some “extra” to be able to pipe on top.
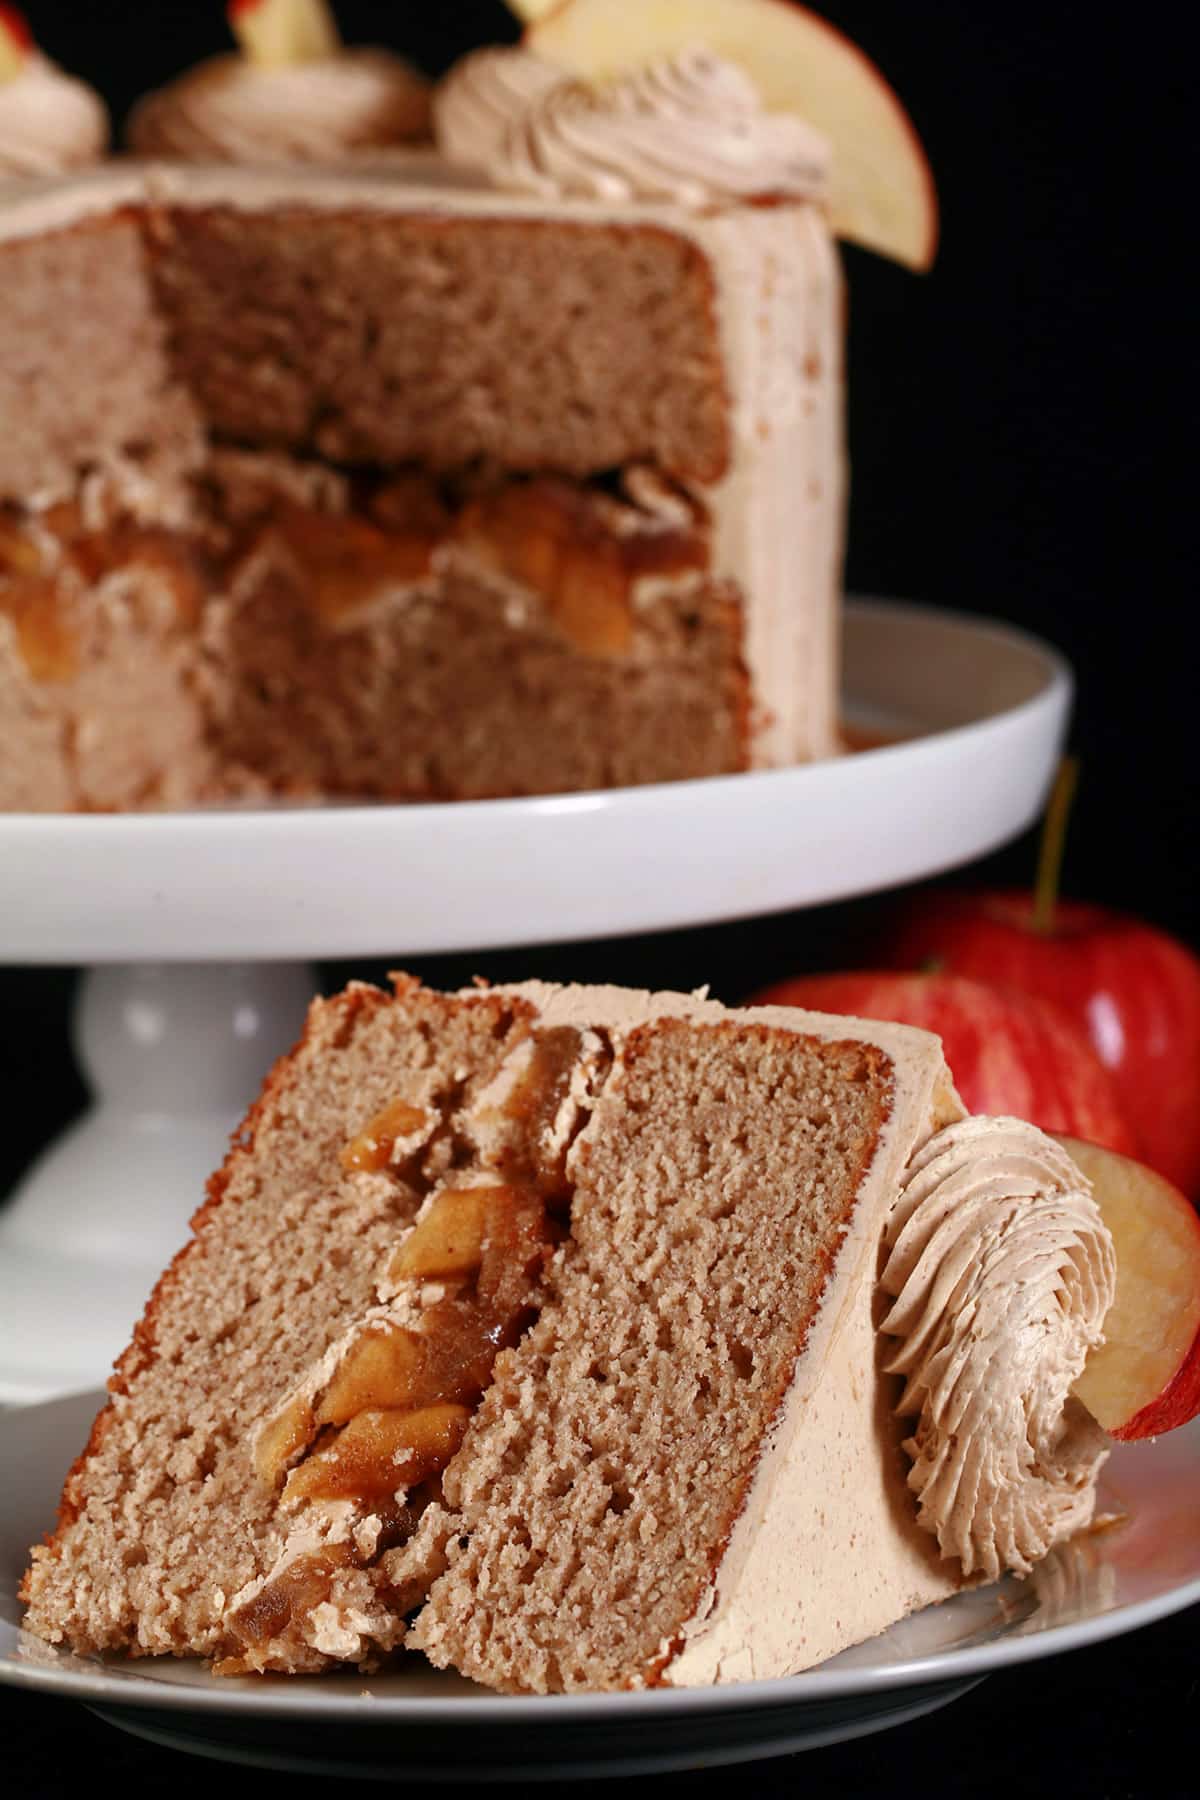
Decorate the cake with extra frosting, the leftover sauce, and/or fresh apple slices. (Soak the apple slices in lemon juice for a few minutes before using!)

Important note: This frosting gets VERY hard if chilled. Always serve cakes at room temperature - cold cake is also DRY cake!
More Gluten Free Apple Recipes
Looking for some more tasty, gluten free apple desserts? I’ve got you covered with even more easy gluten free recipes!
Apple Cinnamon Caramel Popcorn
Apple Crisp Macchiato
Candy Apples
Gluten-Free Apple Crisp
Gluten Free Apple Pie
Gluten Free Caramel Apple Pancakes
Hard Apple Cider
Maple Caramel Apple Recipe
Share the Love!
Before you chow down, be sure to take some pics of your handiwork! If you post it to Bluesky, be sure to tag us - @CelebrationGen. We're also on Pinterest, so you can save all your favourite recipes to a board!
Also, be sure to subscribe to my free email newsletter, so you never miss out on any of my nonsense.
Finally, if you love this recipe, please consider leaving a star rating and a comment, and/or sharing this post on social media!

Gluten Free Apple Cake Recipe [With Brown Sugar Buttercream]
Equipment
- 2 8" round cake pans
Ingredients
Cake:
- 1 cup Light buckwheat flour
- ⅔ cup Sorghum flour
- ¼ cup Coconut flour
- ¼ cup White rice flour
- 1 ½ cups Granulated sugar
- 4 teaspoon Baking powder
- 1 ½ teaspoon Cinnamon
- 1 teaspoon Salt
- ¾ teaspoon Nutmeg
- 3 ½ oz Instant vanilla pudding mix
- 4 Large eggs separated
- 1 ¼ cups Buttermilk
- 1 large apple Peeled and finely shredded
- 1 cup Butter Melted
- 4 teaspoon Vanilla extract
Filling
- ¼ cup Butter
- ½ cup Brown sugar firmly packed
- 1 teaspoon Cinnamon
- Pinch Nutmeg
- Pinch Salt
- 4 Apples sliced
- ⅓ cup Raisins optional
Brown Sugar Swiss Meringue Buttercream:
- 5 Egg whites*
- 1 cup Brown Sugar packed
- 1 ½ cups Unsalted butter
- 3 teaspoon Vanilla extract
Instructions
Cake:
- Preheat oven to 350°F (180°C). Liberally grease two 8" round cake pans with vegetable shortening, and/or spray with baking spray.
- Combine all of the dry ingredients in a large mixing bowl, set aside.
- Carefully separate eggs, placing yolks in the dry ingredients bowl along with buttermilk, shredded apple, melted butter, and vanilla. Whisk until smooth and well combined.
- In a – very clean – mixing bowl or stand mixer, whip the egg whites on high speed, until stiff peaks form.
- Gently fold whipped egg whites into the main batter, until all of the “white” disappears.
- Divide batter among prepared cake pans. Bake until golden and knife inserted into center of batter comes out clean and cake springs back - about 45-60 minutes.
- Allow to cool 10-15 minutes before turning cakes out onto baking rack to cool fully.
- Ideally, allow to cool to room temperature, wrap tightly with plastic wrap. Allow cake to sit overnight, make frosting & ice cake the following day.
Filling:
- In a medium saucepan, melt butter over medium heat.
- Add brown sugar, cinnamon, nutmeg, and salt , stirring until well combined.
- Add apple slices, and cook until tender. The juices will come out of the apples, form a syrup, and then eventually mostly cook off to a thick glaze.
- Remove from heat, allow to cool to room temperature.
- Note: I like to drain the apples off the syrup, and put the syrup in a pastry bag to be drizzled over the final cake, later.
Brown Sugar Swiss Meringue Buttercream:
- Mix egg whites and brown sugar in a very clean metal mixing bowl, and place over a pot of simmering water on your stove top.
- Whisk occasionally until it hits 160°F (72°C) on a candy thermometer.
- Move egg mixture to your stand mixer and whip on high (using the whisk attachment) until stiff peaks form, and mixture is relatively cool.
- While waiting, cut up the butter into chunks.
- When meringue has reached the stiff peaks stage, change the mixer over to the paddle attachment.
- With the mixer on LOW speed, add the butter a chunk at a time.
- Add flavoring, continuing to mix until fully incorporated.
- Once butter and flavoring are incorporated into the mix, turn speed back up to high and whip until you have a smooth buttercream.
- It will go through some weird stages before this point – soupy, maybe curdled. Don’t worry! It will come together!
Assembly:
- Level your cakes by cutting the rounded “dome” off the top of each cake round.
- Smear a small amount of frosting on your cake board or cake drum.
- Take one round of leveled cake, and center it on your board or drum. The frosting will act as a glue, lightly holding the cake in place.
- Spread a little bit of the frosting on the cake round, smoothing to an even layer.
- Spoon some brown sugar Swiss meringue buttercream into a pastry bag, and cut the tip off - aim for about ½" diameter hole.
- Use the decorating bag to evenly pipe an unbroken border along the top edge of the bottom layer. This border should be positioned slightly to the inside of the edge.
- Spread the cooled apple filling inside this “dam”, top with second layer of cake. For easier handling, you can wrap the cake in plastic and chill for an hour at this point.
- Using an offset spatula (frosting knife), spread a thin coat of frosting over the top and sides of your cake. Fill in any gaps as necessary, and smooth everything as you go.
- This step will very likely stir up some crumbs as you go - that’s perfectly ok! This is why we call it a “crumb coat”, after all!
- When your cake is completely coated with frosting, return it to the fridge to chill for another 30 minutes or so.
- Clean off your spatula, use it to apply a generous layer of frosting to your chilled, crumb coated cake.
- I like to frost the sides first, before scooping a generous amount of frosting onto the top of the cake. I spread it out from the center of the cake, towards the edges. Once the top and sides of frosting meet, I tidy it all up with a few more swipes of my spatula.
- Decorate the cake with extra frosting, the leftover sauce, and/or fresh apple slices. (Soak the apple slices in lemon juice for a few minutes before using!)
Notes
Nutrition



Leave a Reply