

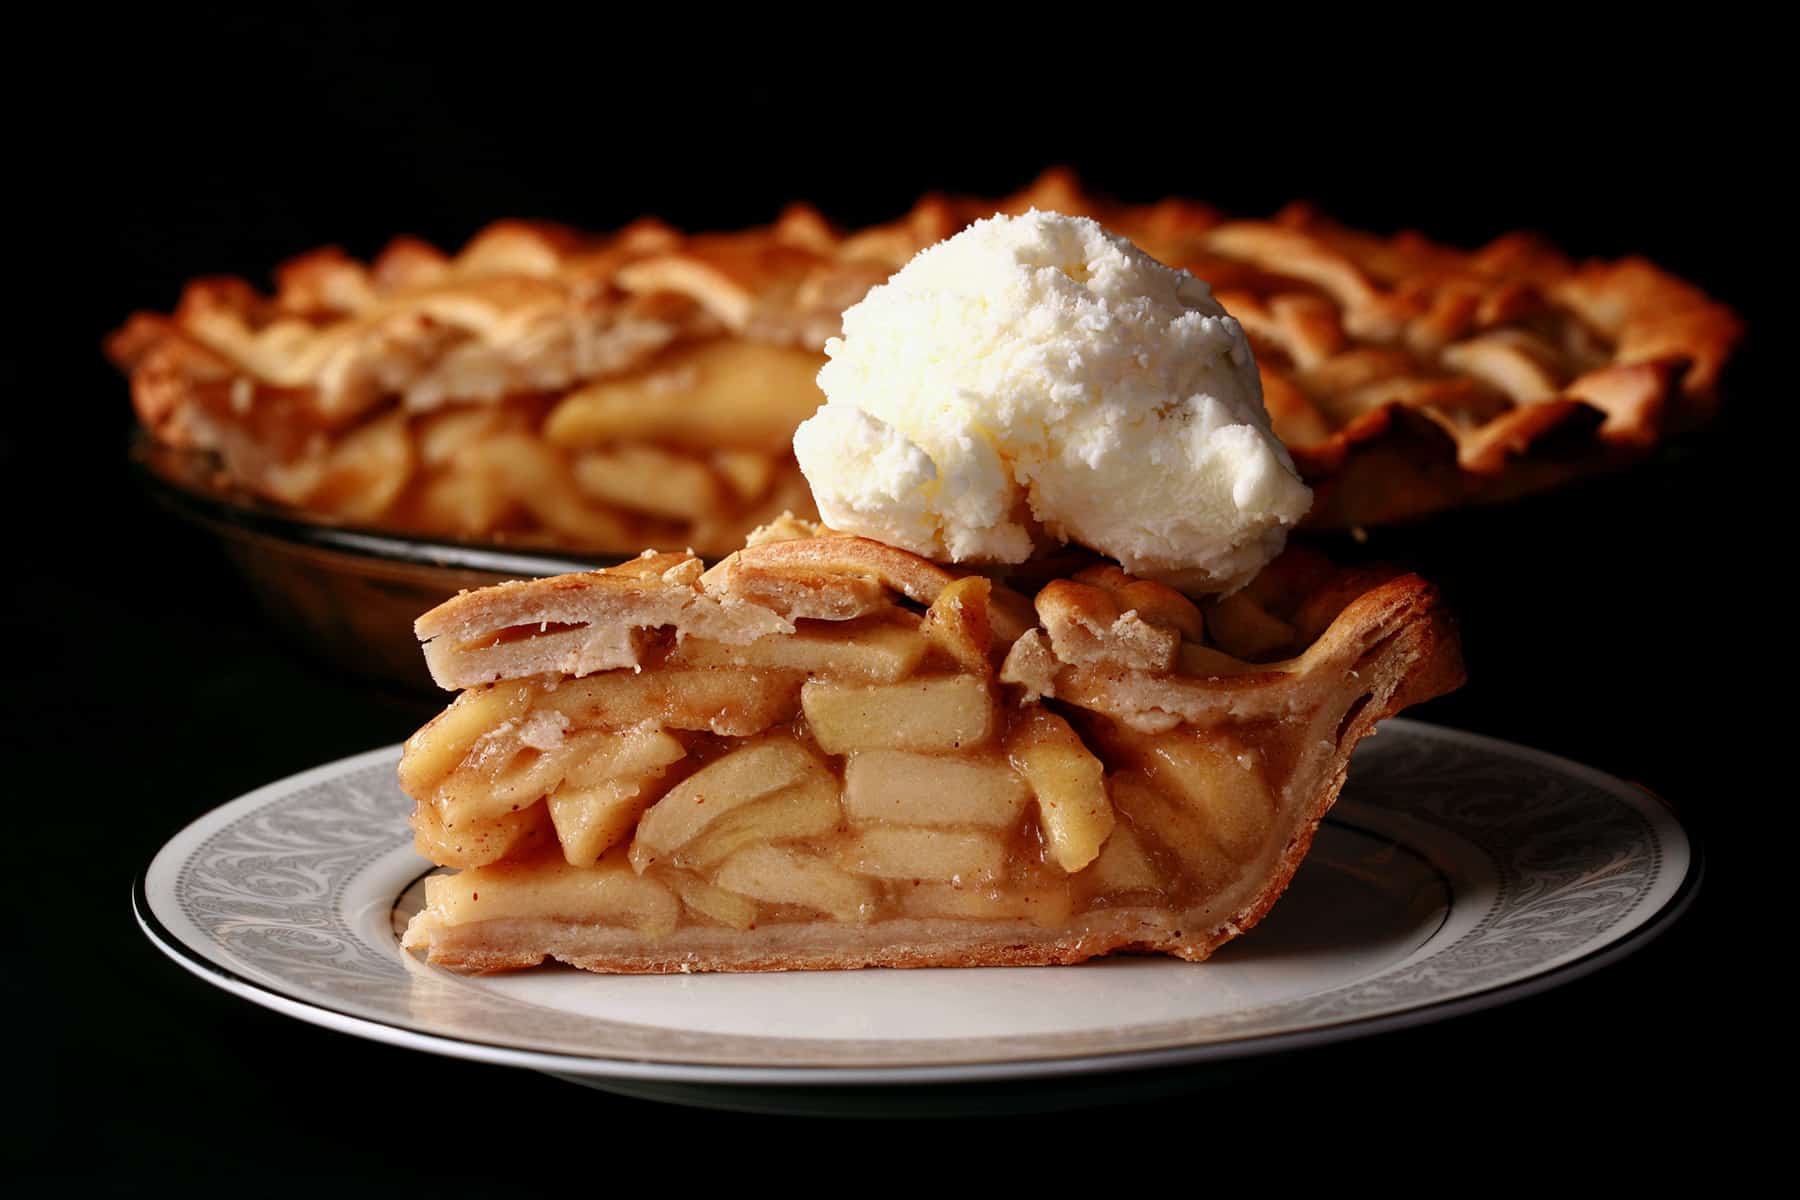
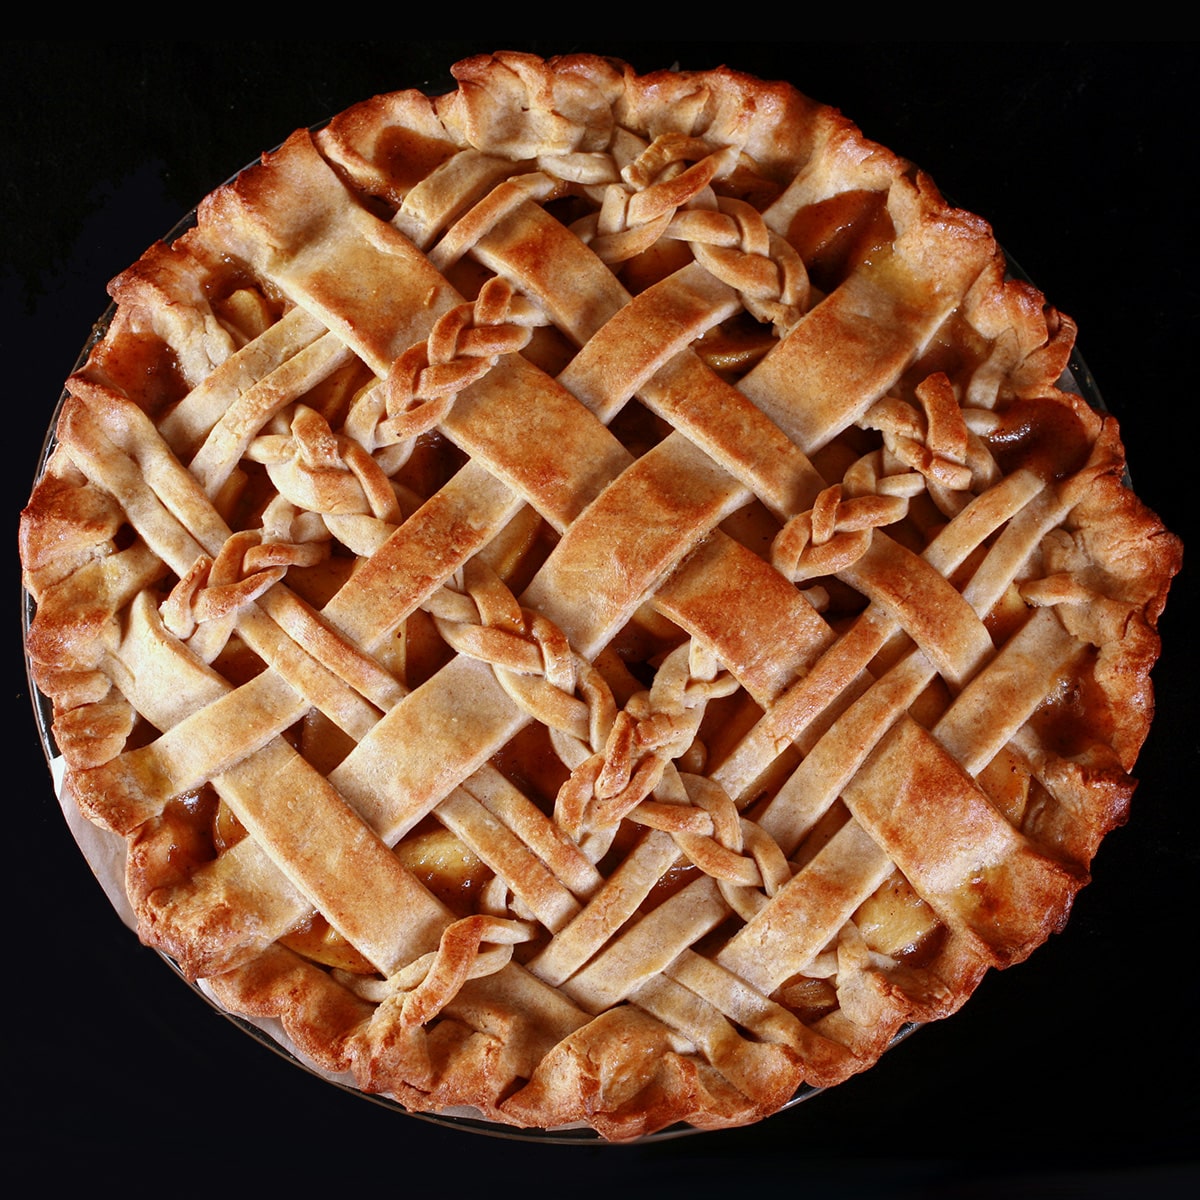
This gluten free apple pie has all of the flavor - and texture - of traditional apple pie... just without the wheat. Enjoyed by everyone!

After all, not only is fall just around the corner - with the promise of juicy apples, fresh from the tree - but I also realized that I don’t have many gluten free pie recipes posted.
Lots of gluten free dessert recipes in general, but only Gluten Free Earl Grey Pie and Gluten Free Maple Pumpkin Pie in the pie department.
Whoops!
As you should, when it comes to homemade apple pie!
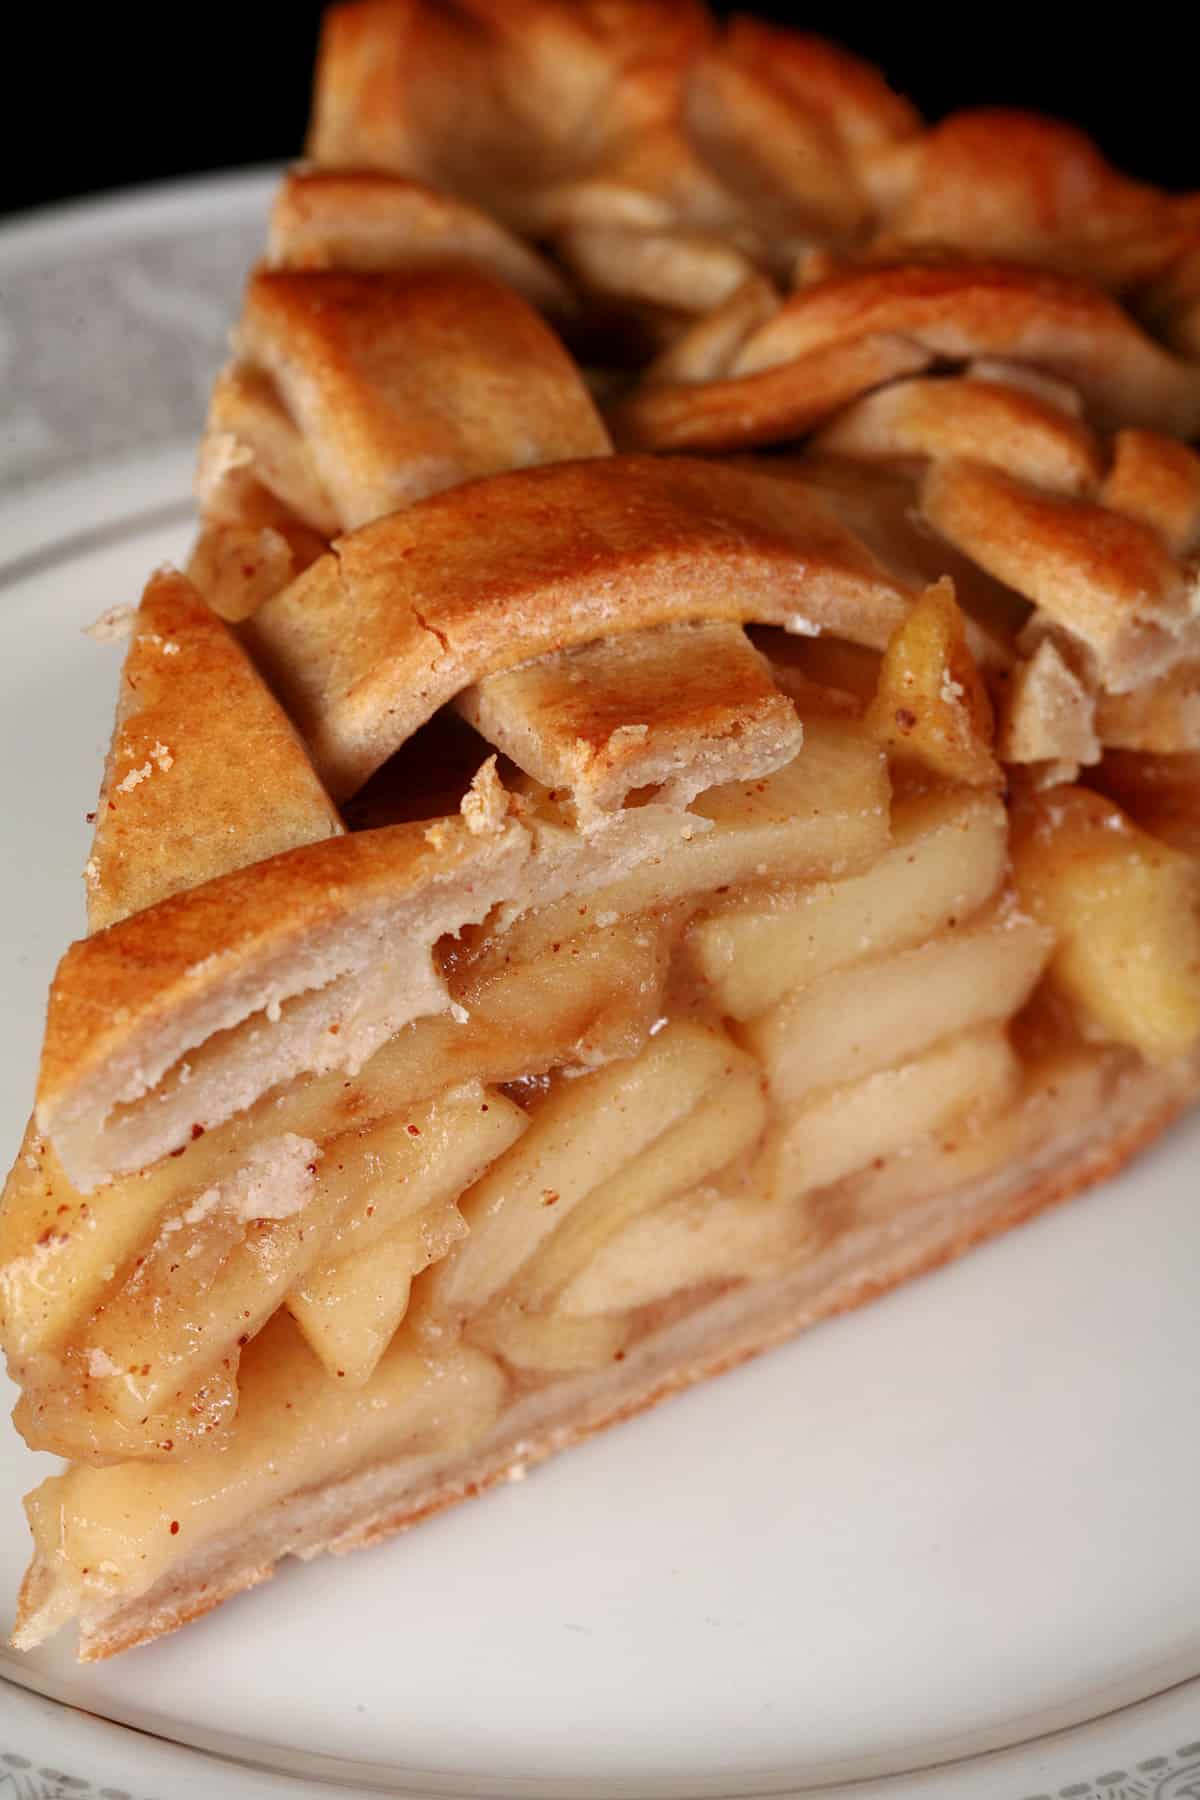
When made with my new and improved gluten free pie crust recipe, this delicious apple pie is the real deal - and passes for a traditional pie.
Sure to be the BEST apple pie you’ve had, and is totally suitable to be served to both those who need gluten-free, and others!

Ingredients
Gluten-free Pie Crust
You can use your favourite gluten free pie crust recipe for this recipe, and I’ll be sharing mine soon.
I had the post ALL ready to go - and it’s the one I used to make the pie photographed for this post. It tasted great and behaved just like regular pie crust.
... but then I improved my recipe, and made an even MORE flaky crust with it!
Truly the best gluten free crust I’ve ever made - I just need to re-shoot it and re-write that post. It’s coming soon though, I promise!
Edit: Here it is! Gluten Free Pie Crust recipe.
I’m not a fan of all purpose flour blends - I designed this flour mixture to work well for gluten-free dough, specifically. It made a tasty pie shell, with a relatively flakey crust*.
Assuming it’s handled right, anyway. I overhandled it when making the crust for the pie photographed here, as I got it mostly done before deciding that no, I wanted to do braids. Still tastes great, just not as flaky as it usually is!
Anyway, originally, I made that crust using a food processor to cut the cubed butter and cold water into the dough.
... that’s been changed - just the technique, not the actual inigredients. Will post here soon!
Apples
I like to use crisp apples - usually tart apples - for this gluten free apple pie recipe, but any good baking apple will work.
IMHO Mutsus are the best apples, but I tend to use Granny Smith apples, or a mixture of Granny Smith and Honeycrisp apples, depending on what’s available and what I’m in the mood for.
Everything else
Rounding out this recipe, you’ll need:
Brown sugar (Can sub Maple syrup for this!)
Granulated sugar
Unsalted butter
Cornstarch
Ground Cinnamon
Ground Nutmeg
Large egg
Heavy cream / whipping cream
Salt
Equipment
This recipe doesn’t really require any special equipment - a 9-inch pie pan and a rolling pin.
For best results, recommend using a Rolling pin with adjustable thickness guides, as they can be a BIG help getting your pie dough rolled out to a nice, consistent thickness (⅛" thick, ideally!).
While I used to suggest using a baking sheet under the pie - to catch any drips - I haven’t needed that since I changed my recipe up a bit, to a partially cooked filling.
Not only does it bake up to the perfect texture, it’s less of a mess in the oven!
How to Make Gluten Free Apple Pie
The full recipe is in the recipe card at the end of this post. This is a pictorial walk through, to show what each of the simple steps actually looks like.
Apple Pie Filling
Filling:
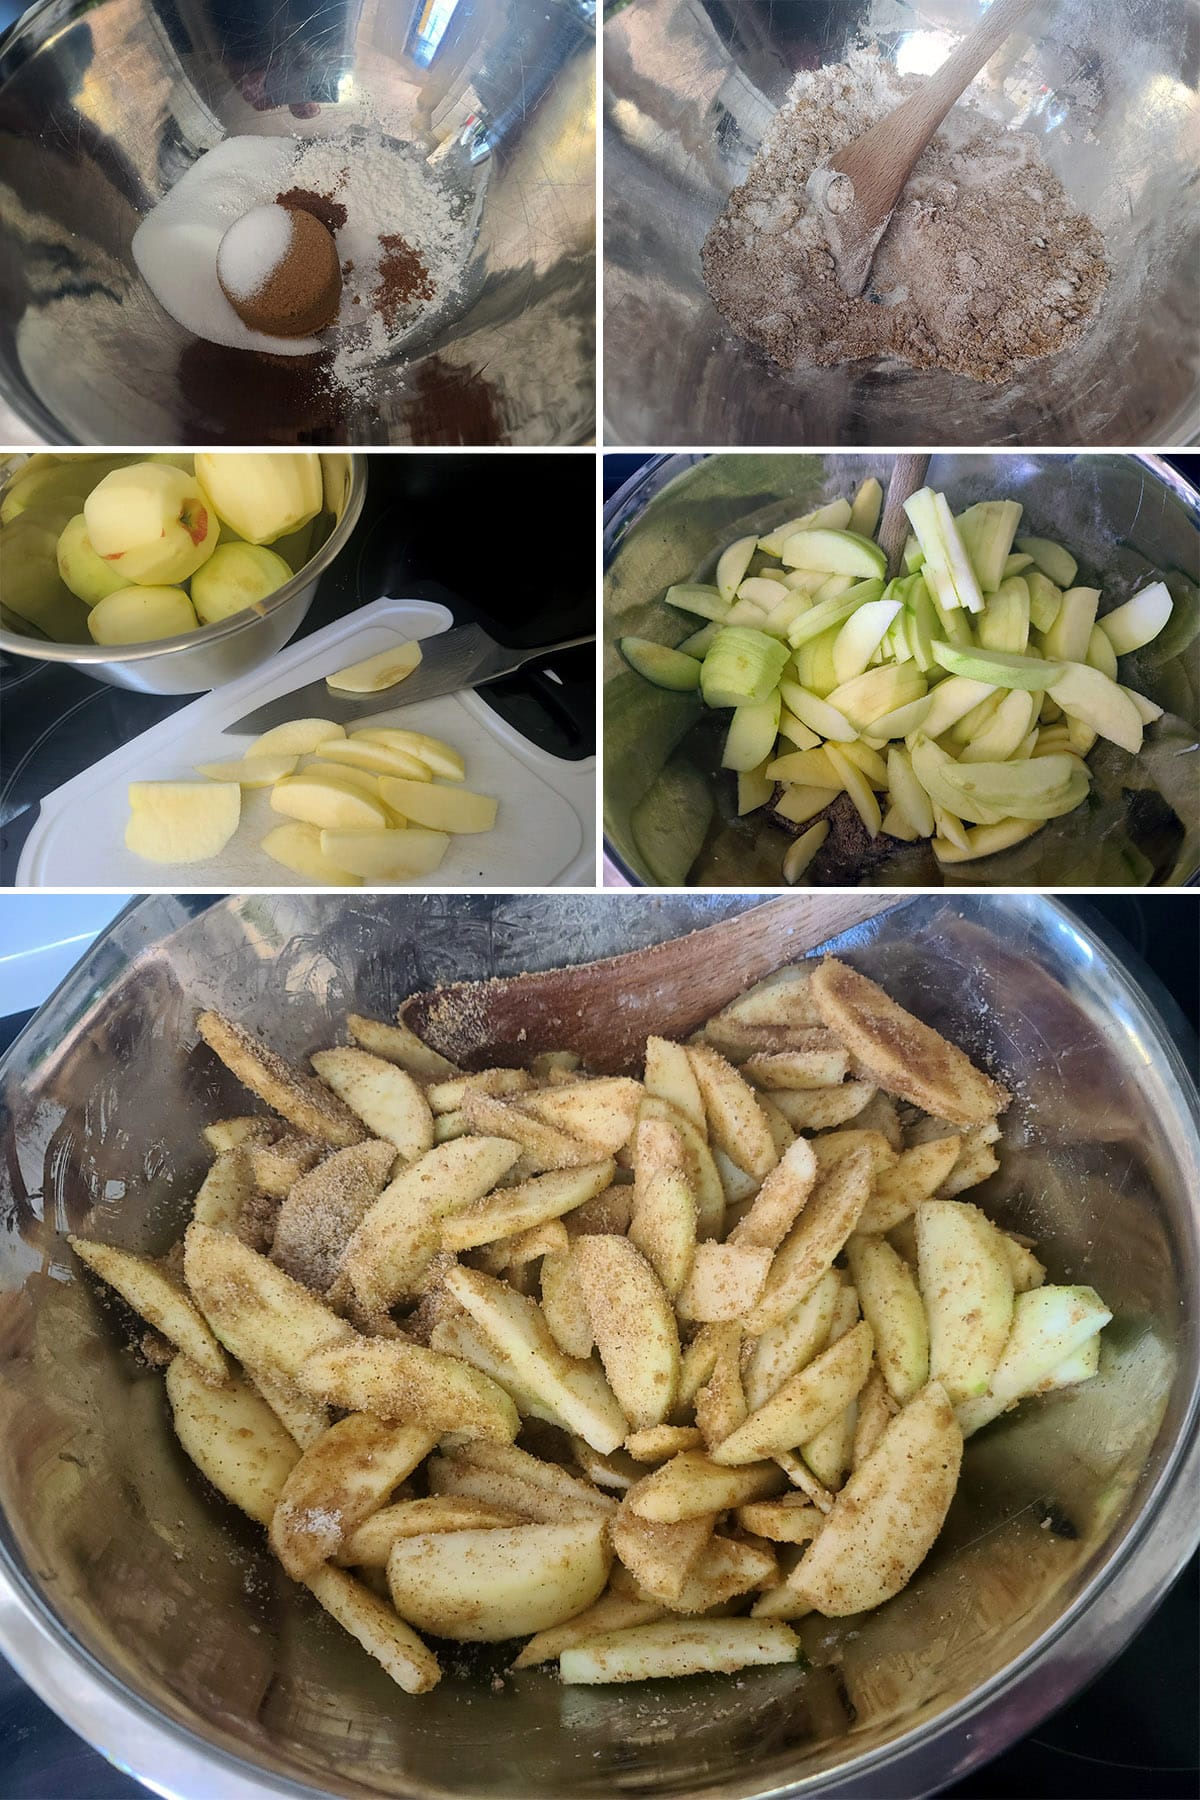
In a large bowl, combine sugars, cornstarch, spices, and salt, set aside.
Peel, core, and thinly slice apples. Add apple slices to the large mixing bowl of dry ingredients, gently toss to coat apples with the sugar mixture. Set aside.
Add the apple mixture to the pan, stir well to incorporate the butter
Simmer for about 5 minutes, just until the apples start to soften and give off some liquid.
Remove from heat and allow to cool to room temperature.
If you’re not using it right away, cover with plastic wrap or transfer to an airtight container, and chill it until you’re ready to assemble the pie.

Apple Pie Assembly:
Set an oven rack to the lowest position, preheat oven to 425F.
Dust your clean work surface with corn starch.
Roll out half of your pie dough to form a circle about 12" in diameter - ⅛" thick is the goal.
Carefully transfer the rolled bottom crust to a 9" pie dish.

Roll out your second crust.
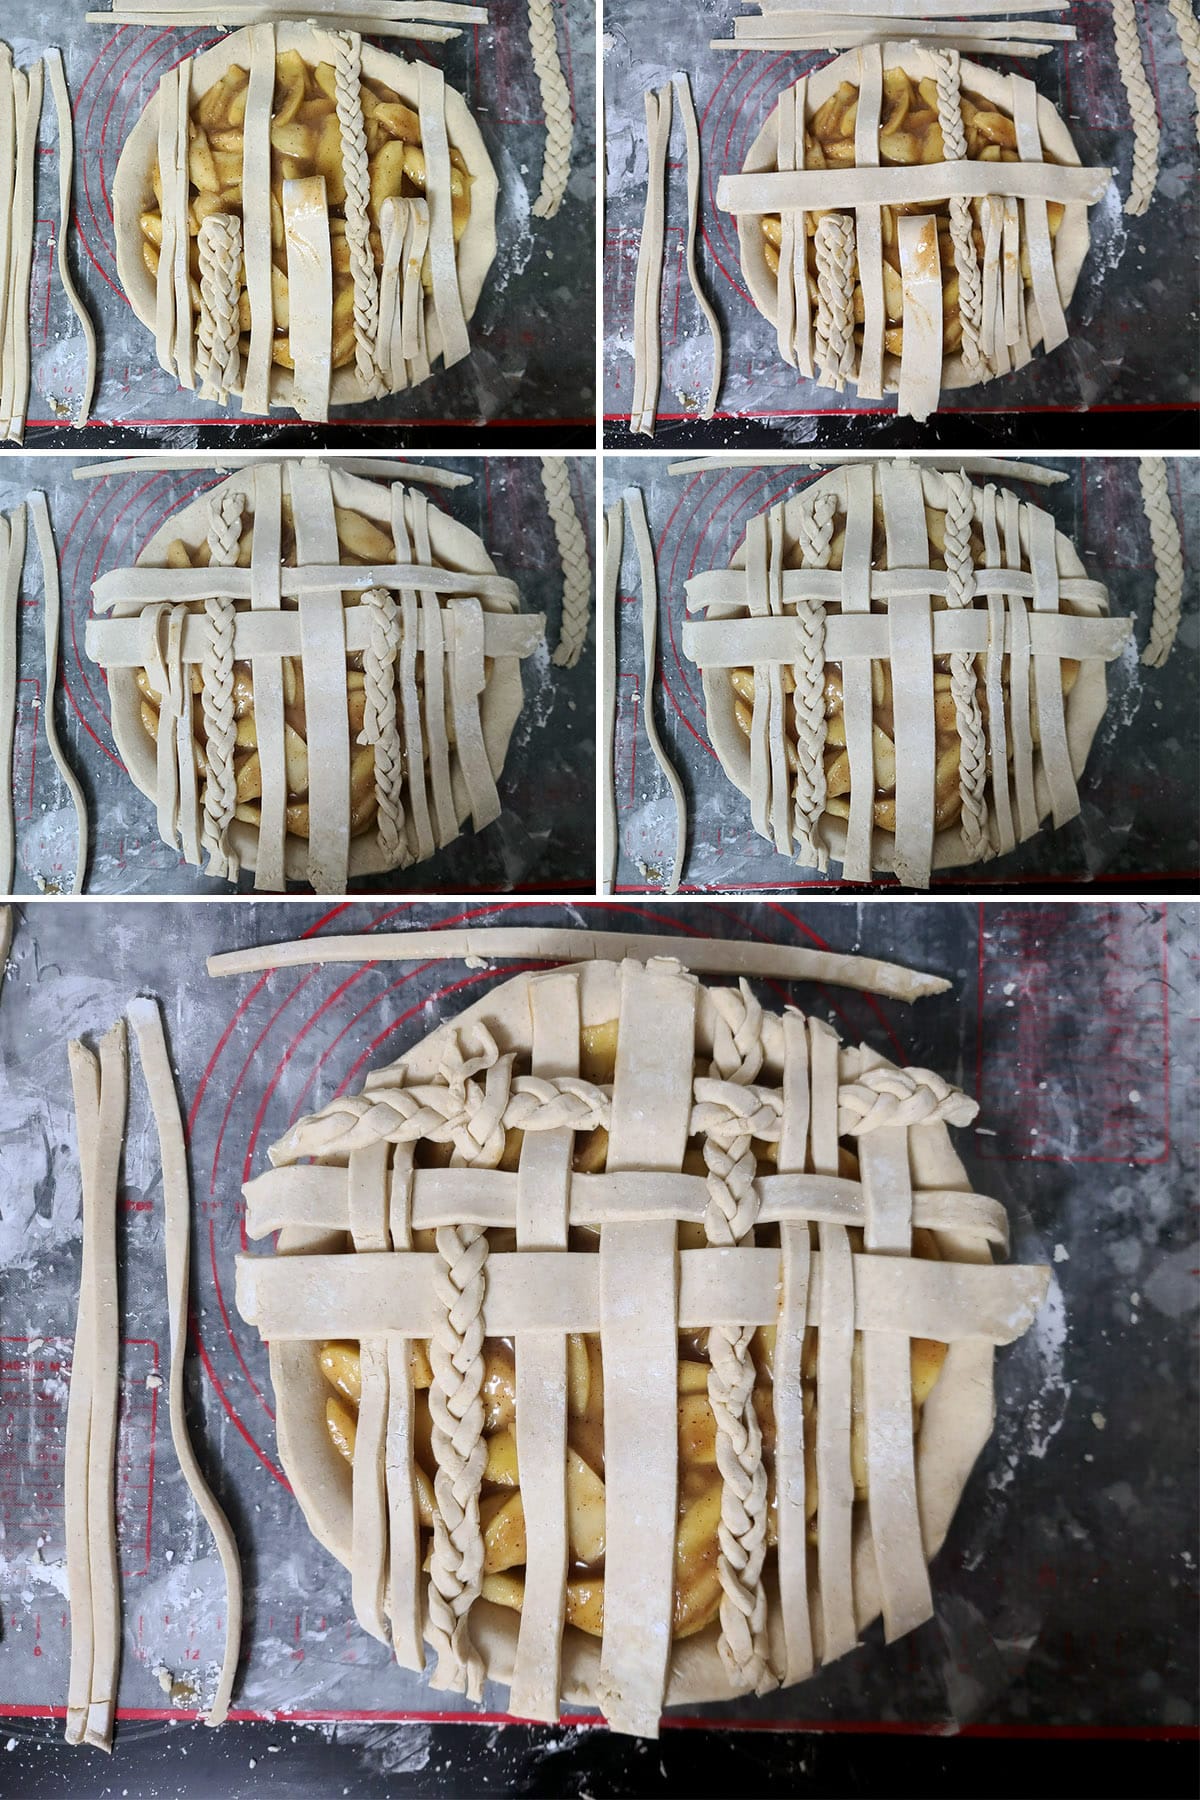
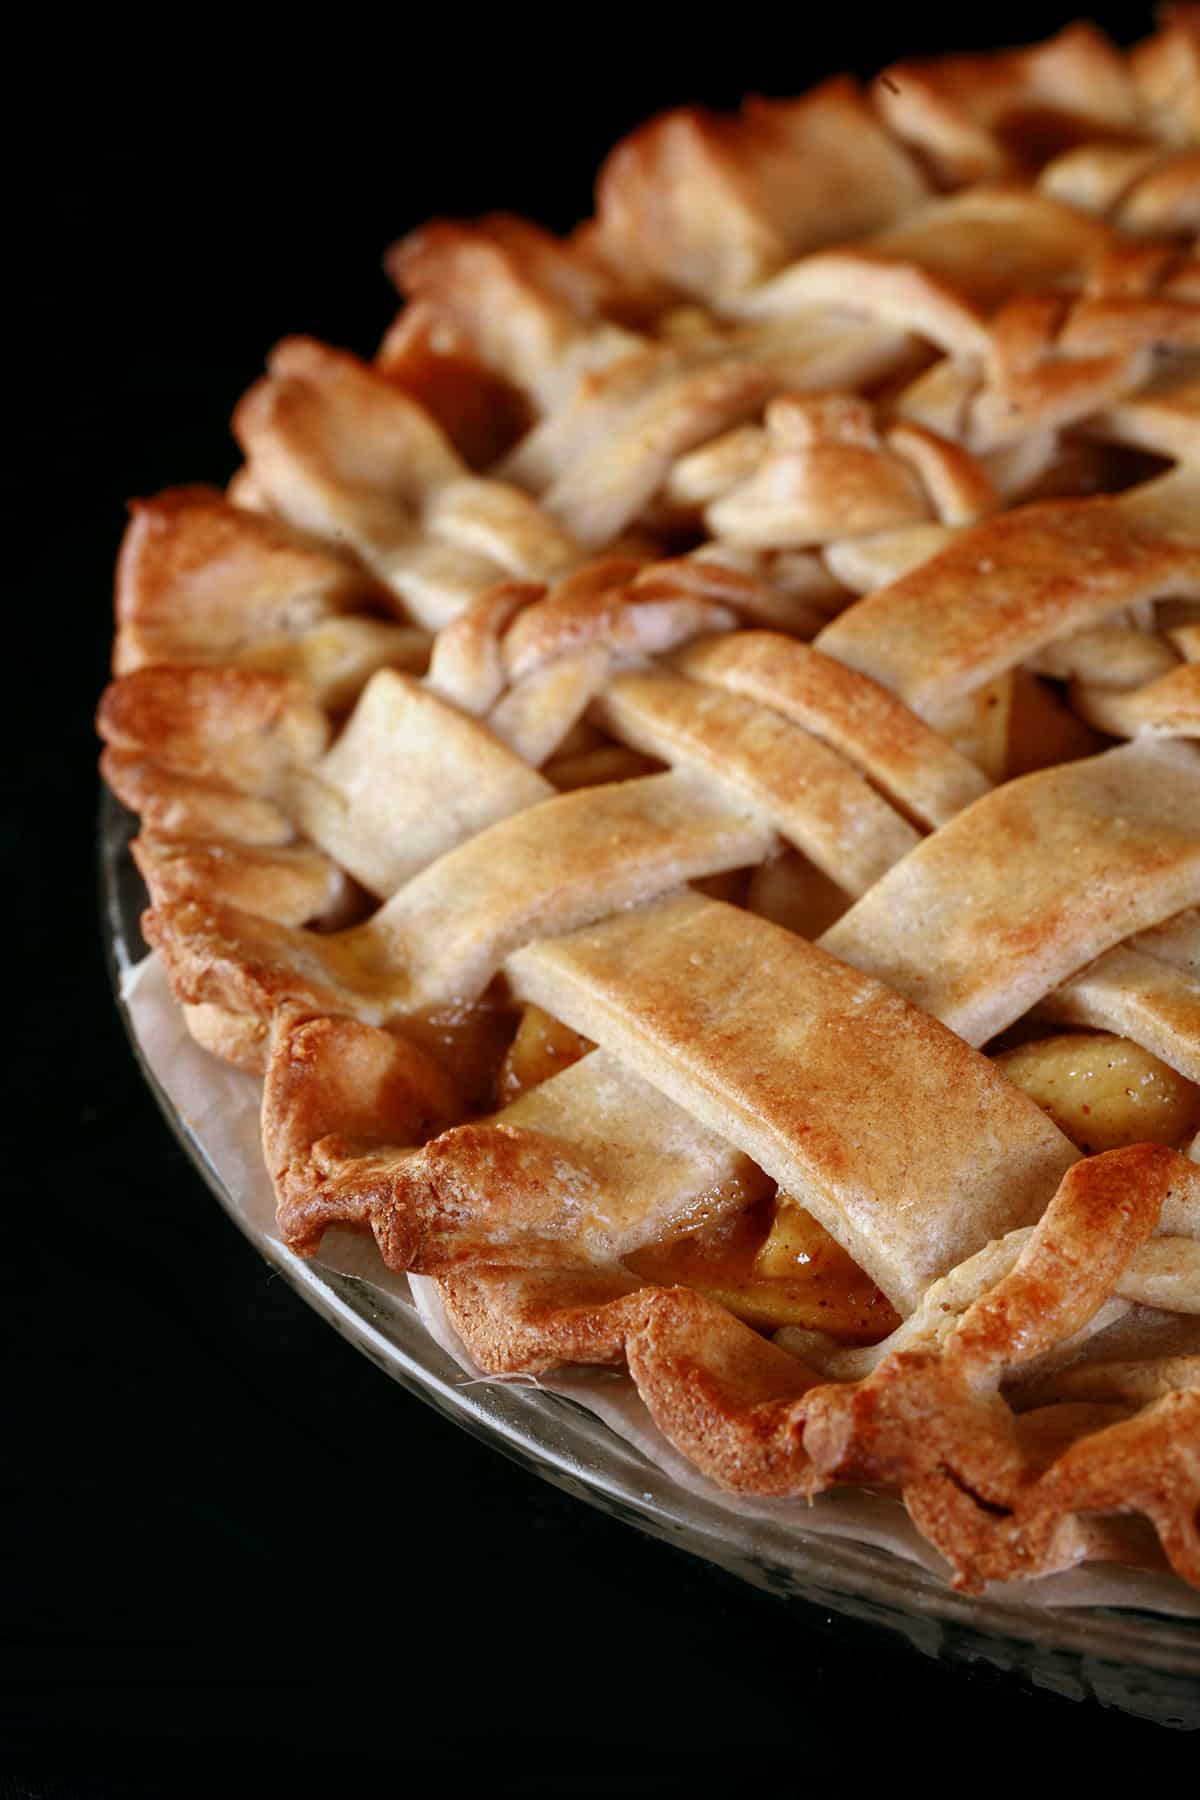
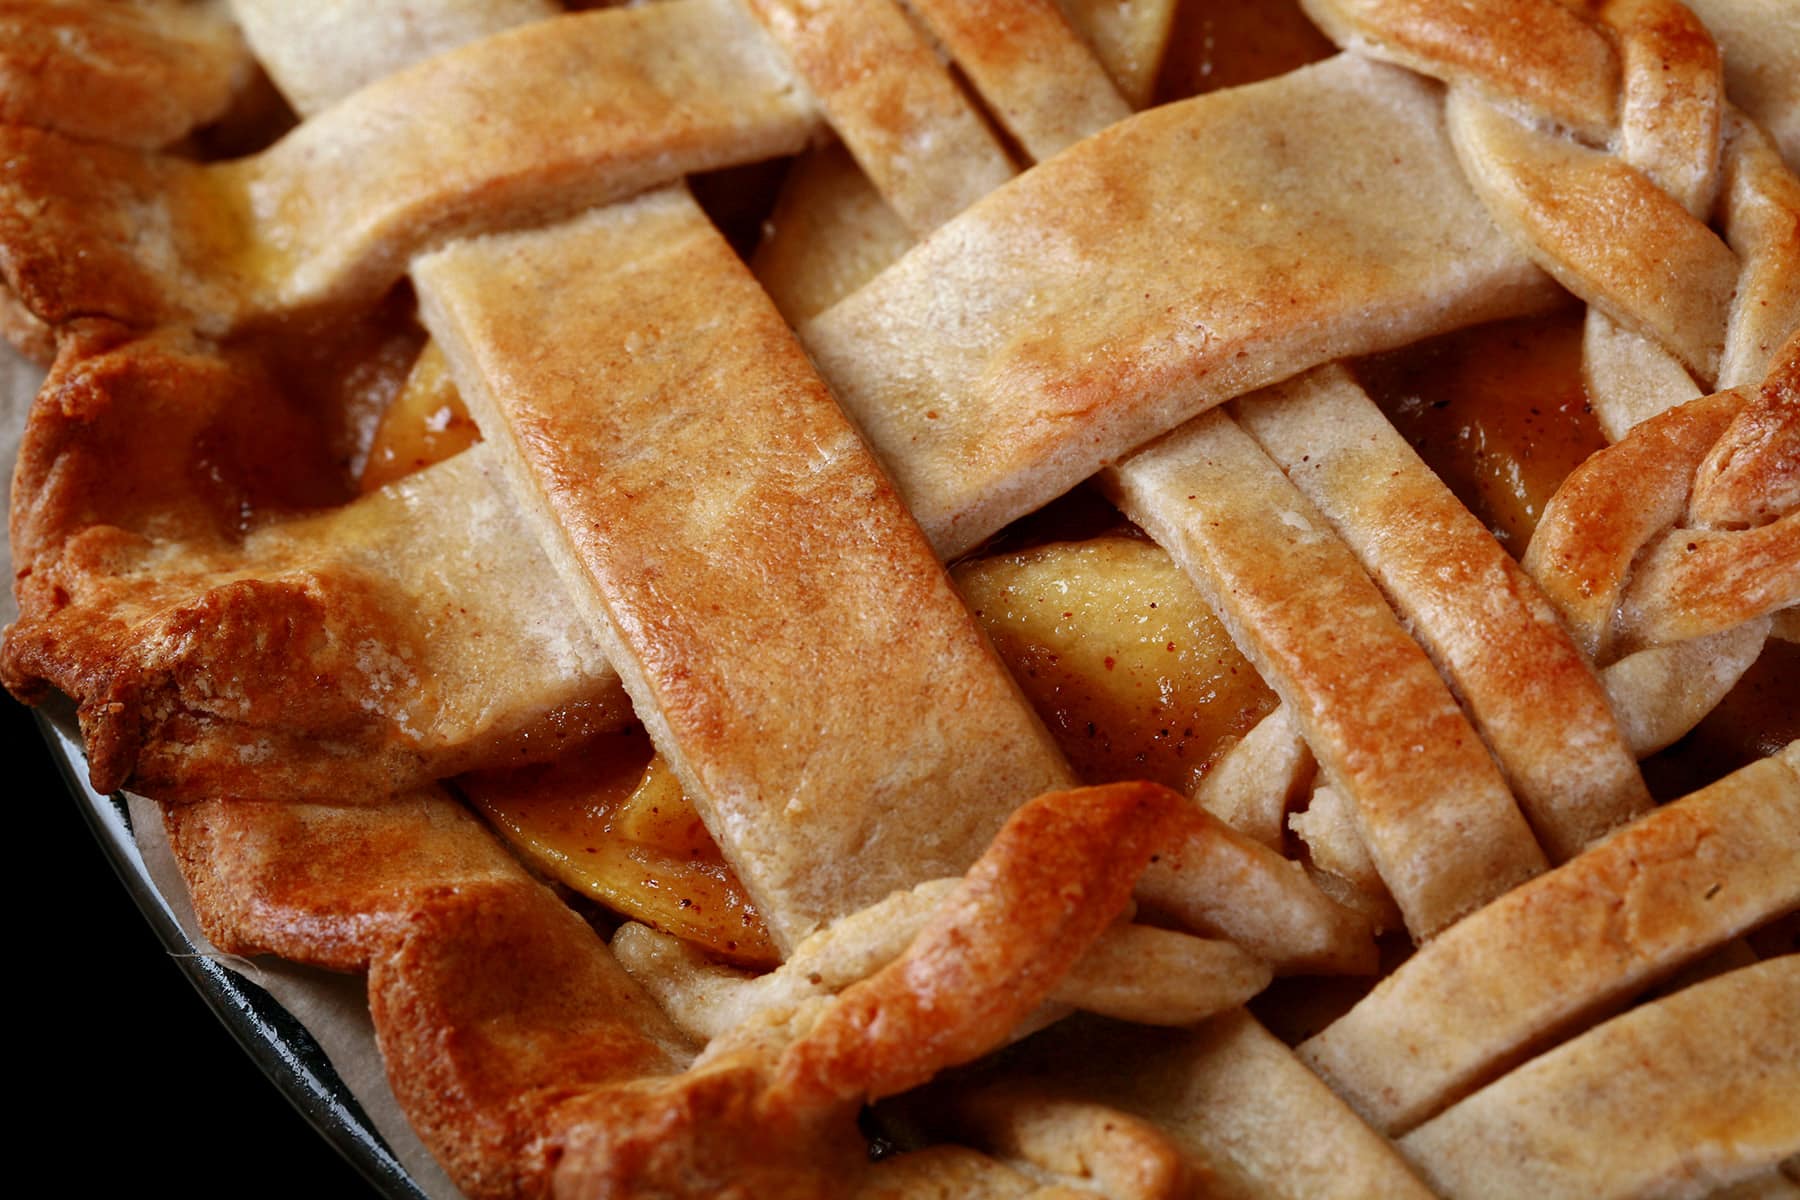
You can transfer the top crust as-is to cover the pie filling, or slice it into strips to make a lattice crust.
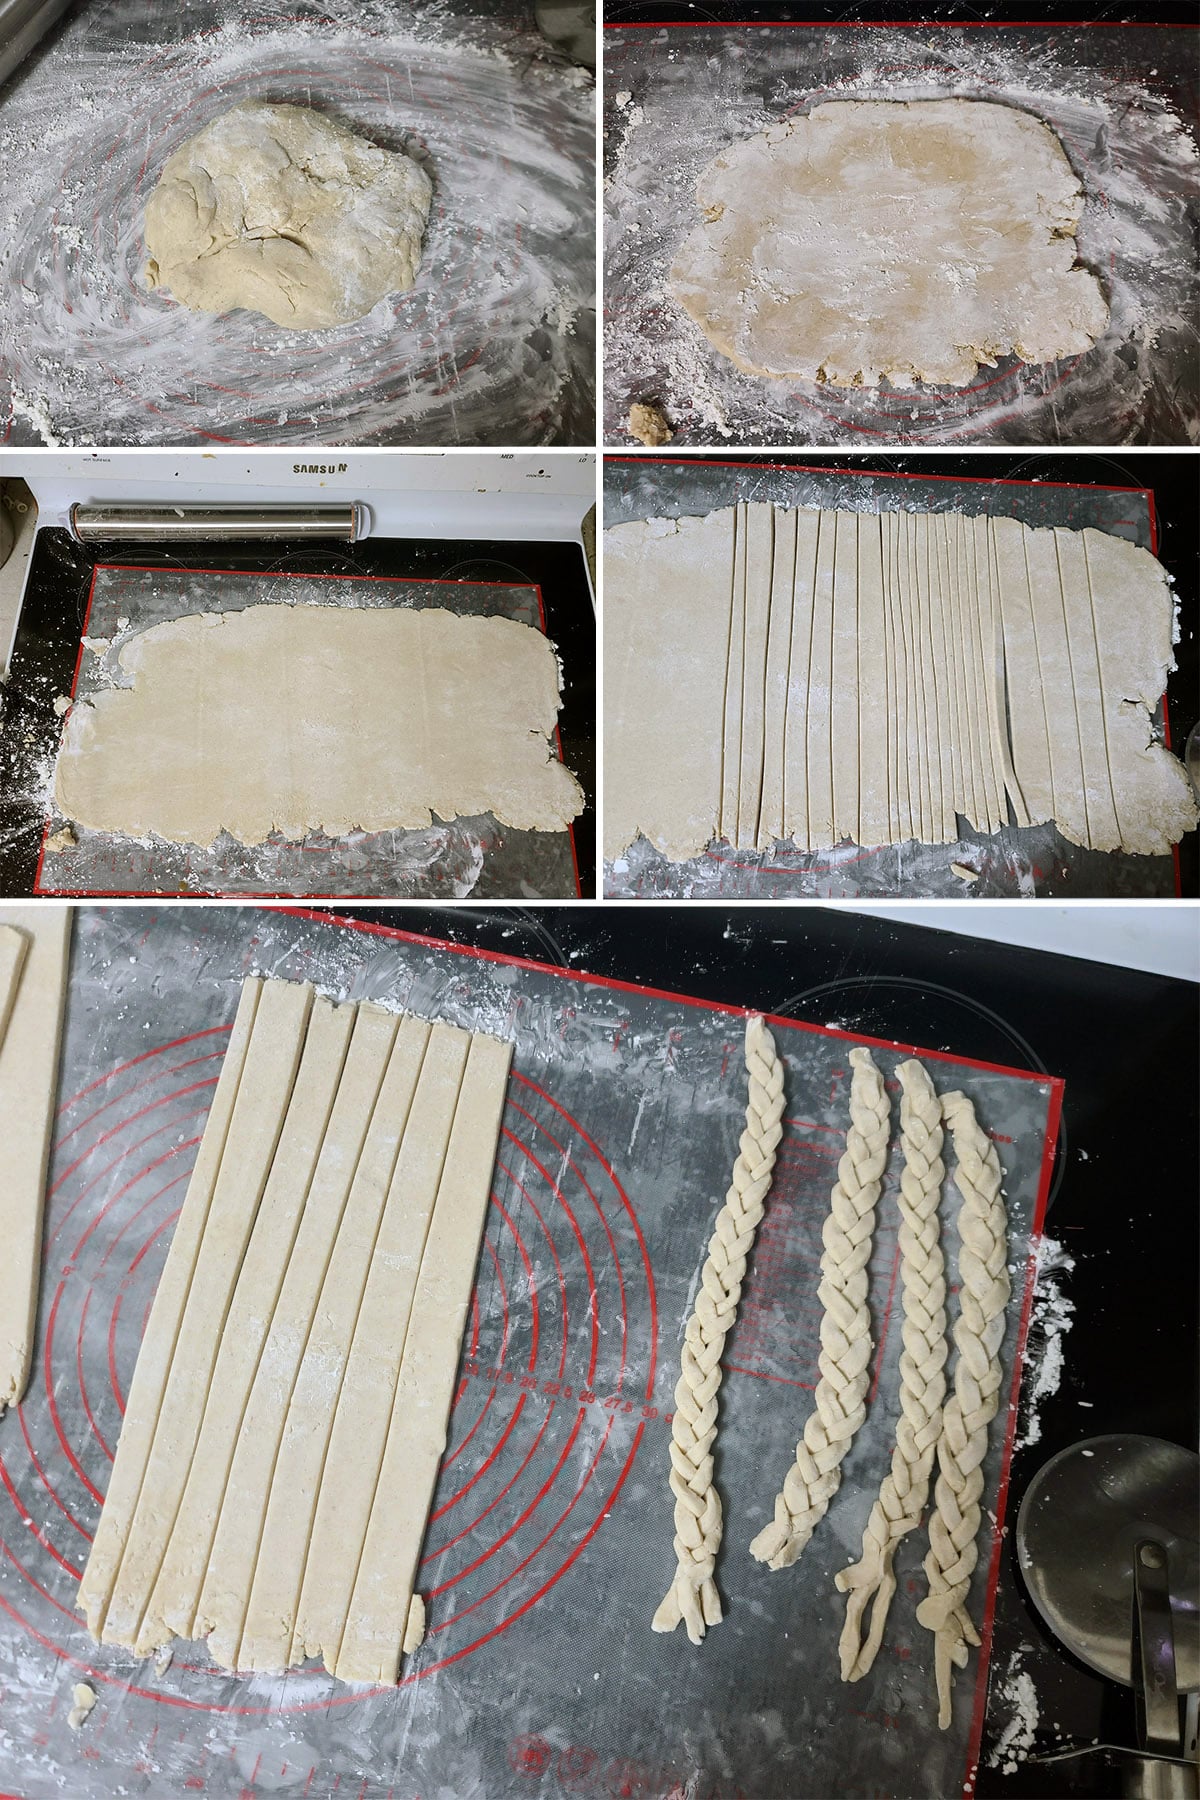
This time around, I cut strips of various widths, and even braided some. I was feeling EXTRA that morning!

Here’s how I do a lattice pie top:

In a mug or small bowl, whisk together egg and heavy cream, brush this egg wash over top of the crust.
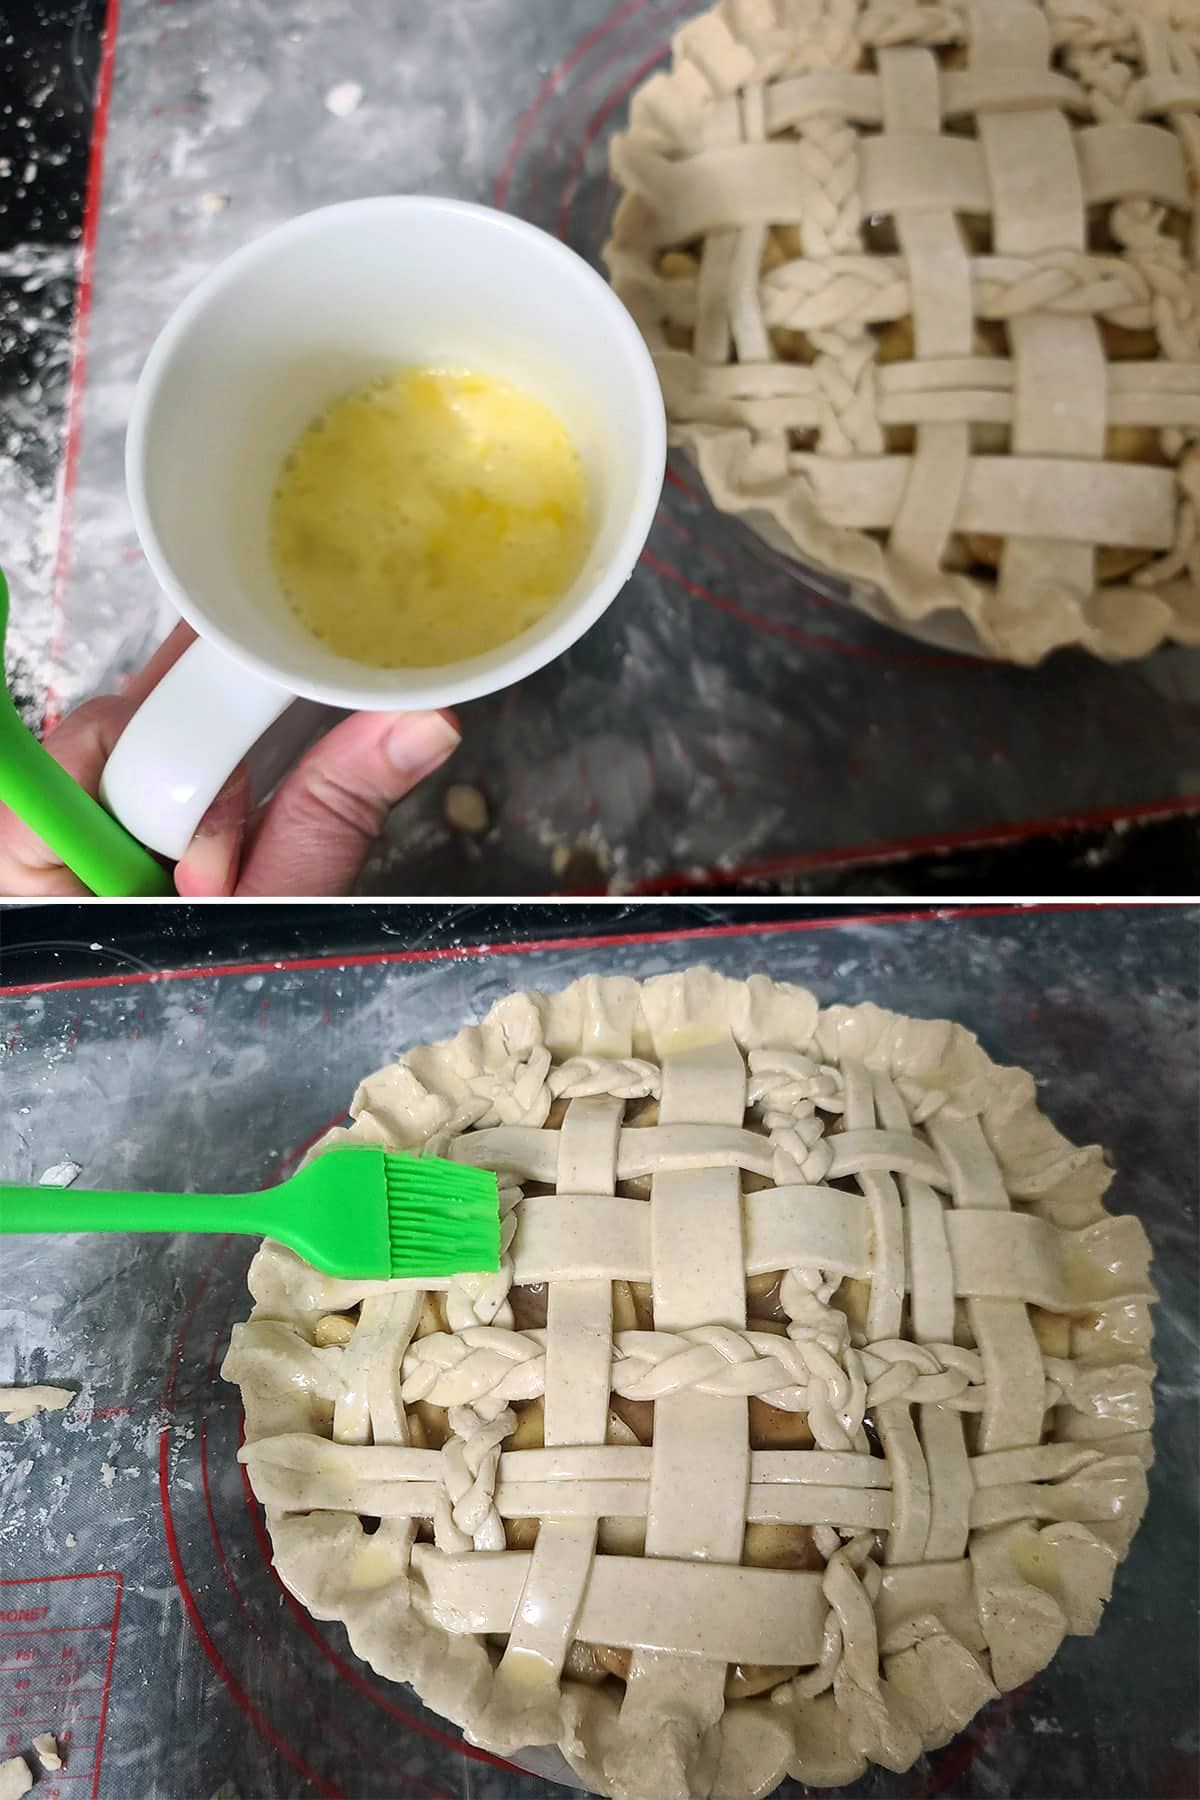
Do this AFTER the egg wash, though - the egg wash can seal your air slits closed!
Bake pie on the lowest rack in the oven for 15 minutes.
While I usually bake on the center rack, using the lowest rack helps the bottom crust cook quickly, which prevents it from going soggy. Also, this helps to not overcook the top of the pie.
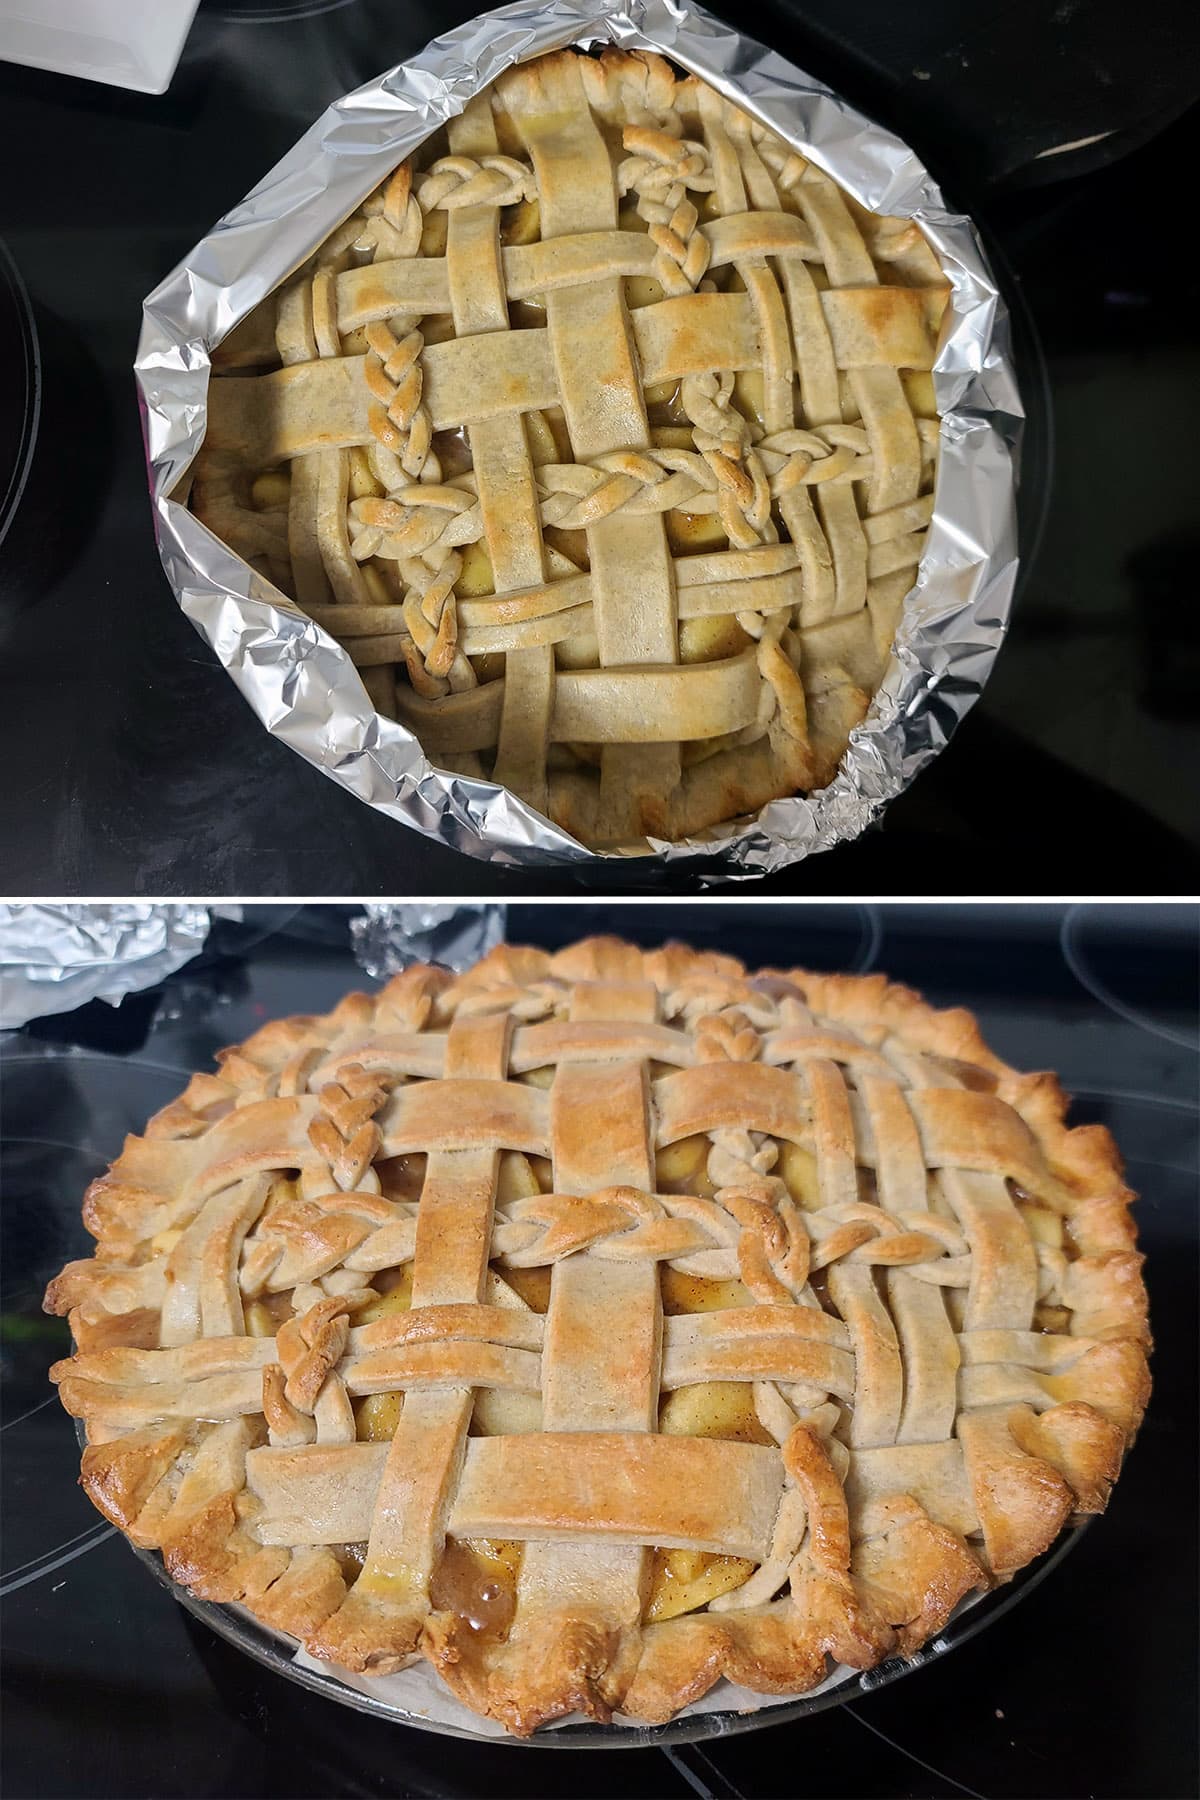
Reduce oven temperature to 375, cook for another 25-30 minutes, or until crust is golden brown.
Note: If the edges of the pie crust are browning too fast, use a pie shield, or carefully wrap a long piece of aluminum foil around the edge of the pie, as shown.
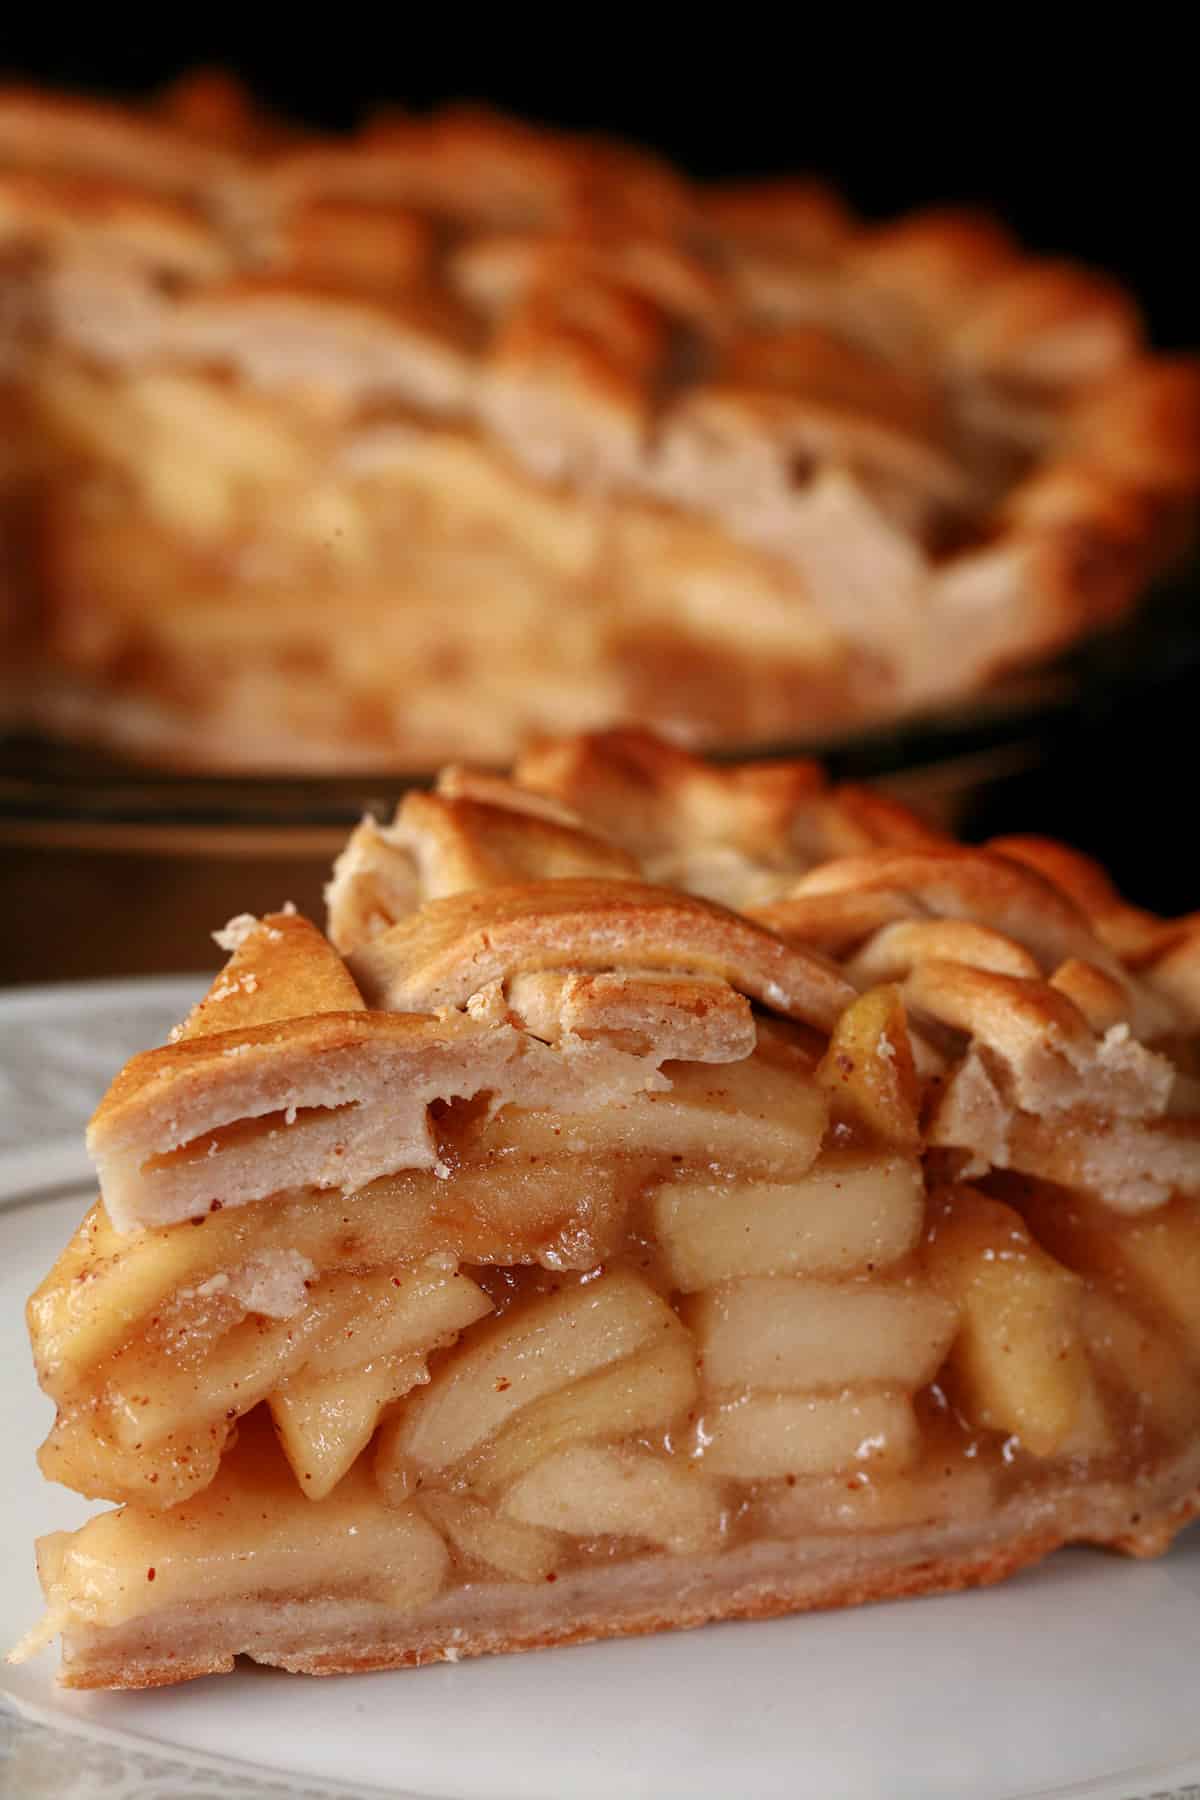
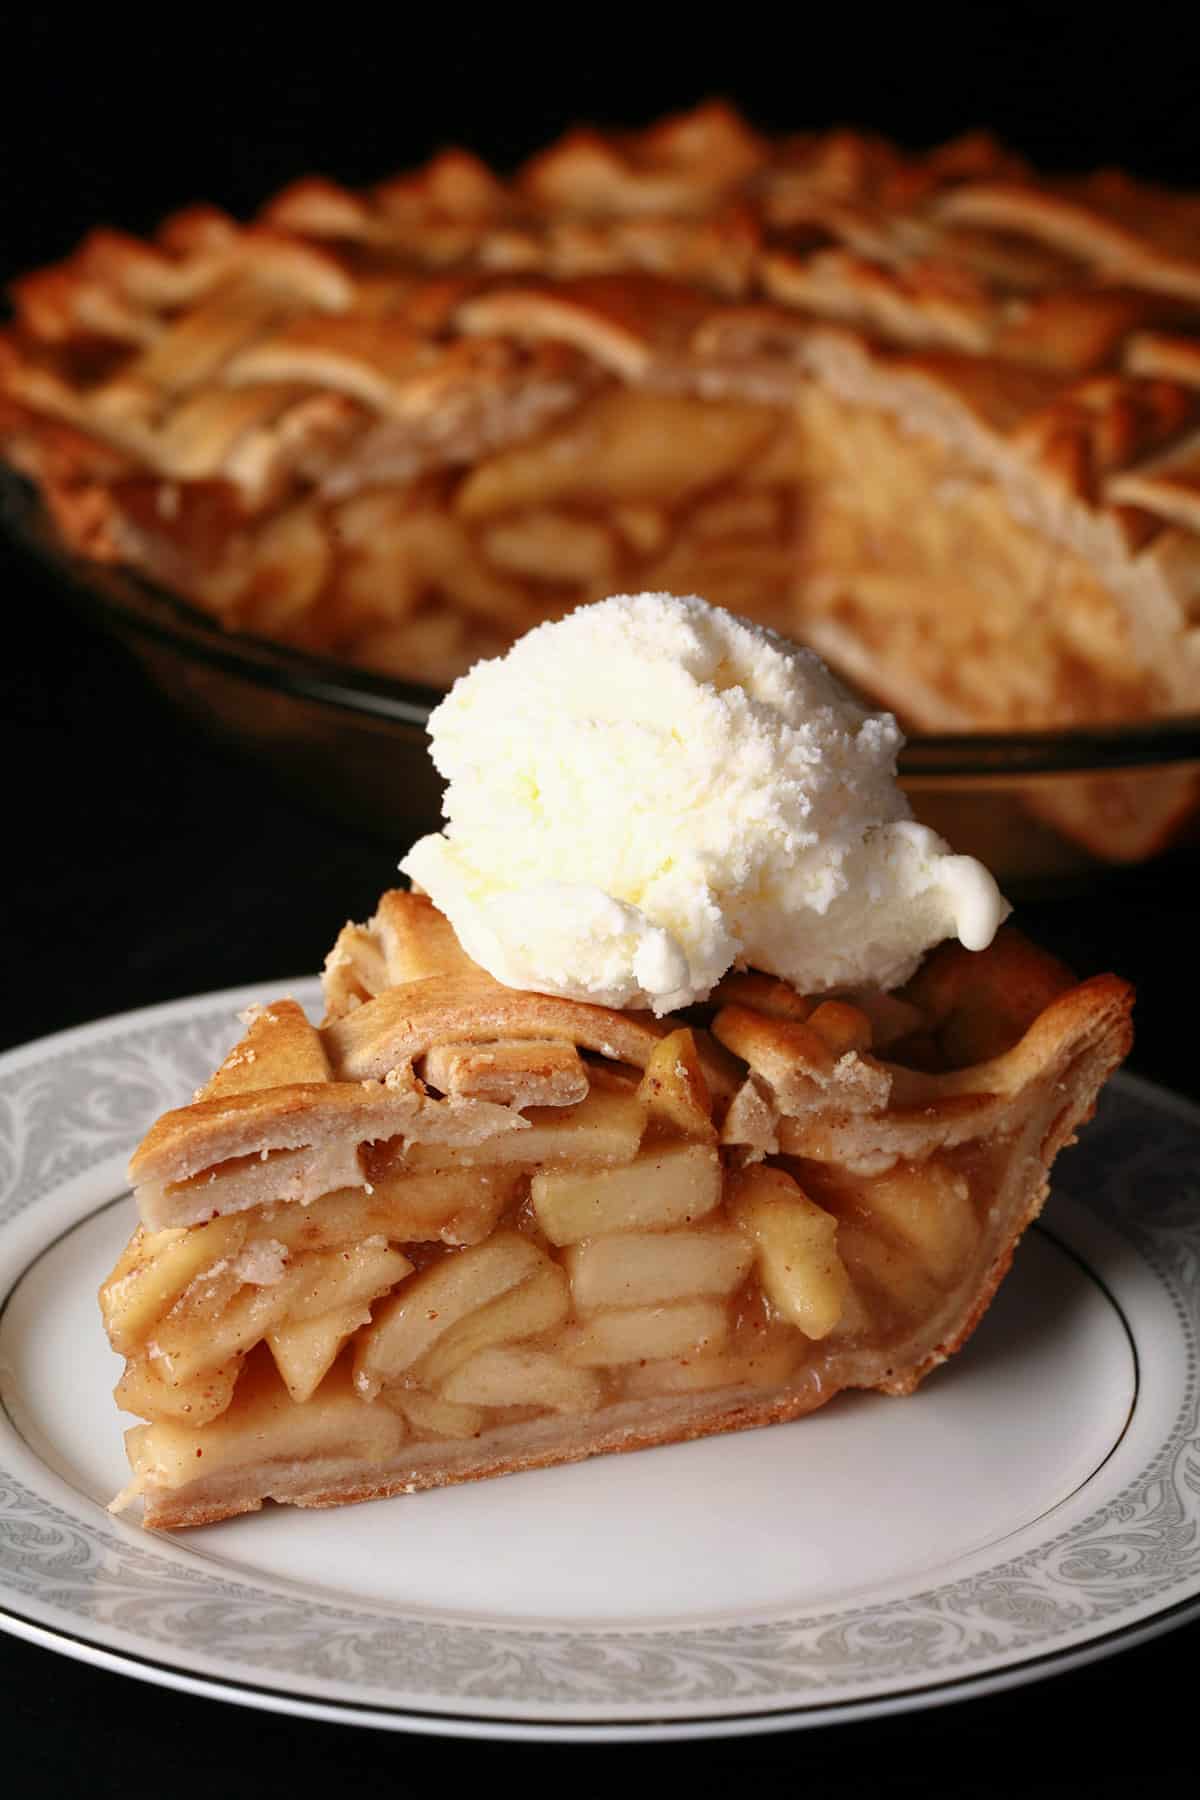
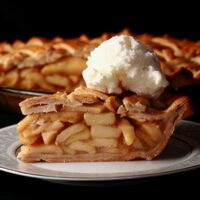
This is great as-is, or with a bit of vanilla ice cream for “a la mode”.
Leftover pie can be covered with plastic wrap and stored in the fridge for 4-5 days or so.
Lining the Pan
Generally speaking, you’re not supposed to NEED to grease or line a pie pan before putting the crust in.
Theoretically, it’s self-greasing, from the amount of butter or other fats in the dough.
... I don’t know if I’m just a messy pie maker or what, but I’ve NEVER been able to get away with not greasing a pan.
Some kind of sugar, fruit, or whatever always manages to slip in under the crust somehow. It caramelizes, and GLUES the pie to the pan.
Up until recently, I’d never gotten a perfect slice out of a pan on the first go. It’s why I was never much of a pie person - cutting that first slice out was always too much stress and disappointment.
... so I decided to start lining my pie plates, and it has COMPLETELY changed my view on making pies, and now I make them often.
Here’s what I do
Spray the pie plate with a bit of baking spray. This will help keep the parchment in place.
Cut a ~ 12" circle from a piece of parchment paper, center it over the pie plate, and press down. Smooth out all of the air bubbles across the bottom of the pan.
Carefully cut slits from the outer edge of the parchment circle, straight down to the bottom edge of the pan. I do this a couple inches apart, the whole way around the circle.
Smooth and slightly overlap the flaps, so the whole thing is form fitting to the pan.
Trim the upper edge of the parchment if you’d like.
Place the pie crust in, ensuring that everything is still laying flat and even after doing do. Bake the pie as normal.

As a food blogger, I have to pull it out before photographing, as a nice clean plate just look better when a slice is missing.
So, I cut a slice out, and use the opening to gently pull the parchment paper out from under the pie.
Sometimes I can just whip it out - like the whole “pull a tablecloth out from under the settings” thing - but it never seems to work quite so smoothly when I’m recording to SHOW that!

One More Tip
While I’m on the subject of “things I do for prettier photos”, let’s talk about that perfect cut!
To get a really nice clean cut, I let the pie cool to room temp, then let it chill in the fridge for a couple of hours before cutting it.
More Gluten Free Apple Recipes
Looking for some more tasty, gluten free apple desserts? I’ve got you covered with even more easy gluten free recipes!
Apple Cinnamon Caramel Popcorn
Apple Crisp Macchiato
Candy Apples
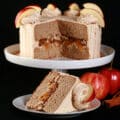
Gluten Free Apple Cake
Gluten-Free Apple Crisp
Gluten Free Caramel Apple Pancakes
Hard Apple Cider
Maple Caramel Apple Recipe
Share the Love!
Before you chow down, be sure to take some pics of your handiwork! If you post it to Bluesky, be sure to tag us - @CelebrationGen. We're also on Pinterest, so you can save all your favourite recipes to a board!
Also, be sure to subscribe to my free email newsletter, so you never miss out on any of my nonsense.
Finally, if you love this recipe, please consider leaving a star rating and a comment, and/or sharing this post on social media!
The BEST Gluten Free Apple Pie Recipe
Equipment
Ingredients
Apple Pie Filling:
- ½ cup Brown sugar packed
- ⅓ cup Granulated sugar
- 3 tablespoon Cornstarch
- 1 teaspoon Ground cinnamon
- ¼ Ground nutmeg
- ¼ teaspoon Salt
- 3 lbs Apples
- ¼ cup Unsalted butter
Assembly:
- 1 Double gluten free pie crust recipe
- Corn starch for rolling
- 1 Large egg
- 1 tablespoon Heavy Cream
Instructions
Filling:
- In a large bowl, combine sugars, cornstarch, spices, and salt, set aside.
- Peel, core, and thinly slice apples. Add to the large mixing bowl, gently toss to coat apples with the sugar mixture. Set aside.
- Melt the butter in a large saucepan over medium heat.
- Add the apple mixture to the pan, stir well to incorporate the butter
- Simmer for about 5 minutes, just until the apples start to soften and give off some liquid.
- Remove from heat and allow to cool to room temperature.
Assembly:
- Set an oven rack to the lowest position, preheat oven to 425F.
- Dust your clean work surface with corn starch.
- Roll out half of your dough to form a circle about 11-12" in diameter.
- Carefully transfer rolled pie crust to a 9" pie plate.
- Mound cooled apple filling into the lined pie pan, taking care to avoid getting pie filling around the top edge of the pan/crust.
- Roll out your second crust.
- You can transfer it as-is to cover the pie filling, or slice it into strips to make a lattice design.
- Apply the crust whichever way you’d like, trim and crimp the edges of the upper and lower crusts together.
- If doing a whole top crust, be sure to cut a few slits in the top, to allow air to escape.
- Whisk together egg and heavy cream, brush over the pie crust.
- Bake pie on the lowest rack in the oven for 15 minutes.
- Reduce heat to 375, cook for another 25-30 minutes, or until crust is golden brown.
- Remove from heat, allow to cool for an hour or two before serving.
Notes
Nutrition


Leave a Reply