Chow chow is a popular and versatile condiment in Canada's maritime provinces. It's easy to make homemade chow-chow relish, here's my recipe!
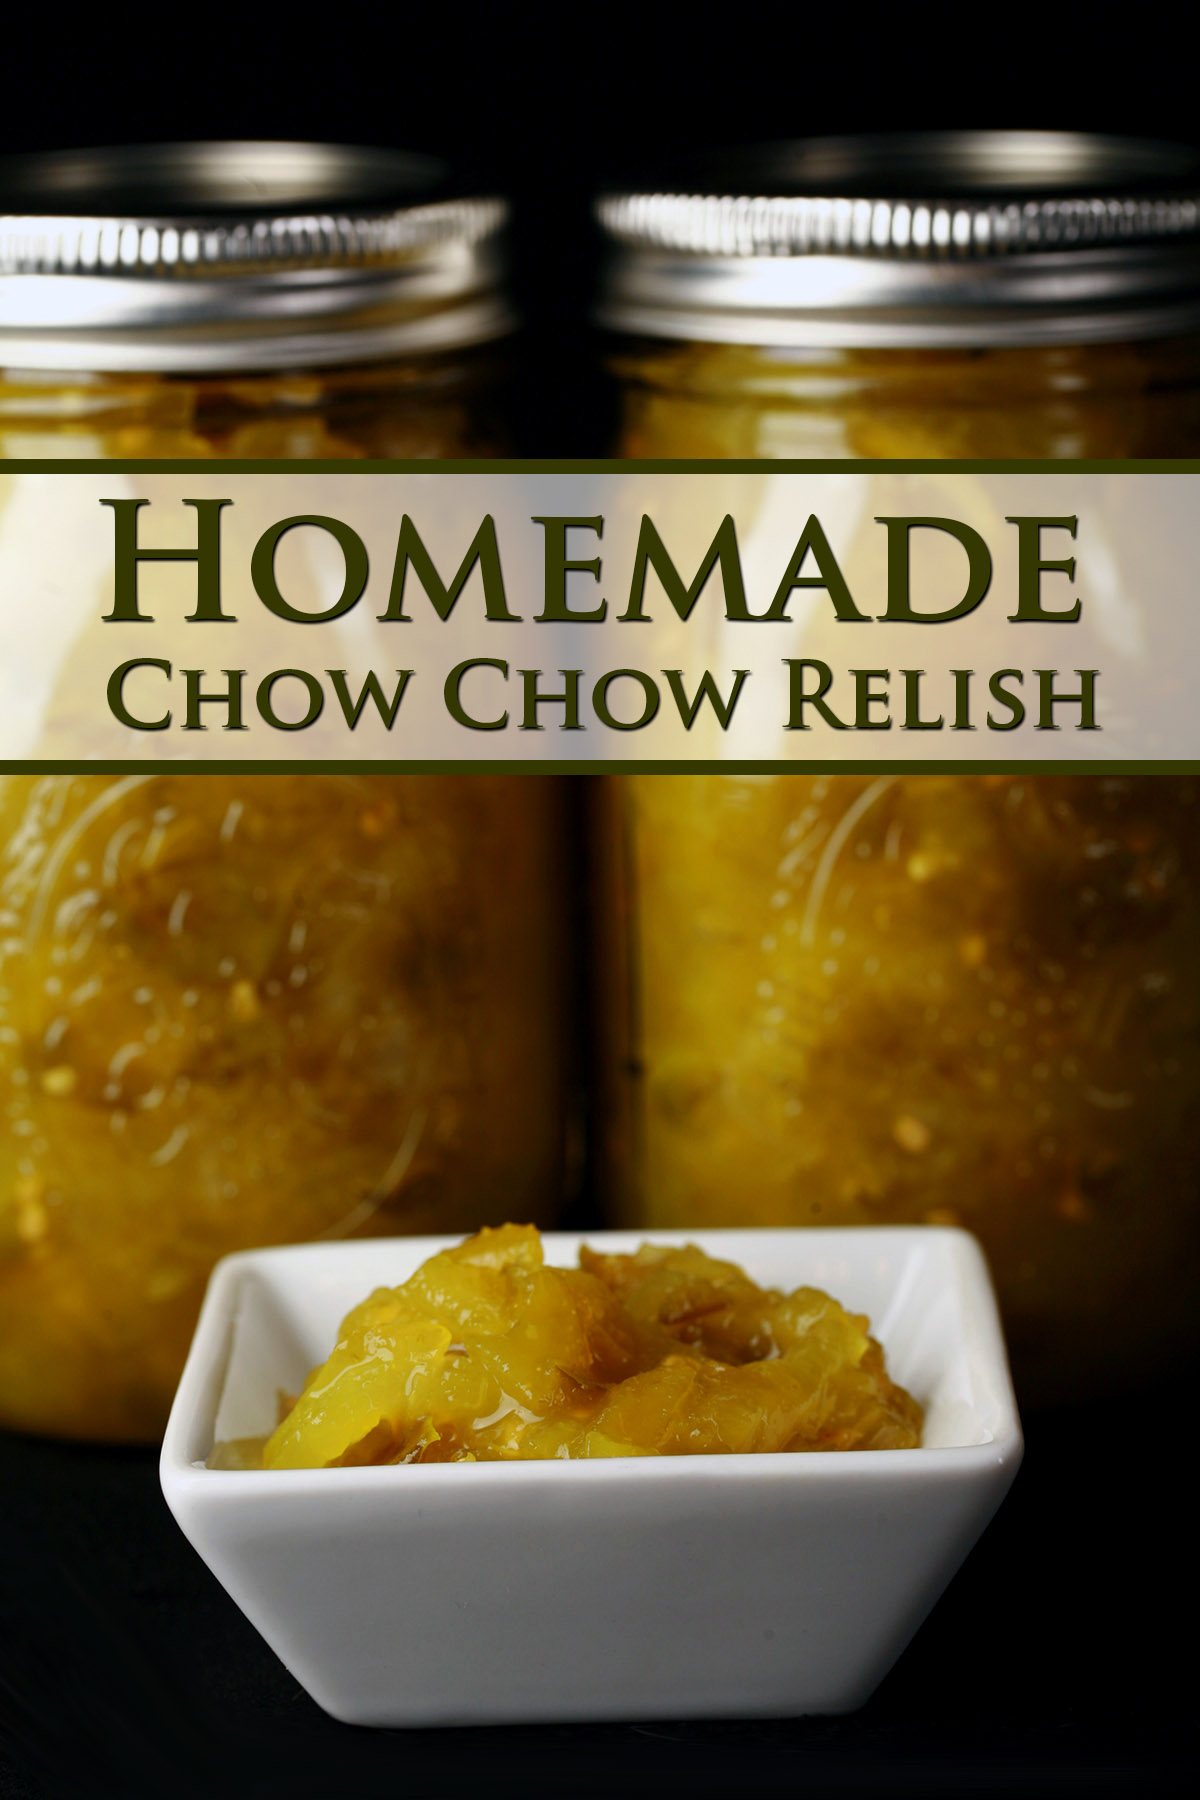
Today I’m sharing my recipe for homemade chow chow relish - a maritime green tomato relish that is most popular in Nova Scotia, but can also be found in Quebec. (Where it's a bit less sweet, and referred to as "green tomato ketchup" ... despite not really being anything similar to actual ketchup!)
This tangy relish is usually used on Tourtière (Have you tried my Gluten Free Tourtiere?), on french fries, with hamburgers, brats, or hot dogs, basically any way you’d use a normal pickle relish.
It can be used to brighten up almost any basic meat, including chicken, pork, and fish. Adding a bit to hot pork sandwiches is *chef’s kiss*.
This recipe was originally published in my 2016 Cookbook, “More Than Poutine: Favourite Foods from My Home and Native Land”, as it was a popular request from expats that had come from that corner of our country, after all!
This recipe involves a little work - and starting things out the day before - but it can easily be doubled, if you know you’ll use a lot!
As-is, it makes about 8 cups, or 4 pints.
If you’re not from the southern United States, you may find yourself wondering what controversy there could possibly be in a relish recipe, so let’s get to it!
What is Chow Chow?
As *I* - a Canadian - know it, chow chow is a green tomato relish, flavoured with green peppers, celery, onion and spices. It is VERY much an East Coast thing.
If you’re in the USA, you’re likely to see it as VERY much a Southern US thing - with southern chow chow recipe in no way resembling the recipe you’re about to be presented with!
The southern favorite can be made with a much bigger variety of vegetables. This usually includes green cabbage and red bell peppers, sometimes including cauliflower and/or red tomatoes*.
It’s more of a “use what you have on hand” kind of thing, and less rigid with the guidelines we have up here. The general idea can vary from state to state, and
apple cider vinegar is frequently used instead of the white vinegar I’m used to working with.
Sometimes, chow chow ends up being a spicy relish, with the addition of jalapeno peppers and/or red pepper flakes!
* Note: We DO have a more loosely-defined pickled relish that involves red tomatoes - ketchup aux fruits - but it also involves the inclusion of fruit... shockingly enough 🙂
Anyway, the American version can be used the same way that Nova Scotia chow chow gets used, but also gets used in other ways - served with a side of cornbread, it’s a popular accent for a bowl of pinto beans, etc.
It even gets served over cream cheese with crackers, in the way I serve my Pepper Jelly!
Someday, I’m going to have to try this version with the bowl of beans or with the cream cheese. Sounds interesting!
Where did Chow Chow Come From?
Well, no one really knows for sure.
Given history / migration, the theory that it original traveled to the USA from (what is now) Nova Scotia during the expulsion of the Acadian people makes the most sense to me.
The naming is a point of confusion, though - there’s a theory that it comes from the French word for cabbage (chou) ... but the Canadian version doesn’t involve cabbage.
I suppose it could have at one point, though I’ve never heard of it including red peppers!
Anyway, enough about the history and theories, let’s talk about the actual recipe!
Equipment
This recipe involves actual canning, so you’ll want a few pieces of basic canning equipment:
- Sterilized Canning Jars
- NEW flat lids for those canning jars
- Rings / screw bands for the jars. (You can reuse these!)
- A jar lifter and canning funnel. These are usually available as parts of a canning set, but I usually don't use MOST of the stuff included in those!
- A vessel for your hot water bath. This can be a boiling water canner, a large pot, or a steam canner.
- Cheesecloth and kitchen twine, OR a spice bag.
Chow Chow Relish Ingredients
This recipe uses super basic ingredients, most of which can be found at any grocery store.
You will need:
Green Tomatoes
You’ll want firm tomatoes that have smooth skin and no blemishes, spots, holes, pests, etc.
If you’re not growing your own tomato plants, I usually find it easiest to find them at a local farmer’s market. If they’re not being sold green, I find that vendors are usually cool about taking a pre-order for green ones for the following week.
Notes: 6 lbs of green tomatoes usually works out to about 6 large tomatoes.
The Other Vegetables
Green bell peppers
Large yellow or white onions
Celery
The Pickling Liquid
Granulated sugar (You can use brown sugar, but it’ll taste a bit different - on account of the molasses)
White Vinegar
Mustard powder / Dry mustard
Turmeric
Note: I like to use the mix of pickling spices with the extra mustard powder and turmeric, but you can make your own spice mix using whole spices - peppercorns, mustard seeds, celery seed, etc - if you prefer.
Tips for Making Homemade Chow Chow
Sterilizing the Jars
Because this is meant to be shelf stable for a long time, you’ll want to observe proper food safety when canning it.
Everything - jars, lids, rings, ladle, and funnel - should be properly sterilized before you start cooking.
This can be either through boiling them in water for a few minutes, or running them through a dishwasher on a hot cycle.
If you’re using used jars, they should be washed with hot soapy water before going into the dishwasher. Generally speaking, I’ll ONLY run the canning stuff through - no other dishes with them.
Wash your hands thoroughly before touching any of the sterilized items, and avoid touching any area that will touch food.
While you can use previously-used jars for canning, you need new lids for each new batch. Previously-used lids run the risk of not forming a proper seal when re-used.
About the Salt
Pickling salt is usually available with the canning supplies in any grocery store.
You’ll want to use this, rather than regular table salt – the anti-caking additives in table salt can make your pickle brine go murky and ugly.
Alternately, you can use kosher salt - just be sure that it doesn’t contain additives!
Chopped vs Sliced
As-is, this recipe calls for the vegetables to be sliced. That’s the way I first had chow chow, so that became the One True Way to me.
That said, some people prefer to use chopped vegetables in chow chow - you do you! Aim for uniformly sized pieces if you’re chopping them.
More Canadian Recipes!
Looking for more recipes from the ‘great white north’? Look no further!
Gluten-Free Bacon Poutine Pizza
Gluten Free Beaver Tail Recipe
Gluten-Free Butter Tart Bars
Gluten Free Butter Tarts
Gluten-Free Cod Au Gratin
Gluten Free Cod Cheeks & Dressing
Gluten-Free Chicken Mushroom Tourtiere
Gluten Free Imperial Cookies Recipe
Gluten-Free Nanaimo Bar Brownies
Gluten Free Puffed Rice Bars
Gluten-Free Schmoo Torte
Gluten Free Tourtiere
Looking for even more Canadian recipes? Check out our full Gluten-Free Canadian Recipes list!
Share the Love!
Before you chow down, be sure to take some pics of your handiwork! If you post it to Bluesky, be sure to tag us - @CelebrationGen. We're also on Pinterest, so you can save all your favourite recipes to a board!
Also, be sure to subscribe to my free email newsletter, so you never miss out on any of my nonsense.
Finally, if you love this recipe, please consider leaving a star rating and a comment!
Homemade Chow Chow Relish
Equipment
- Large pot
- 4 Pint sized canning jars
- Canning funnel, Jar Lifter
Ingredients
- 6 lbs Fresh green tomatoes
- 2 Large yellow or white onions
- ½ cup Pickling salt
- 3 cups Granulated sugar
- 2 cup White vinegar
- 4 cups Chopped celery
- 2 Green bell peppers chopped
- 3 tablespoon Pickling spices
- ¼ teaspoon Mustard powder
- ¼ teaspoon Turmeric
Instructions
- Thinly slice tomatoes and onions, place in a large bowl. (Note: You can use the slicing attachment on a food processor to speed this up, I usually don’t bother).
- Toss vegetable mixture with pickling salt, cover with plastic wrap. Transfer bowl to the fridge to chill overnight.
- The next day, drain excess liquid from the vegetables, using a large colander.
- In a large pot over medium heat, combine vinegar and sugar. Add the drained vegetables, celery, and green peppers, stirring to combine.
- Measure pickling spice onto a doubled-over piece of cheese cloth, gather edges and use a small piece of twine to secure into a little package; add to pot, along with turmeric and mustard powder.
- Bring mixture to a rolling, full boil, lower heat to simmer. Simmer, stirring occasionally, until mixture is thick - 20 minutes.
- While the chow chow mixture is simmering, Get a large pot of water boiling, or set up your canner per the manufacturer's instructions. I’ll usually use a large stock pot with a canner rack in it.
- Remove spice packet, squeezing excess liquid back into the pot.
- Use a sterilized canning funnel and sterilized ladle to ladle Chow Chow into sterilized canning jars, leaving about ⅛ inch head space. Use an air bubble tool to release any air bubbles, if you like,
- Wipe off the top rims of the jars with a clean dampened cloth (I tend to use a clean, wet paper towel), top each with a new, sterilized lid, and carefully screw on a clean lid ring. I like to use a kitchen towel for this, the jars are HOT!
- Carefully place your filled jars of relish into the boiling water pot, allow to process in this hot water bath for 20 minutes. (Add 5 minutes to the processing time for altitudes above 1,000 feet; add 10 minutes for altitudes over 6,000 feet.)
- Note: There should be enough water to keep the jars fully submerged, the entire time.
- CAREFULLY remove the jars, loosen the lids, and allow the hot jars to cool in a overnight.
- The next day, check to make sure that all of the jars achieved a proper seal – try to push down in the middle of each lid. If it “pops”, it did not seal.
- Any jars that didn’t seal after fully cooling to room temperature should be put in the fridge and used in the next few weeks.
- Close caps all the way, and store the sealed mason jars in a cool dark place (ideally) for up to 1 year, chill well before eating.


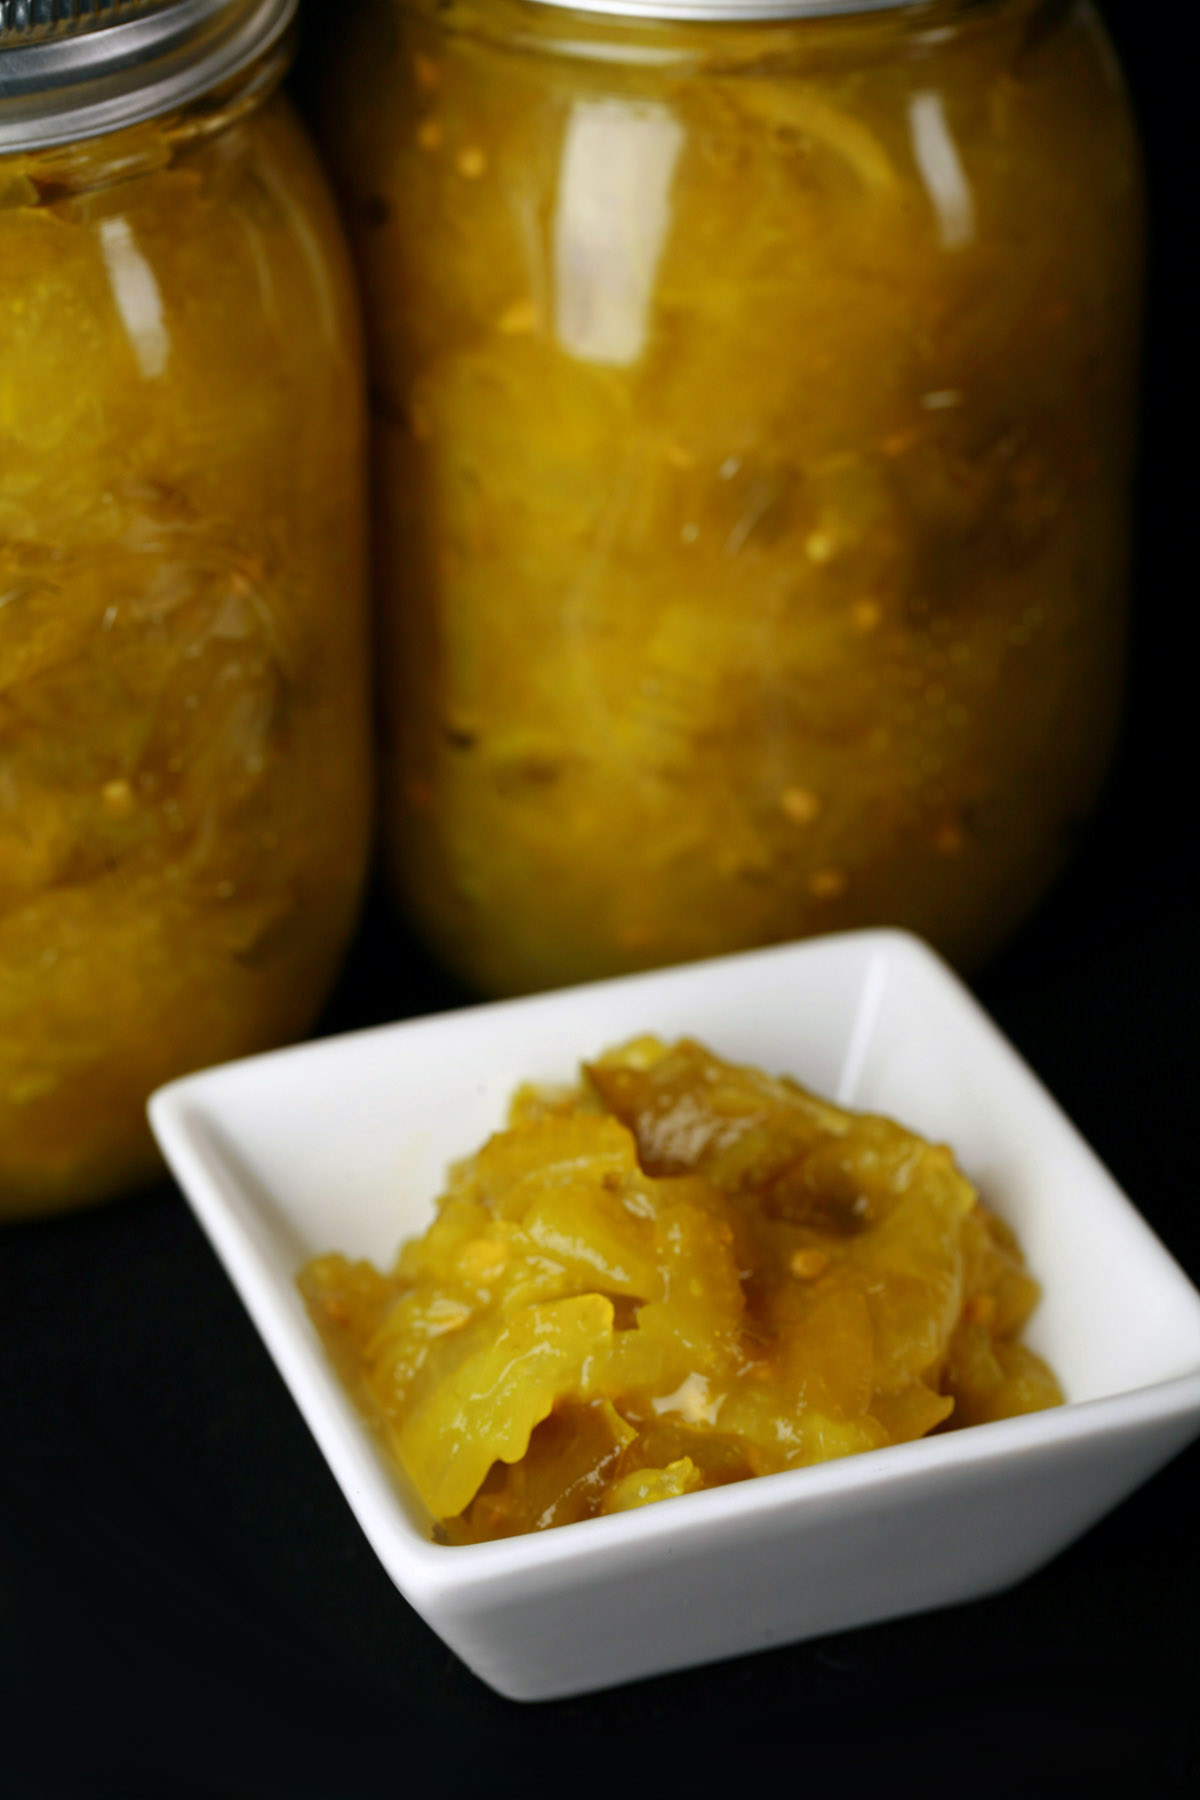

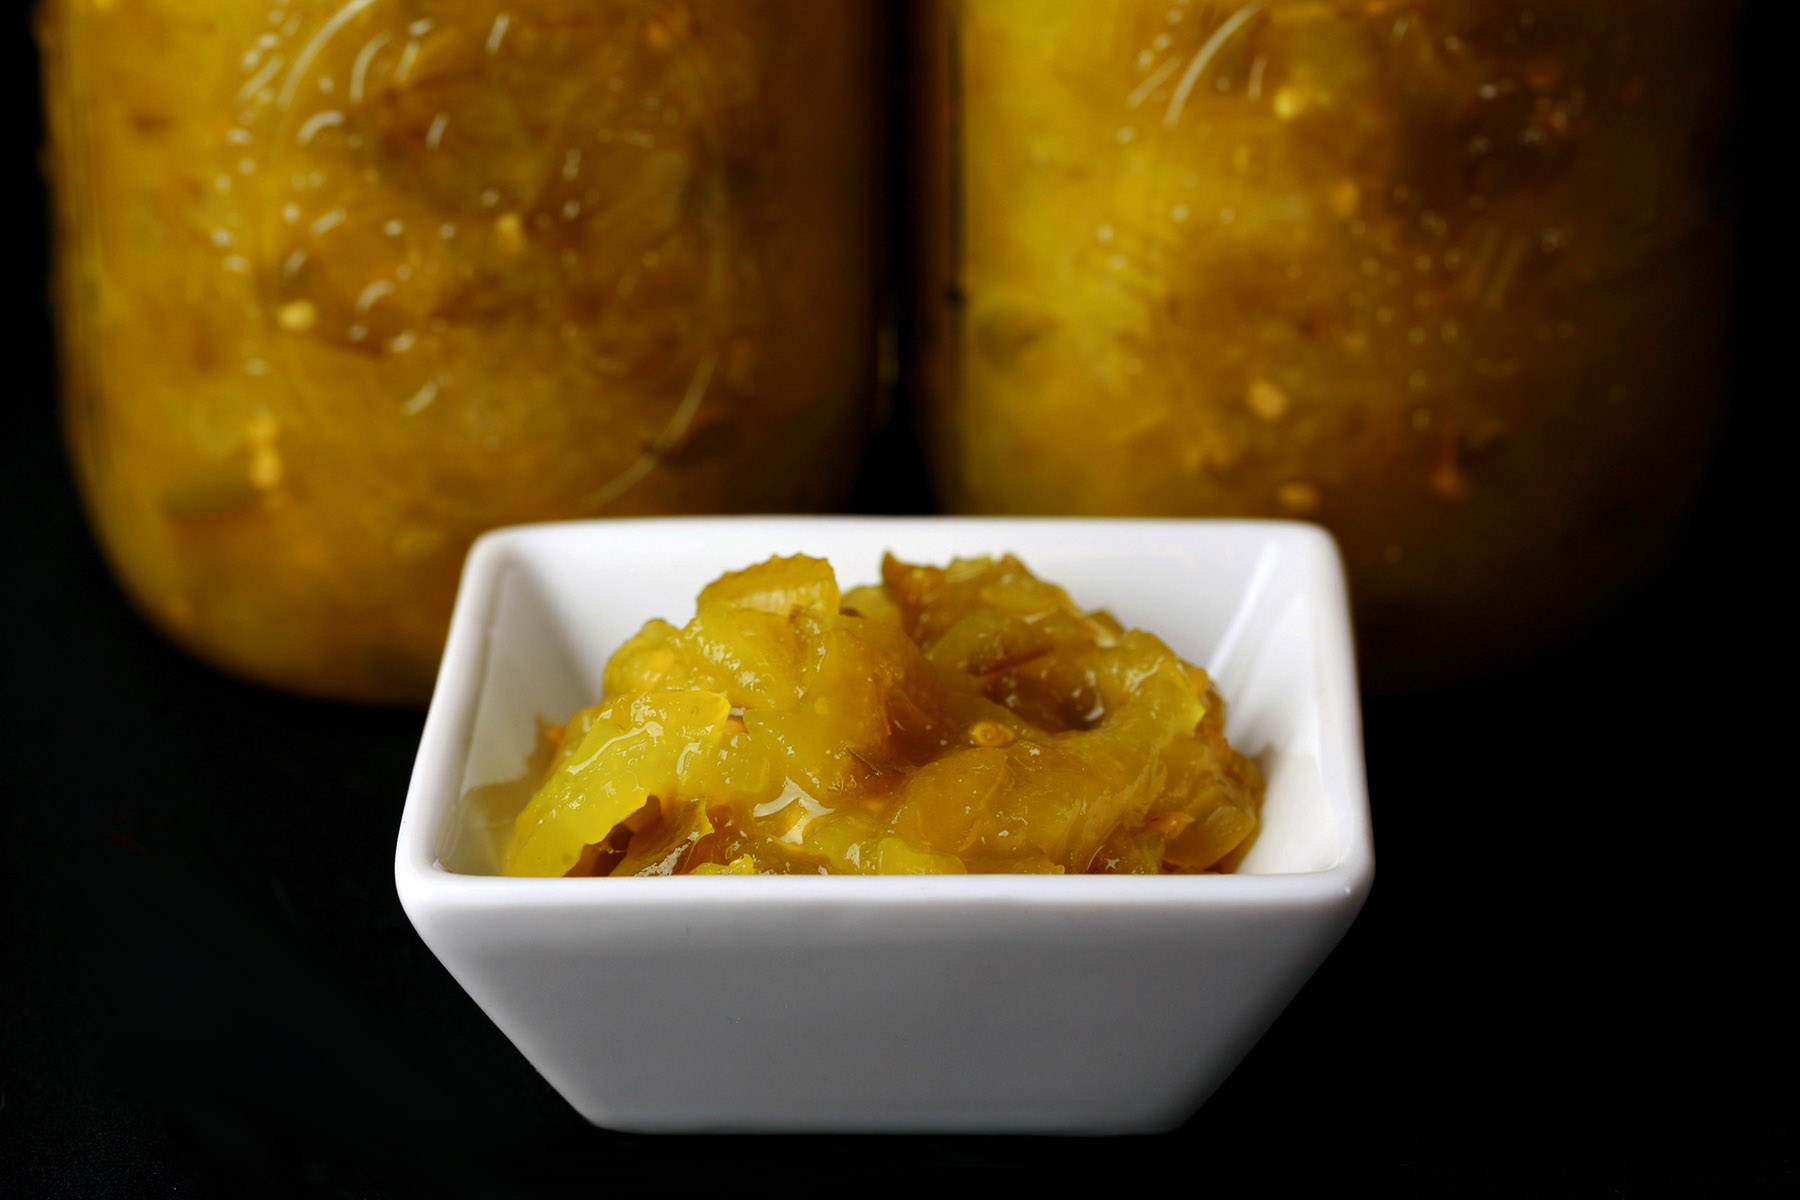


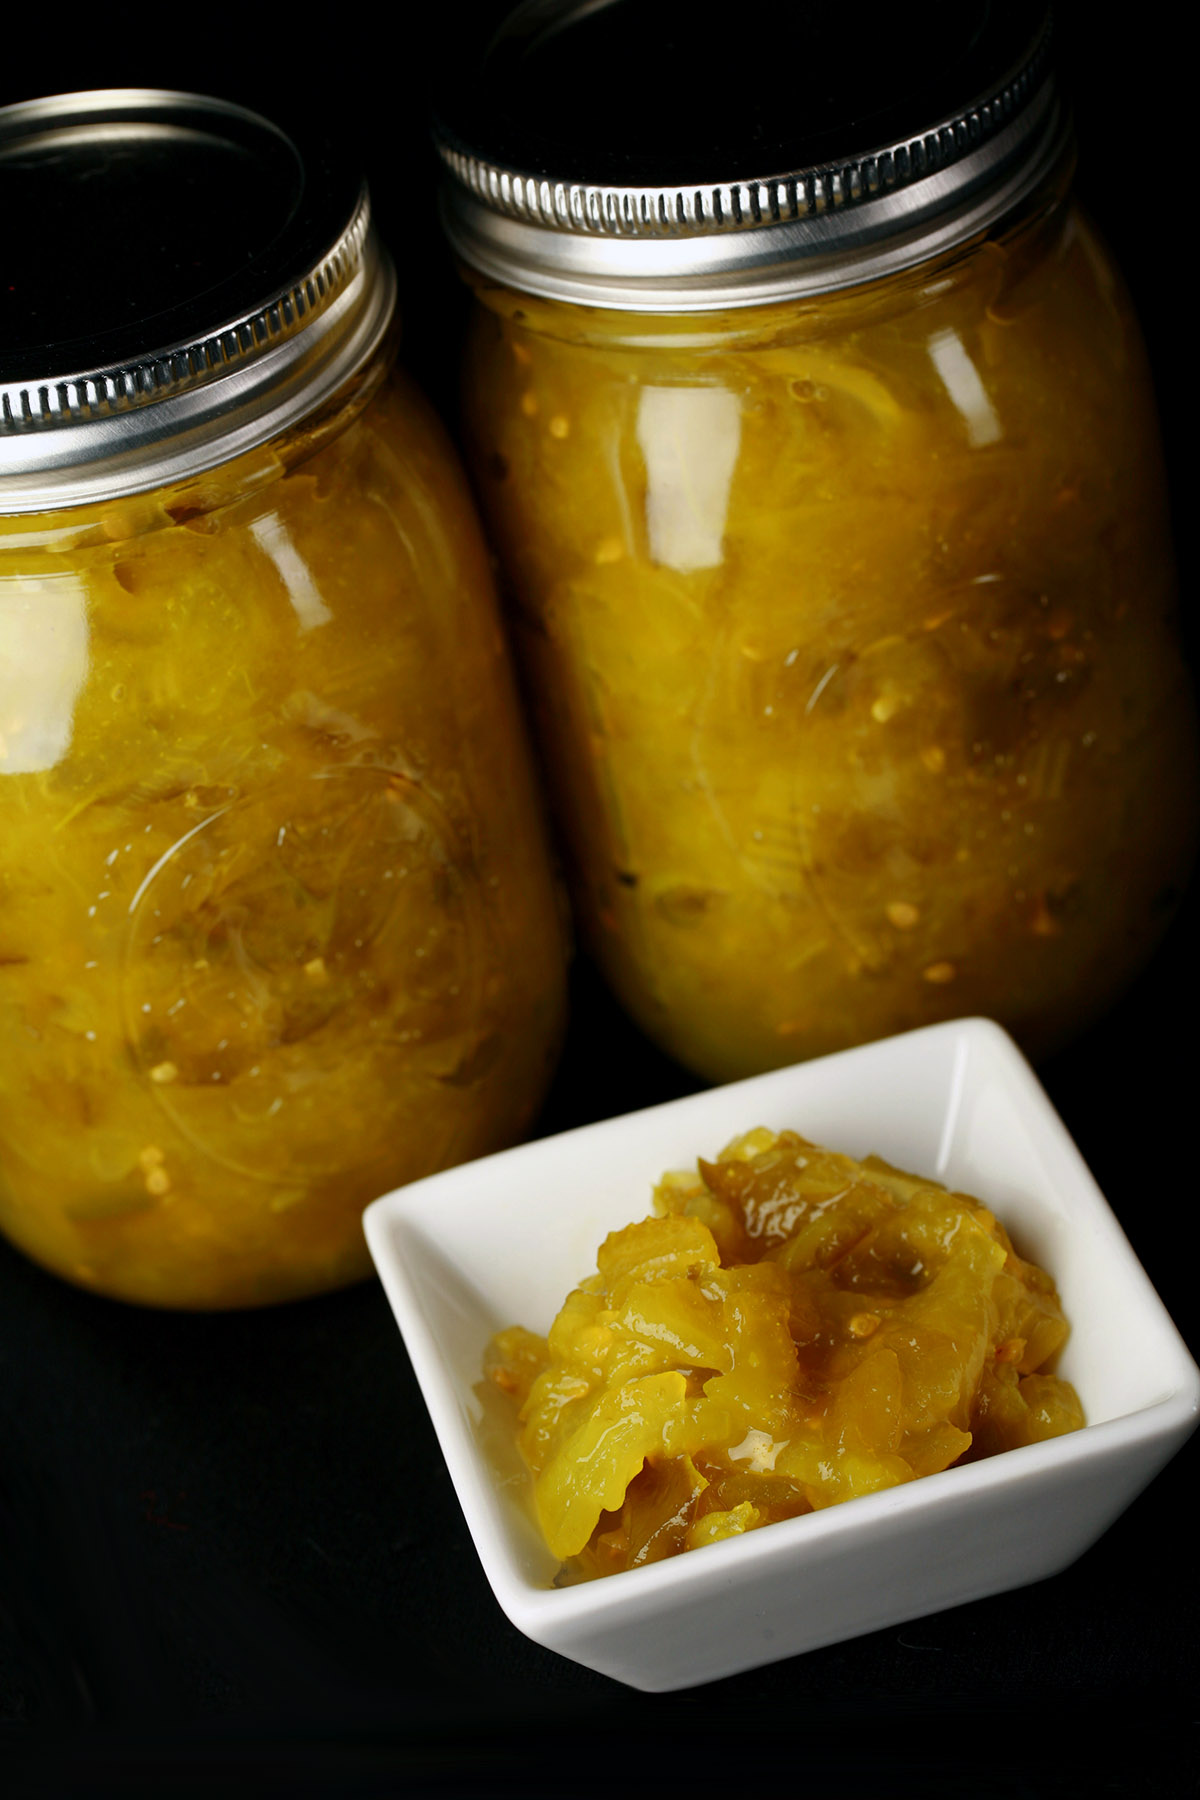






The chow-chow is very tasty, but made more than the suggested 4 pints. I followed the instructions and ended up with 5 pint jars and 1 quart jar. It certainly doesn't hurt to have more, just need to be prepared!
I haven't made this recipe yet. I don't understand point # 13 where it says to loosen the lids and 'leave in a -------overnight'. Then it says to test the seal on the jars. How do you test the seal of the jar with a loosened lid?
You're loosening the ring to let water escape and prevent rust - NOT the flat part of the lid, which is the part that actually seals
Nova Scotian here. I’ve been searching for a while trying to find the chow recipe I was used to growing up. This is so very close. I remember molasses being added. Would you have any idea how to incorporate it in this recipe? I’m excited I may have found my recipe. Thank you
Hmm, that's hard to say. Any idea how much sweeter your recipe was?
Are you SURE it was molasses? My NB recipe (close to this but with cucumber, green tomato and onion only, and without the mustard or turmeric) uses a combo of white and brown sugar (likely the source of your molasses?)