Salami roses are a super fun way to dress up a charcuterie board - and they're SUPER easy to make! Here's how I make my charcuterie roses.
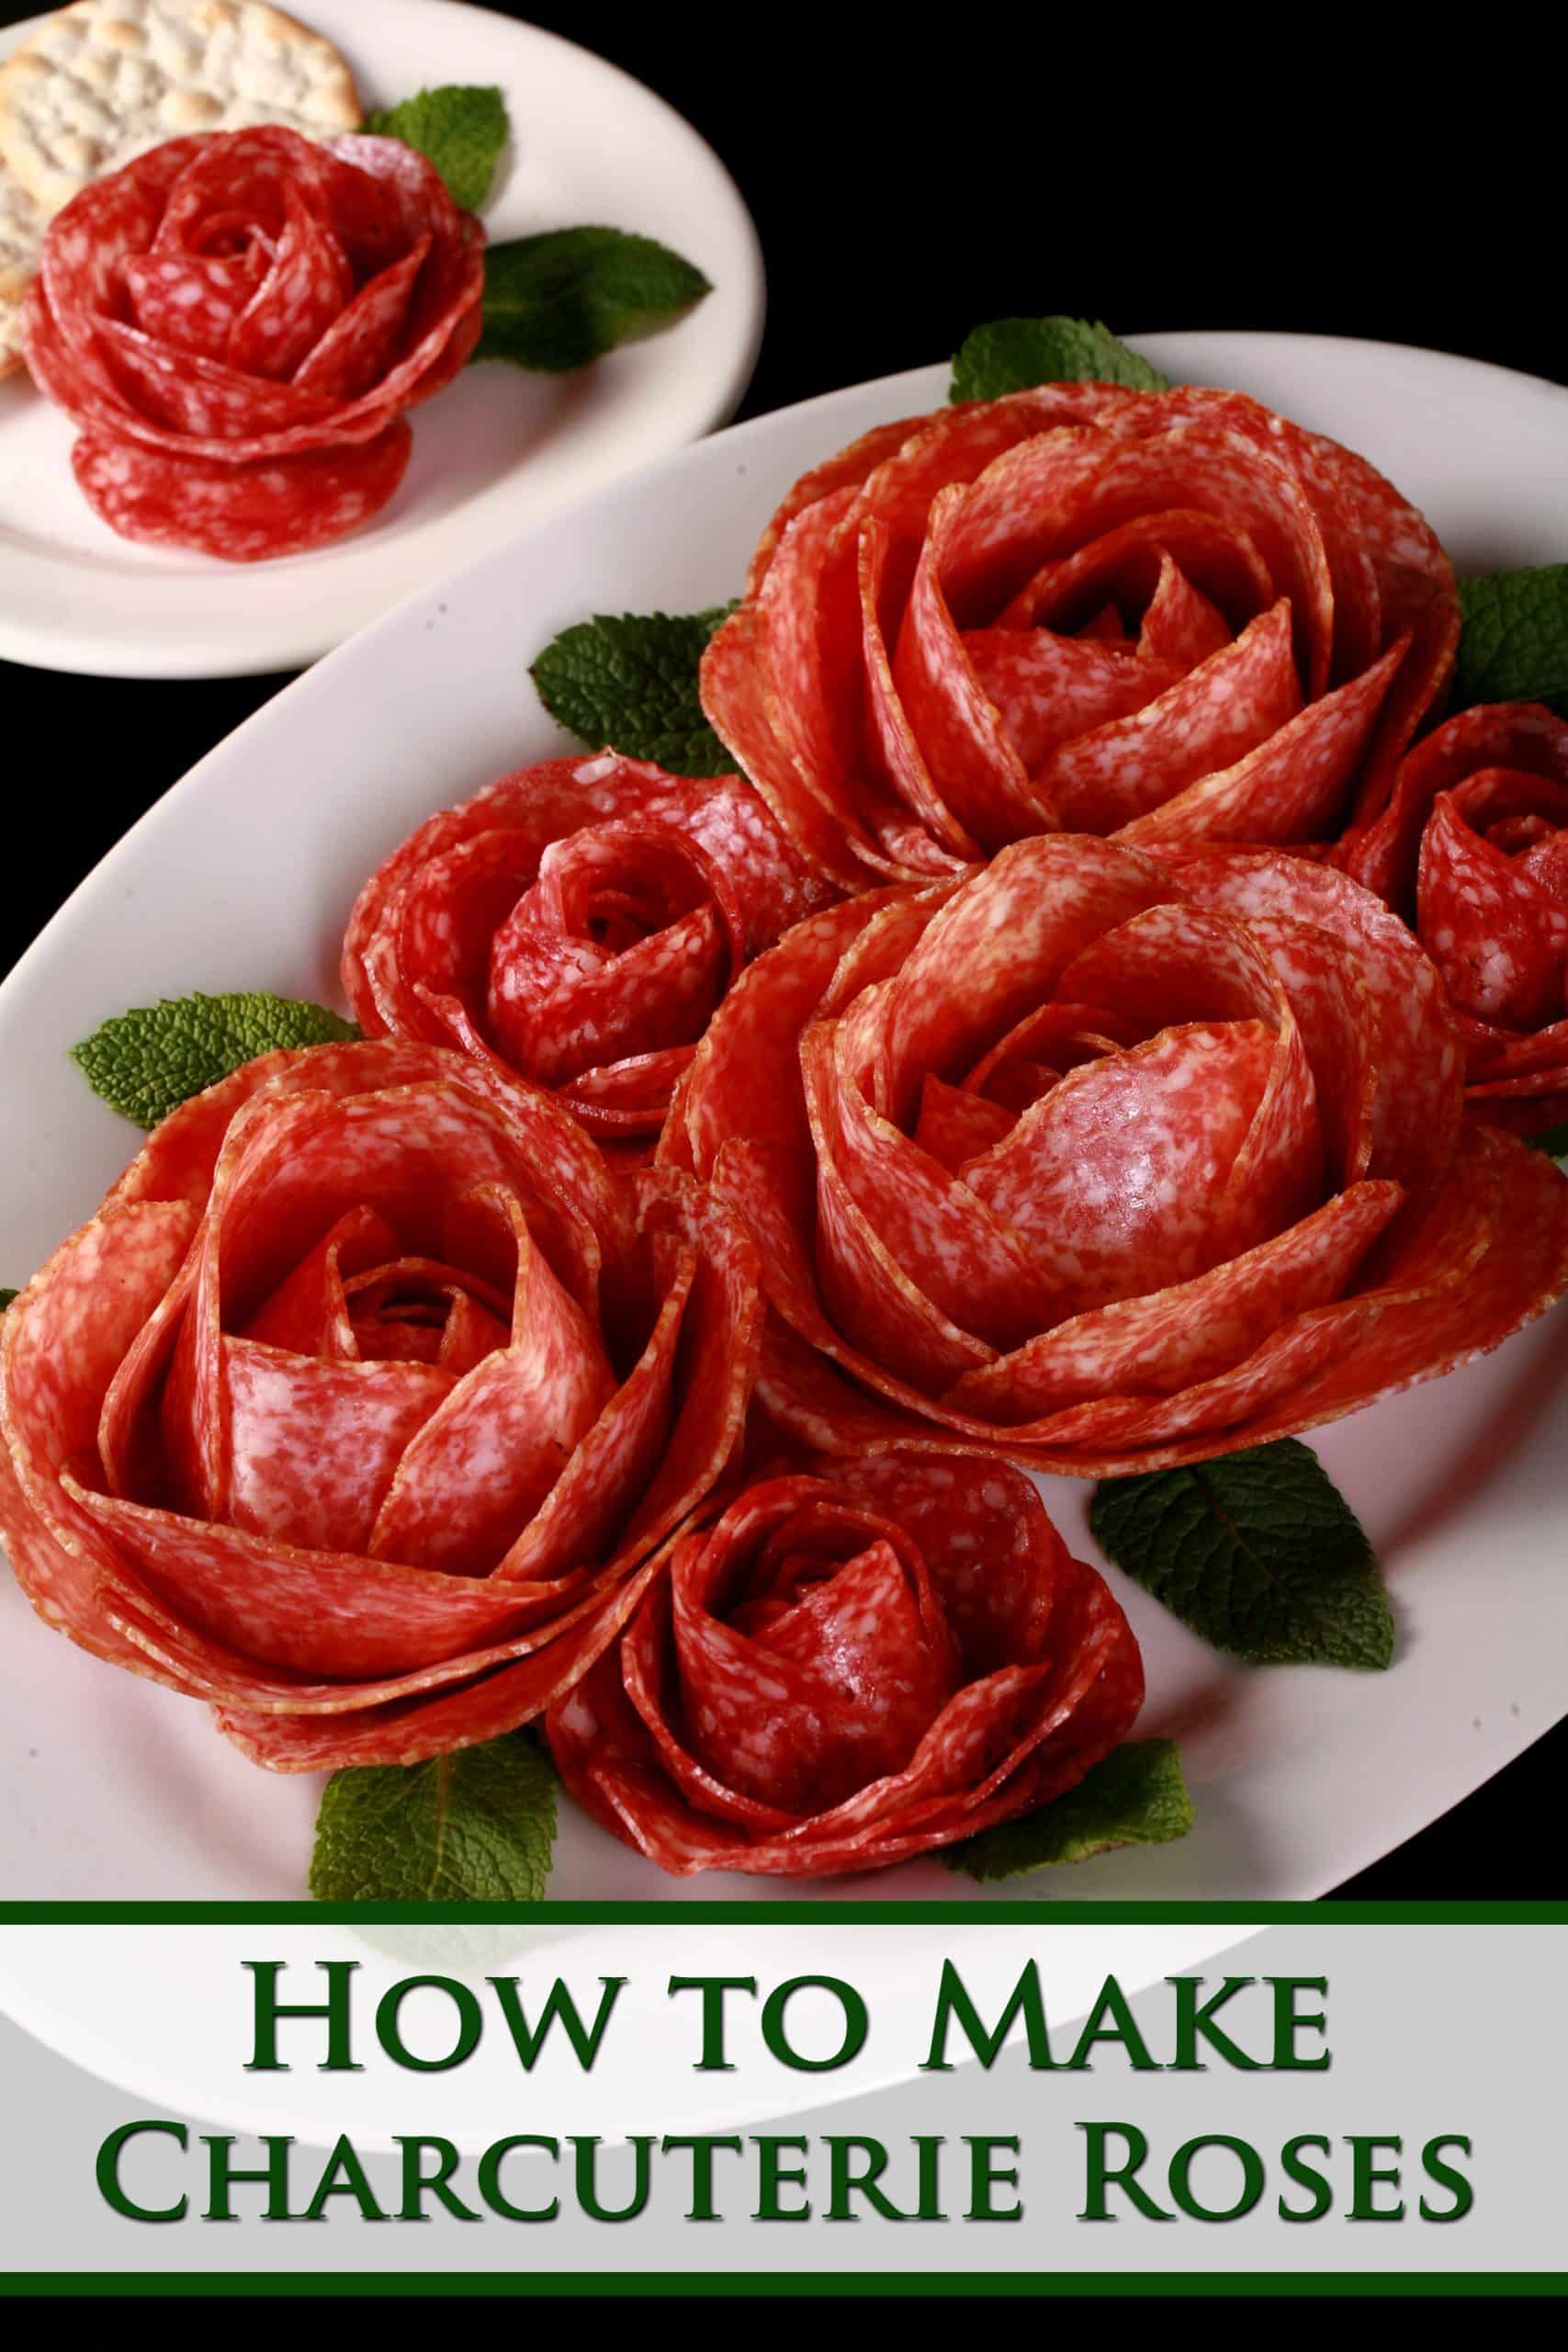
While they’re a great appetizer in general - and the perfect addition to almost any party menu - I don’t confine them to special occasions!
One of my favorite things to do for movie night is to throw together a quick snack board of meats, cheeses, and crackers. It’s an easy way to get a basic meal in, with absolutely minimal effort.
Lately I’ve been on more of a formal charcuterie mission - I decided I wanted to design a unique charcuterie board for every major holiday season - and had a ton of fun doing so.
The thing is, some of those - like the Valentine's Day charcuterie board - made use of a beautiful salami rose... or two.
So, before I get into sharing those holiday charcuterie boards, I figure I should start out with an easy tutorial on forming salami pieces into a beautiful rose!
I’m sure there are all kinds of different ways that people make their salami roses, this is how I do it.
They don’t take much time at all to make - about a minute and a half each, when you get into the groove of it.
So, grab a pack of salami, and get ready to elevate your upcoming Valentine’s Day or Mother's Day party platters!
Ingredients and Equipment
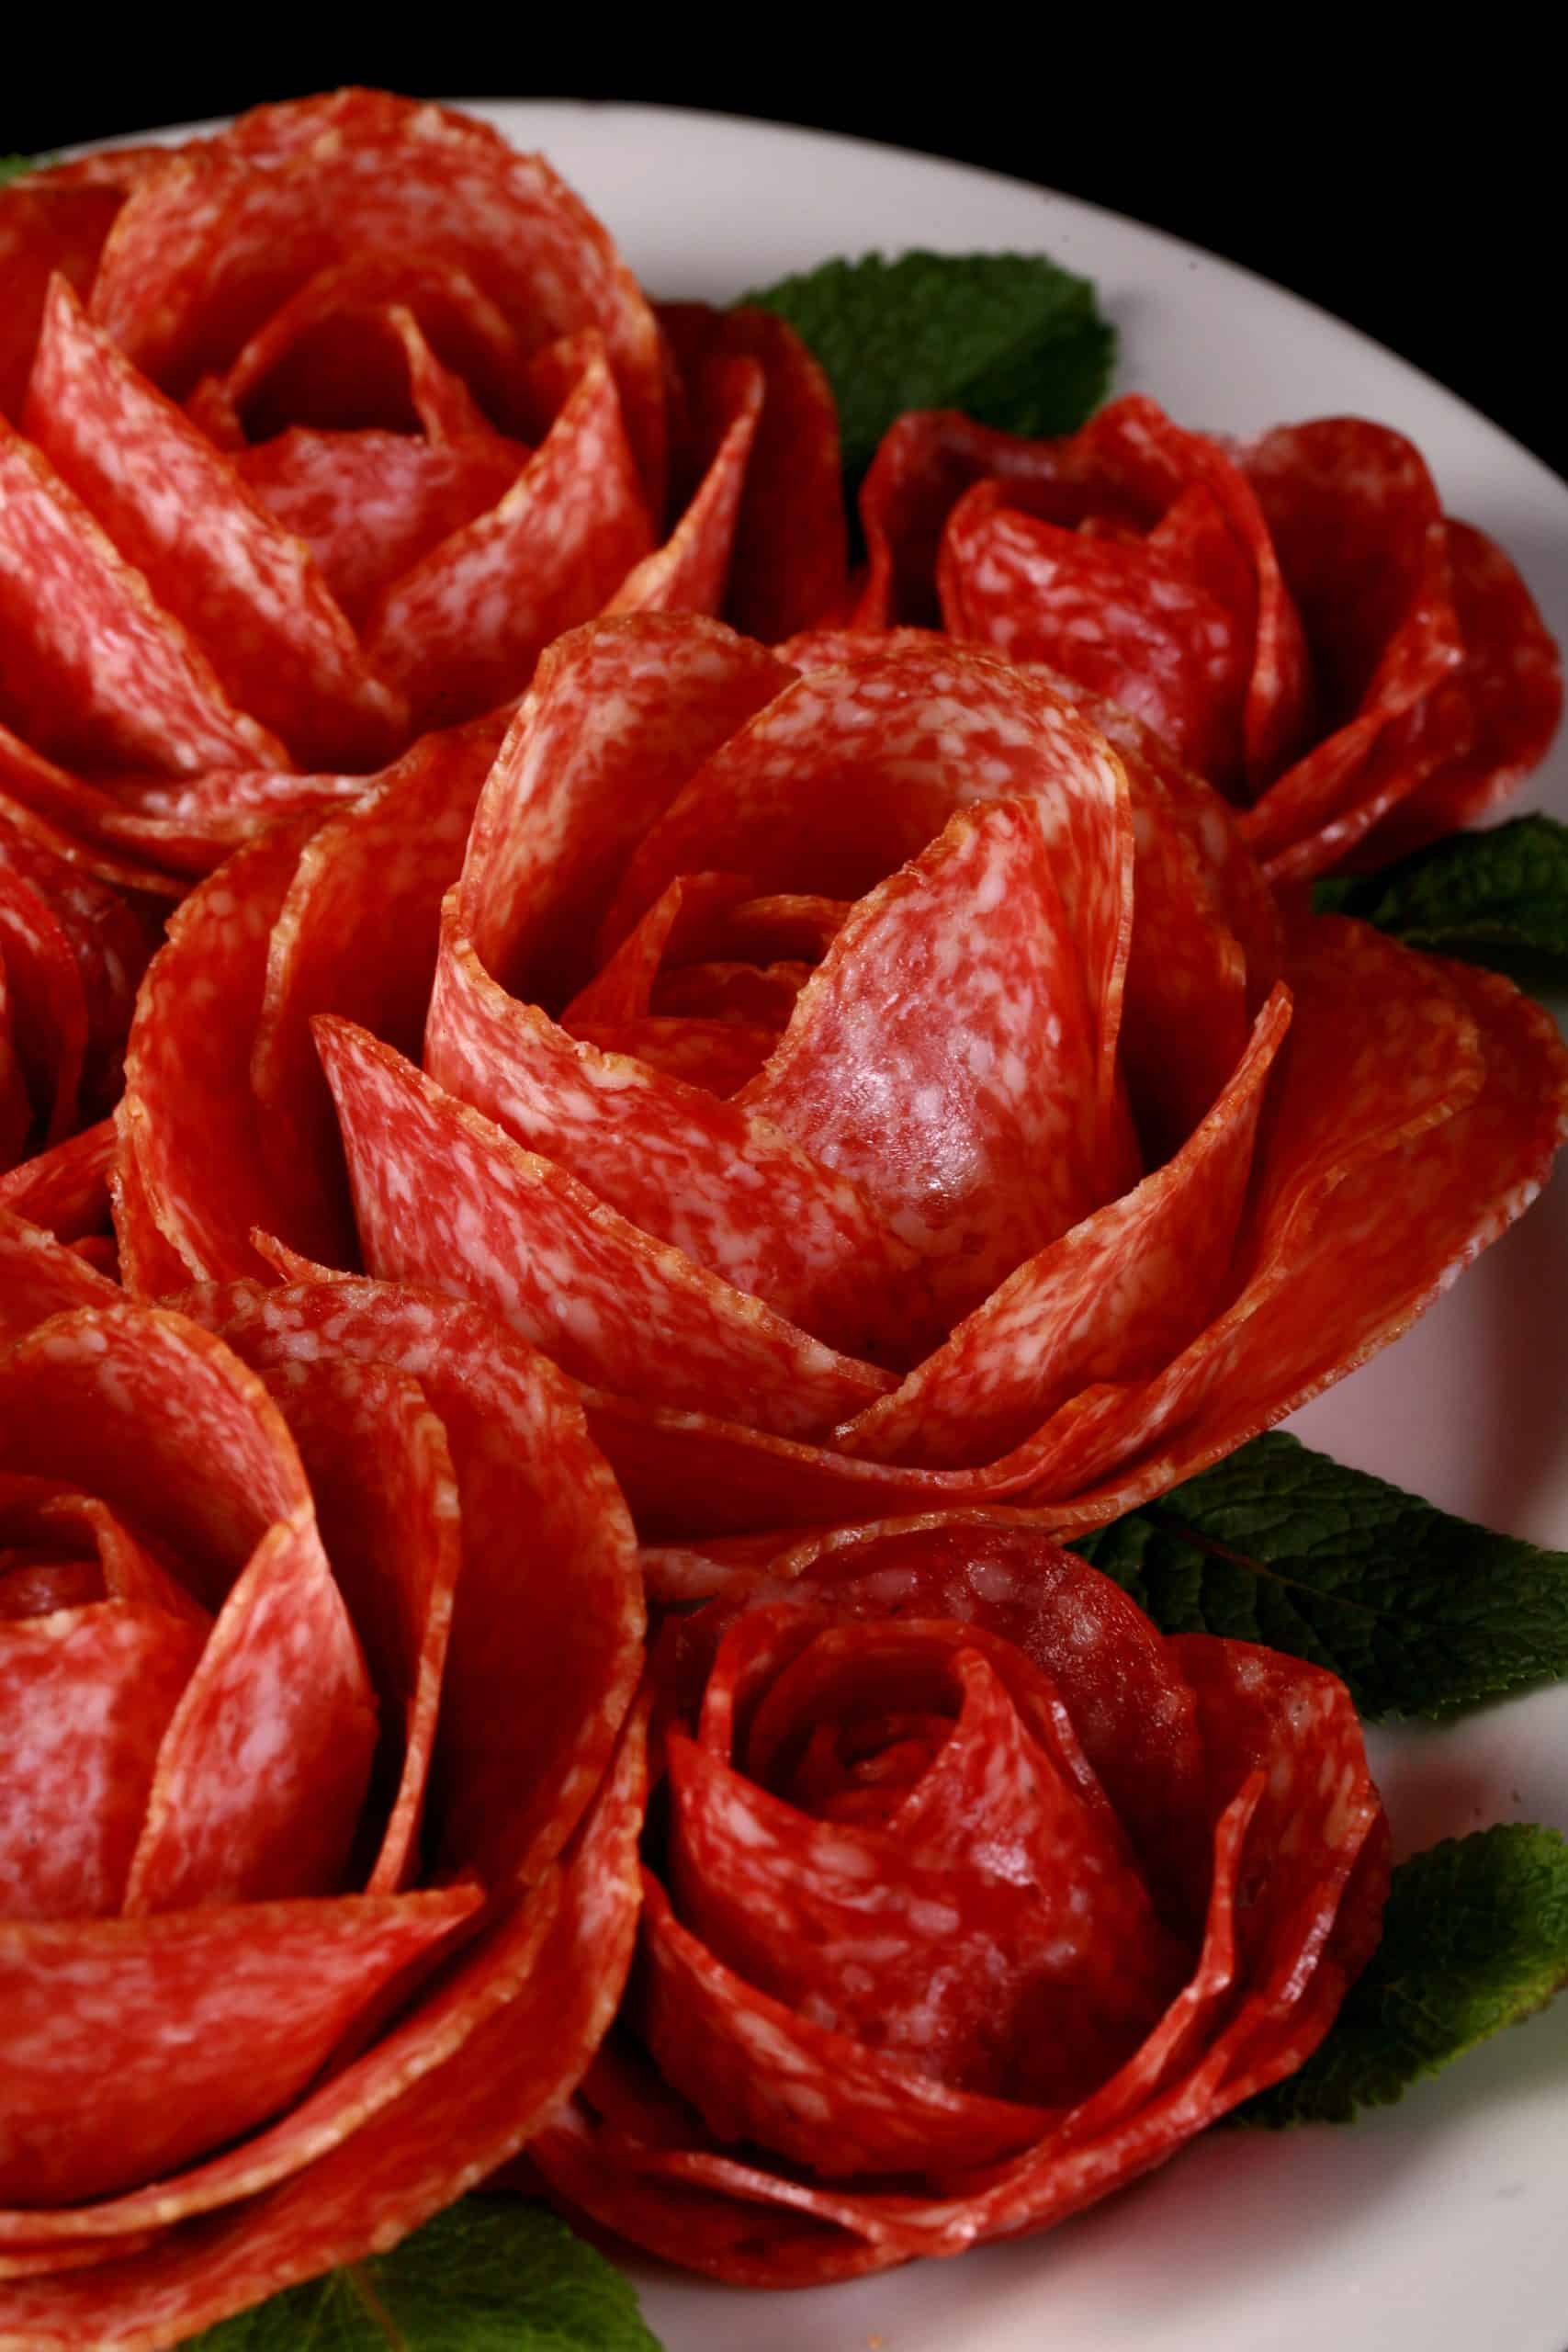
These salami rosettes use a super simple technique, and it really only requires two ingredients and one drinking glass to make!
I do have some notes for you, though:
Cold Cuts
These charcuterie roses are made with salami - and I think it’s the best meat to use - but other deli meats can be used as well.
In general, you’re looking for a round slices of a cured meat with a bit of fatty texture. You want a meat that doesn’t crack when folded, but also isn’t so flimsy as to not hold its shape.
That being the case, salami and thinly sliced pepperoni are a couple of great meat options for this technique.
As a note, really cold meats can be a bit more prone to crack / rip than slightly warmer meat.
If you’re pretty sure your choice of meat should work, try letting it warm up for a couple of minutes, before draping.
Fresh Herbs
Charcuterie meat roses are cute on their own, but for best results, I recommend garnishing them with fresh herb leaves.
Generally speaking, I like to use either basil or mint.
Fresh mint leaves LOOK better, IMHO - serrated, similar to rose leaves.
That said, mint and salami is a bit of a weird combo in terms of taste - basil is a great option in terms of flavour.
A Glass
You’ll use the rim of a wine glass, champagne flute, or shot glass to make your roses.
The round shape of the glass is what sets the shape and size of your rose, and holds the petals in place until you release your salami rose from it.
I don’t generally use anything bigger than a white wine glass, as the rose sizes can get out of control pretty quickly!
The size of rose you’ll get from a white wine or champagne glass is about perfect for medium to large size charcuterie boards, and you can use something more like a shot glass for a smaller rose, if you’re doing a small charcuterie board.
You’ll also need a shot glass for smaller meat, like if you’re making pepperoni roses.

A Note on Sizing
You will see two sizes of roses in this tutorial. They were made with different sizes of glasses, and 2 different sized pieces of salami.
For the smaller roses, I used a small shot glass - the size of the glass was about 1.5" diameter at the rim - and 2" diameter salami.
Those smaller flowers took 2 rows of 4 slices, and a final row of 3 slices.
The larger roses used a slightly larger glass - 2.5" diameter at the rim - with salami that was 3.25" across.
This was a small beer taster glass, but it’s probably fairly similar to what you’d get by using a champagne glass, or smaller white wine glasses.
Each large rose took 3 layers of 4 slices each to form.
Using a larger rim of a glass will result in a large salami rose - and it may take more layers of salami to make. Depending on the size of the rose, you could be looking at 20-25 slices of salami!
How to Make Salami Roses
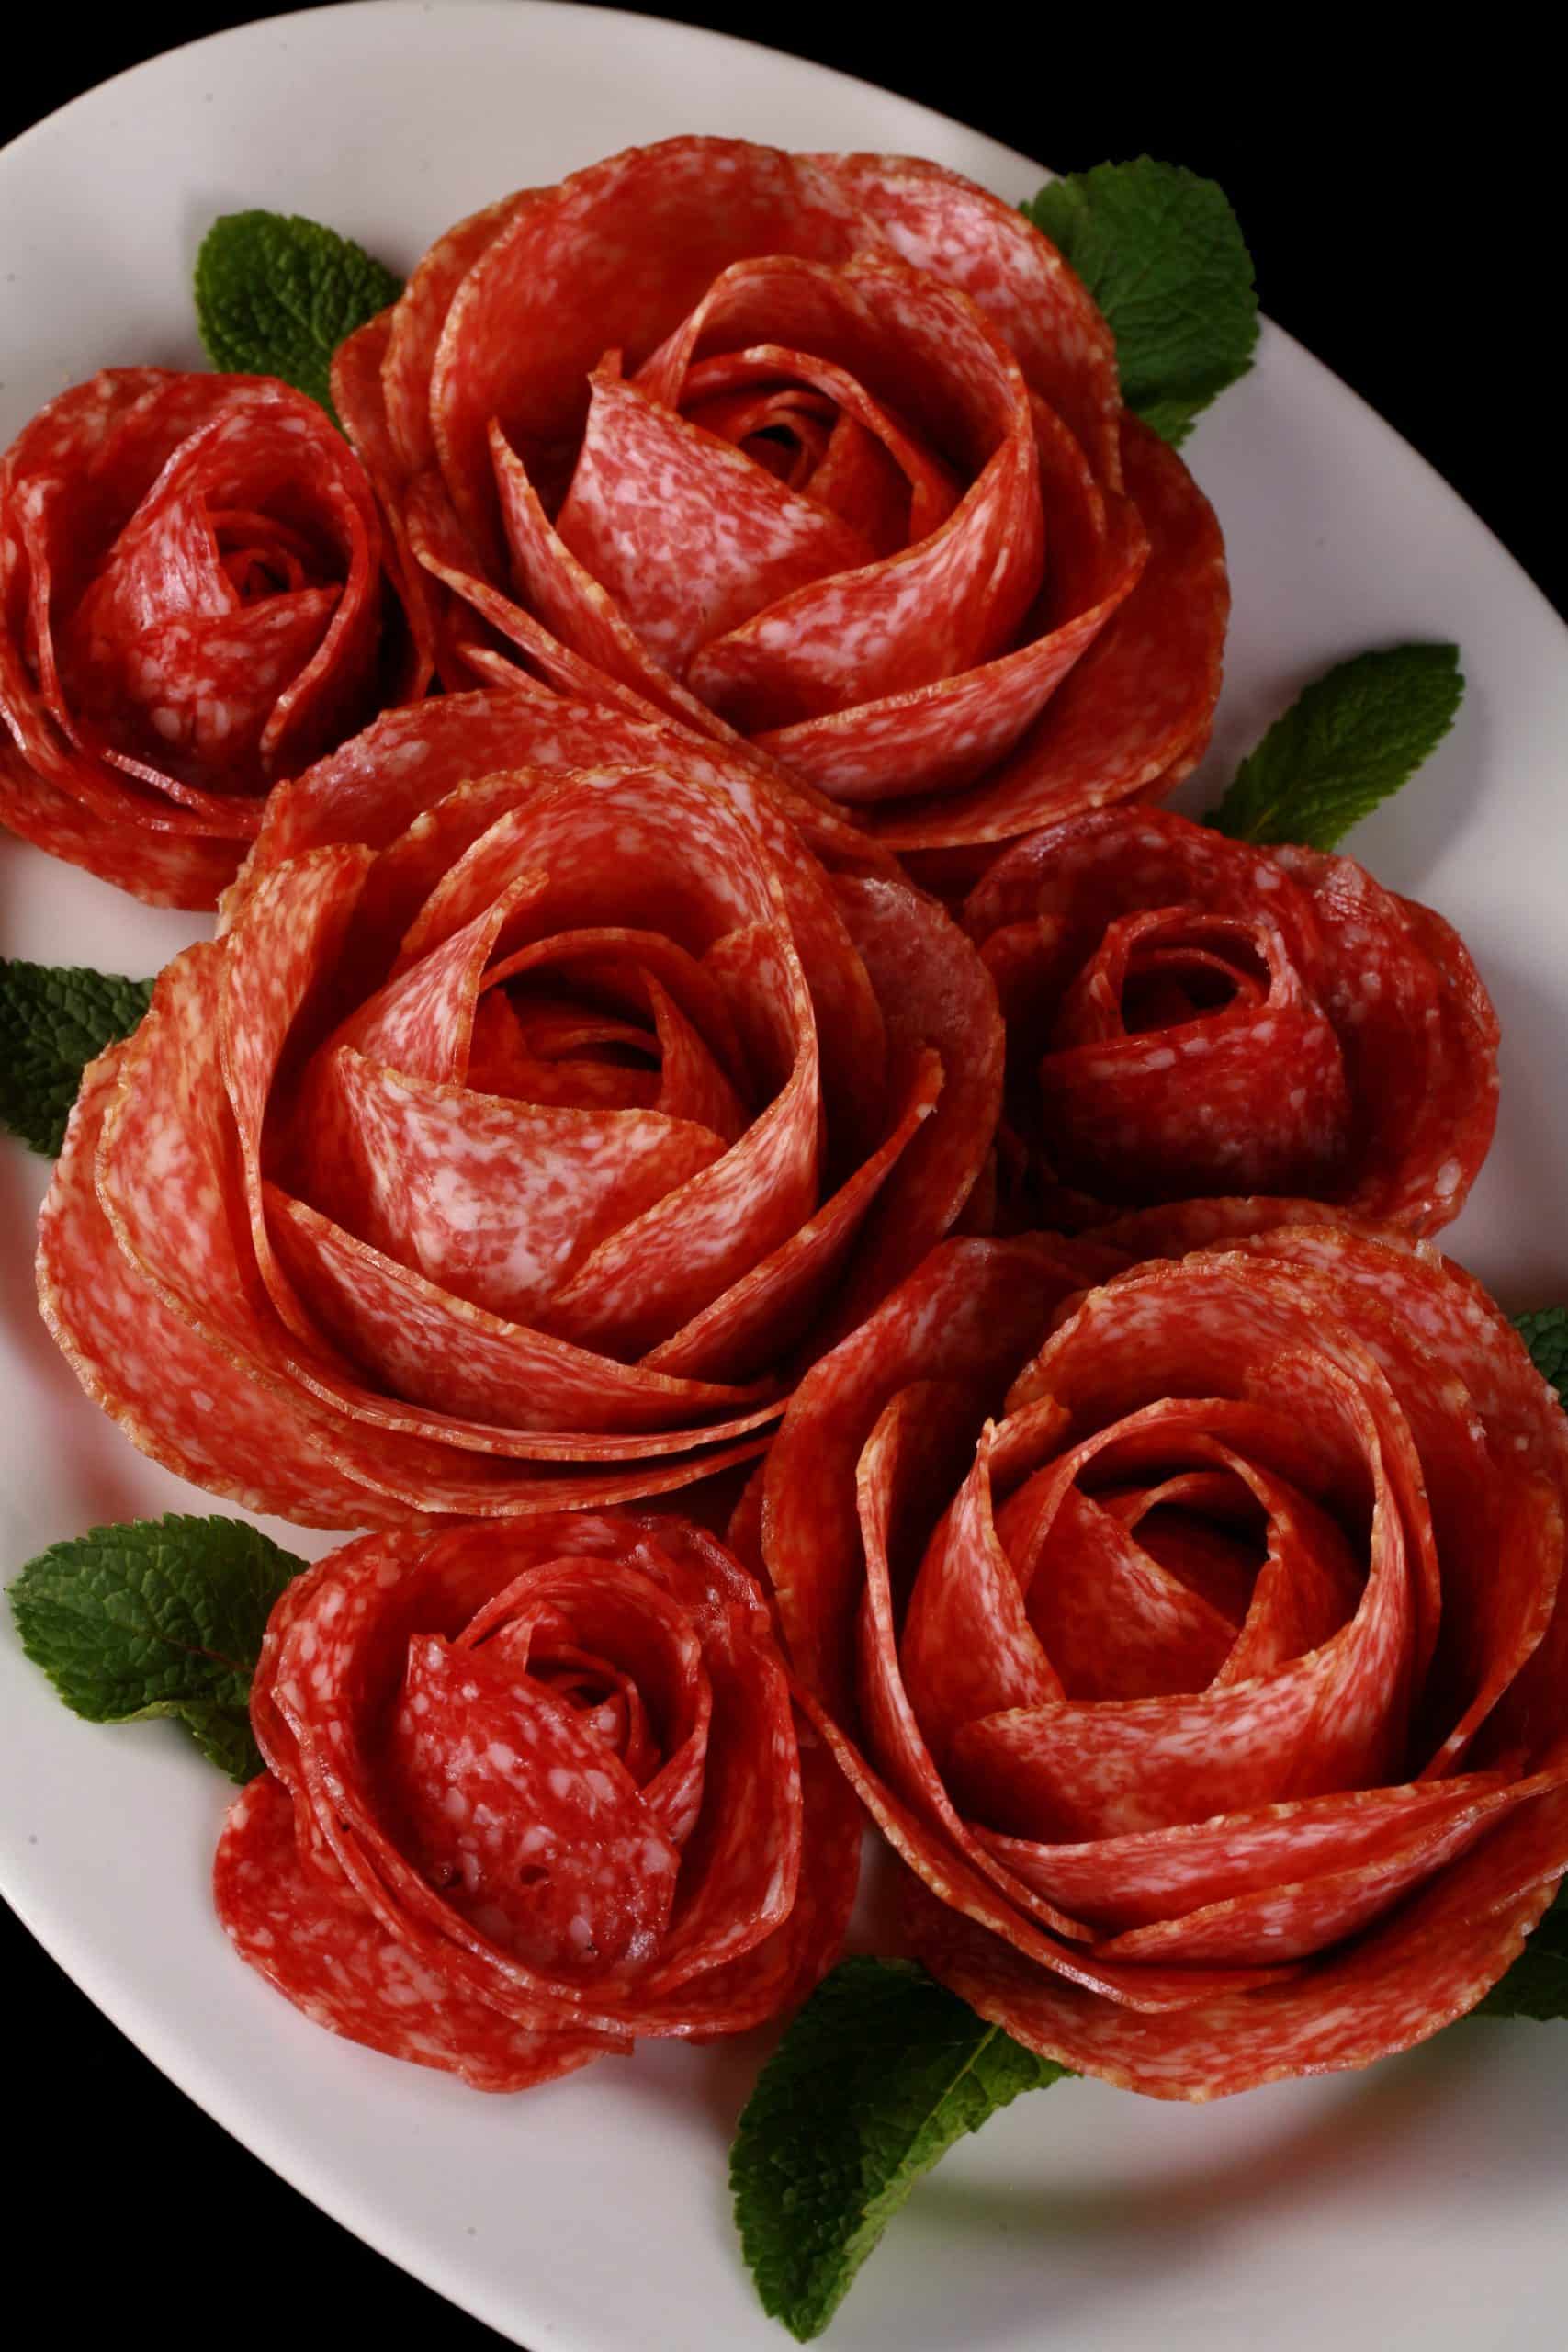
Meat flowers are a beautiful way to dress up even a simple charcuterie board ... and they only take a couple of minutes to make! Here are the easy steps you’ll need to follow:
Set your choice of glass on a flat surface.
Remember: The diameter of the glass affects the final size of your rose, AND will determine how many salami slices you’ll need for each rose.
Loosely fold slice of salami in half, and drape it over the rim of the glass. Gently squeeze it on either side of the glass to secure the fold.
Place another folded meat slice on the glass, overlapping the first slice by around 50% - this will depend on the size of your salami, and the diameter of the glass you’re using.
Add 2 more slices of salami to complete the first layer of salami. You should have 4 overlapped slices, evenly spaced around the rim of the glass.
This first layer should be relatively close to the glass on both sides - if it’s not folded tight, you’ll have a big gap between the inner layers of rose petals, and the outer layers.
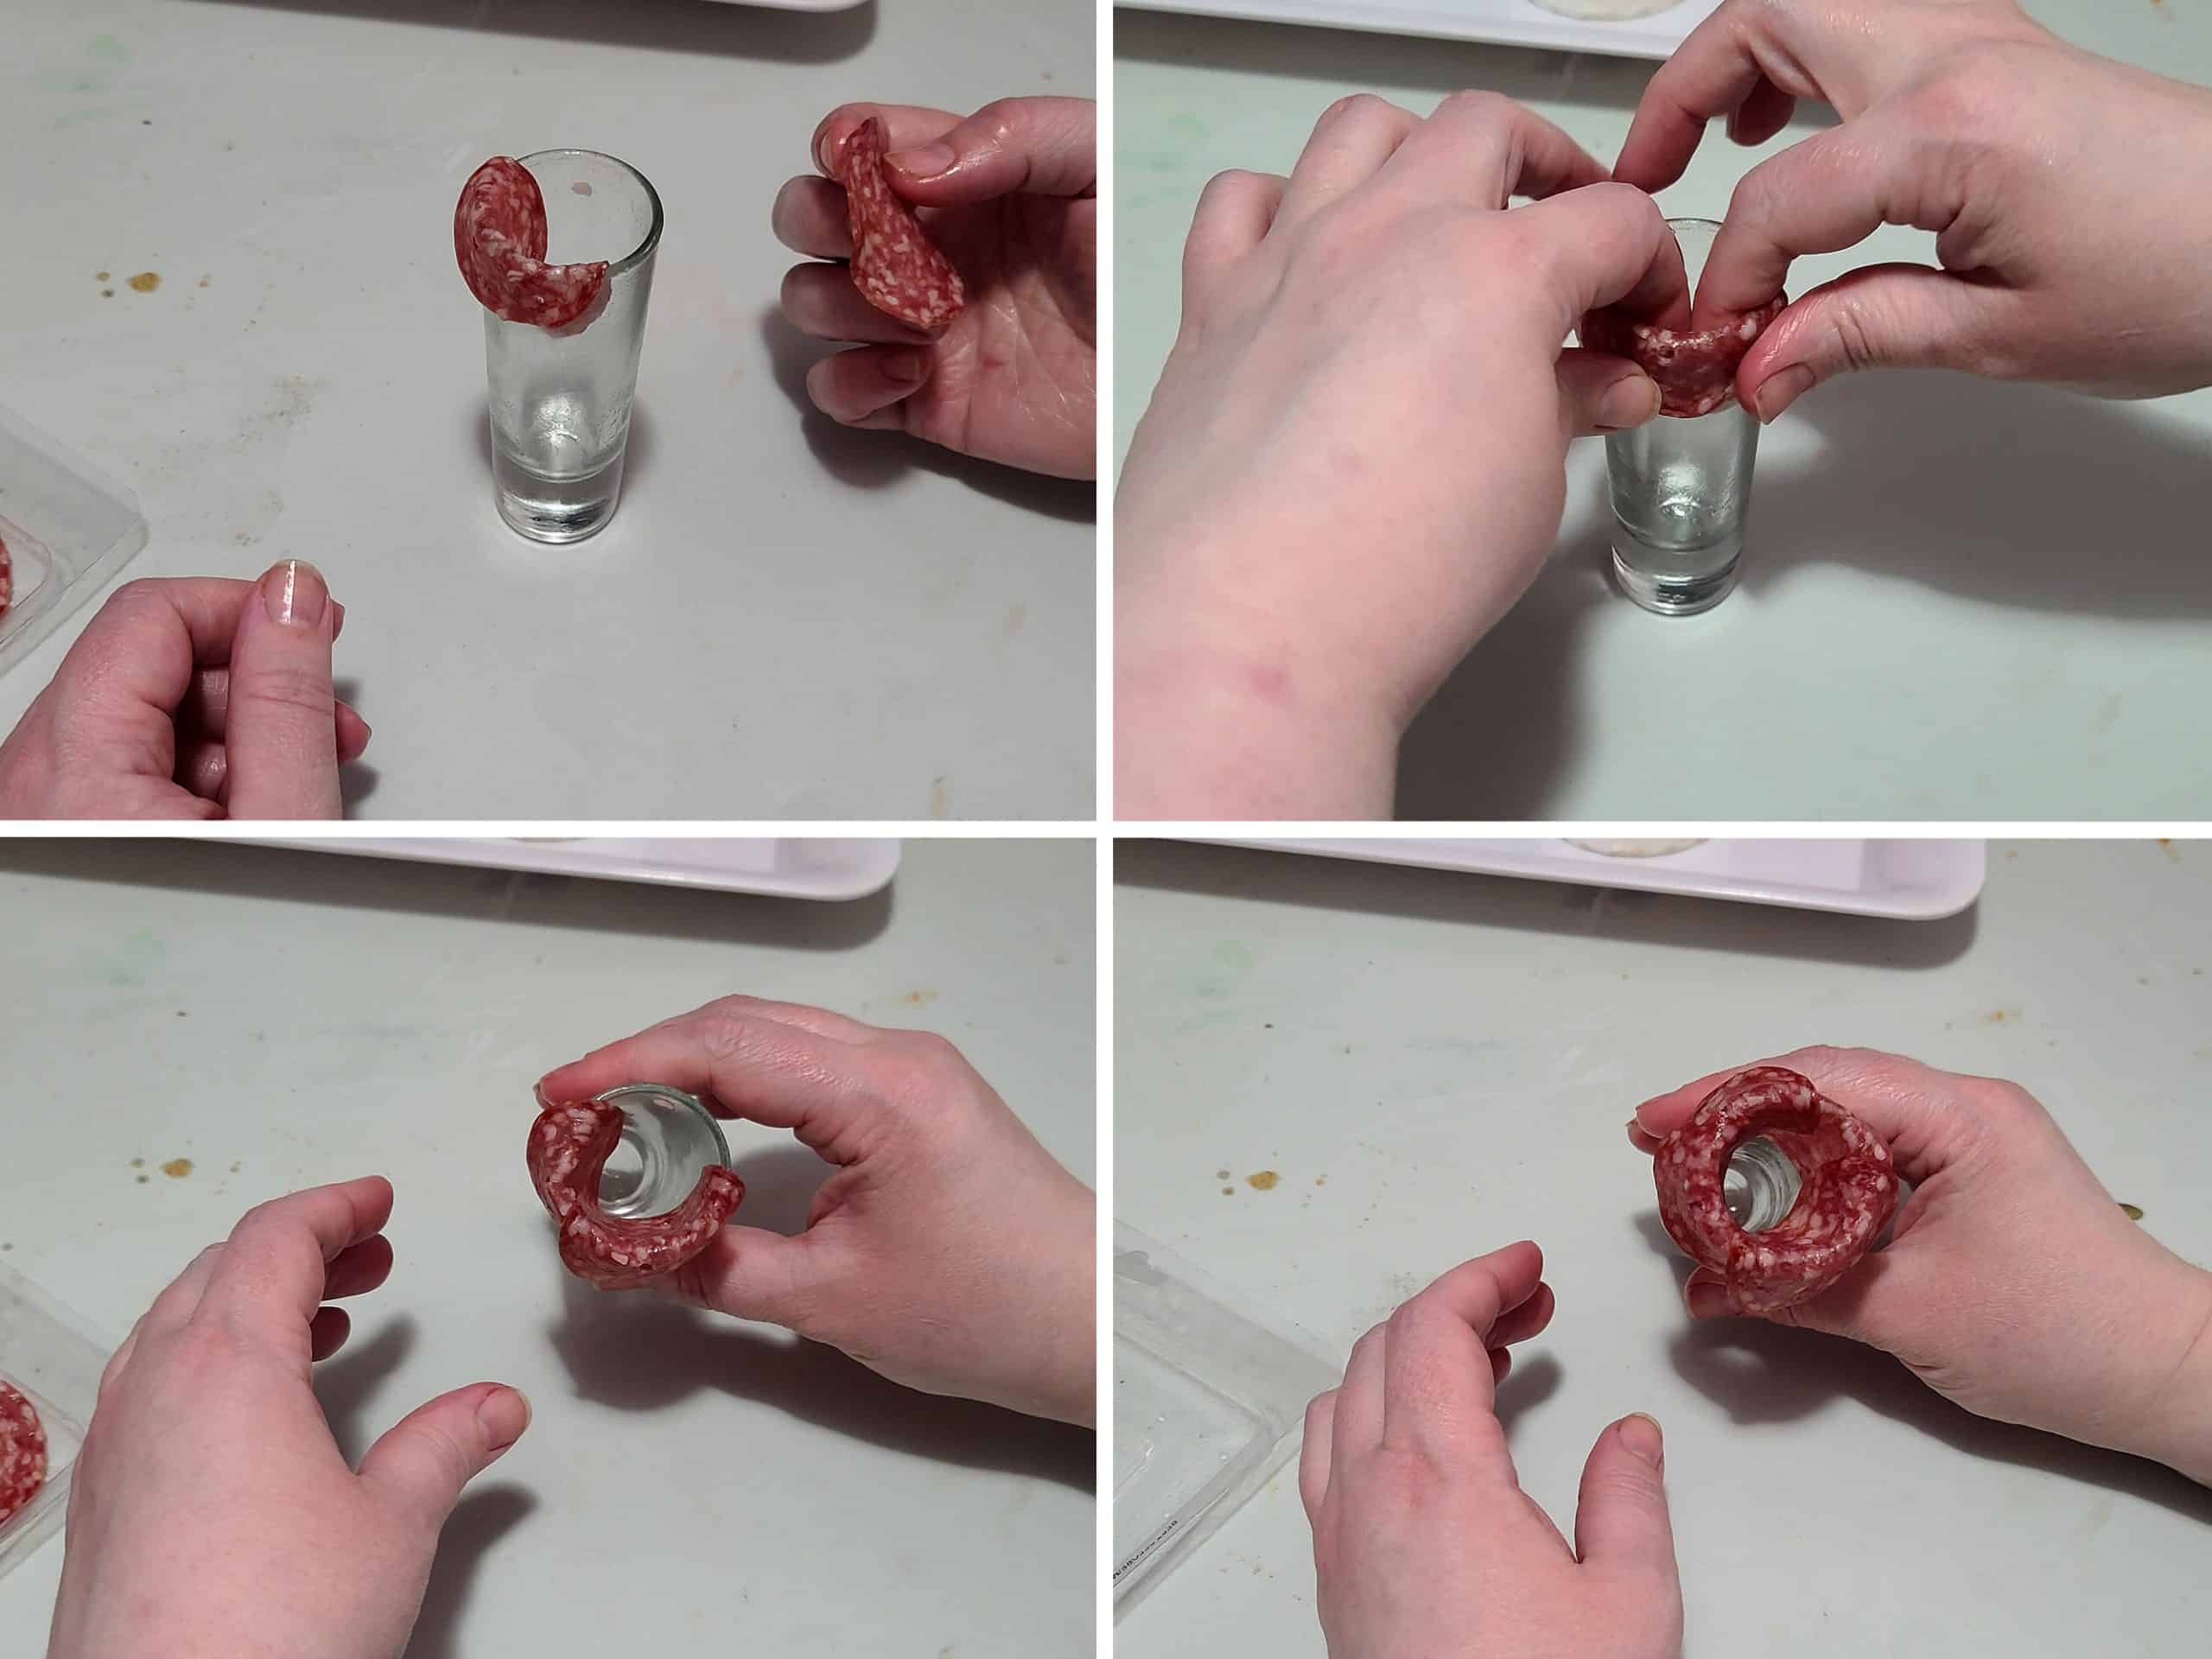
That is to say, when I start a new layer, I’ll aim to center the first slice of salami over the point where two slices overlap, on the layer beneath.
Continue with another 1-4 layers of salami, depending on the size of your glass.
Each layer AFTER the first layer should be draped a little more loosely, allowing for a bit of space between each layer of petals.
You’ll know you have enough petals when the inside of the glass is basically sealed up with a swirl of salami, with only a small hole remaining at the center.

Holding your hand in place on the rim, turn the glass upside down and give it a little twist with your other hand - this will dislodge the tightly folded slices in that first layer.
Gently remove the glass from the rose.
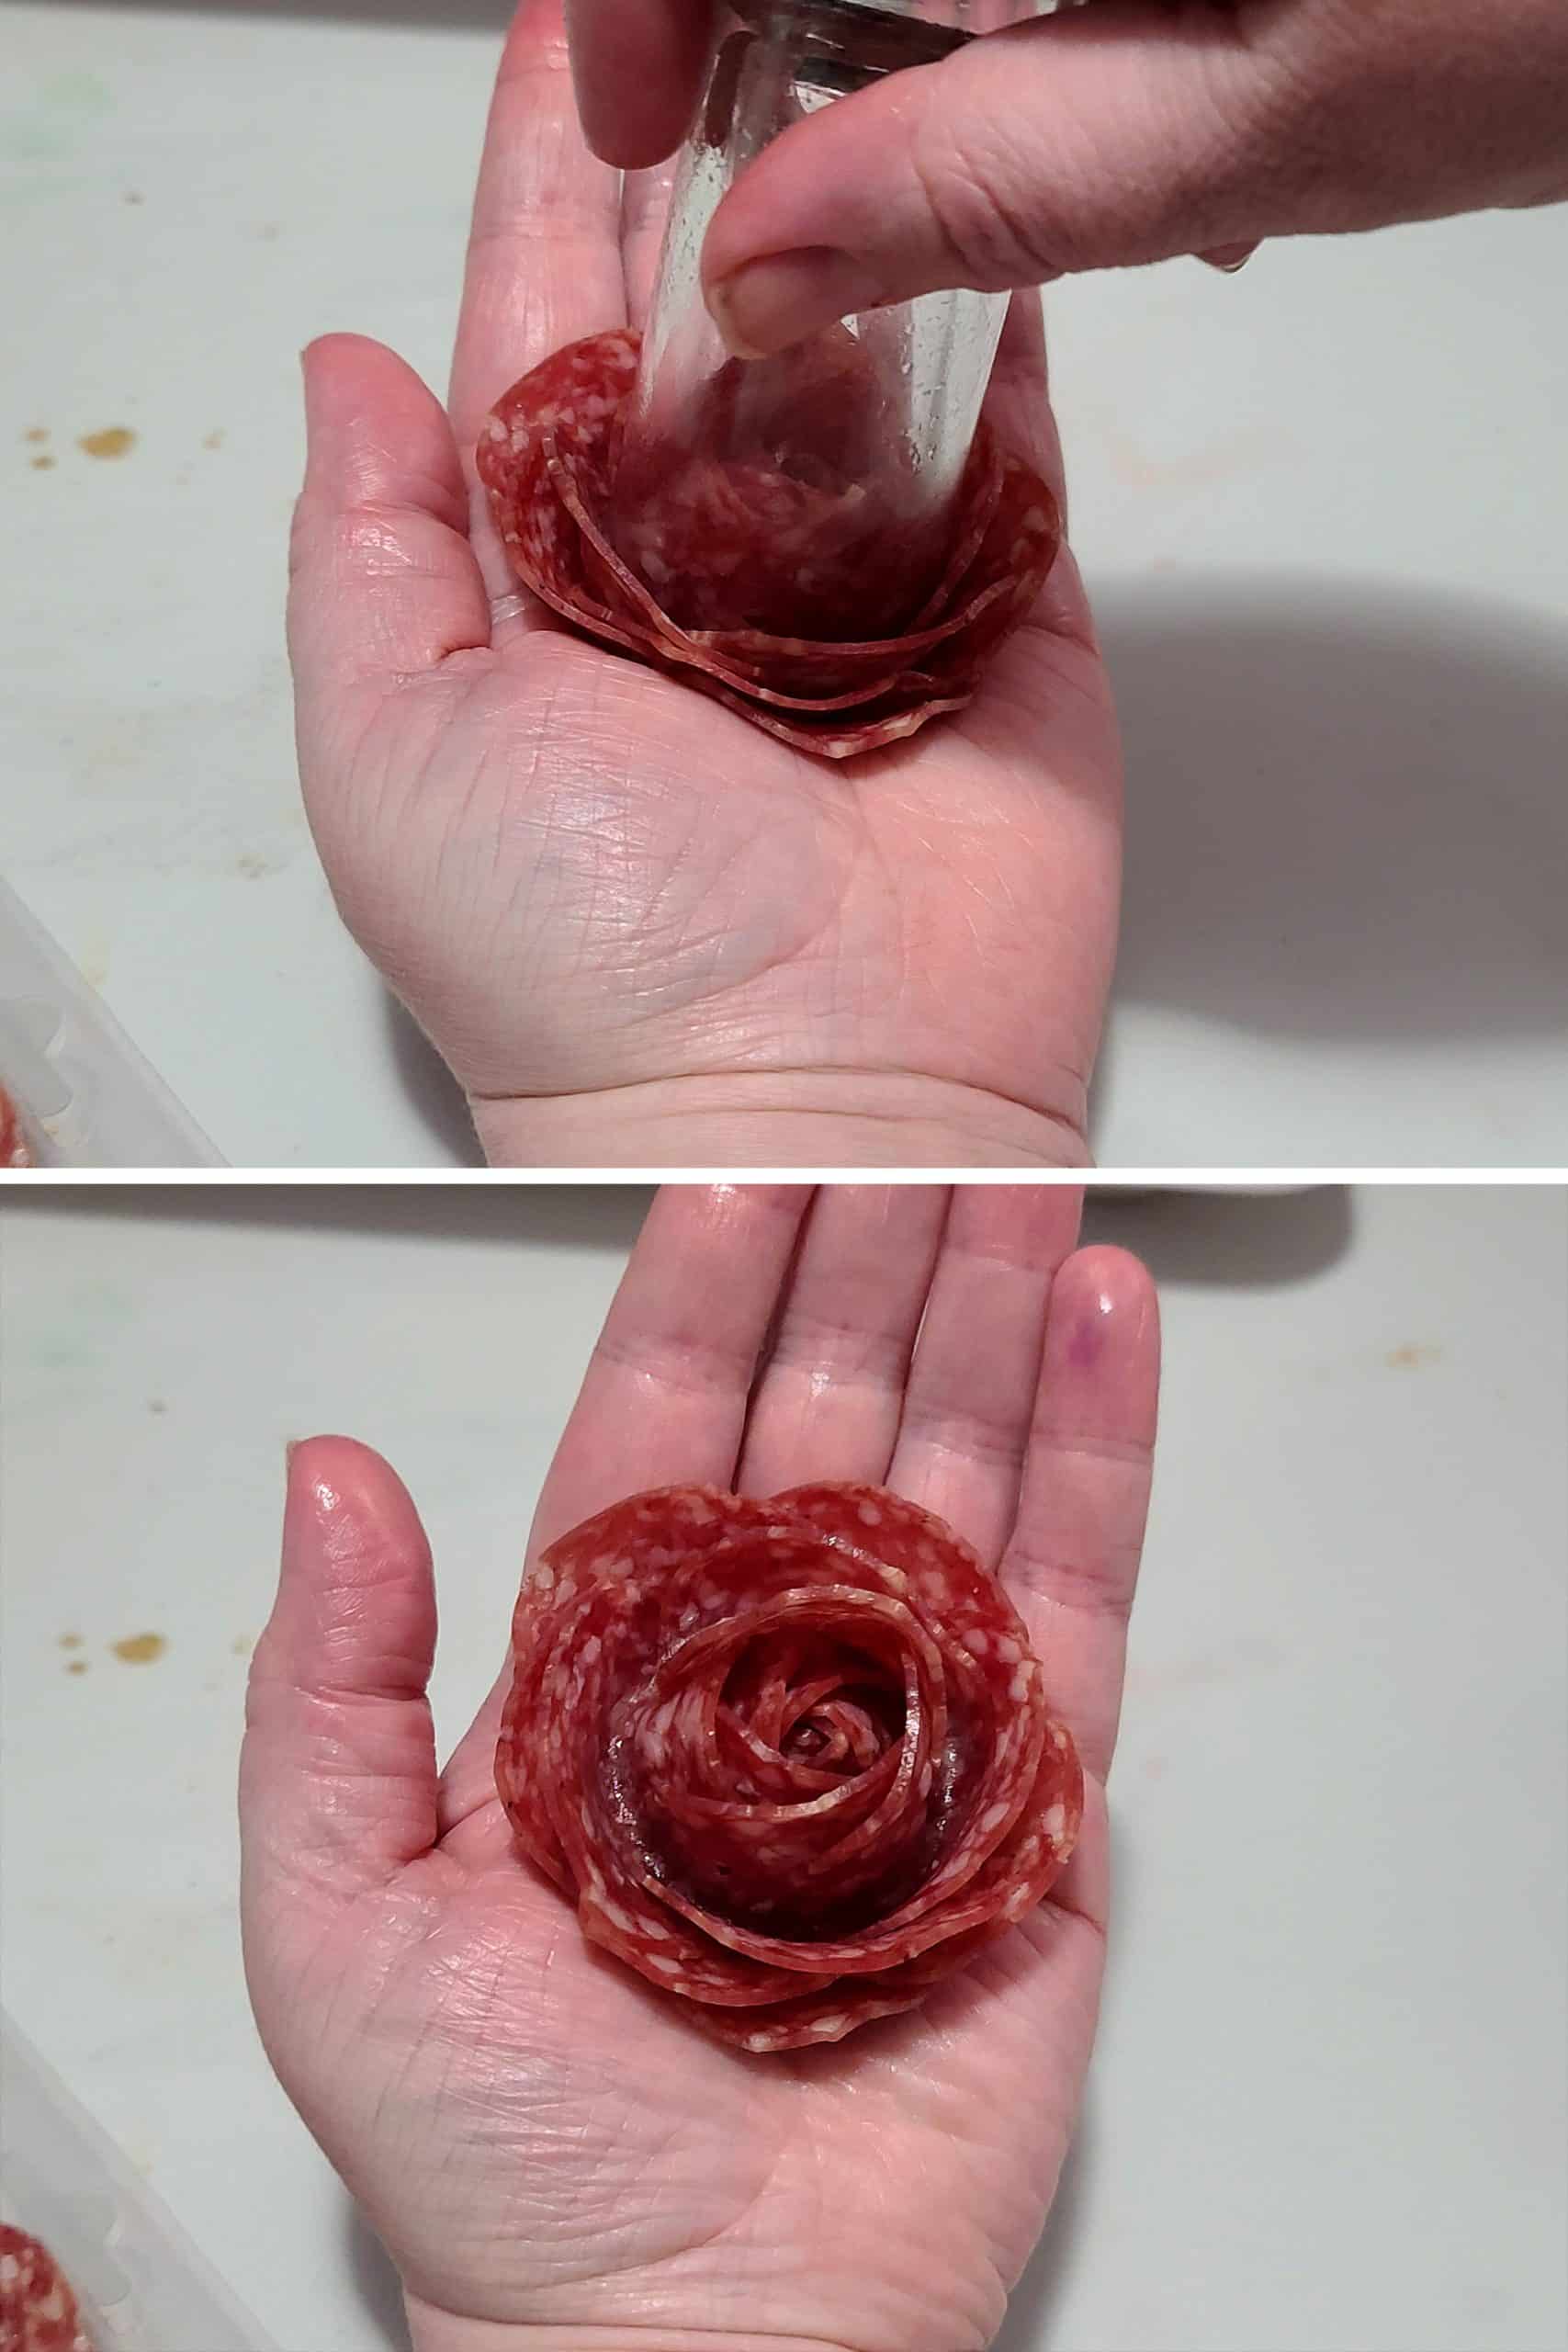
Garnish with mint or basil leaves, to mimic the look of rose leaves.

A slightly bigger glass and an extra slice of salami makes a big difference!
Make Ahead
Salami flowers are best made as you need them, and transferred right from the glass / your hand to the charcuterie platter.
Extra handling increases the risk of them coming undone, after all.
That said, you can make your charcuterie roses ahead of time if you really need to.
Instead of transferring your meat roses to a board, carefully transfer them to shallow, small bowls - one per rose. Loosely cover with plastic wrap, or transfer to a larger airtight container.
Keep chilled until you’re ready to use it.
When you make up your charcuterie platter, carefully slide each rose out of its bowl, and into your hand - or, ideally, directly onto your serving platter.

More Charcuterie Fun!
Looking for more cheese board, charcuterie board, and grazing board ideas? Sweet or savoury, I've got you covered:
Game Day Charcuterie Board
Valentine's Day Charcuterie Board
St Patrick's Day Charcuterie Board
Easter Charcuterie Board
Rainbow Charcuterie Board
Canada Day Charcuterie Board
Thanksgiving Charcuterie Board
Halloween Charcuterie Board
Christmas Charcuterie Board
Charcuterie Wreath
Charcuterie Tree
Colourful Squares Cutting Board
Cutting Boards 101
Log Cabin Cutting Board
Pavlova Grazing Board

Share the Love!
Before you chow down, be sure to take some pics of your handiwork! If you post it to Bluesky, be sure to tag us - @CelebrationGen. We're also on Pinterest, so you can save all your favourite recipes to a board!
Also, be sure to subscribe to my free email newsletter, so you never miss out on any of my nonsense.
Finally, if you love this recipe, please consider leaving a star rating and a comment, and/or sharing the link on social media!

How to Make Salami Roses [Charcuterie Roses]
Equipment
- 1 Small glass The diameter of the rim will determine the size of your rose, and how many slices of salami you will need.
Ingredients
- 12 slices Salami You may need more, depending on the size of your glass. As pictured in this post, I used 12 slices.
- Fresh basil or Mint Leaves
Instructions
- Set your choice of glass on a flat surface.
- Loosely fold piece of salami in half, and drape it over the rim of the glass. Gently squeeze it on either side of the glass to secure the fold.
- Place another folded meat slice on the glass, overlapping the first slice by around 50% - this will depend on the size of your salami, and the diameter of the glass you’re using.
- Add 2 more slices of salami to complete the first layer of salami. You should have 4 overlapped slices, evenly spaced around the rim of the glass.
- This first layer should be relatively close to the glass on both sides - if it’s not folded tight, you’ll have a big gap between the inner layers of rose petals, and the outer layers.
- Use 4 more slices of salami to make the second layer - again, overlapping each other, evenly around the glass. In addition to overlapping each other, they should overlap the first layer.
- That is to say, when I start a new layer, I’ll aim to center the first slice of salami over the point where two slices overlap, on the layer beneath.
- Continue with another 1-4 layers of salami, depending on the size of your glass.
- Each layer AFTER the first layer should be draped a little more loosely, allowing for a bit of space between each layer of petals.
- You’ll know you have enough petals when the inside of the glass is basically sealed up with a swirl of salami, with only a small hole remaining at the center.
- Place your hand over the covered rim of the glass and press down firmly, to help the layers of salami adhere to each other.
- Holding your hand in place on the rim, turn the glass upside down and give it a little twist with your other hand - this will dislodge the tightly folded slices in that first layer.
- Gently remove the glass from the rose, and transfer your salami rose to your charcuterie board.Garnish with mint or basil leaves, to look like rose leaves.
Notes
Nutrition



Leave a Reply