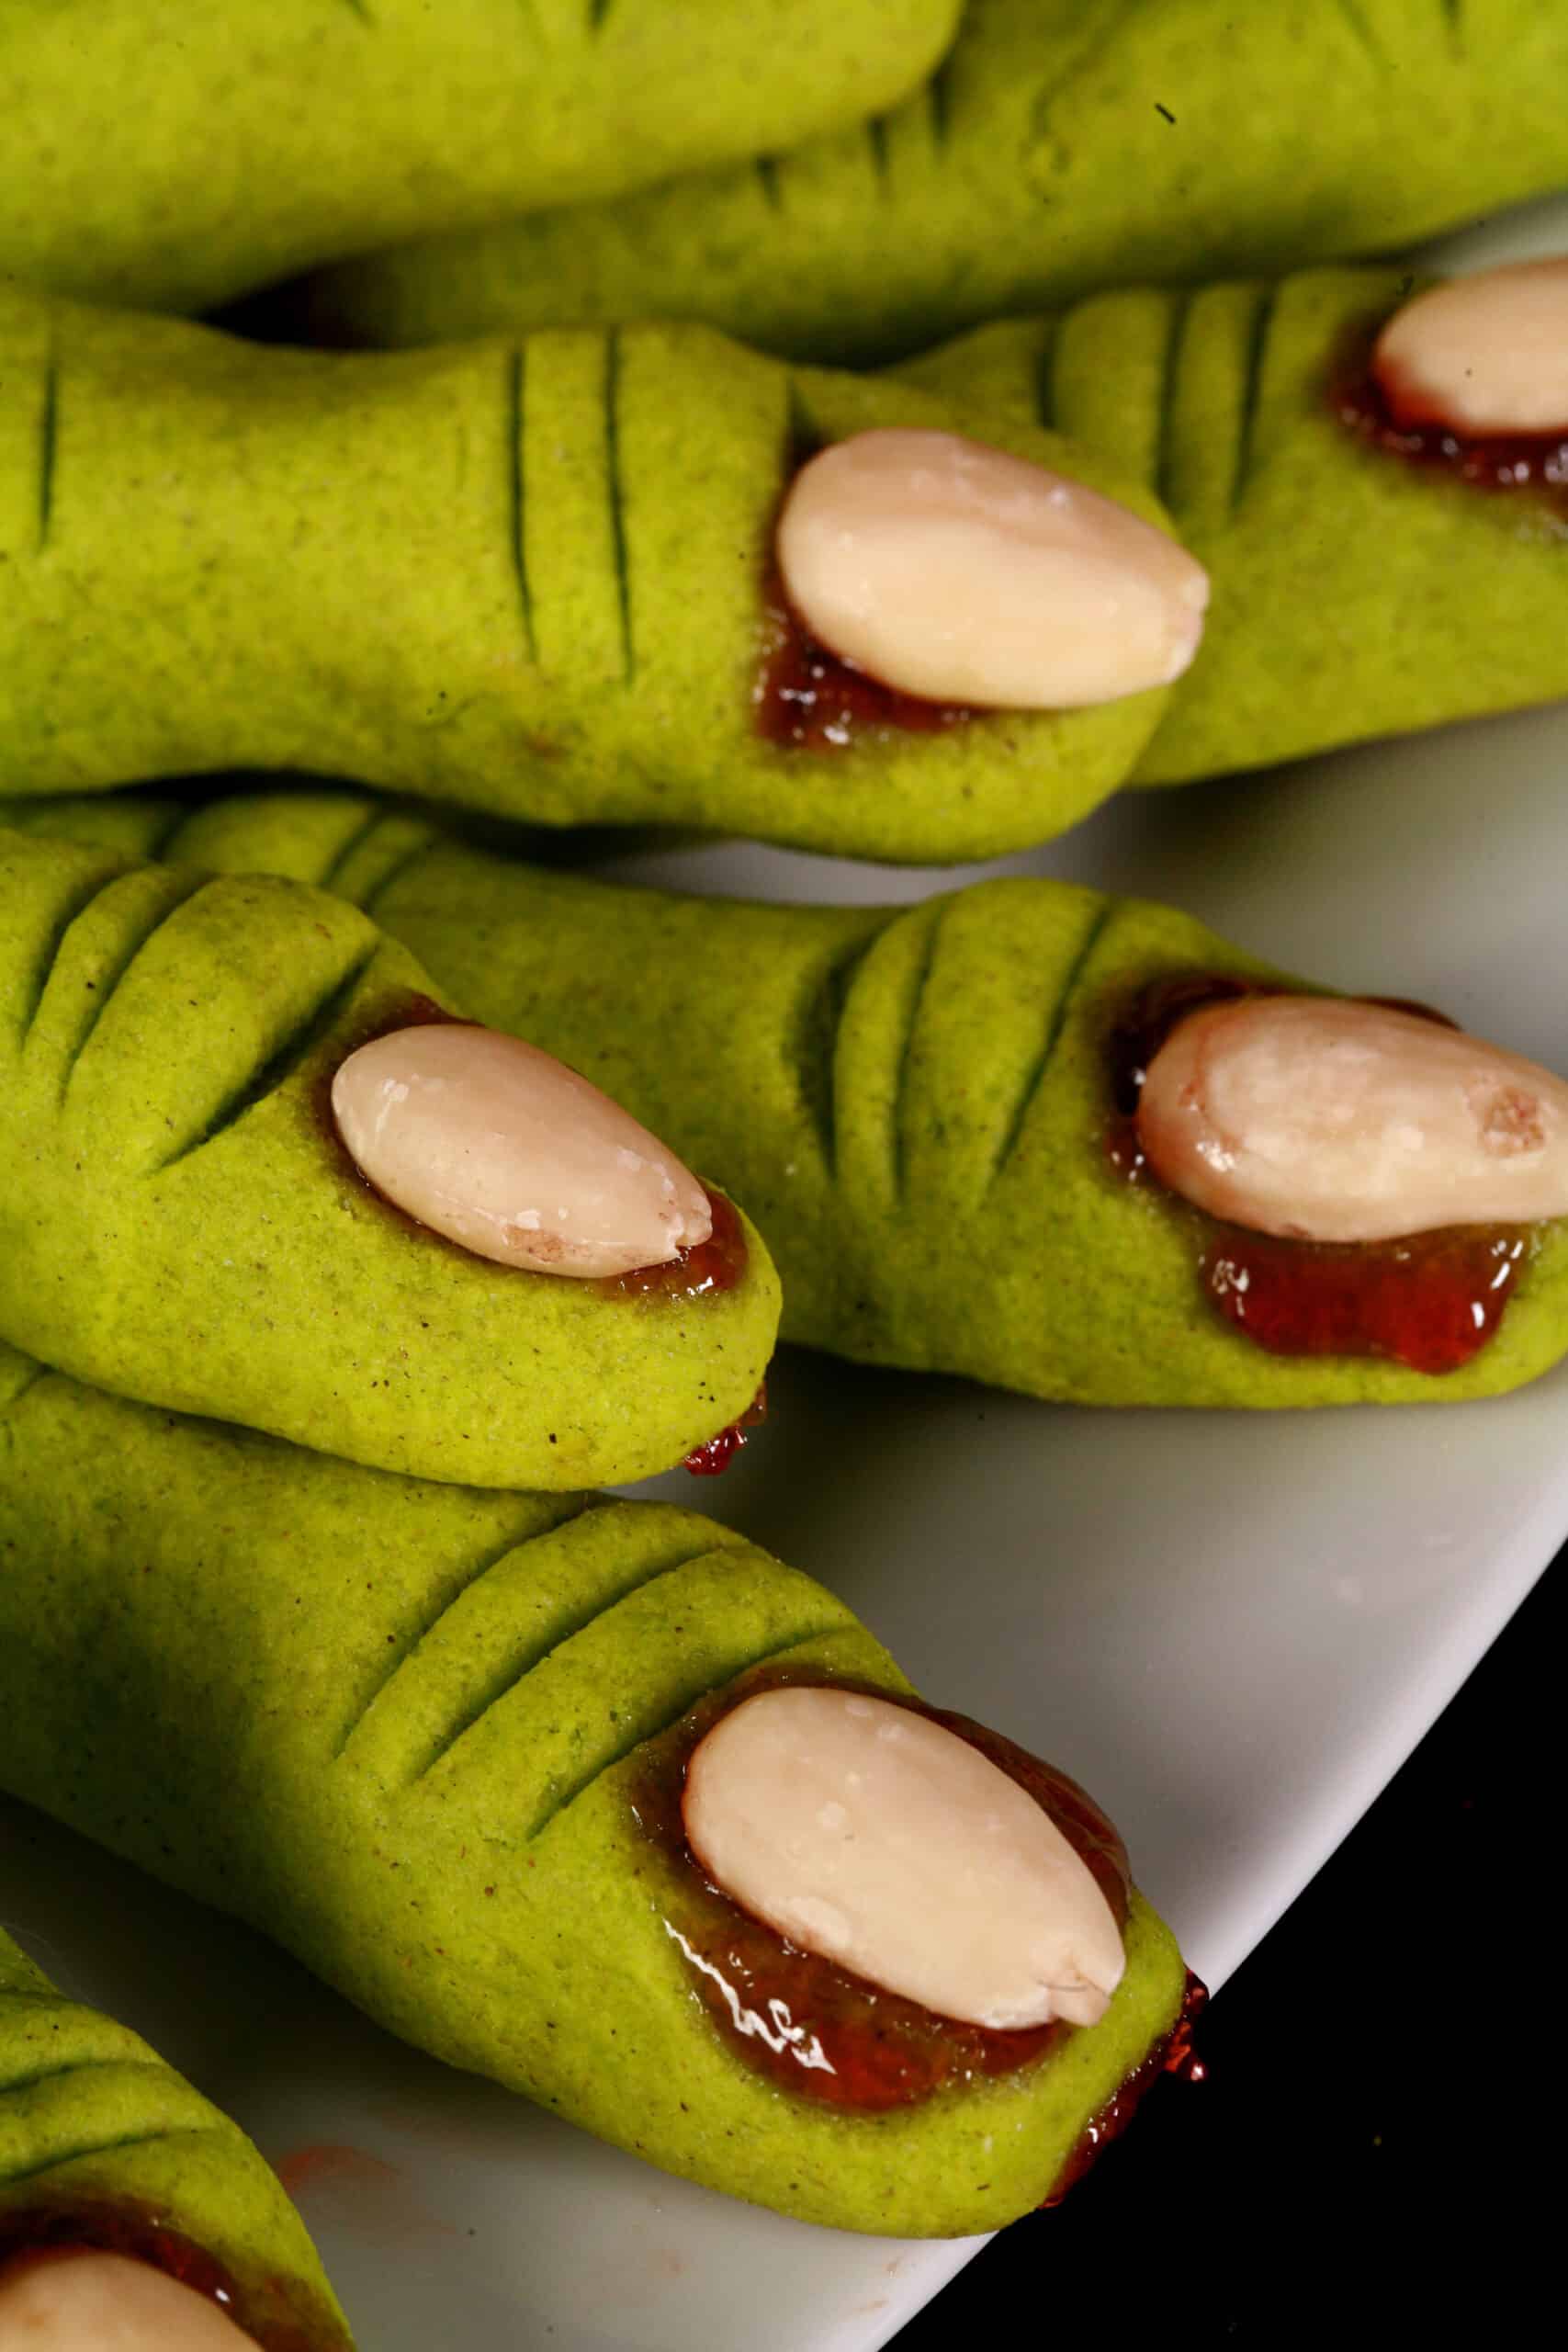
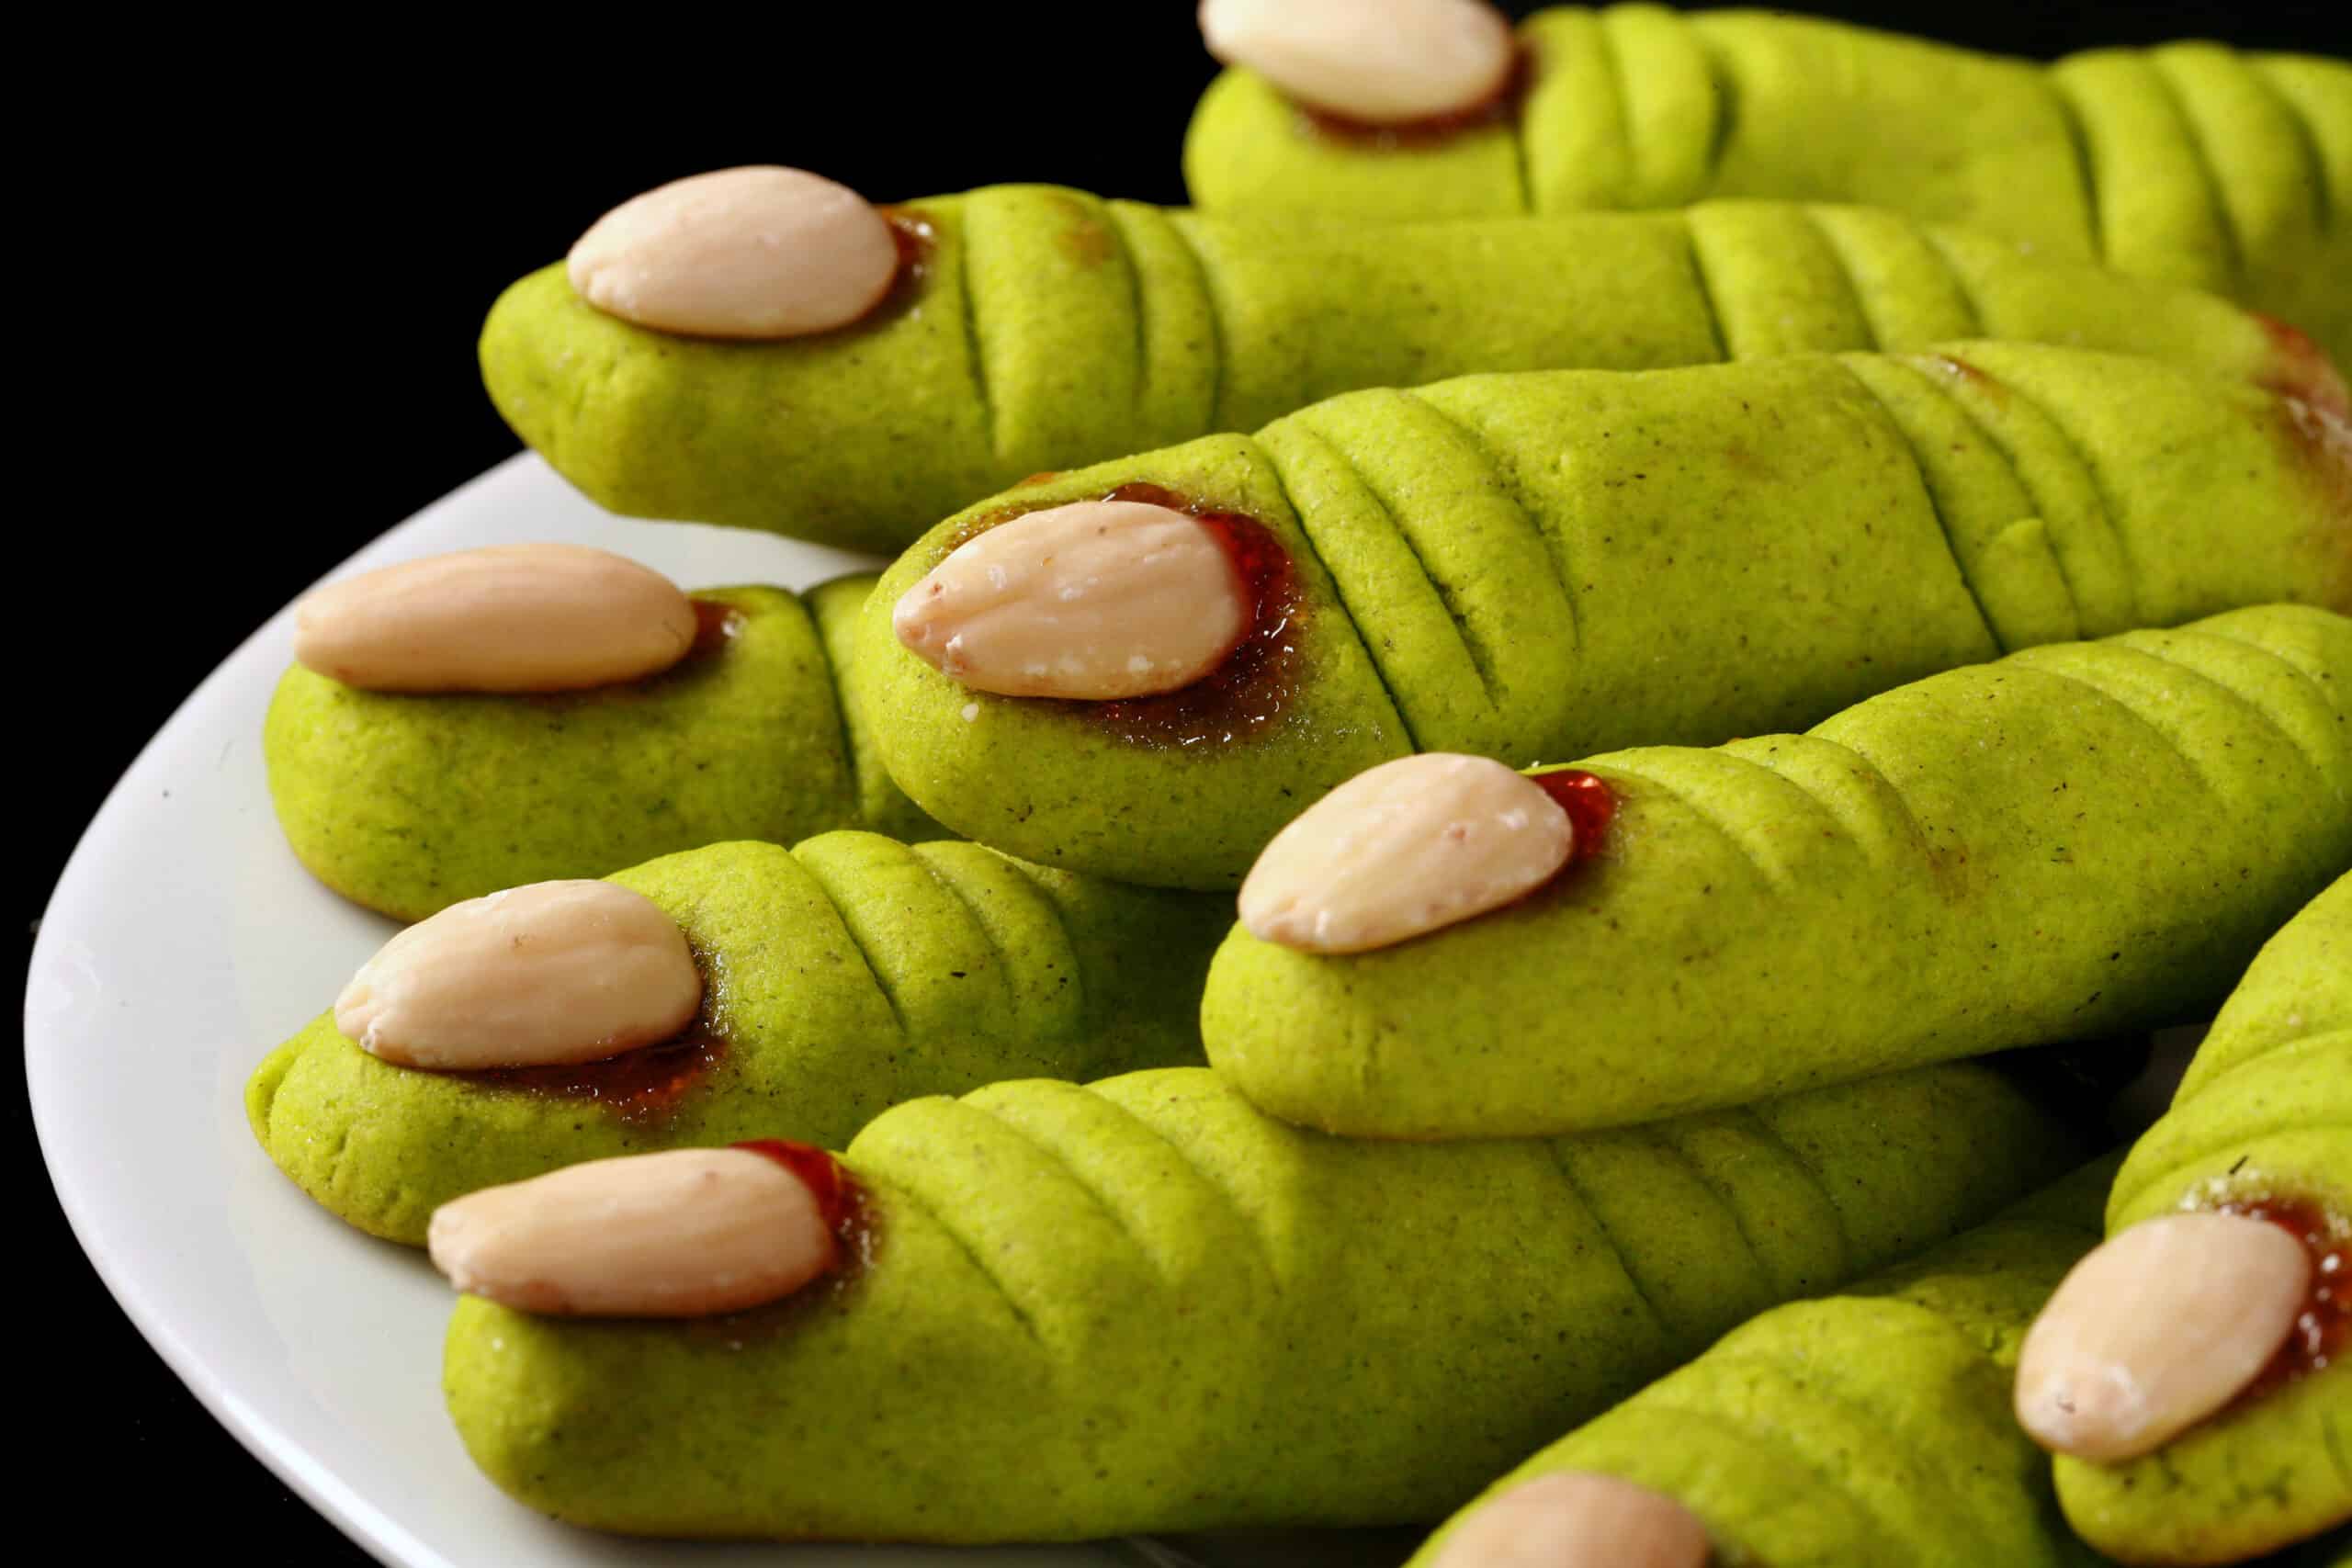
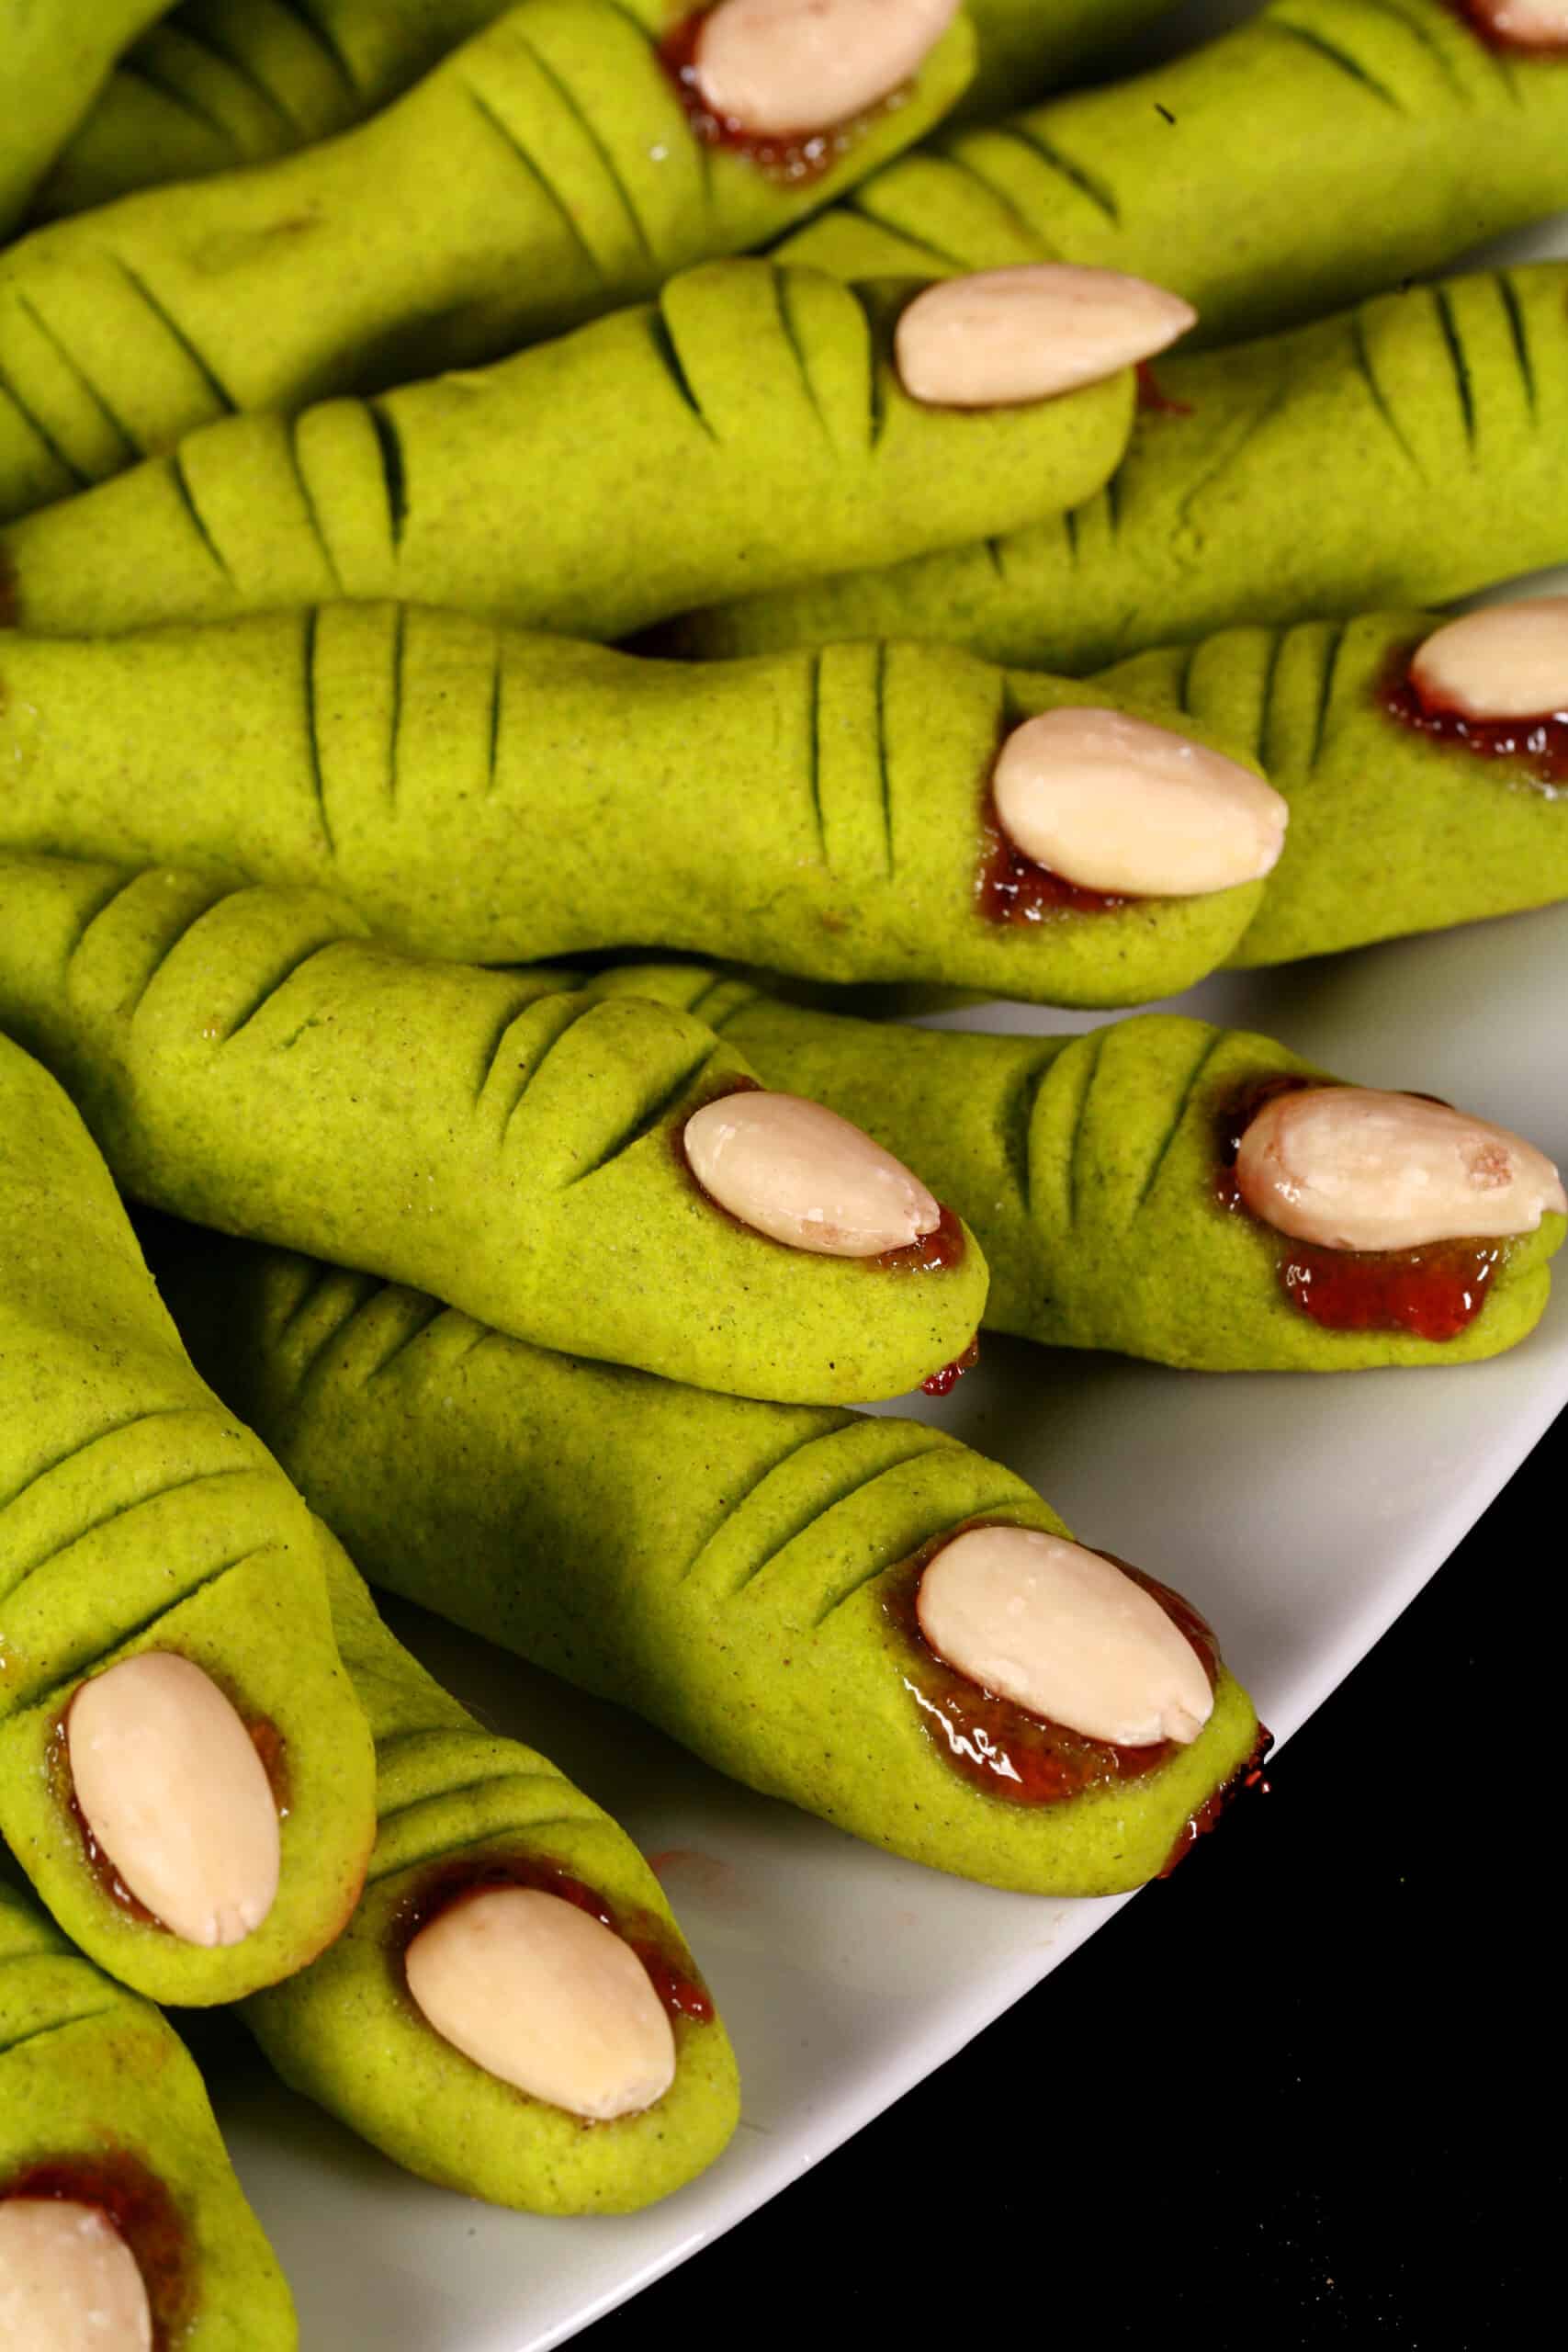
These gluten free witch finger cookies are fun, easy to make, and tasty! Colour them green - or not - for creepy Halloween cookies. They’re a fun addition to any Halloween party!

Sure, I designed these spooky witch finger cookies several months ago, perfected the recipe, got the photos done... and then life got in the way.
Here we are, less than a week from Halloween. Whoops - Mea culpa!
Anyway, these gluten-free witches’ fingers cookies are possibly the perfect Halloween cookies!
They’re delicious cookies - soft sugar cookies with a hint of almond - done up as witches' fingers.
They’re also an easy Halloween treat to make, and so much fun to eat.
Basically? A great recipe, and the perfect addition to your upcoming Halloween parties.
This recipe makes about 36 cookies, to it’s also the perfect treat to make for a group!
Anyway, let me tell you about this easy recipe - and you’ll be that much closer to having a batch of these spooky treats for yourself!

Ingredients
If you do any amount of gluten free baking from my recipes, you’ll find that this witch finger cookie recipe uses fairly simple ingredients.
You’re likely to have them on hand already, and those that you don’t... will be easy to find in almost any larger grocery store.
Some notes:
The Gluten Free Flour Mixture
As with all of my gluten free baking, these creepy witch finger cookies use a custom blend of gluten free flours.
Using a few different gluten free flours - the flours and proportions specific to the recipe I’m designing - gives a LOT more control over the final product.
When it comes to gluten free baking, you really need to balance the flavours and properties of the flours and starches you’re using, for the specific outcome you want.
The flours and I use for savory dishes are different from those I use for cookies... and the proportions are different, based on whether I’m deep frying, baking, or making a sauce.
It’s like... If you had one flavour of Mrs Dash on hand, and that was your only spice.
Sure, it’ll taste great on some things, and OK on most... but you’ll really do better with having a bit of a spice rack, and mixing them as needed.
Anyway, the sugar cookie dough for these gluten-free witches fingers uses:
Sorghum Flour
Light Buckwheat Flour
Coconut Flour
Xanthan Gum
Whole Almonds
I like to use Whole Blanched Almonds when making these cookies - one blanched almond per cookie.
I think they look the best as a creepy almond fingernail - off white, kind of rounded... but with texture from the vertical lines.
That said, feel free to use a sliced almond as a fingernail, if you prefer.
Seedless Raspberry Jam
Some people use red decorator gel for making their Halloween finger cookies - and I use red gel food colouring for my Keto Witch Finger Cookies.
When carbs aren’t a concern, though - I like to use a seedless jam. I think it looks better (well... grosser!), and the flavor works really well with the almond of the cookie.
I’ll usually use a Seedless Raspberry Jam, but feel free to use strawberry jam if that’s, uh... more your jam :).
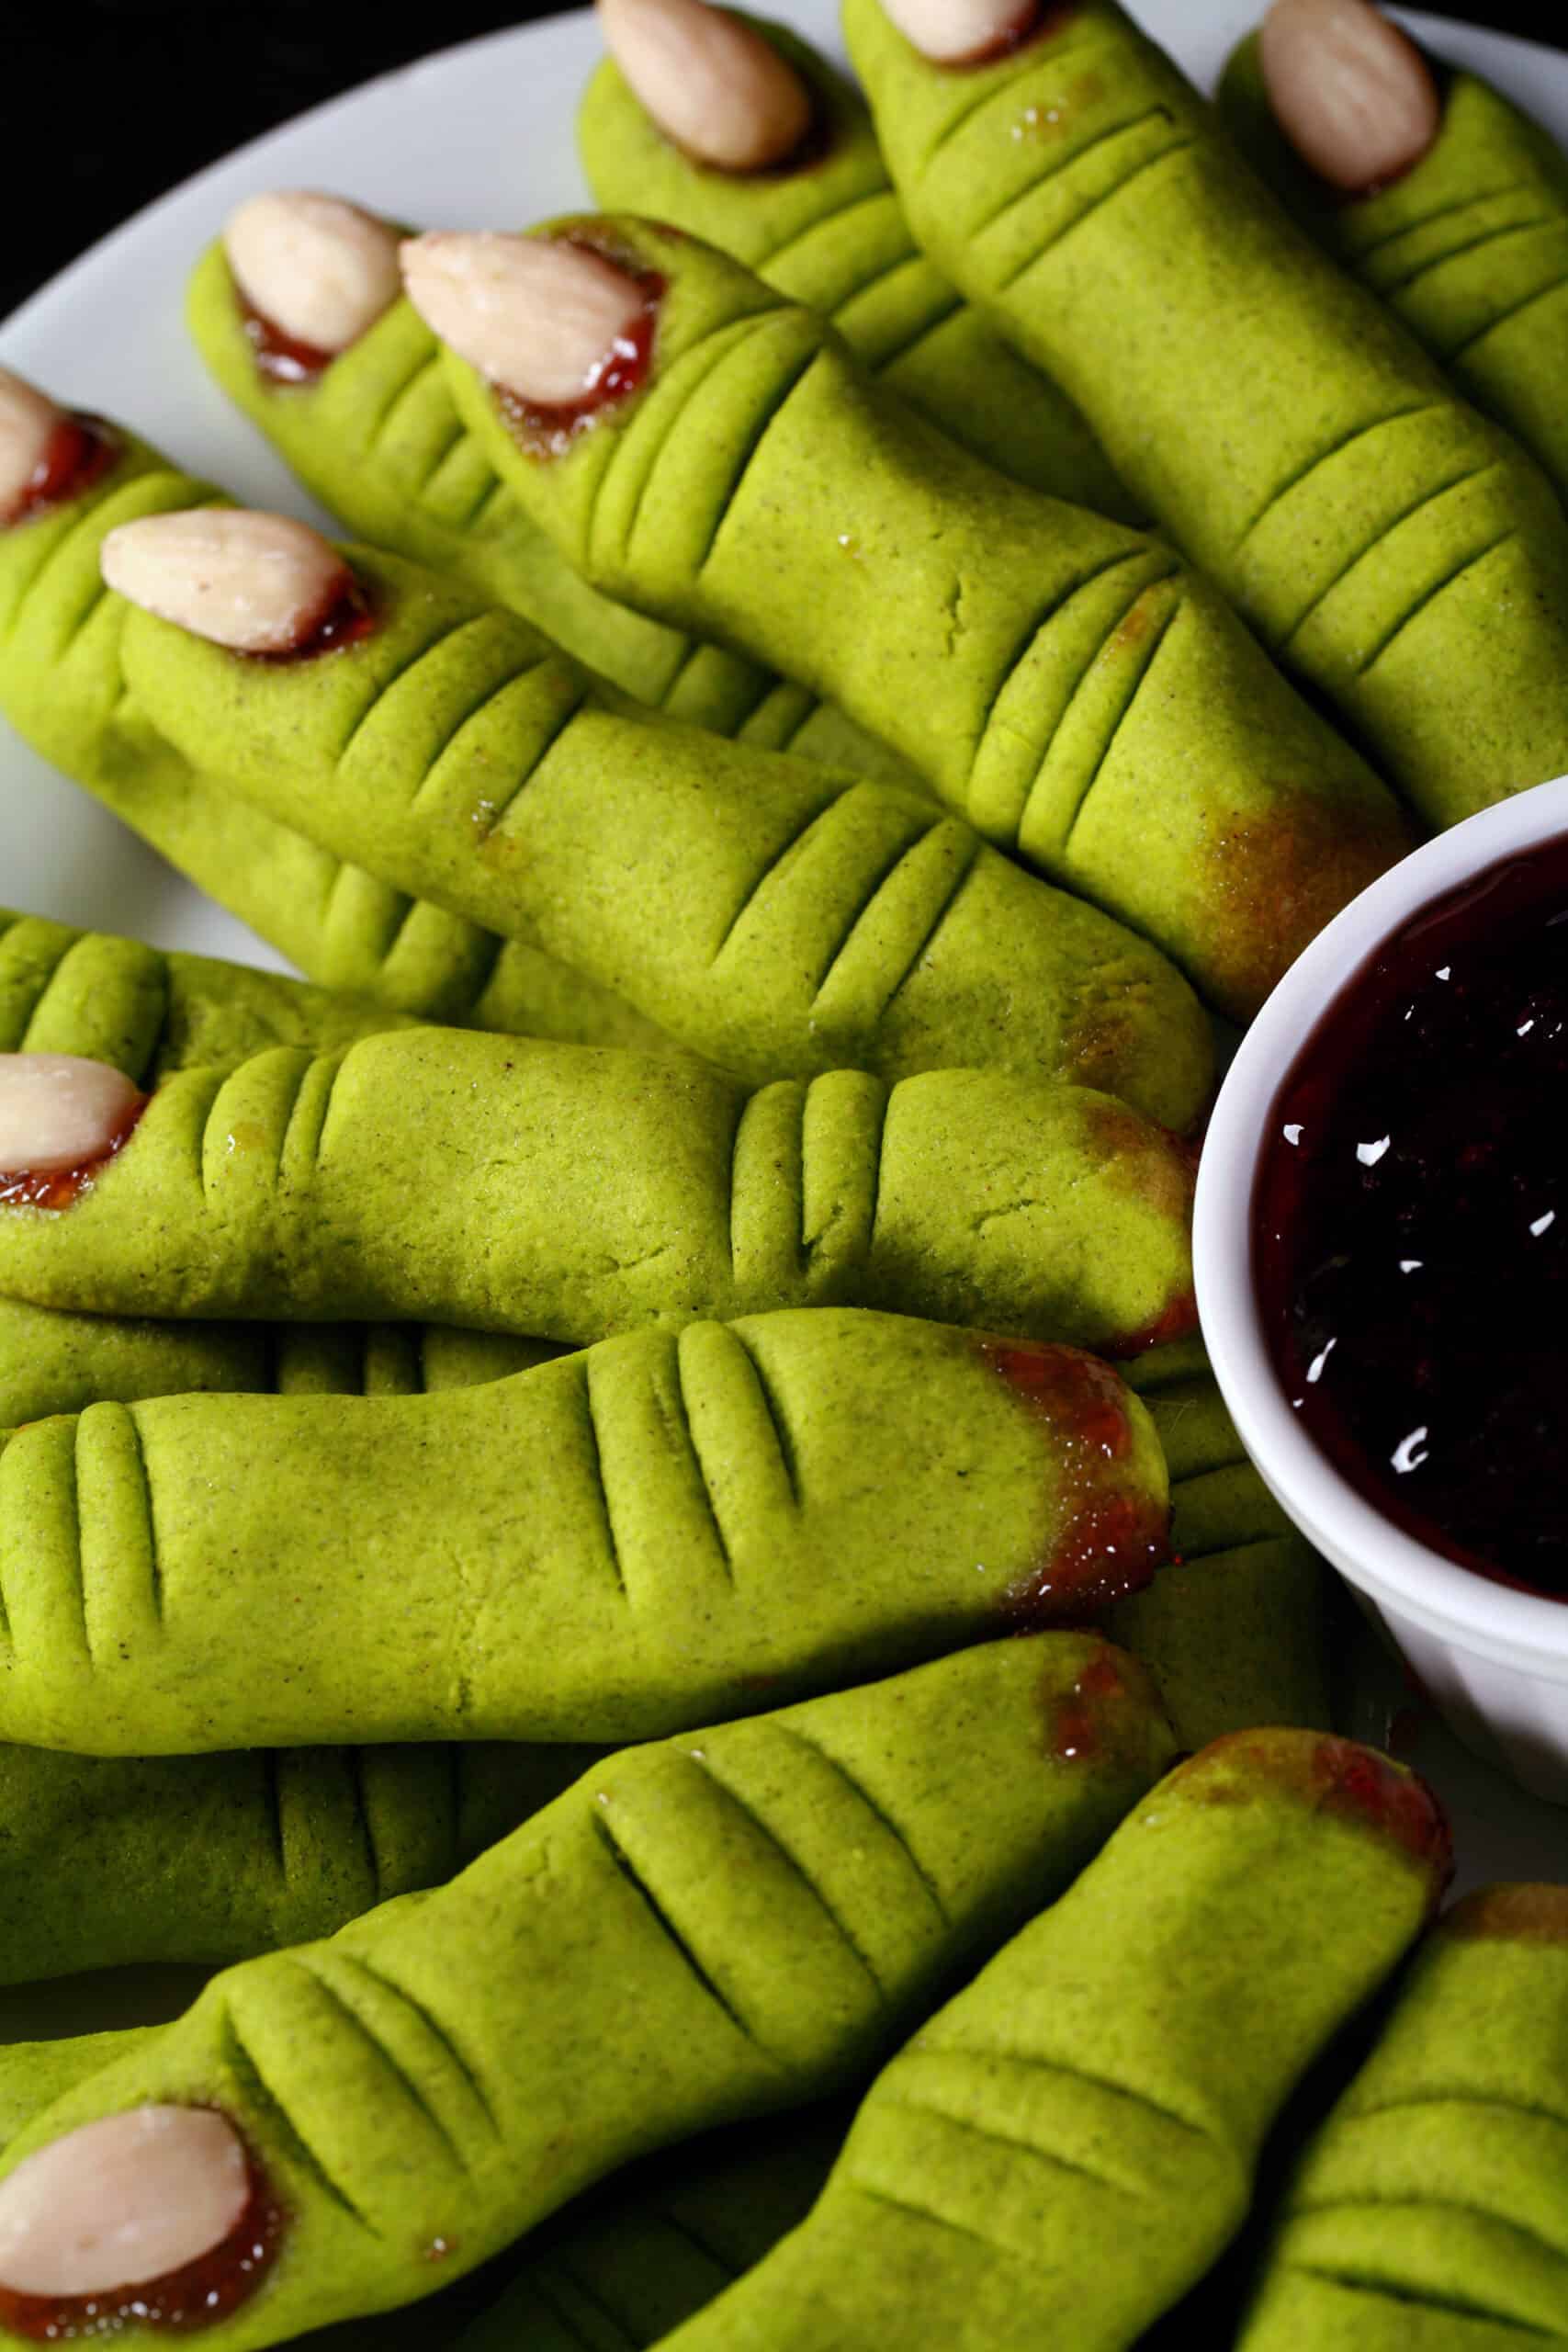
Also: For more of a severed finger effect, you can brush some extra jam on, before or after baking. I like to have extra jam on hand - heated - as a dip!
Everything Else
Rounding out this recipe, you will need:
Granulated Sugar
Unsalted Butter
Large eggs
Almond Extract (Can sub Pure Vanilla Extract)
Green Food Coloring, optional
Baking Powder
Salt
... I just don’t have anything else to add, as far as these last few ingredients go!
How to make Gluten Free Witch Finger Cookies
The full recipe is in the printable recipe card at the bottom of this post, here is a pictorial walk through:
In a medium bowl, whisk together all dry ingredients (except sugar) until well combined, set aside.

Be sure to scrape down the sides of the bowl a few times, to make sure everything is incorporated into the mix.
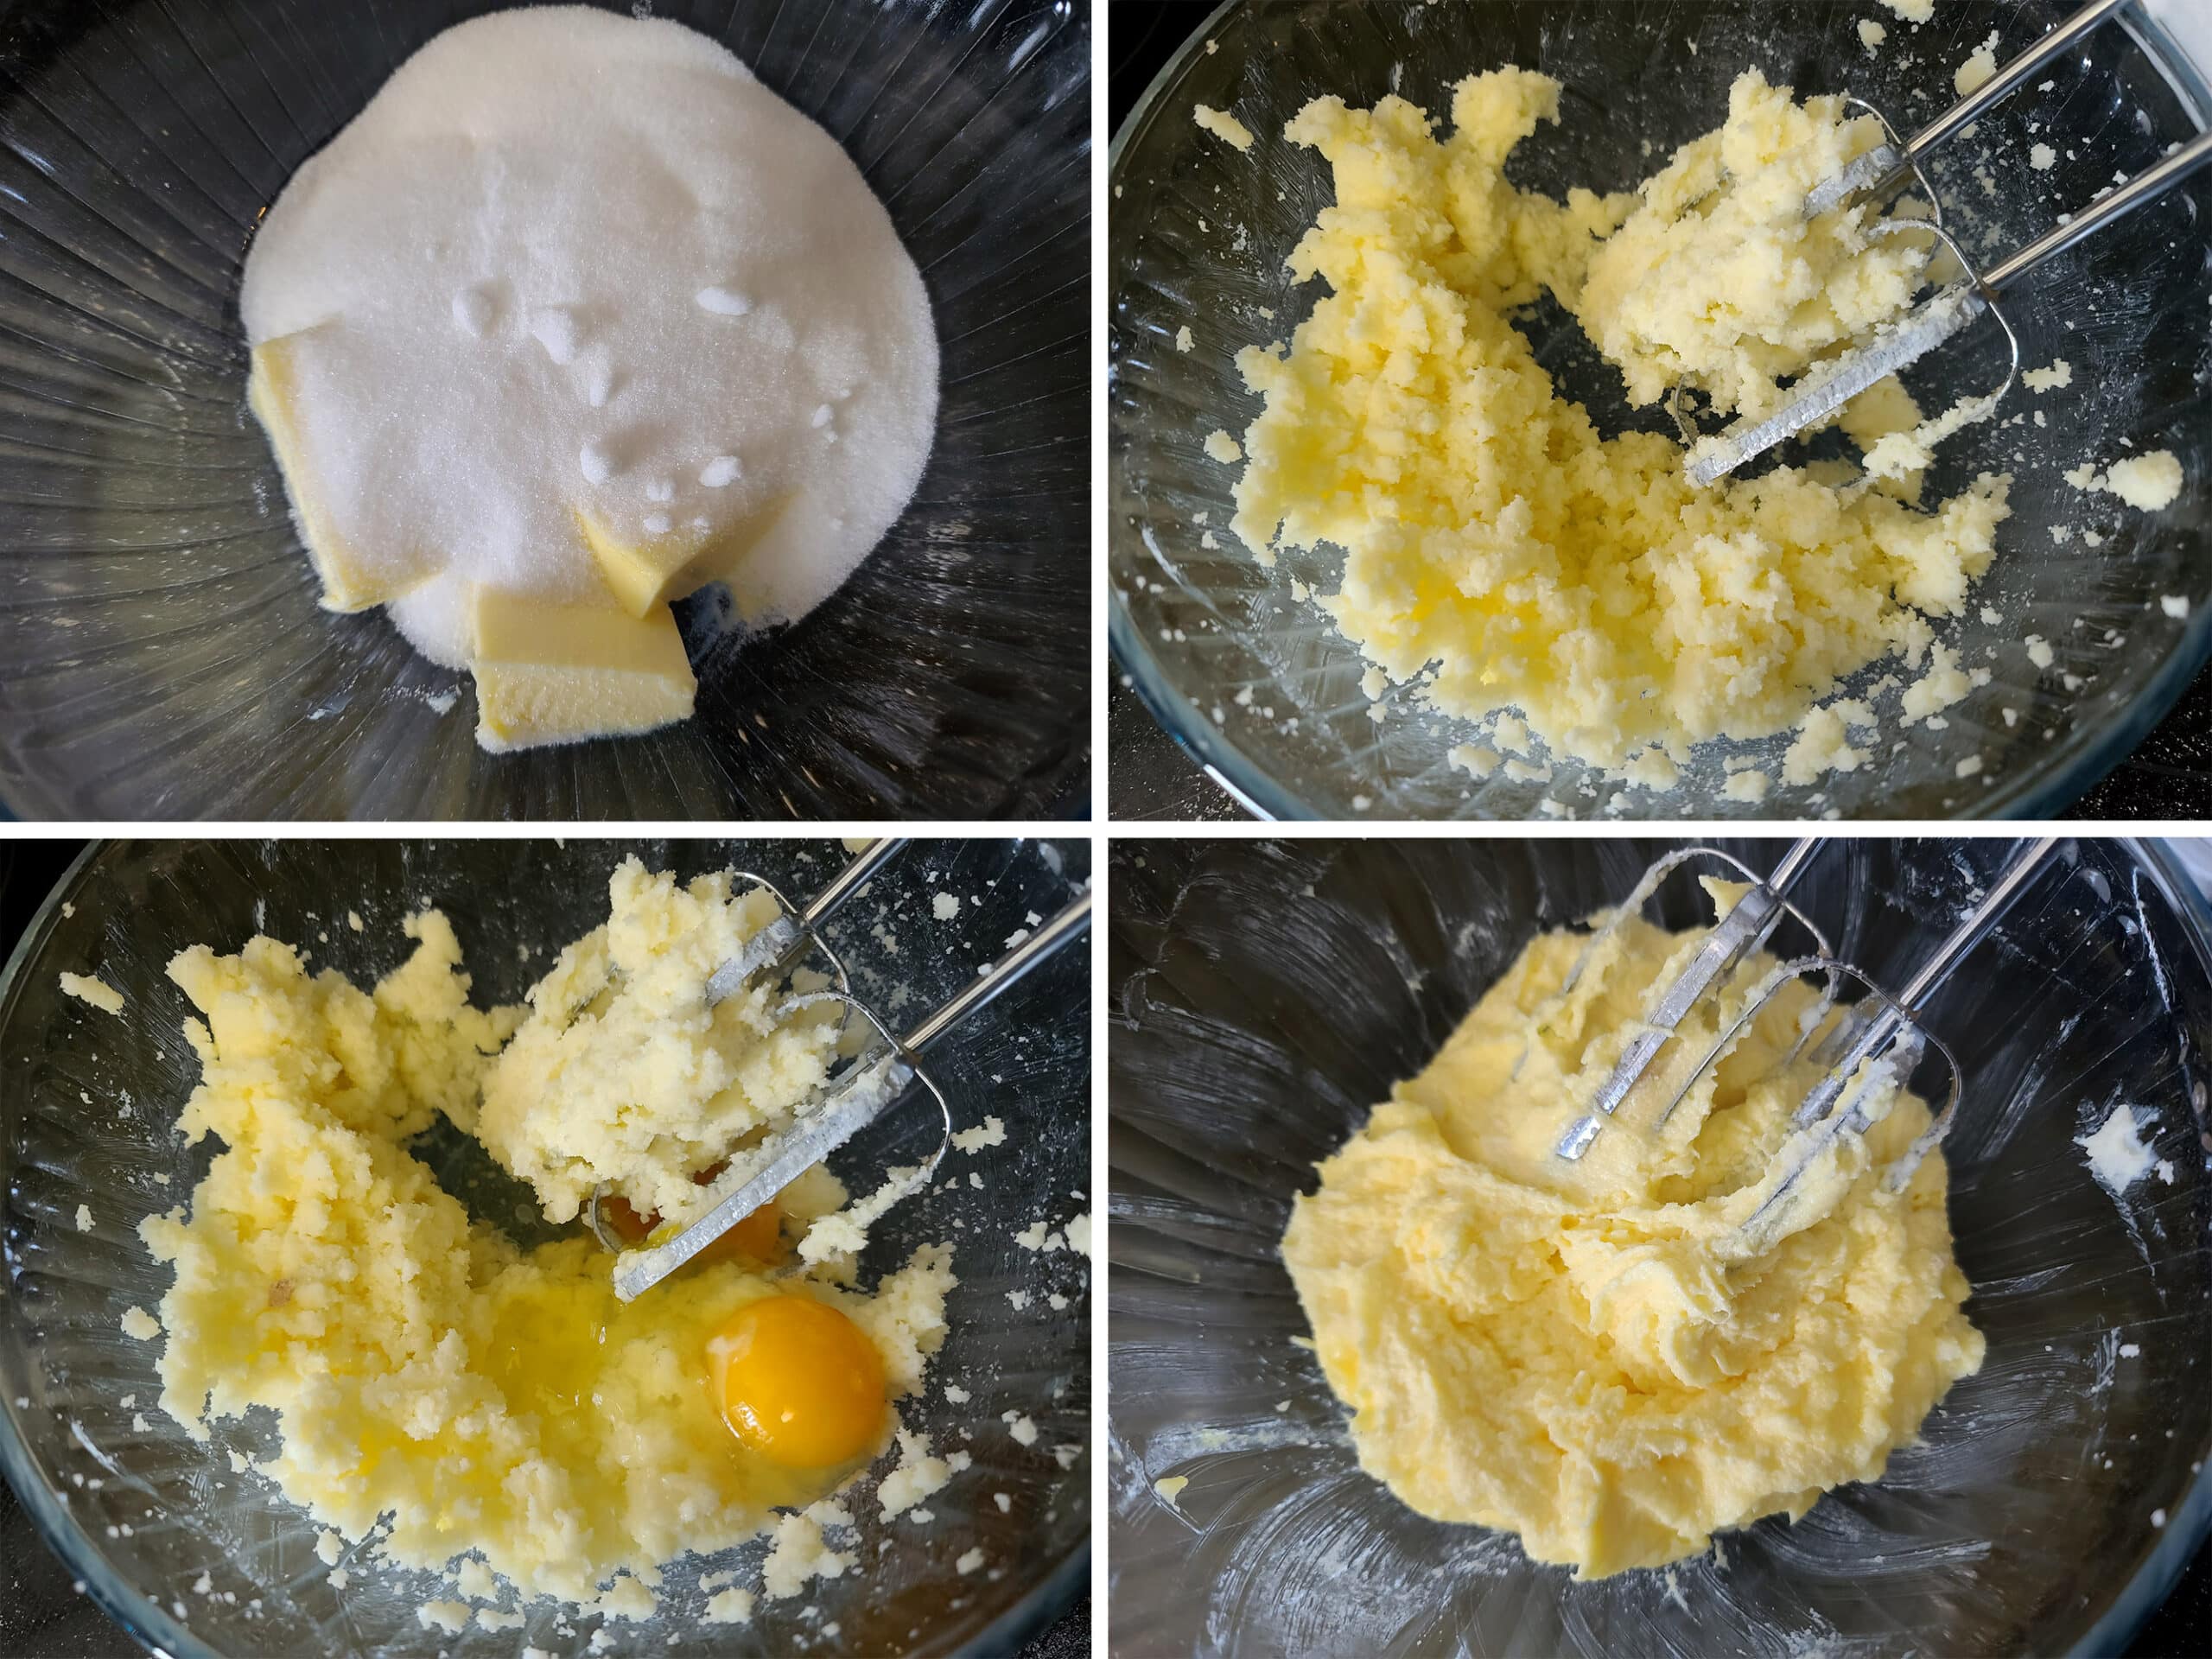
Add the eggs and extract to the mix, beating well to combine.
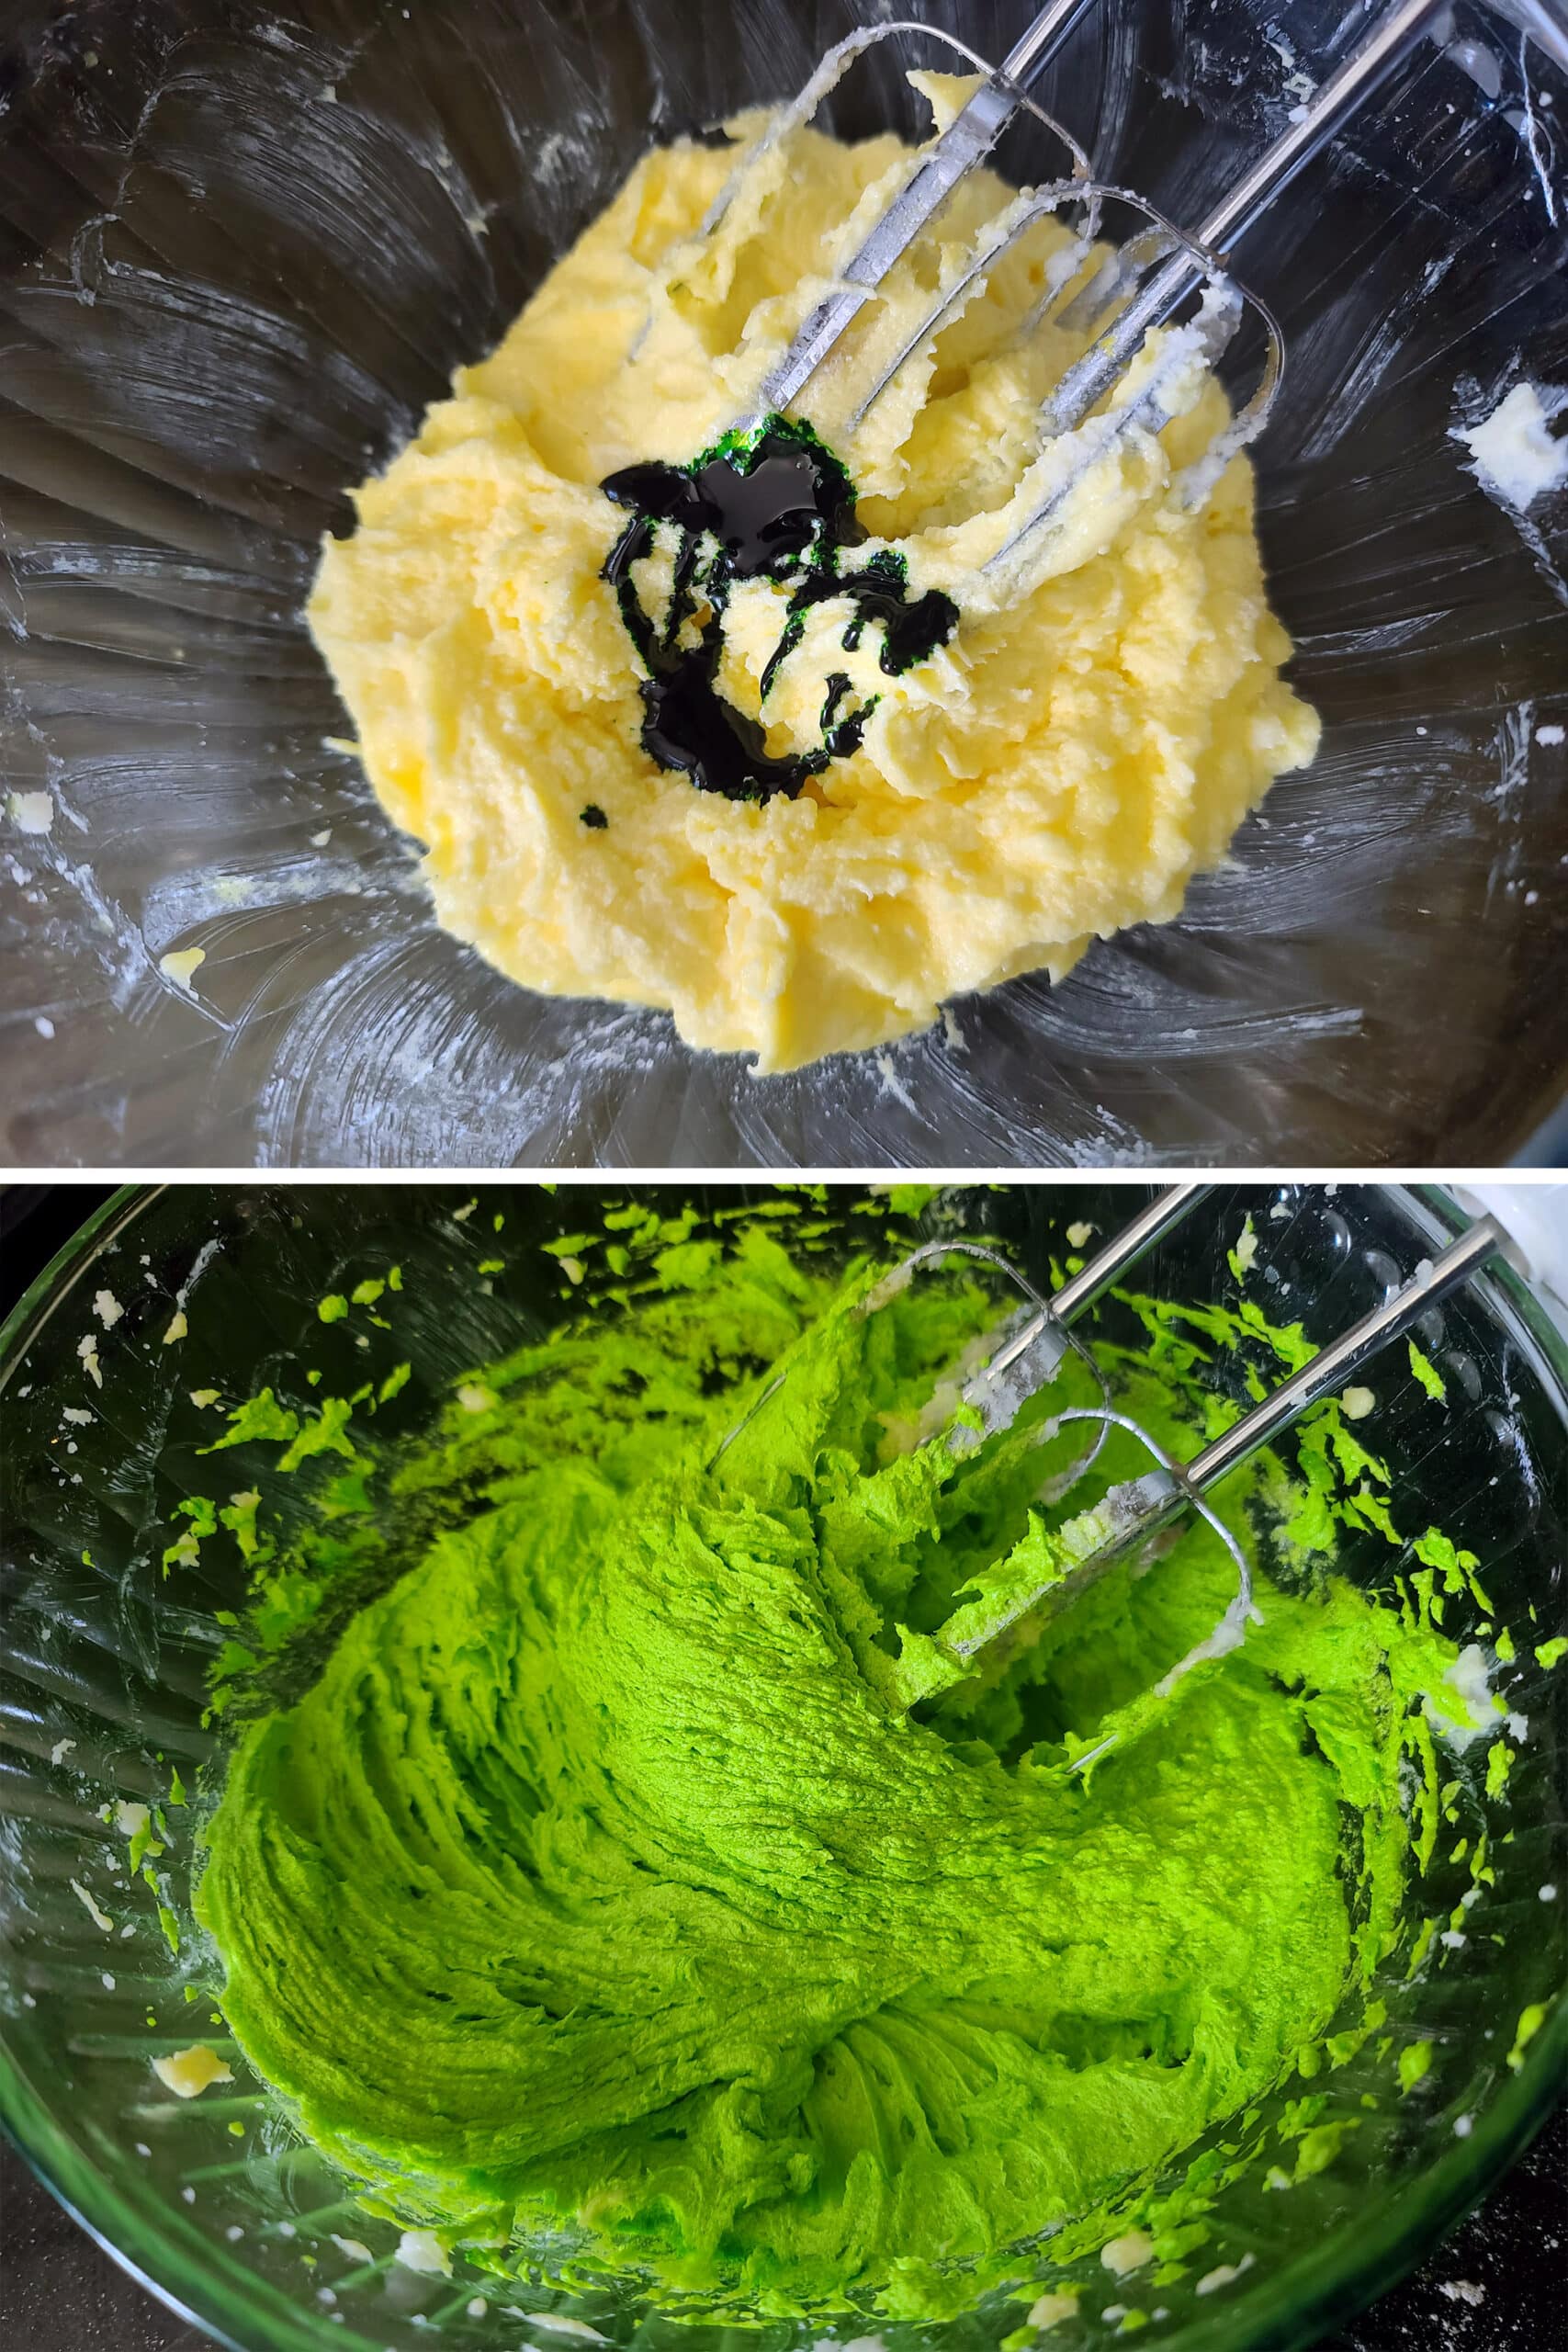
If you’re adding green food colouring, do so now.
Wrap dough ball in plastic wrap, chill for 1 hour.
This is an important step for any gluten free cookie dough, for best results don’t skip it!

Measure 1 tablespoon lumps of dough, roll each into a finger shape. Place each on a prepared baking sheet as you roll them.

If you want to get fancy, remove the almond nail after placing it / forming a nail bed. Use a small amount of raspberry jam to paint the “nailbed”, before replacing the almond nail on the end of the finger and continuing on.

Use a sharp knife to cut a few shallow “wrinkles” across each cookie, where the knuckles should be.

Preheat oven to 350 F.
Bake cookies for 8-10 minutes, or until golden brown on the bottom.
Once cooled to room temperature, store in an airtight container until serving.
More Halloween Ideas
If you're still considering ideas for gluten free Halloween recipes and such, be sure to check out a few of my spooky Halloween recipes:
Bacon Wrapped Mummy Meatloaf
Bloody Eyeball Halloween Punch
Deviled Eggs, Halloween Style!
Elegant Halloween Charcuterie Board
Gluten-Free Black Velvet Cupcakes
Halloween Popcorn
Gluten Free Mummy Jalapeno Poppers
Gluten-Free Mummy Dogs
Halloween Pavlova
Halloween Shooters
How to Carve a Pumpkin Like a Pro

Share the Love!
Before you chow down, be sure to take some pics of your handiwork! If you post it to Bluesky, be sure to tag us - @CelebrationGen. We're also on Pinterest, so you can save all your favourite recipes to a board!
Also, be sure to subscribe to my free email newsletter, so you never miss out on any of my nonsense.
Finally, if you love this recipe, please consider leaving a star rating and a comment, and/or sharing the link on social media!
Gluten Free Witch Finger Cookies
Equipment
- 2 Large Baking Sheets
- Parchment Paper
Ingredients
- 1 cup Light Buckwheat flour
- 1 cup Sorghum flour
- ⅓ cup Coconut flour
- 2 teaspoon Xanthan gum
- ½ teaspoon Baking powder
- ½ teaspoon Salt
- ¾ cup Butter softened
- 1 ¼ cup Granulated sugar
- 2 Large eggs
- ¾ teaspoon Almond extract
- Green Food Colouring optional
- 36 Whole Blanched Almonds
- Seedless Raspberry Jam
Instructions
- Line 2 cookie sheets with parchment paper.
- In a medium bowl, whisk together all dry ingredients (except sugar) until well combined, set aside.
- In a separate bowl - the bowl of a stand mixer fixed with a paddle attachment, or a large bowl, if using a hand mixer - cream butter and sugar until smooth and fluffy. Be sure to scrape down the sides of the bowl a few times, to make sure everything is incorporated into the mix.
- Add the eggs and extract to the mix, beating well to combine. If you’re adding green food colouring, do so now.
- With mixer turned down to low speed, slowly add dry ingredients mix to the mixing bowl of wet ingredients, and carefully mix until well incorporated and smooth.
- Wrap dough ball in plastic film, chill for 1 hour. This is an important step for any gluten free cookie dough, don’t skip it!
- Measure 1 tablespoon lumps of dough, roll each into a finger shape. Place on prepared baking sheets as you roll them
- Press a blanched almond into one end of each cookie, to act as a “finger nail”. If you want to get fancy, remove the almond after placing it / forming a nail bed.
- Use a small amount of raspberry jam to paint the “nailbed”, before replacing the almond nail and continuing on.
- Use a paring knife to cut a few shallow “wrinkles” across each cookie, where the knuckles should be.
- Cover and chill for 30 minutes.
- Preheat oven to 350 F.
- Bake cookies for 8-10 minutes, or until golden brown on the bottom.
- Once completely cool store in an airtight container until serving.
Nutrition






Leave a Reply