Gluten-Free Buttertarts
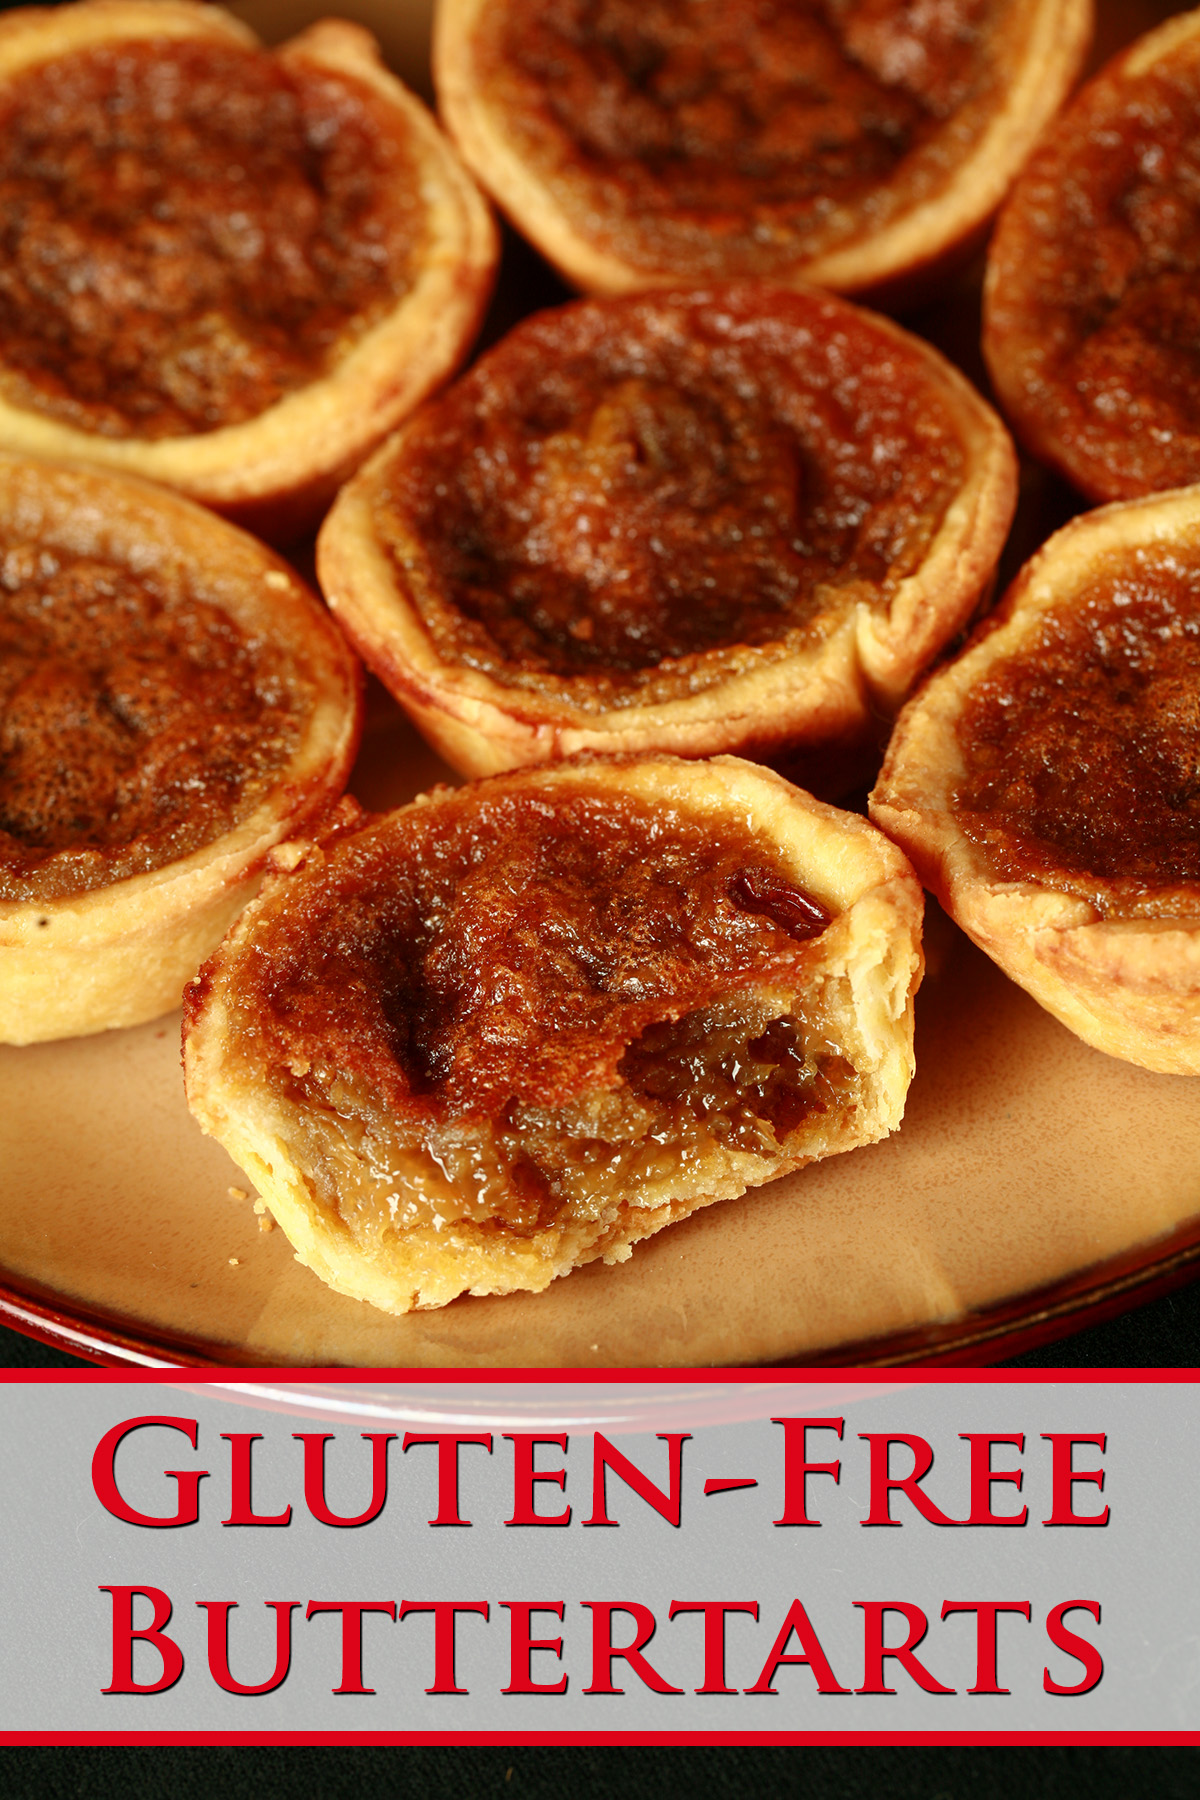
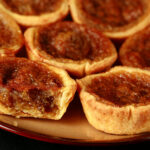
Gluten-Free Butter Tarts! Because everyone should be able to try this uniquely Canadian favourite, gluten allergy or not!
Note: This recipe was first posted on my original blog, Celebration Generation, on February 9, 2012. It was transferred over to this blog - existing comments and all - on 3/16/2021
Remember last week, when I got my kitchen back and went a little nuts over it - making a Gluten Free Tourtiere, amo ng other things?
Well, the time has come to blog another of those "other things".
One of the things I'd been looking forward to making was a theoretical gluten-free butter tart.
Gluten-Free Buttertarts
In fact, I facebooked a plea to "the god/godess in charge of kitchen renovations" that I would make a tasty gluten free butter tart HAPPEN, if the remaining kitchen repairs-to-useable went quickly and easily.
I keep my promises 🙂
As is, this recipe is quick and easy to make.
Of course, Murphy's Law kicked in while I was getting prepared, and things got a little ... depraved.
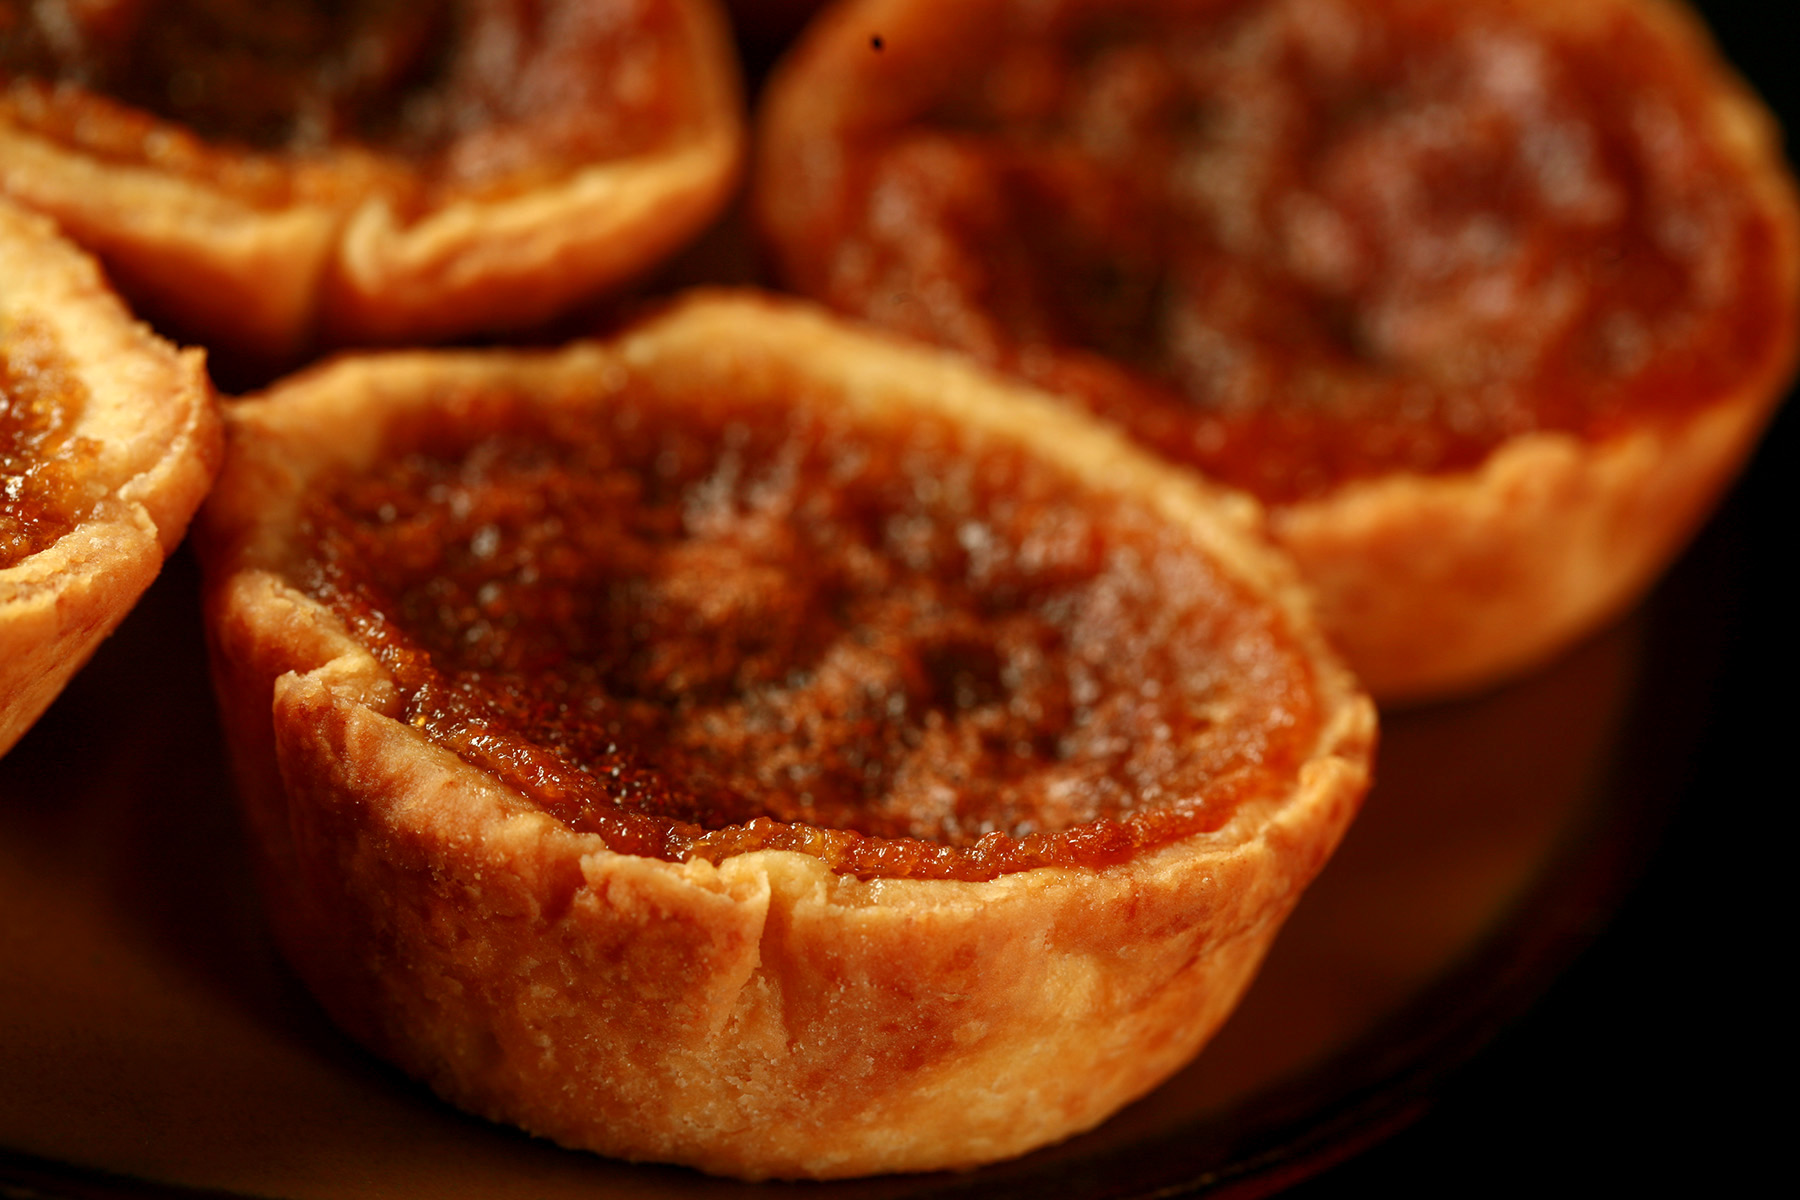
While we’ve since photographed the recipe *properly* for this blog, our first attempt was ... much more rustic!
Desperation Gluten-Free Buttertarts!
Now, what follows is an example of what happens when sheer desperation takes over.
My sincerest apologies for the crappy cell phone photography. My husband/photographer was not home, and I was NOT about to wait!
After I made the dough and pulled out the ingredients for the filling, I realized that I had NO idea where all my muffin pans were.
I couldn't find them in our "temporary necessities" pile of kitchen stuff in the dining room, so they were likely packed away for longer term storage (Until the shelving is done).
So.. I had't seen them since the May 22 tornado.
As I already have way more muffin pans than anyone could ever use (short of owning a cake business!), there was no way I was going to buy any more.
Our "long term storage" is in the roof crawl space right under where the tree hit though.
I've seen the gigantic bugs that came in from not having a roof for several weeks, so I wasn't exactly thrilled at the idea of going in there.
Ugh. *shiver*. No one should ever be able to mistake a bug for a MOUSE.
The Solution...
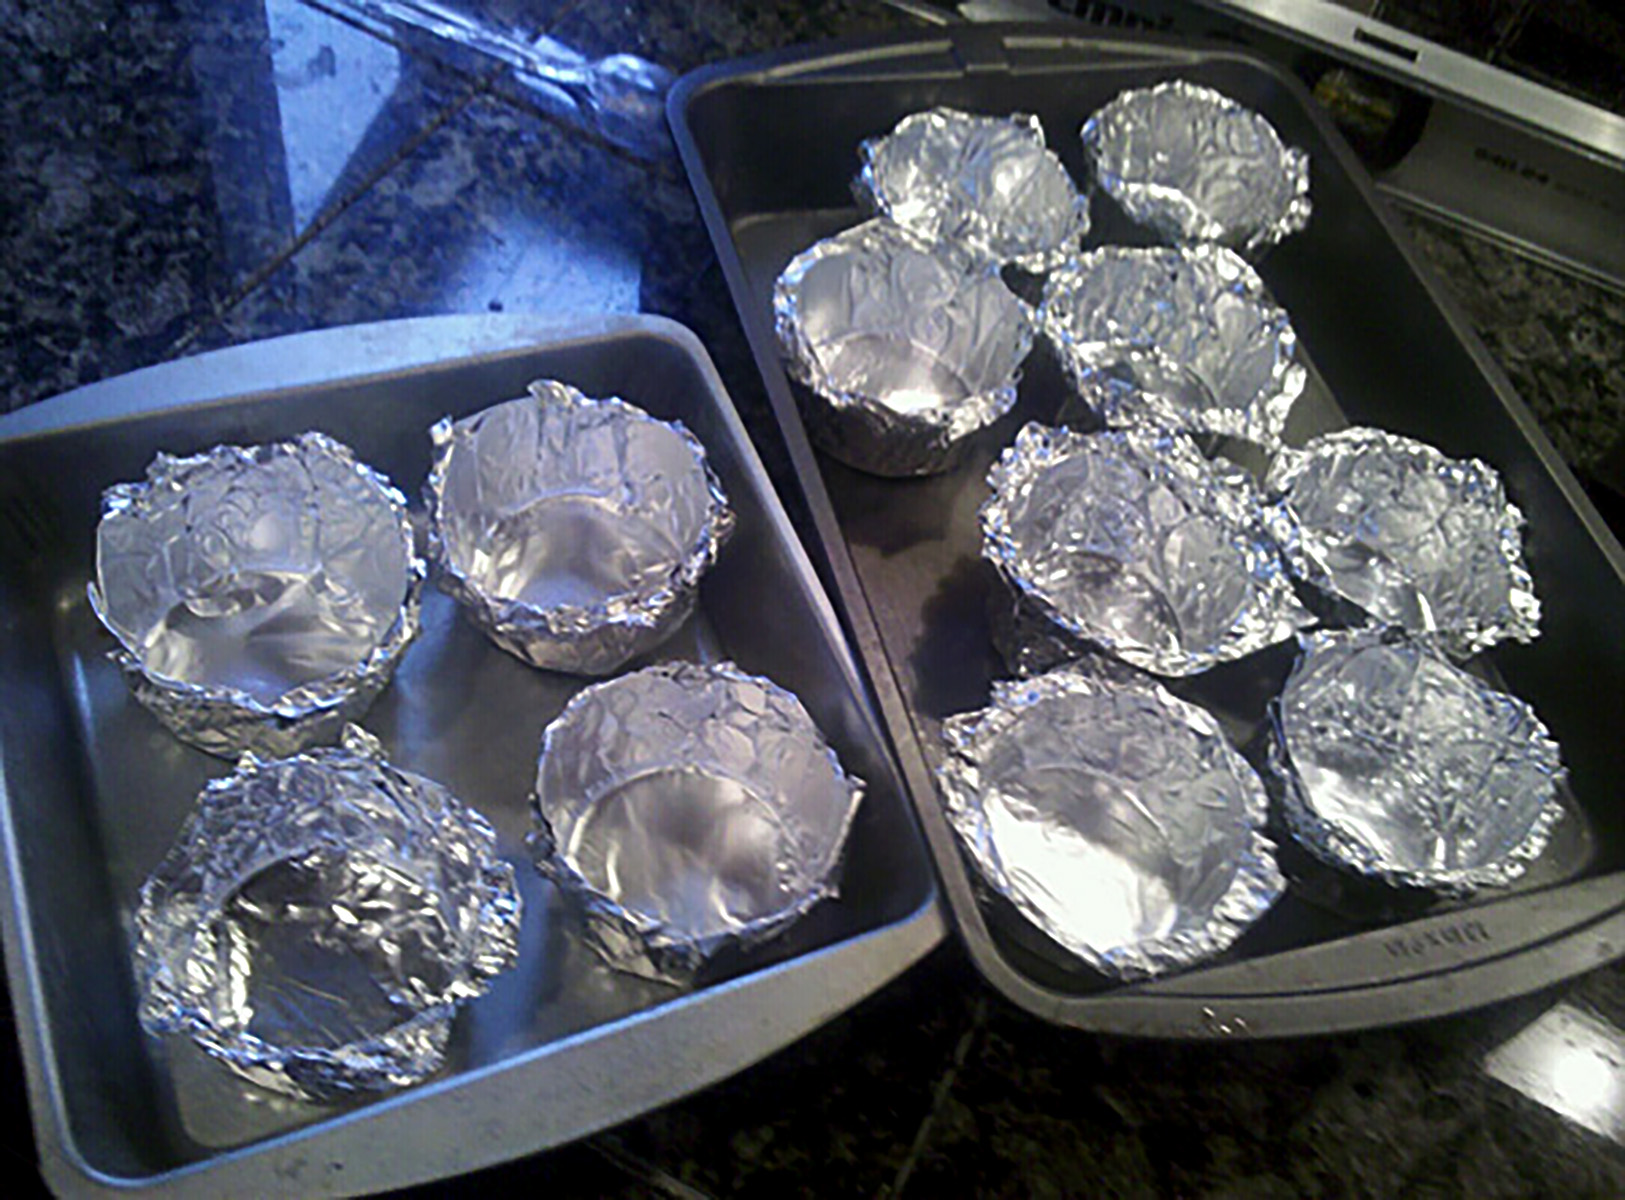
So... I MacGuyvered a solution from tin foil, and it worked out VERY well! I love super deep butter tarts, so this was a bonus.
First, I pulled out a piece of tinfoil that was roughly square.
I folded it in half one way, then in half again - making a smallish square.
I molded it down over the bottom of a glass, rolling what would become the top edge of the tart cup a bit to give it some more stability.
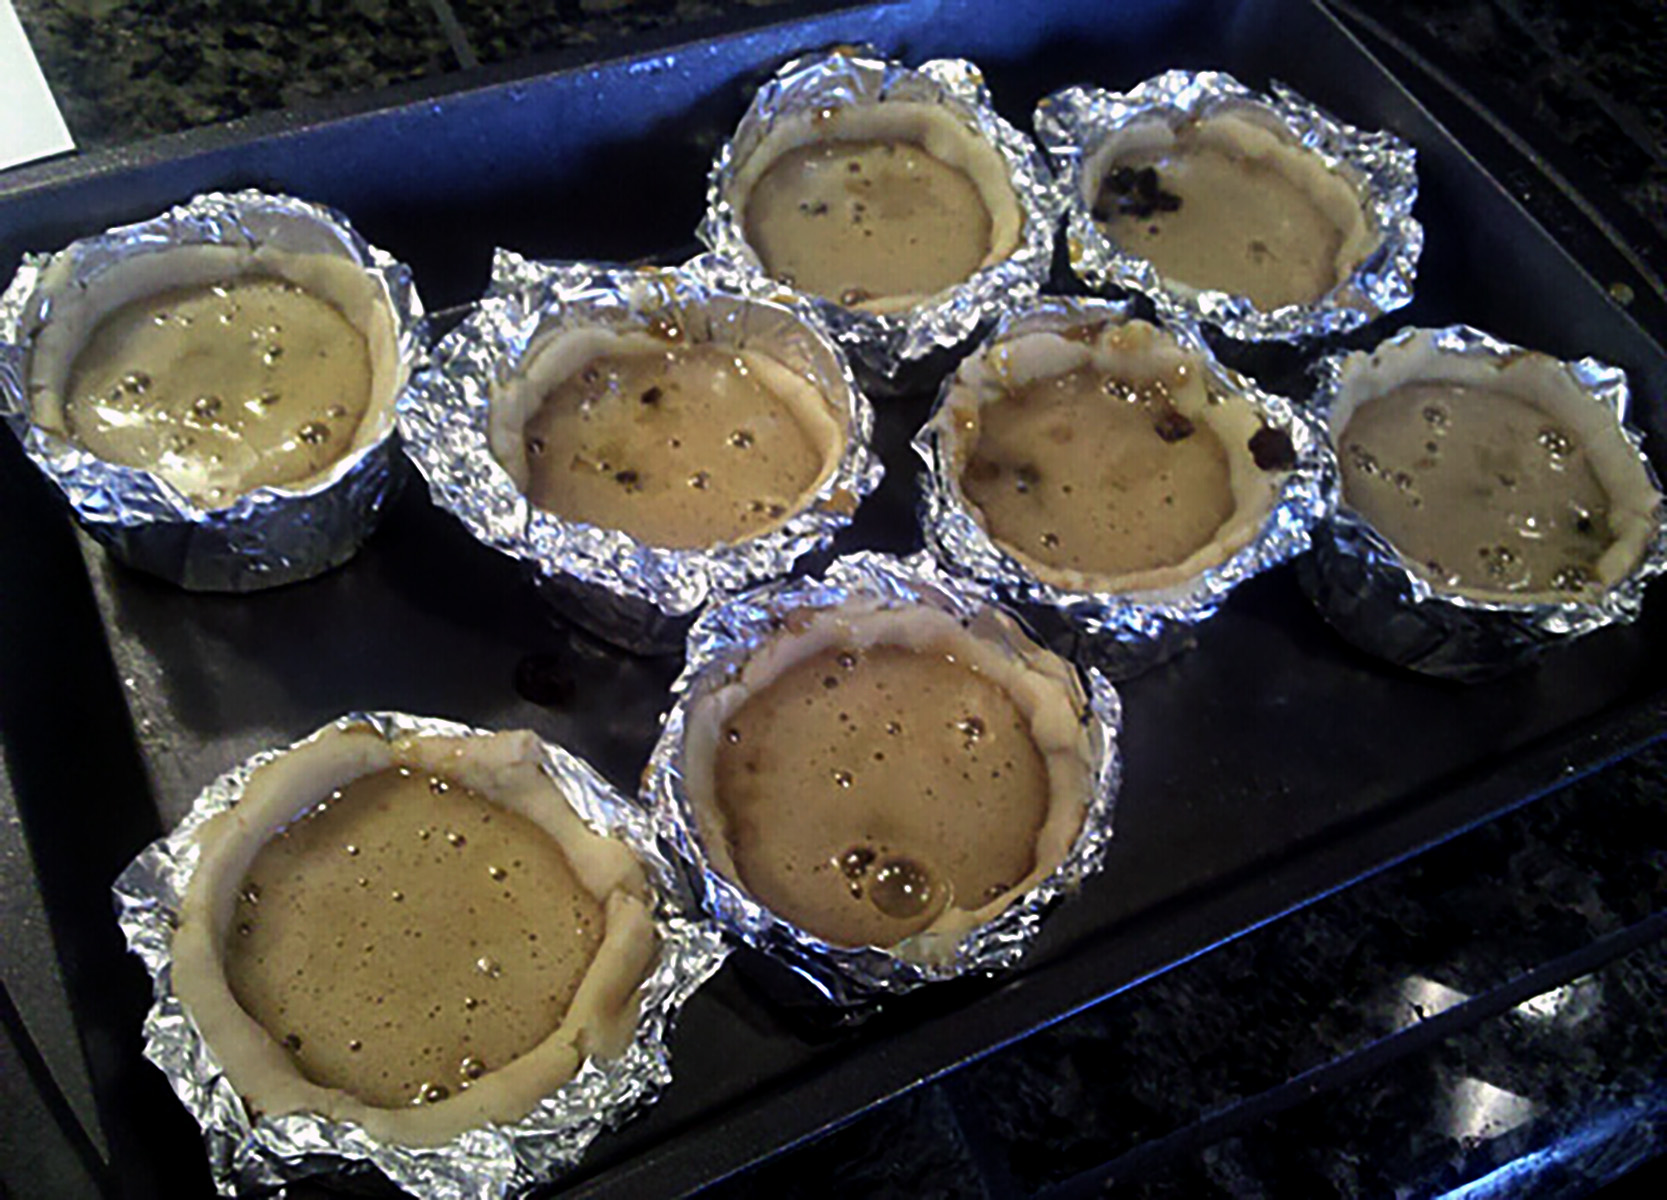
I divided the dough into 12 equal pieces, flattened each pieces out in my hand, and carefully set it in the makeshift muffin cup.
Then, working from the middle, I pressed the dough out, flat against the bottom, snug into the bottom edge, and evenly up the sides.
Each giant cup was able to take a pretty big handful of raisins - I went though almost a pound of them!
If you find yourself in a similar predicament and want to do it this way, increase your baking time by 5-10 minutes, checking often to prevent burning.

More Canadian Recipes!
Looking for more recipes from the ‘great white north’? Look no further!
Chow Chow Relish
Gluten-Free Bacon Poutine Pizza
Gluten-Free Beaver Tail Recipe
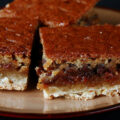
Gluten Free Butter Tart Bars
Gluten-Free Cod Au Gratin
Gluten-Free Cod Cheeks & Dressing
Gluten-Free Chicken Mushroom Tourtiere
Gluten-Free Imperial Cookies Recipe
Gluten-Free Nanaimo Bar Brownies
Gluten-Free Puffed Rice Bars
Gluten-Free Schmoo Torte
Gluten-Free Tourtiere
Looking for even more Canadian recipes? Check out our full Gluten-Free Canadian Recipes list!
Share the Love!
Before you chow down, be sure to take some pics of your handiwork! If you post it to Bluesky, be sure to tag us - @CelebrationGen. We're also on Pinterest, so you can save all your favourite recipes to a board!
Also, be sure to subscribe to my free email newsletter, so you never miss out on any of my nonsense.
Well, the published nonsense, anyway!
Gluten-Free Butter Tarts
Equipment
Ingredients
Pastry Crust:
- ¾ cup White Rice Flour
- ¾ cup Light Buckwheat Flour
- ½ cup Millet Flour
- ¼ cup Sweet Rice Flour
- ¼ cup Corn Starch plus extra for rolling
- 2 tablespoon Granulated Sugar
- 2 teaspoon Xanthan Gum
- 8 oz Brick Cream Cheese
- ½ cup Cold Butter
- 1 Large Egg
- ¼ cup Cold Water
Filling:
- 1 cup Raisins
- ½ cup Unsalted Butter softened
- 1 ½ cups Light Brown Sugar packed
- ½ cup Maple Syrup
- 5 Large Eggs whisked
Instructions
- Preheat oven to 375 F (190 C)
Pastry Crust:
- Measure flours, corn starch, sugar and xanthan gum into the bowl of your food processor, blitz to combine.
- Add cream cheese, butter, and egg, blitz a few times until mixture resembles gravel.
- Stream in cold water as you run the food processor, just long enough to bring it together as a dough.
- Remove dough from processor, knead lightly to bring it together as a ball. Wrap in plastic film, chill for 1 hour.
- Lightly dust your work surface with corn starch, roll chilled dough out pretty thin – ⅛″ to ¼″, depending on your tastes – some prefer a thinner shell, some thicker. Cut 4″ rounds from the pastry – you’re aiming for 12.
- Carefully transfer the pastry rounds to a muffin pan. I like to flatten the bottom against the tin, and work out from there, flattening the whole round to be flush with the muffin pan cavity – it holds the most filling! Feel free to get decorative about it – flattening the bottom of the dough against the muffin pan, gently ruffling the edges… it’s up to you! Chill the pan of prepared tart shells until ready to use.
Filling:
- Prepare tart shells recipe, if using. If using pre made pie crust, roll cut out and prepare tart shells per directions in the tart shells recipe below.
- Divide raisins among tart shells – I personally like to have a fair amount of raisins in my buttertarts, so I use 1 cup. (½ cup is probably closer to average!). Set aside.
- Combine butter, brown sugar, and maple syrup in a medium saucepan. Beat until smooth. Add in eggs, beat once more until well combined.
- Heat mixture on medium, stirring constantly. Bring mixture JUST to a boil, remove from heat. Carefully pour mixture into prepared tart shells.
- Bake for 15-20 minutes, until filling has set and the pastry is lightly browned. Remove from oven and allow to cool








Leave a Reply