Gluten-Free Bagels were one of the huge victories for me, writing Beyond Flour 2. This gluten-free bagel recipe is a bit fussy to make, but makes LEGITIMATE bagels!
Note: This recipe was first posted on my original blog, Celebration Generation, on July 22, 2020. It was transferred over to this blog - existing comments and all - on 9/17/2021, and updated on 3/3/2022.
Back in 2016, I was working on the sequel to "Beyond Flour: A Fresh Approach to Gluten-Free Cooking & Baking".
I had SO many more recipes to explore - Beyond Flour had been a giant wish list of gluten-free foods, but there were definitely foods I hadn't gotten around to tackling... and some that had eluded me in developing the first Beyond Flour.
Being super picky about what made it into the book ("As good or better than the real thing, determined by people who aren't gluten-free"!), I hadn't been able to perfect proofed breads.
Homemade gluten-free bagels and soft pretzels had been goals for the first book, but I hadn't been successful in time for publication.
Endless experimenting with different flours still hadn’t resulted in the perfect bagel yet - I wanted nicely chewy gluten-free bagels that were a great bagel even at room temperature - a tall order!
As I came towards the end of developing Beyond Flour 2, it was looking like they'd go unrealized again. The deadline was about a week away, when I woke up with an idea in my head.
Honestly, most of my ideas come to me in dreams. For some reason, it's easier to do wild problem solving while I'm asleep. Yeah, I don't know either!
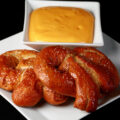
That day, I finally banged out a REALLY great recipe for Gluten-free soft pretzels.
I actually shocked myself and kind of freaked out, as you can see in this video that I posted to Facebook minutes after it happened.
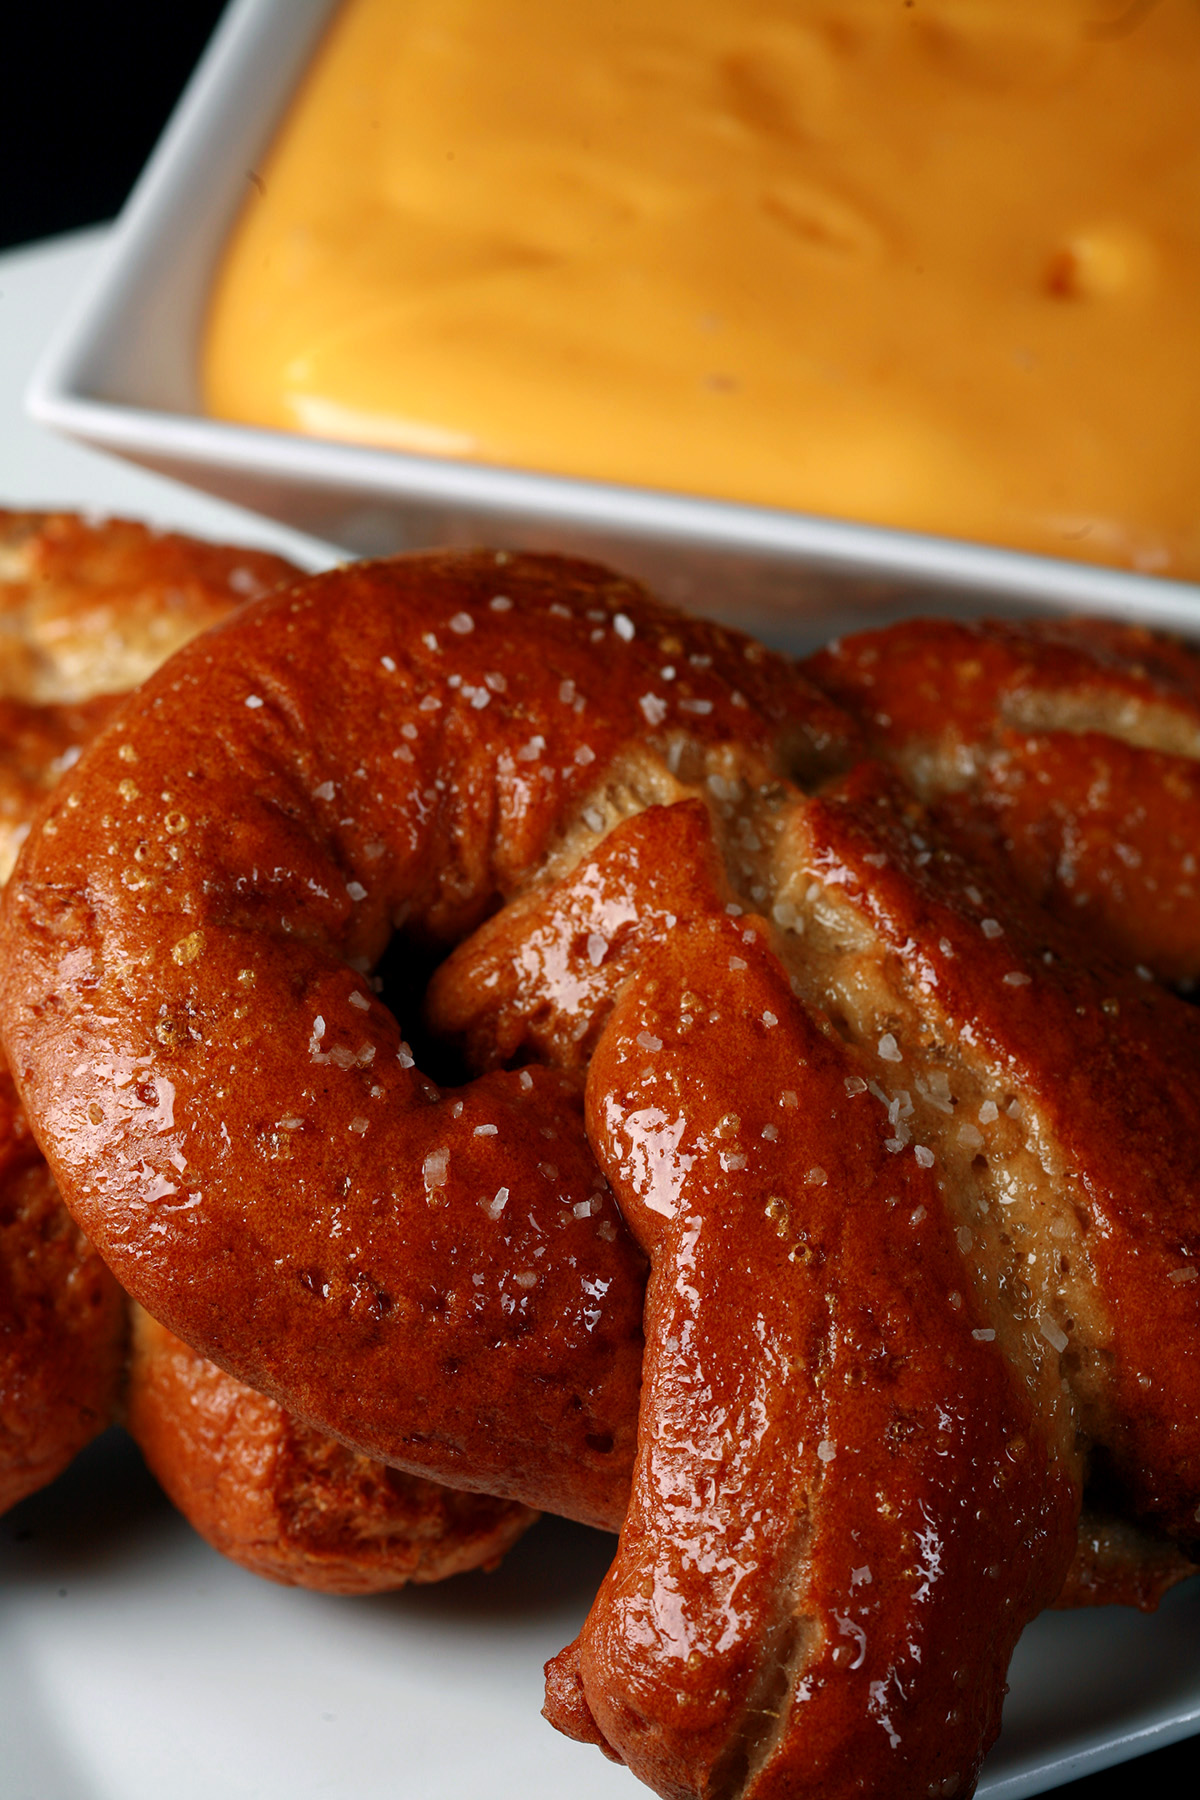
The gorgeous pretzels that resulted from that epiphany!
Gluten-Free Bagels
It was a joyous day on its own - the first batch had me in tears of joy! - and it also led to the development of my gluten-free bagels recipe, which I'm sharing with you today!
I’m not going to lie - these are really fussy to make.
The dough behaves nothing at all like normal bagel dough does, and you will probably swear a lot while making a giant mess.
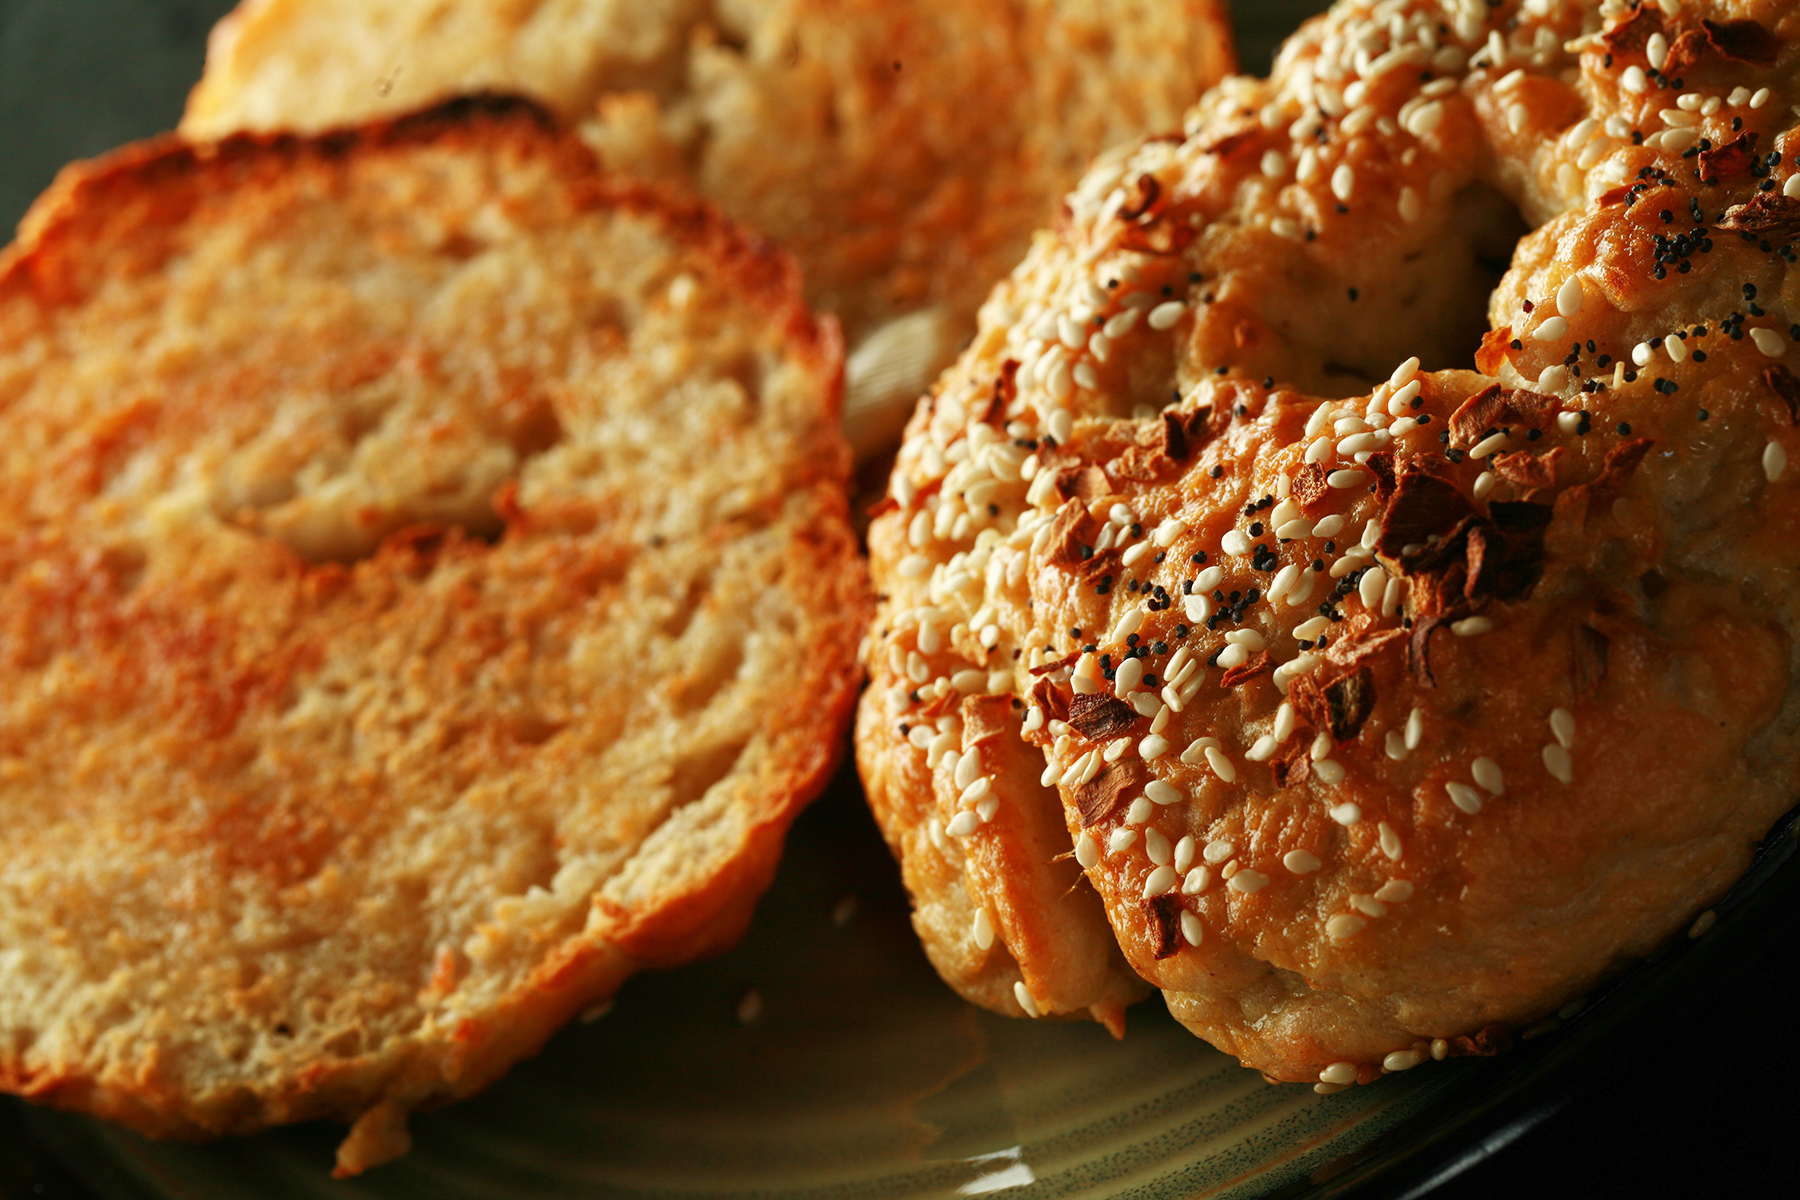
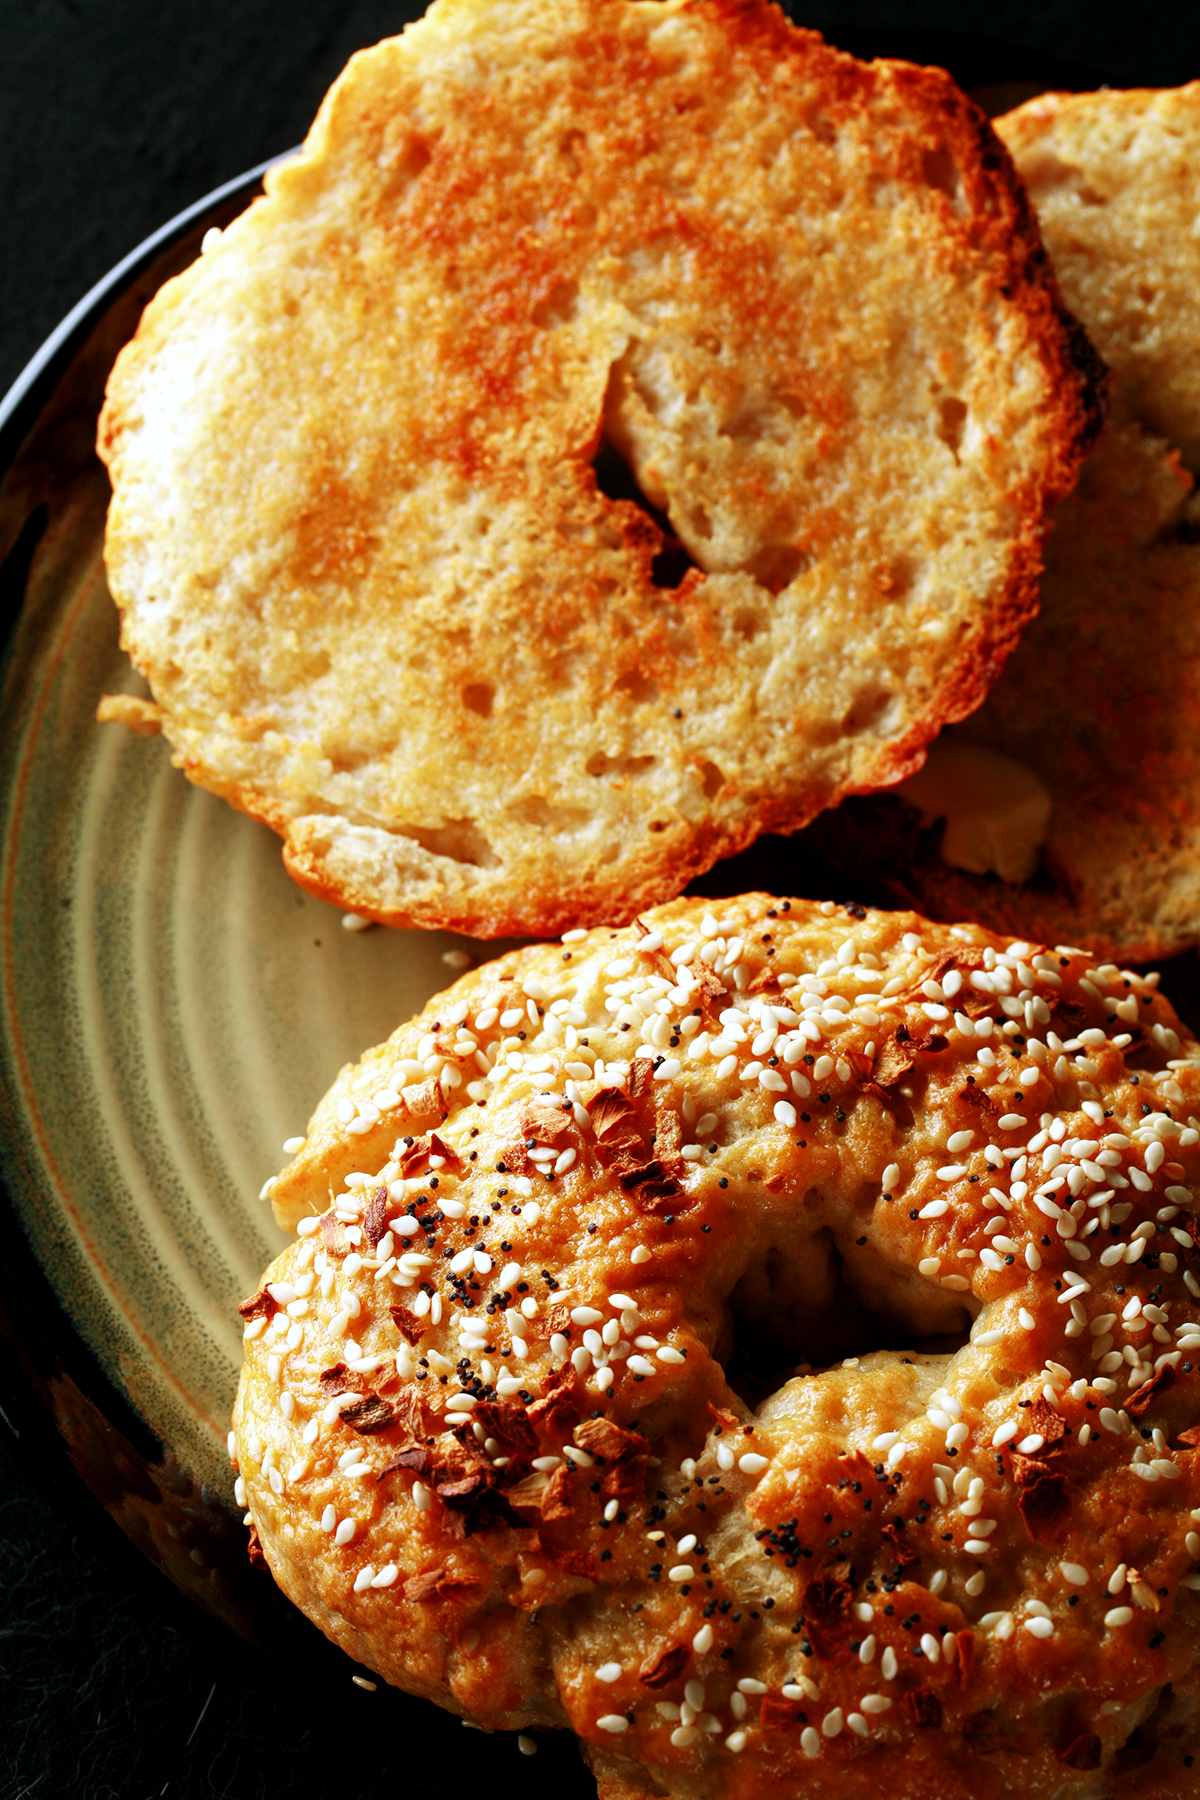
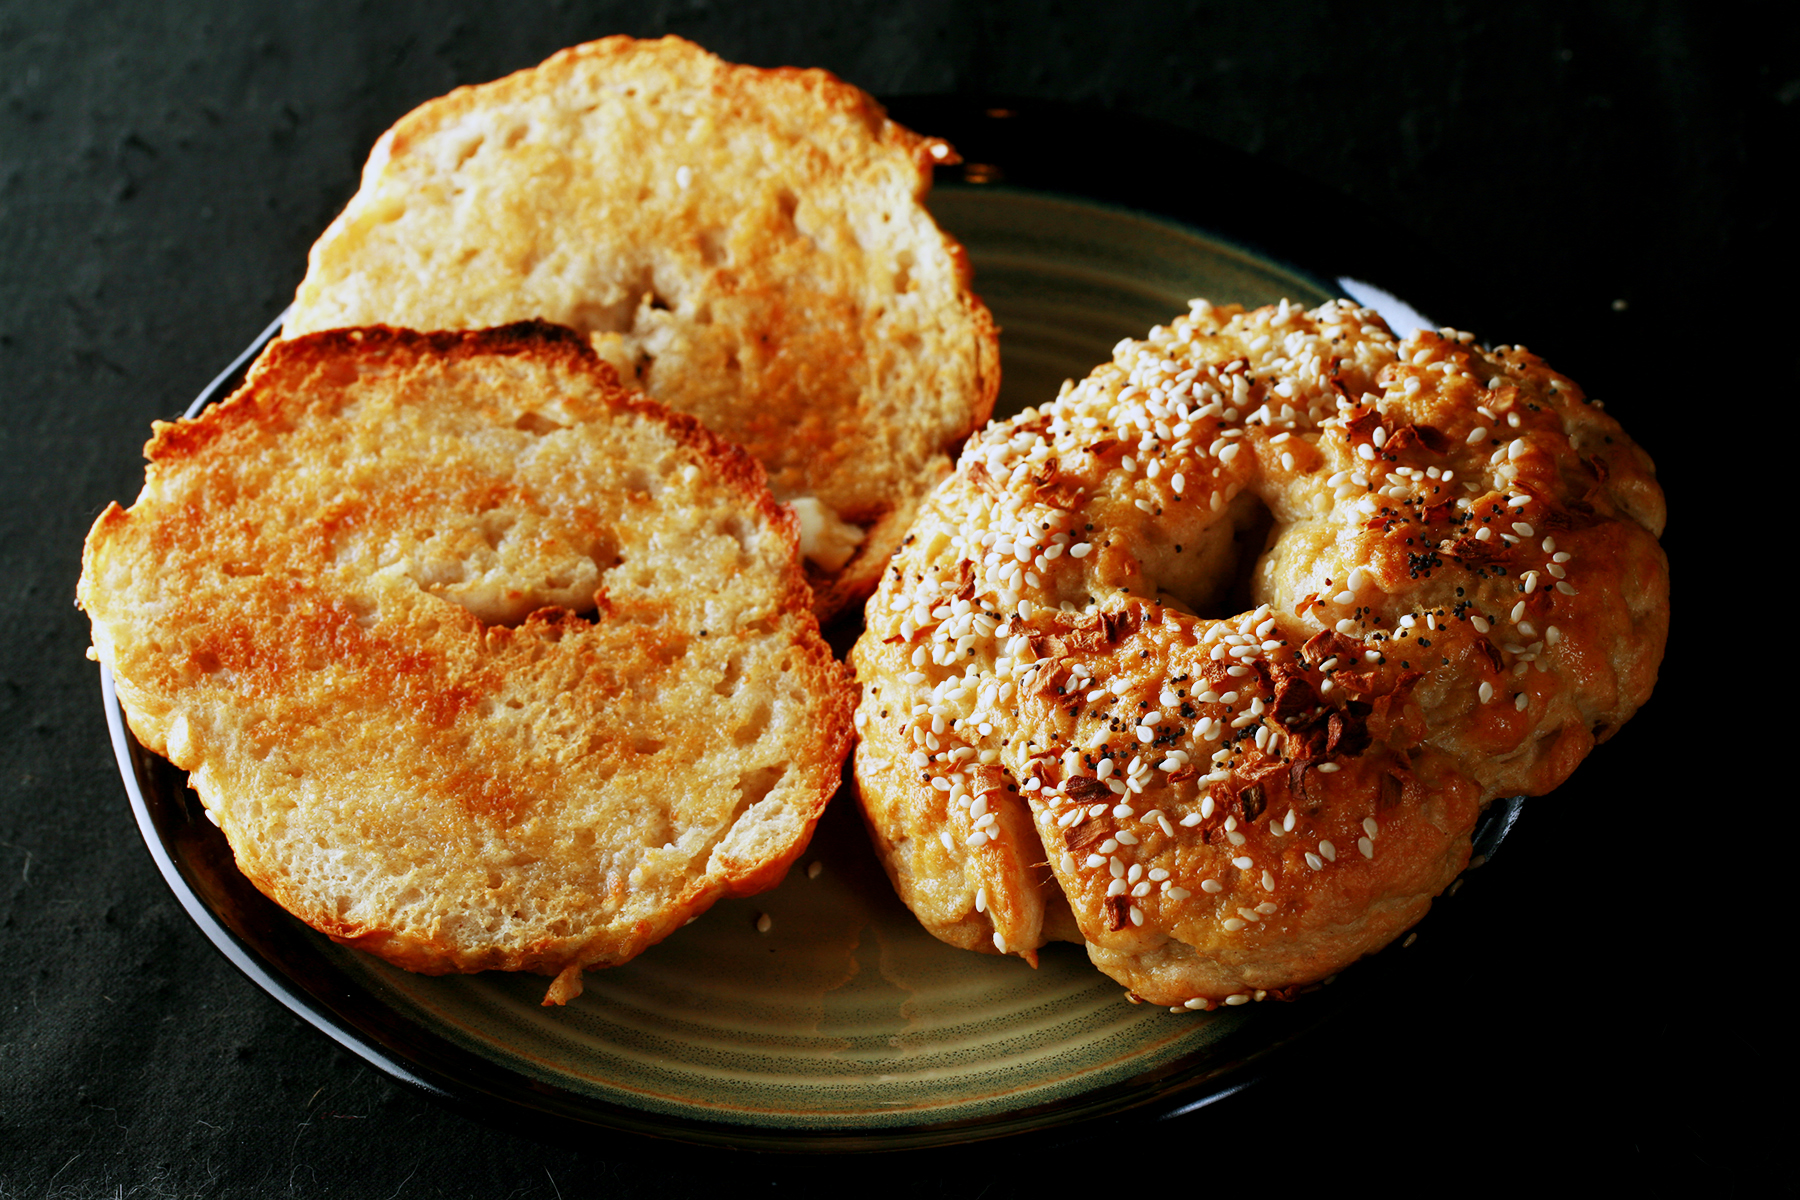
HOWEVER, they produce delicious bages that are properly dense, chewy on the outside, and soft on the inside.
You can eat them straight out of the oven with NO gumminess, or you can toast them after they’ve cooled off.
While the raw dough is fragile and fussy to work with, the finished product is not - you can slather cream cheese on these babies without destroying them! Ugly bagels, sure... but tasty, tasty bagel goodness.
I am still proud of how well it met every one of my lofty requirements - it had to taste AND feel good both warm and at room temperature, with no real changes in texture.
I hate that most GF bread is gross unless you toast it - so that was a huge hangup, going in.
I really should get back to trying to develop an actual bread that I like, but in the meantime... here's my precious Gluten-Free Bagels Recipe!
Gluten Free Bagel Ingredients
As with all of my gluten free recipes, I do not recommend using a premixed gluten-free flour blend for this recipe, as it was developed to use a very specific mix of ingredients and proportions.
I just find gluten free baking - and gluten-free food in general - to turn out much better when a recipe is developed from the group up - and that includes the flour.
This way, you can use the flavours and properties of the various ingredients to do exactly what you want, and taste great! It’s a flexibility you just don’t get from gluten-free “all purpose flour”.
Gluten-free Flour Blend
This is the most important set of ingredients for this recipe. To set up the flour base of this recipe, I use:
- White Rice Flour (You can use Brown Rice Flour)
- Unflavoured Whe Protein Powder
- Tapioca Starch / Tapioca Flour
The Other Ingredients
Here are the supporting ingredients:
- Warm water
- Granulated sugar (You can use can sugar, brown sugar, honey, or maple syrup in the same amount)
- Salt
- Baking powder
- Vegetable oil (You can use olive oil or canola oil if you prefer)
- Large eggs
- Nonstick pan spray
- Baking soda
- Optional toppings: Sesame Seeds, Poppy Seeds, Dried Onion Flakes, Garlic Flakes, Everything Bagel Seasoning, etc.
How to Make Gluten Free Bagels
The full recipe is in the recipe card at the bottom of this post, but here is a walk through with more information and extra tips on the process.
Make the Dough
Combine warm water with sugar, stir until sugar is almost dissolved. Add yeast, stirring until incorporated. Set aside in a warm place for 10 minutes, or until foamy.
In a large bowl, combine flours, protein powder, starches, xanthan gum, salt, and baking powder.
Note: this can be done it the bowl of your stand mixer instead of a large mixing bowl - or with an electric hand mixer - but honestly it’s not difficult to just stir by hand. This is not a traditional bread dough!
Add oil and egg to the dry ingredients, stirring until well distributed. Pour in yeast mixture, stirring until well combined - it will be VERY wet.
Use pan spray to generously grease a separate bowl - a large, clean metal or glass bowl.
Add bagel dough to the bowl, loosely cover with plastic wrap, set aside in a warm place to let the dough rise for an hour or so, until doubled in size.

After the first round of rising.
Once the Dough has Doubled in Size:
Line a large baking sheet with parchment paper, spray generously with pan spray, set aside.
Stir remaining potato starch into the dough. Stir until no longer *super* sticky - it'll still be a little sticky. Use a little more potato starch if needed.
Spray hands with pan spray, divide dough ball into 6 equal pieces.
Roll one piece of dough into a ball. Flatten it out slightly, before poking an index finger though the middle, forming a bagel shape.
Place on prepared baking sheet. Repeat with remaining sections of dough.
With wet hands, smooth the outside of each bagel, and stretch the inner hole a bit.
Cover loosely with plastic wrap, allow to rise in a warm place for another hour.
Cook and Bake the Bagels
Preheat oven to 350 F (180 C), Line a separate baking sheet with parchment paper, spray generously with pan spray, set aside
Bring a large pot of water to a gentle simmer, stir in baking soda.
Carefully cut the parchment paper between the bagels, to separate them - for best results, you don’t want to jostle them too much, or even really touch them.
One at a time, carefully transfer the bagels to the pot of water. Lift one by the parchment paper, and gently turn it over into the gently boiling water, removing the parchment paper as you go. It should easily release.
Depending on the size of your pot, you can boil 2-3 bagels at a time.
Boil bagels for 1-2 minutes on each side - a longer boil will result in a chewier bagel. Gently stir as they boil, to ensure that the entire surface of each is in contact with the water at some point.
Use a slotted spoon to carefully transfer each bagel to prepared baking sheet.
Whisk egg together with 1 tablespoon of water, brush this egg wash over the tops and sides of each bagel.
Sprinkle bagels with any toppings you would like to use. Poppy seeds, sesame seeds, garlic powder, even a premade bagel seasoning. Whatever you like!
Note: I’ll usually have these toppings set out in a small bowl before getting to this step.
Bake for 35-40 minutes, until golden brown.
Serve hot, or allow to fully cool to room temperature before transferring leftover bagels to an airtight container or baggies.
Use within 2-3 days for best results.
Serving these Gluten Free Bagels
Unlike many gluten free bagels, these are great at room temperature or toasted. In general, my favorite way to have fresh bagels - traditional bagels or my gluten-free version - is toasted, so that’s what I do. Slather with a generous amount of cream cheese, and I’m good to go!
More Gluten-Free Bread Recipes!
Looking for more gluten-free bread products for the whole family? Here are some fantastic options!
Gluten-Free AIP / Paleo Flatbread
Gluten-Free Beaver Tail Recipe
Gluten-Free Gougeres
Gluten-Free Hybrid Tortillas
Gluten-Free Paleo Cassava Flour Tortillas
Gluten-Free Paska [Easter Bread]
Gluten Free Pita Bread
Gluten-Free Soft Pretzels
Gluten-Free Sourdough Waffles
Gluten Free Flour Tortillas
Share the Love!
Before you chow down, be sure to take some pics of your handiwork! If you post it to Bluesky, be sure to tag us - @CelebrationGen. We're also on Pinterest, so you can save all your favourite recipes to a board!
Also, be sure to subscribe to my free email newsletter, so you never miss out on any of my nonsense. Well, the published nonsense, anyway!
Finally, if you love this recipe, please consider leaving a comment or star rating - I appreciate it!
Gluten-Free Bagels
Equipment
- Parchment Paper
Ingredients
- 1 ¼ cup Warm water
- 2 tablespoon Granulated sugar
- 2 ½ teaspoon Active dry yeast
- ¾ cup Light buckwheat flour
- ½ cup White rice flour
- ½ cup Unflavoured whey protein powder
- ½ cup Potato starch
- ¼ cup Sweet rice flour
- ¼ cup Tapioca Starch/Flour
- 2 teaspoon Xanthan gum
- 1 teaspoon Salt
- ½ teaspoon Baking powder
- ¼ cup Vegetable oil
- 1 Large egg
- Nonstick pan spray
- ⅓ cup Potato starch
- 3 quarts Water
- 1 tablespoon Baking soda
- 1 Large egg
- 1 tablespoon Cold water
- Optional toppings: Sesame seeds poppy seeds, dried onion flakes, etc.
Instructions
- Combine warm water with sugar, stir until sugar is almost dissolved. Add yeast, stirring until incorporated. Set aside in a warm place for 10 minutes, or until foamy.
- In a large bowl, combine flours, protein powder, starches, xanthan gum, salt, and baking powder.
- Add oil and egg, stirring until well distributed. Pour in yeast mixture, stirring until well combined - it will be VERY wet.
- Use pan spray to generously grease a large, clean metal or glass bowl. Add dough to the bowl, loosely cover with plastic wrap, set aside in a warm spot to rise for an hour or so, until doubled in size.
- Once the dough has doubled in size:
- Line baking sheet with parchment paper, spray generously with pan spray, set aside.
- Stir remaining potato starch into the dough. Stir until no longer *super* sticky - it'll still be a little sticky. Use a little more potato starch if needed. Spray hands with pan spray, divide the mixture into 6 equal sized balls.
- Roll one section of dough into a ball. Flatten it out slightly, before poking a finger though the middle. Place on prepared baking sheet. Repeat with remaining sections of dough.
- With wet hands, smooth the outside of each bagel, and stretch the inner hole a bit.
- Cover loosely with plastic wrap, allow to rise in a warm place for another hour.
- Preheat oven to 350 F (180 C), Line a separate baking sheet with parchment paper, spray generously with pan spray, set aside
- Bring a large pot of water to a gentle simmer, stir in baking soda.
- Carefully cut the parchment paper between the bagels, to separate them - you don’t want to jostle them too much, or even really touch them.
- One at a time, carefully transfer the bagels to the pot of water. Lift one by the parchment paper, and gently turn it over into the water, removing the parchment paper as you go. It should easily release). Depending on the size of your pot, you can boil 2-3 bagels at a time.
- Boil bagels for 1-2 minutes on each side - a longer boil will result in a chewier bagel. Gently stir as they boil, to ensure that the entire surface of each is in contact with the water at some point.
- Use a slotted spoon to carefully transfer each bagel to prepared baking sheet.
- Whisk egg together with 1 tablespoon of water, brush over the tops and sides of each bagel.
- Sprinkle bagels with any toppings you would like to use (optional).
- Bake for 35-40 minutes, until golden brown.
- Serve hot, or allow to fully cool before transferring to an airtight container or baggies.
- Use within 2-3 days for best results.





Leave a Reply