

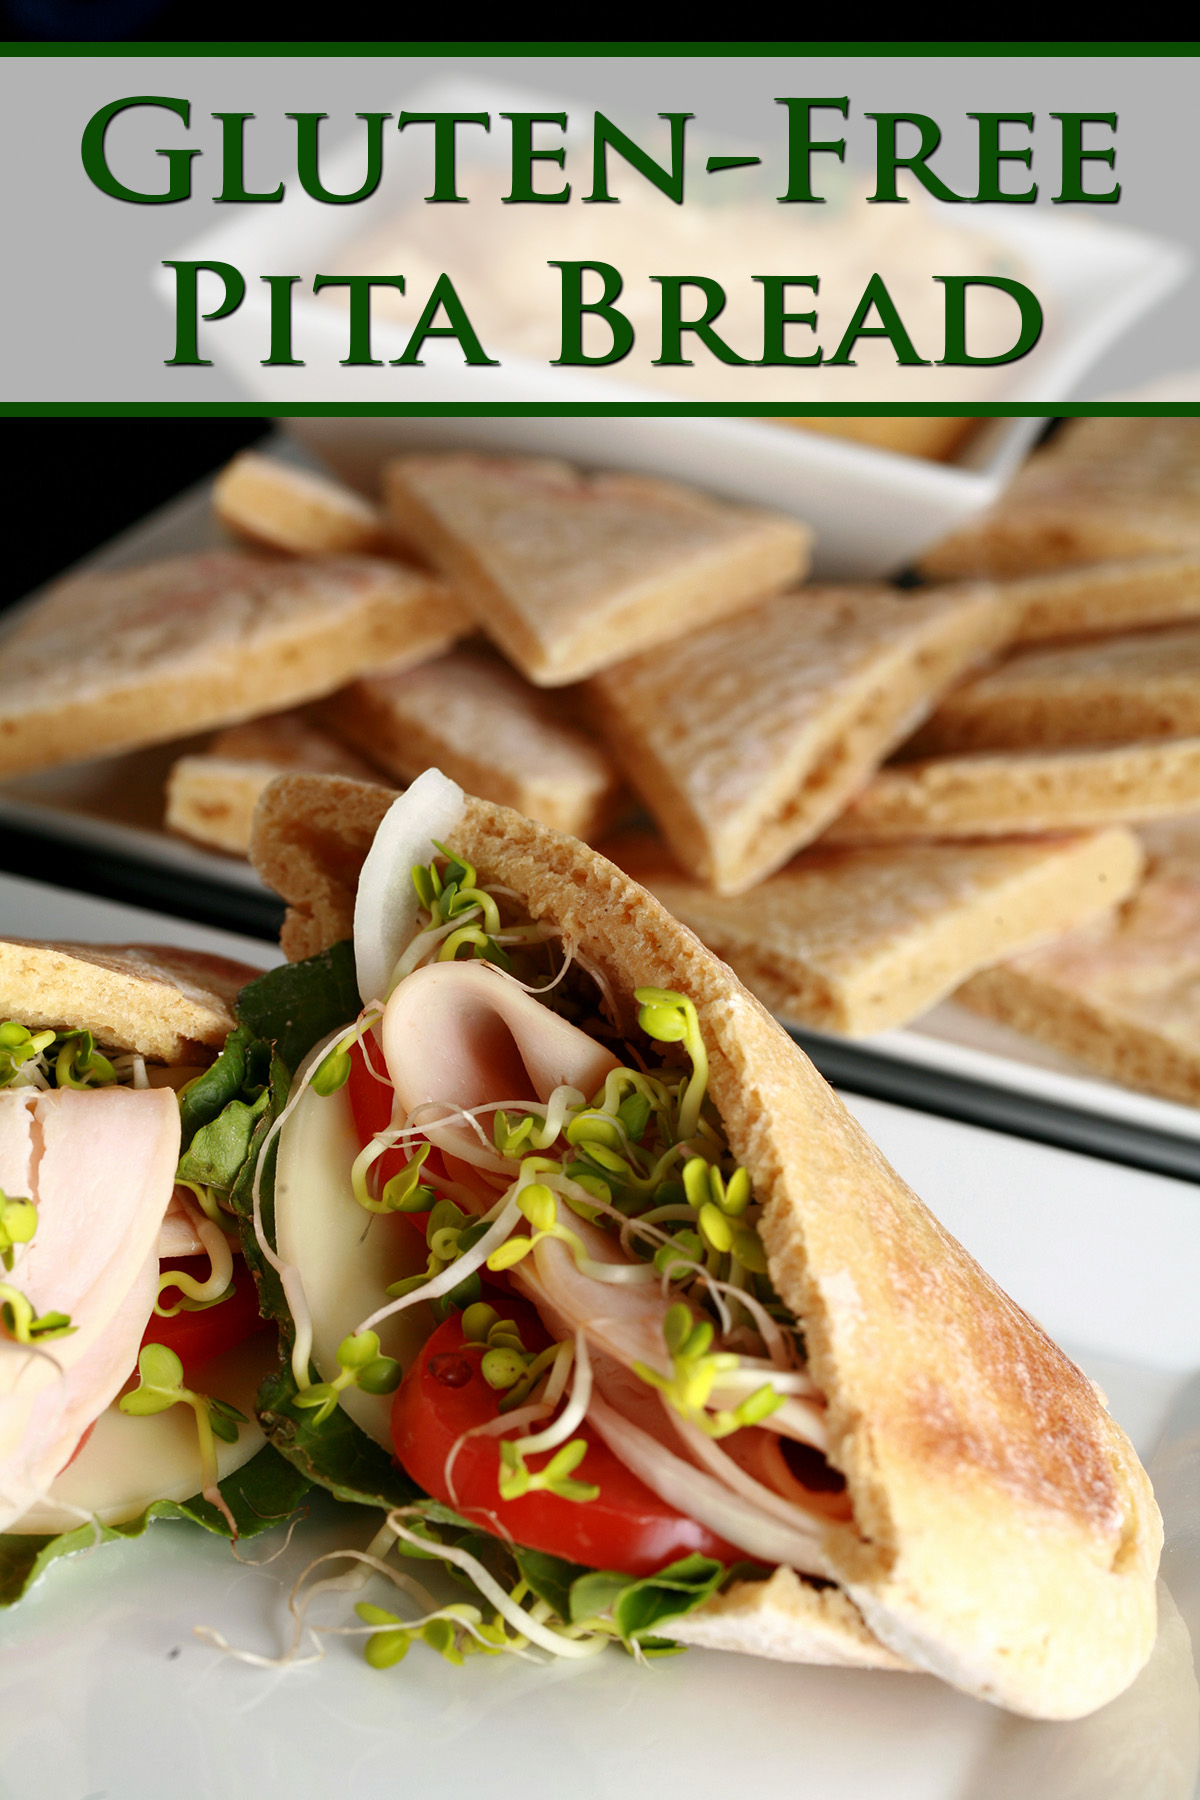
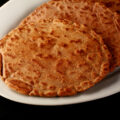
This gluten free pita bread is easy to make, and makes great pita chips for dipping.. but it REALLY sings as a pita pocket sandwich bread!
It was always nice to have on hand, a great way to make sandwiches, I’d chop them up and use as a dipper or hummus. Just a very versatile product to have around.
The thing is, commercial gluten free products - especially gf bread - leave a lot to be desired, IMHO. It was retty apparent - early on - that I’d need to develop a really good gluten free free pita bread recipe.
After a bit of hard word, I came up with this wonderful recipe for my own gluten-free pita bread... and it came with a fun bit of a shock!

The homemade bread dough was a dream to work with - great texture, easy to roll, etc. It baked up to a lovely golden brown.
It looked right, it handled right, and the end result held up to making a sandwich.
As my husband and I bit into our pita sandwiches for the first time, we both realized that this pita tasted extremely familiar to us.
Not like grocery store, wheat pita bread, more like... yes, this tasted exactly like Jimmy John's bread!
I don't know if they actually use any alternate flours in their bread to achieve that flavour, but hey - as a former JJ addict, I'll take it!

Gluten Free Pita Bread Ingredients
As with all of my recipes, this recipe uses a custom gluten-free flour blend, that was chosen specifically for this recipe.
I’m not a fan of premade, all purpose flour blends, as they don’t give you enough control over the ingredients used, and the proportions they’re used in.
Using individual flours to make gluten free flour blends specific to each recipe lets you really use the flavors and properties of each, to create exactly what you want in the final product.
In this case, I was looking to make a good sturdy bread product with a nice savory taste and a bit of flexibility.
I wanted it to taste good - and have good mouth feel - even at room temperature, and hold up to being sliced into a pita pocket.
Quite the wish list, eh? Here’s the blend I used to get there:
Amaranth Flour
Brown Rice Flour
Corn Starch
Millet Flour
Sorghum Flour
Tapioca Starch / Tapioca Flour
Xanthan Gum
Other Ingredients
Additionally, there are a few ingredients that you probably already have in your pantry and fridge:
Warm milk
Olive oil (Can use canola oil if you prefer)
Granulated sugar
Active Dry Yeast
Large egg
Salt
In addition to the flavours and functionality of the gluten free bread flour set I used, the yeast is also contributing flavour and function, as the main leavening agent.
Equipment
In addition to a couple of large baking sheets and some parchment paper, you’ll want to have a rolling pin.
I love my Rolling pin with adjustable thickness guides - it really helps me roll everything to a perfectly even thickness!
How to Make Gluten Free Pita Bread
The actual recipe is in the recipe card at the end of this post, this is a quick walk-through with more tips and information - to not clog up the recipe card for those printing it!
Make the Pita Dough
In a small bowl, combine warm water with sugar, stirring until sugar is almost dissolved. Add yeast, stirring until incorporated.
Cover bowl loosely with cling film. Set aside in a warm spot for 10 minutes, or until foamy.
In a very large mixing bowl, combine flours, starches, xanthan gum, and salt, whisking until well combined.
Note: I do this by hand, you definitely do not need a stand mixer / dough hook set up for this recipe!
Whisk egg into yeast mixture, add the bowl of wet ingredients to the bowl of dry ingredients and stir until well combined. Slowly add milk , mixing well to combine.
Pour olive oil into a separate large bowl, swirl to coat the bottom and sides of the bowl.
Transfer the gluten-free dough ball to the oiled bowl, flip to coat in oil.
Loosely cover with plastic wrap, let the dough rise in a warm place for an hour or two.
Make the Pitas
Preheat oven to 450 F (230 C), line two large cookie sheets with parchment paper.
Divide the ball of dough into 5 equal parts. Roll into round shapes about 6-8" across.
Transfer pita rounds to each baking sheet, spaced apart.
Bake for 6-7 minutes, until puffy and golden. Flip over and bake for 2-3 more minutes.
Storage
You can serve these right away, or set aside for later.
To store, allow them to cool to room temperature before transferring to an airtight container or freezer bag.
They will keep for a few days fresh, or freeze for up to 3 weeks.
How to Use your GF Pitas
There are 5 main ways that I like to use the results of my homemade pita bread recipe:
As a Wrapper
I love to use these pitas with my Greek Chicken Souvlaki, topped with a TON of my Homemade Tzatziki.
If we’re ordering food that doesn’t have a gluten-free option, I’ll order without the bun / pita, and just bring my gluten-free one along in a baggie.
It’s a super easy way to just not feel like I’m missing out when my husband is chowing down on a gyro, you know?
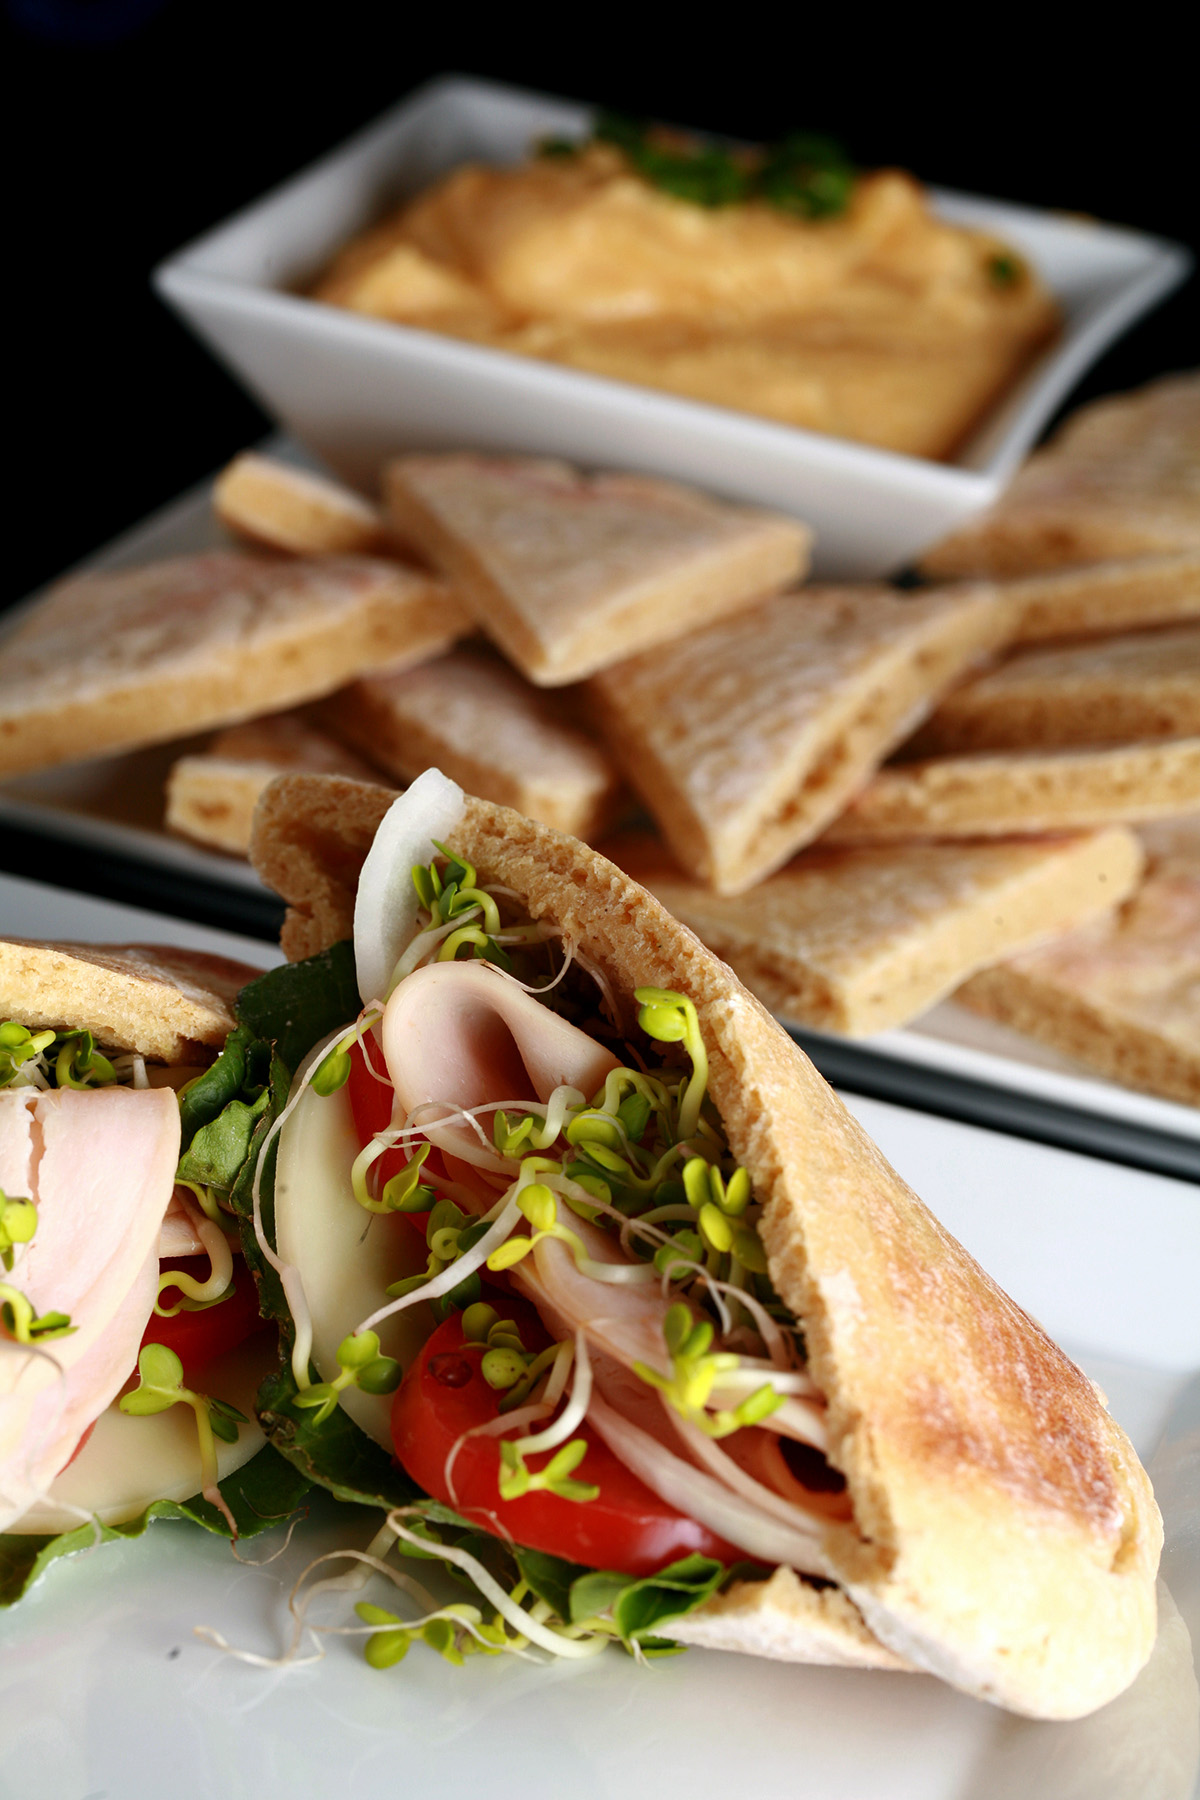
As a Gluten Free Pita Pocket
While these don’t bake up with an air bubble forming its own pocket, it’s easy to make pockets. Just split a fresh pita round in half, and carefully slit each piece open with a sharp knife to make your own pockets!
Stuff it with whatever you like in your gluten free pita sandwiches.
As a Pizza Crust
Quick and easy dinners: Spread pitas with your favourite pizza sauce, top with your favourite pizza toppings and cheese, and bake or broil until the cheese is melted and bubbly.
Also works great on the grill!
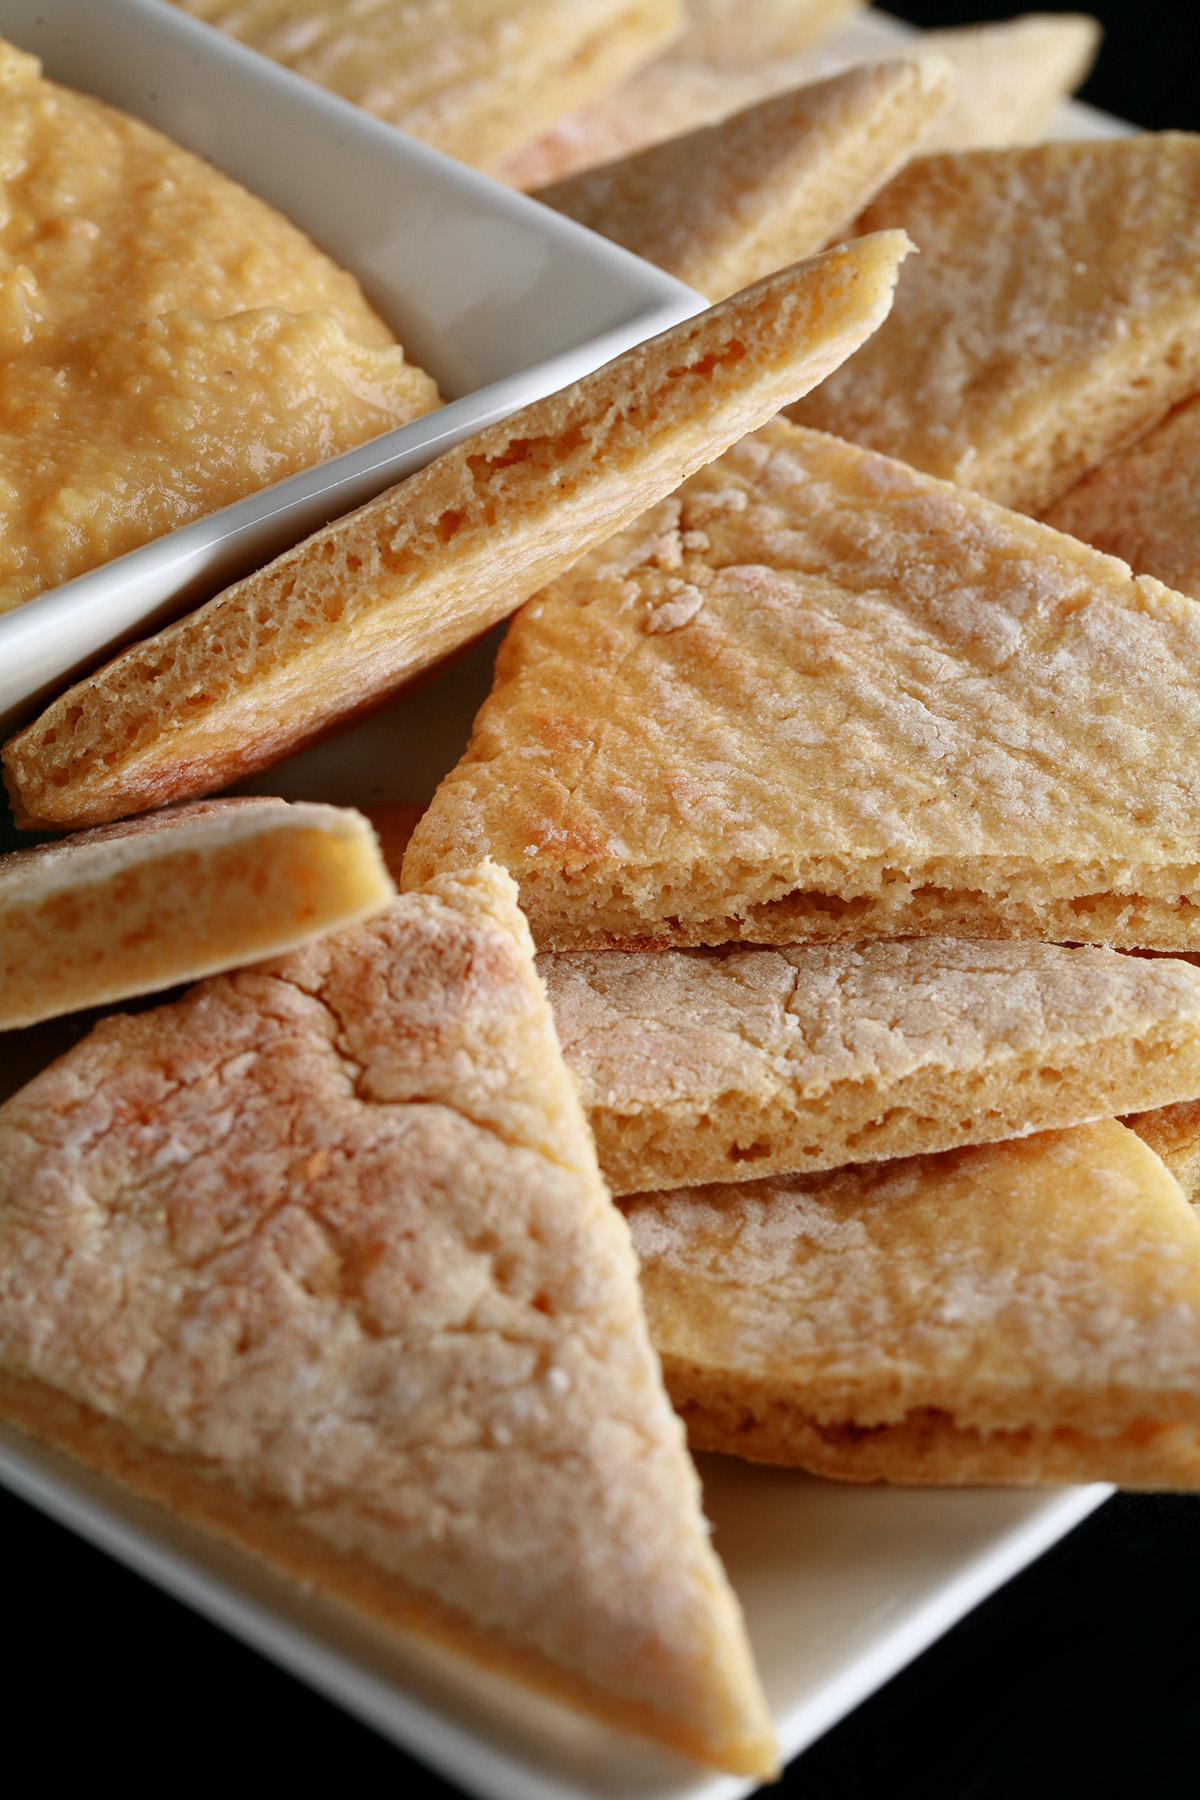
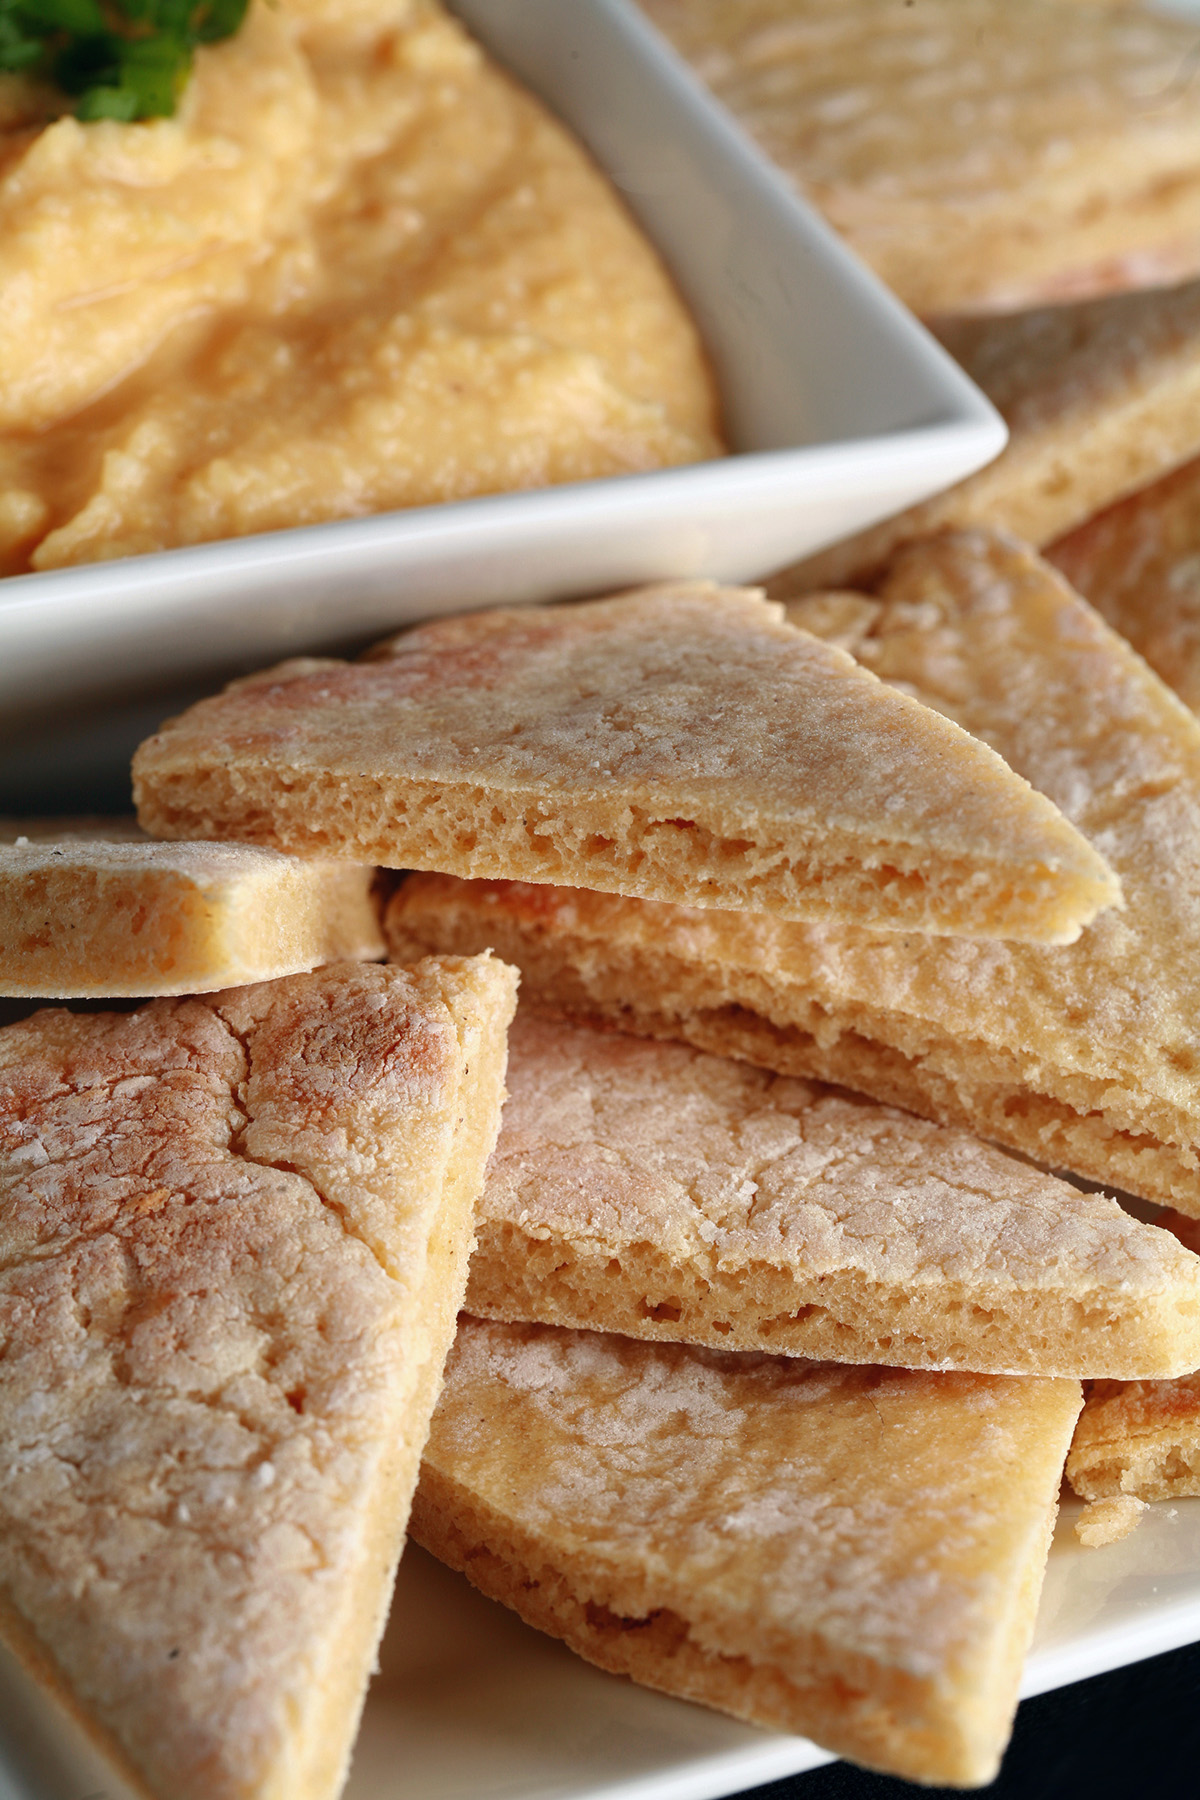
As Chips
Gluten free pita chips make excellent dippers!
I’ll alternate between slicing them up into triangles and using them as-is for a softer dipper, and baking them up.
Either way, they’re fantastic for dipping in hummus, baba ganoush, or - my new favourite - the Moutabal we order from Cheezaatar, a favourite local restaurant.
To make baked pita chips, slice pitas into wedges. Brush or spray with olive oil, sprinkle with a little salt if you’d like, and bake at 350 until browned and crispy.
You can even top them with garlic powder, garlic salt, smoked paprika, or any number of other flavours you’d like, after applying the olive oil.

More Gluten-Free Bread Recipes!
Looking for more gluten-free bread products for the whole family? Here are some fantastic options!
Gluten-Free AIP / Paleo Flatbread
Gluten Free Bagels
Gluten-Free Beaver Tail Recipe
Gluten-Free Gougeres
Gluten-Free Hybrid Tortillas
Gluten-Free Paleo Cassava Flour Tortillas
Gluten-Free Paska [Easter Bread]
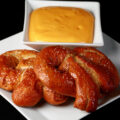
Gluten-Free Soft Pretzels
Gluten-Free Sourdough Waffles
Gluten Free Tortillas

Share the Love!
Before you chow down, be sure to take some pics of your handiwork! If you post it to Bluesky, be sure to tag us - @CelebrationGen. We're also on Pinterest, so you can save all your favourite recipes to a board!
Also, be sure to subscribe to my free email newsletter, so you never miss out on any of my nonsense.
Finally, if you love this recipe, please consider leaving a star review and a comment!


Gluten Free Pita Bread Recipe
Equipment
- Parchment Paper
- Rolling Pin
Ingredients
- ½ cup Warm water
- 1 teaspoon Granulated sugar
- 2 ¼ teaspoon Active dry yeast 1 packet
- 1 cup Brown rice flour
- ½ cup Amaranth flour
- ½ cup Millet flour
- ½ cup Sorghum flour
- ½ cup Corn starch
- ¼ cup Tapioca starch
- 2 teaspoon Xanthan gum
- 1 ½ teaspoon Salt
- 1 Large egg
- 1 cup Warm milk
- 2 tablespoon Olive oil
Instructions
- Combine warm water with sugar, stirring until sugar is almost dissolved. Add yeast, stirring until incorporated.
- Cover bowl with plastic wrap. Set aside in a warm place for 10 minutes, or until foamy.
- In a very large mixing bowl (stand mixer if you have it!), combine flours, starches, xanthan gum, and salt, whisking until well combined.
- Whisk egg into yeast mixture, add to the dry ingredients and stir until well combined. Slowly add milk , mixing well to combine.
- Pour olive oil into a large clean bowl, swirl to coat the bottom and sides of the bowl.
- Transfer dough to oiled bowl, flip to coat in oil. Loosely cover with plastic wrap, allow to rise in a warm place for an hour or two.
- Preheat oven to 450 F (230 C), line two large cookie sheets with parchment paper.
- Divide dough into 5 equal sized portions. Roll into rounds about 6-8" across.
- Transfer pita rounds to each cookie sheet, spaced apart.
- Bake for 6-7 minutes, until puffy and golden.
- Flip over and bake for 2-3 more minutes.
- Serve right away (Cut in half, then slit open with a sharp knife to make pockets!), or store in plastic baggies for up to a few days (fresh), or freeze for up to 3 weeks.
Nutrition


Can I leave out the egg?
I wouldn't.
Thanks! And do you use the middle rack in the oven?
Impossible to roll out as the dough was extremely sticky. I did, however, gently pat into a circle and I’m very happy to say that worked! The flavor is great and they easily open to pockets. They are a bit “heavy” but I’m thrilled with the taste.