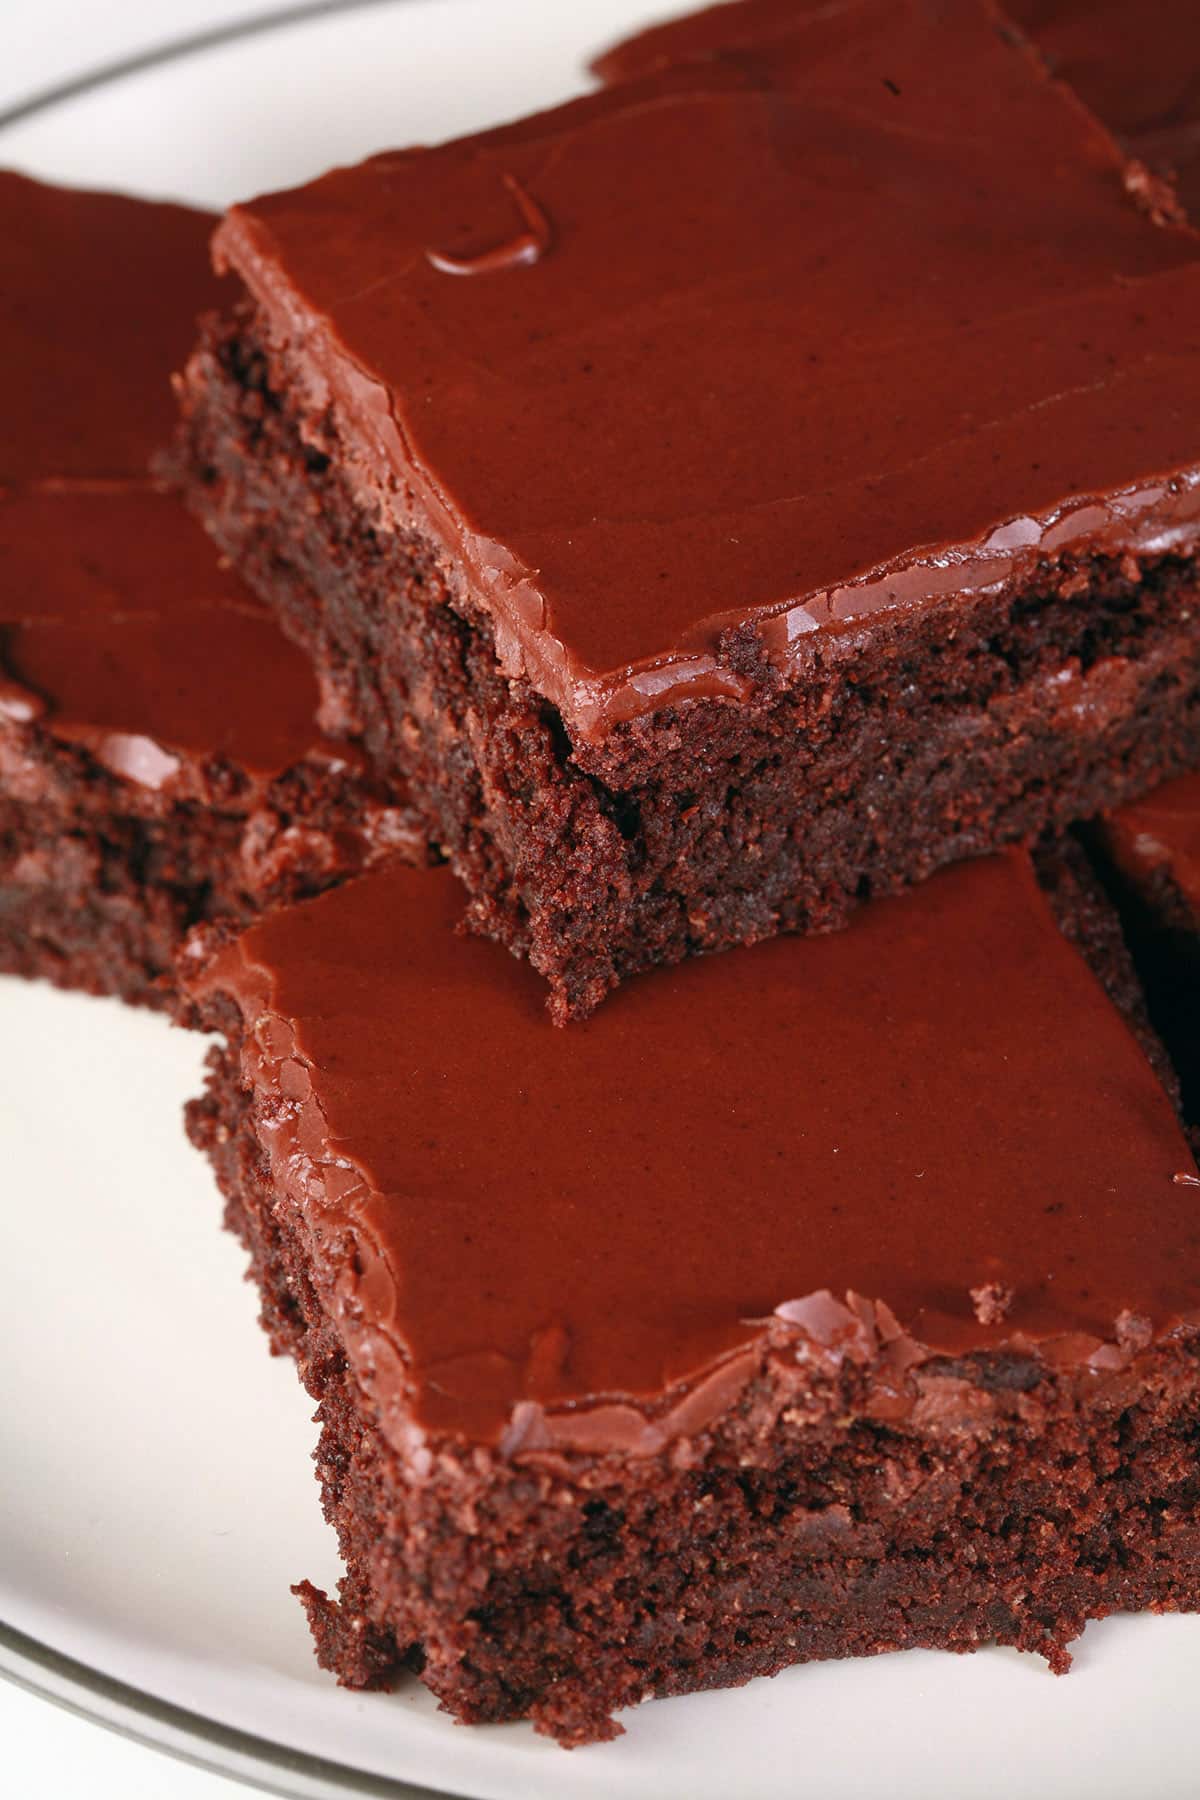
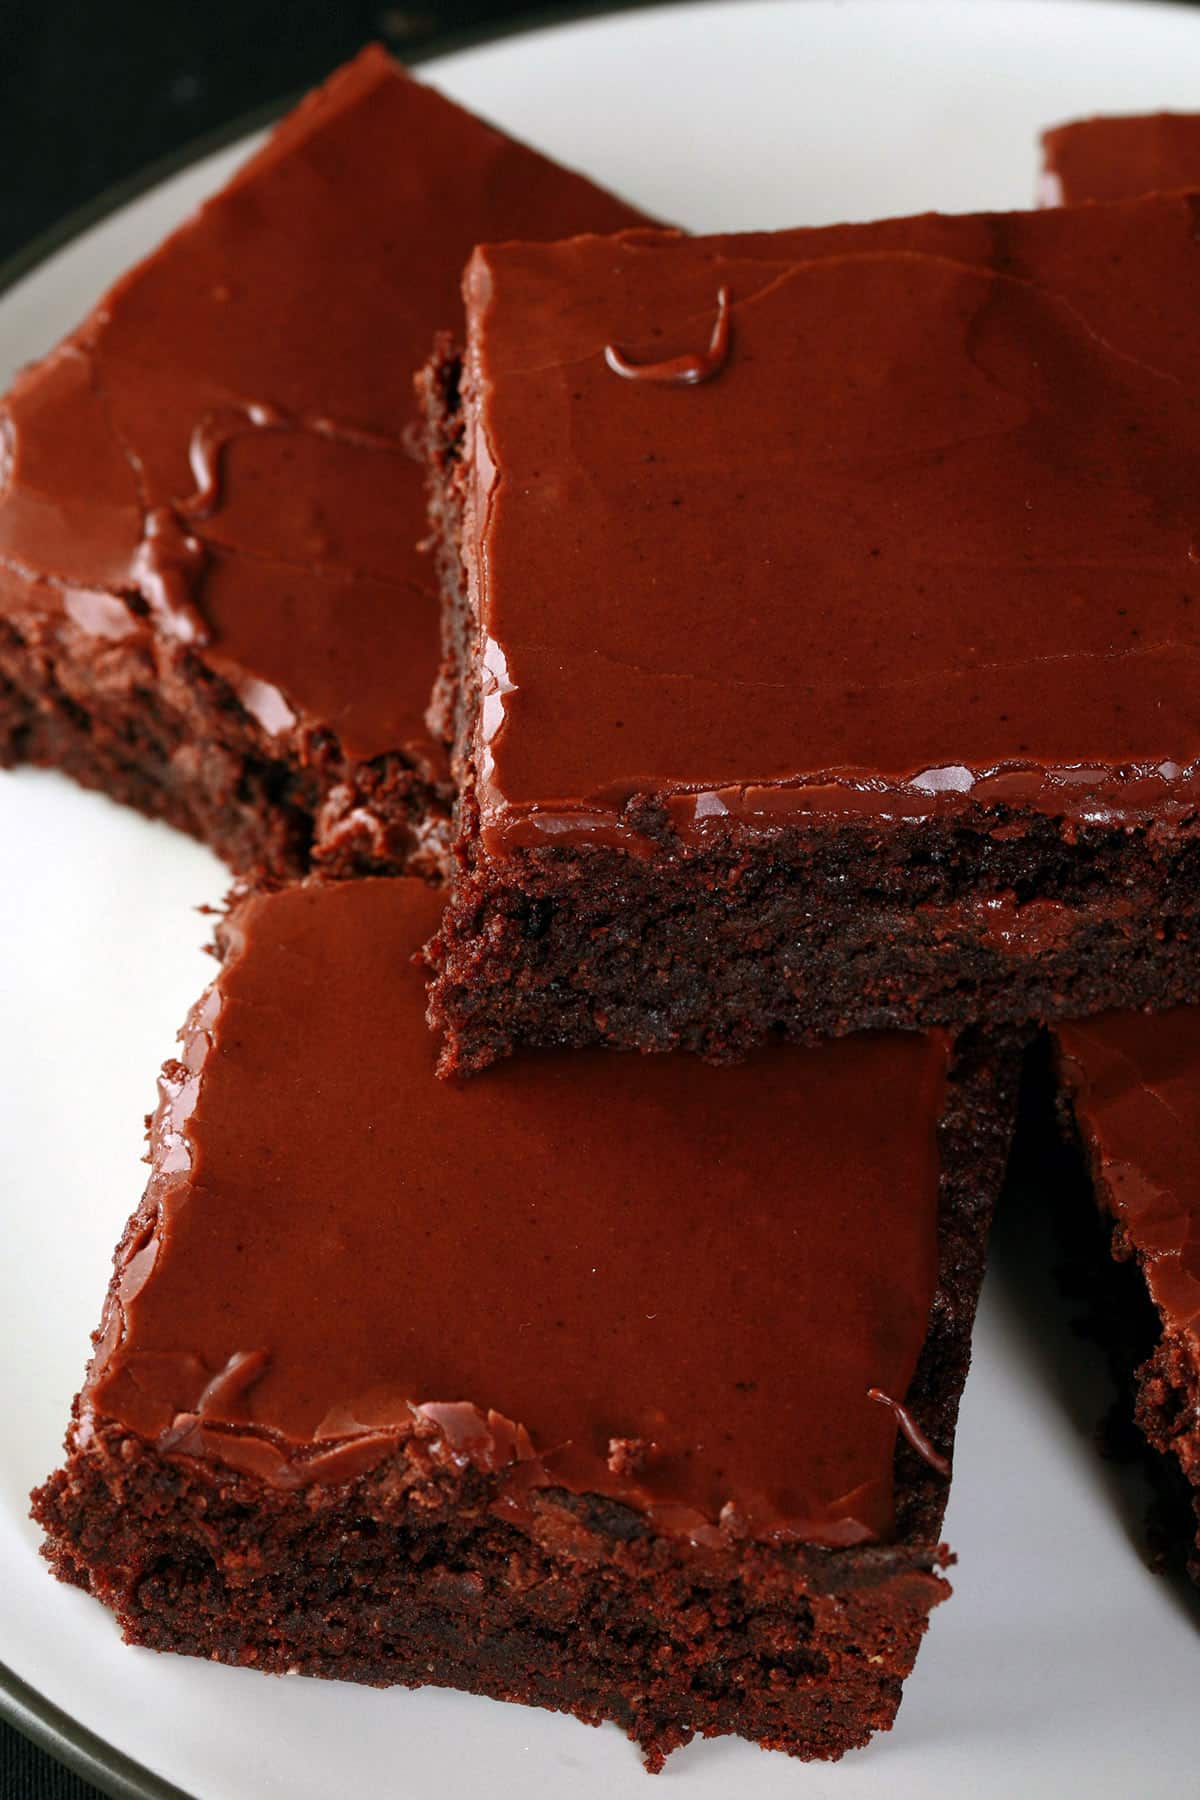
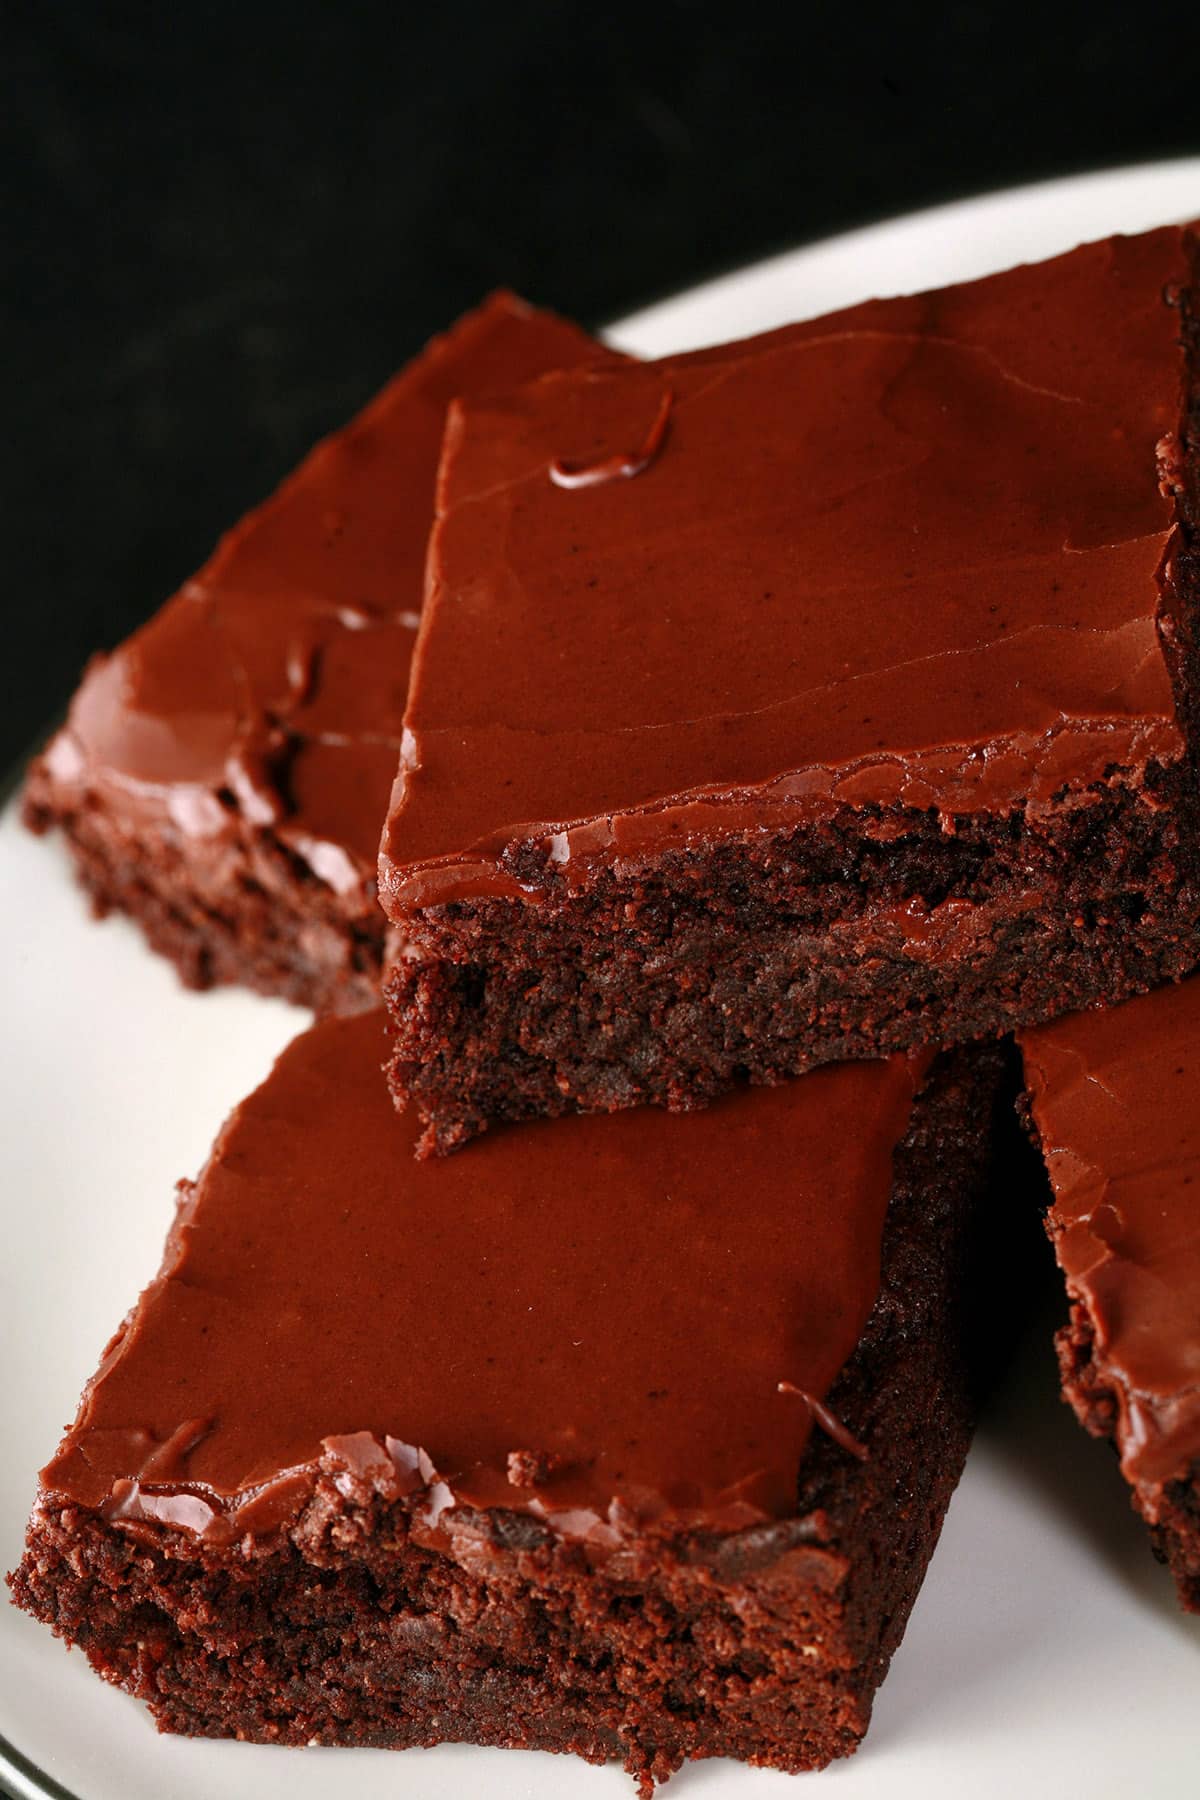
These gluten free brownies are everything you want in brownie - rich, chocolatey, easy to make, and a thick, fudgy texture. Only thing missing is the gluten!

There’s a lot of stuff out there - especially in the gluten free realm - that tries to pass itself off as a brownie, when it’s... not.
For instance, cakey brownies.
Brownies aren’t cake, they’re not supposed to be cake. In addition to the signature intense chocolate flavor, the best brownies are also chewy and gooey.
I’m not even a chocolate lover in general, but when a chocolate craving hits ... I want that perfect brownie.
Just enough leavener to give it a little lift, but not actual LOFT, like a cake.
Not only is it rich, tasty, and of the proper texture, it’s super easy to make. As a cocoa based brownie, it can be whipped up in one bowl, stirred by hand, without fussing around with melted chocolate.
Quick, easy, delicious brownies ... this is why this has become my favorite brownie recipe.
I hope you enjoy these as much as we do!
BTW, if you're looking to serve these at Halloween, they make a great base for my Mummy Halloween Brownies.
Need a sugar free brownie recipe? Check out my Keto Brownies Recipe!

Ingredients
These fudgy brownies are made with a really simple recipe, with basic ingredients used.
As with all of my gluten-free baking, I use a few gluten free flours individually, rather than a pre-made gluten-free flour blend. I just find it gives much better results, in taste, texture, and performance.
Due to the varied ingredients in the various “all purpose flour” blends out there, this also ensures more consistent results.
In this case - I use
Light Buckwheat Flour
Sorghum Flour
Coconut Flour
Together - specifically in this recipe - they come close enough to acting like wheat flour, that this recipe does NOT require xanthan gum. It just doesn’t need it.
Unsweetened cocoa powder
Granulated white sugar
Brown sugar
Baking Powder
Salt
Large eggs
Butter
If you’re adding the glaze, you will also need:
Powdered / confectioners / icing sugar
Milk
Vanilla extract
Gluten Free, Dairy-Free Brownies
You can swap the butter out for a melted vegan butter or liquid coconut oil as a dairy-free option.
For the glaze, almond or coconut milk work great, I would imagine other alternate milk products would as well!

Equipment
This is a super basic recipe that doesn’t really need much in the way of equipment.
If you’re reasonably able bodied, you can stir the batter with a wooden spoon or silicone spatula, no need for an electric mixer.
Aside from that, you’ll want a mixing bowl or two, and a 9 x 13 pan.
Personally, I like to use a nonstick cake pan (which I line with parchment), as I like the straighter sides and the texture it gives my brownies.
That said, many people swear by glass pans for brownies.
Glass takes longer to heat up, which means a longer baking time... but it also means it’s not as prone to overcooking.
When it comes to making the perfect gluten-free brownies, the big thing is to not overbake them. If it’s your first time making this - or any - brownie recipe, I recommend testing it for doneness 5 minutes early, just in case.
Overcooked brownies will still TASTE good, but they’ll be dry.

How to Make The Best Gluten-Free Brownies
The full recipe is in the recipe card at the end of this post, this is the pictorial walk through.
Brownies:
Preheat oven to 350°. Prepare 9 x 13 pan with pan spray or shortening, line with parchment paper.
Note: I like to do both: First a spray, then parchment. The spray secures the parchment, while the parchment allows for a cleaner bake / serve.
You can also use the parchment to lift the whole slab of brownie out as one piece, which is what I do. You get a more even frosting on it this way, IMHO.
In large bowl, combine cocoa, sugars, flours, baking powder, and salt. Set aside.
In a smaller bowl, whisk together melted butter, eggs, and vanilla extract.
Add wet ingredients to the dry ingredients, stir until dry ingredients are well incorporated.
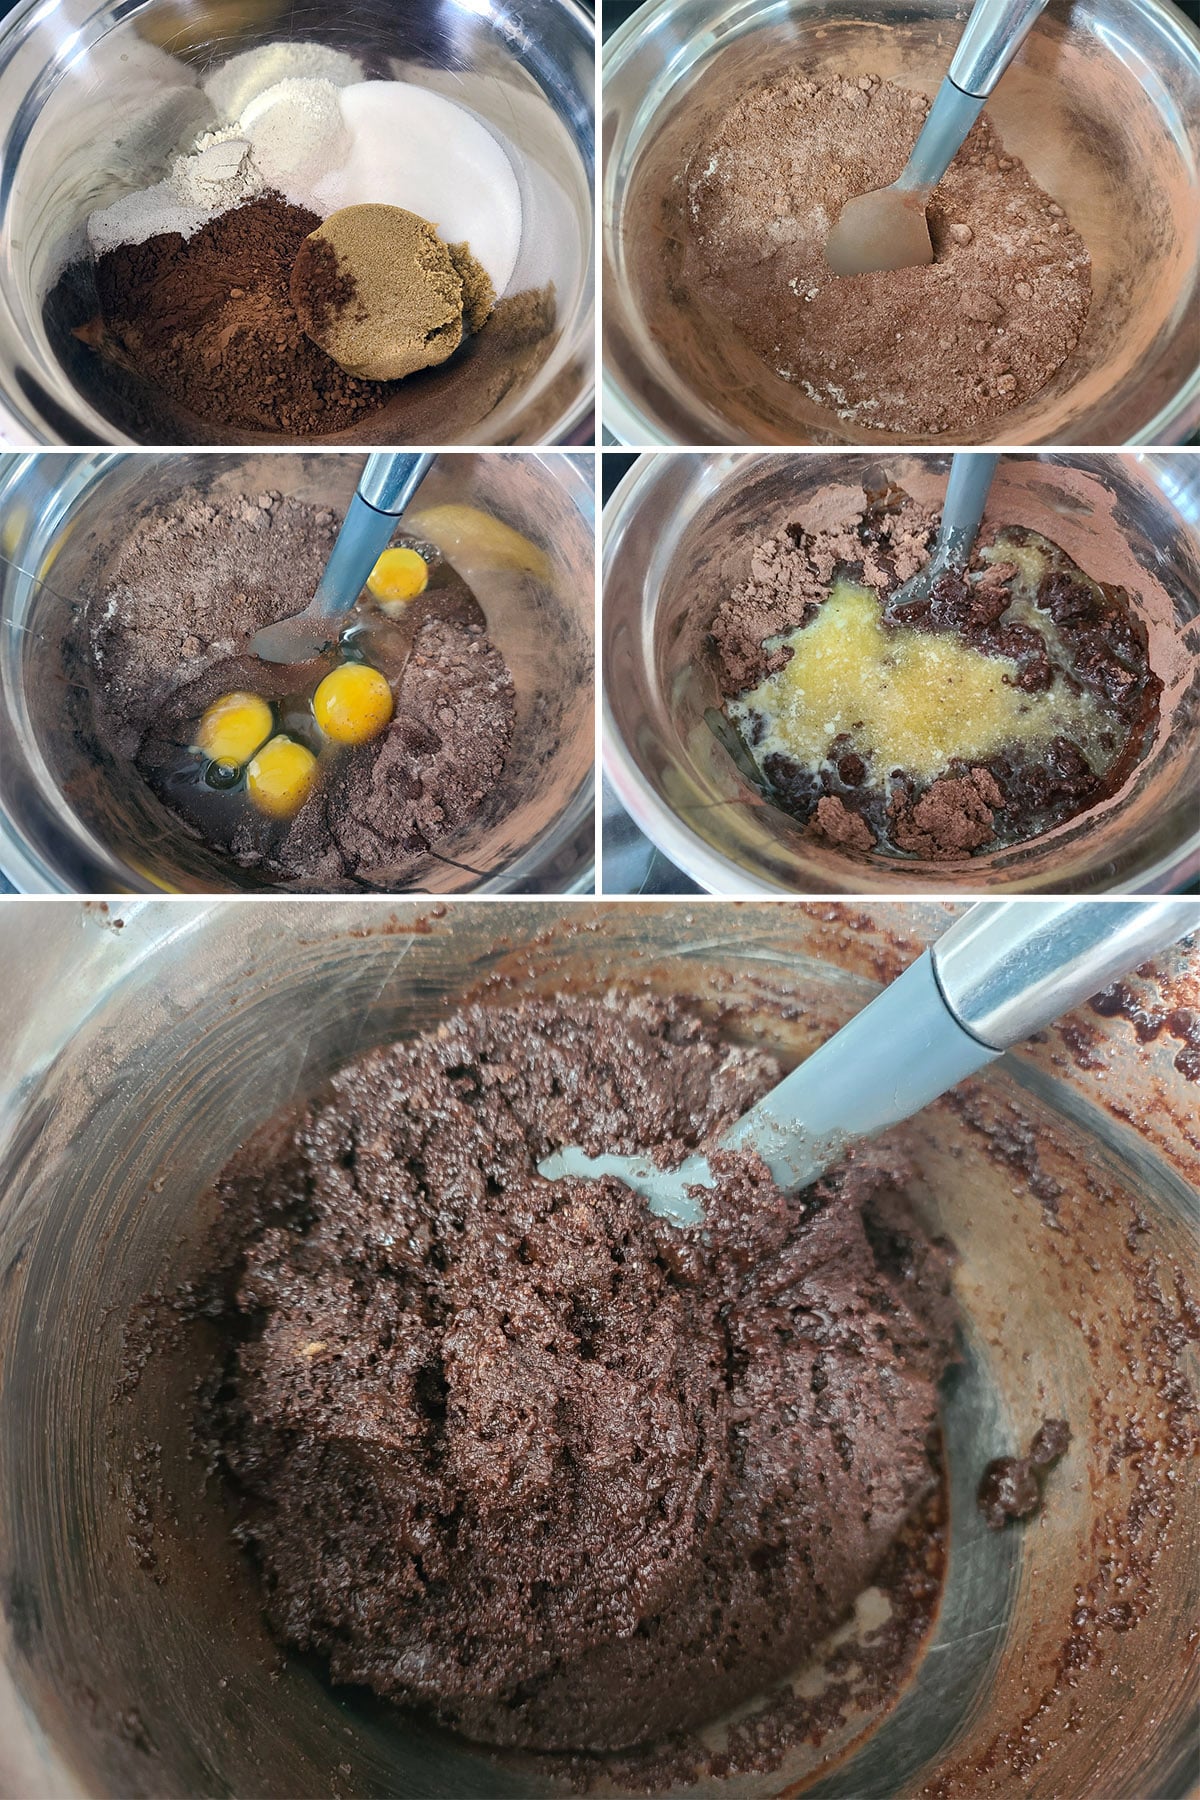
Usually I’m too lazy to bother with a second bowl... and the nice thing about gluten-free baking is that you don’t have to worry about over-developing gluten!
Spread brownie batter into prepared pan, Bake for about 30 min*. Brownies are done when knife inserted into center comes out just barely clean - but don’t OVER cook them.
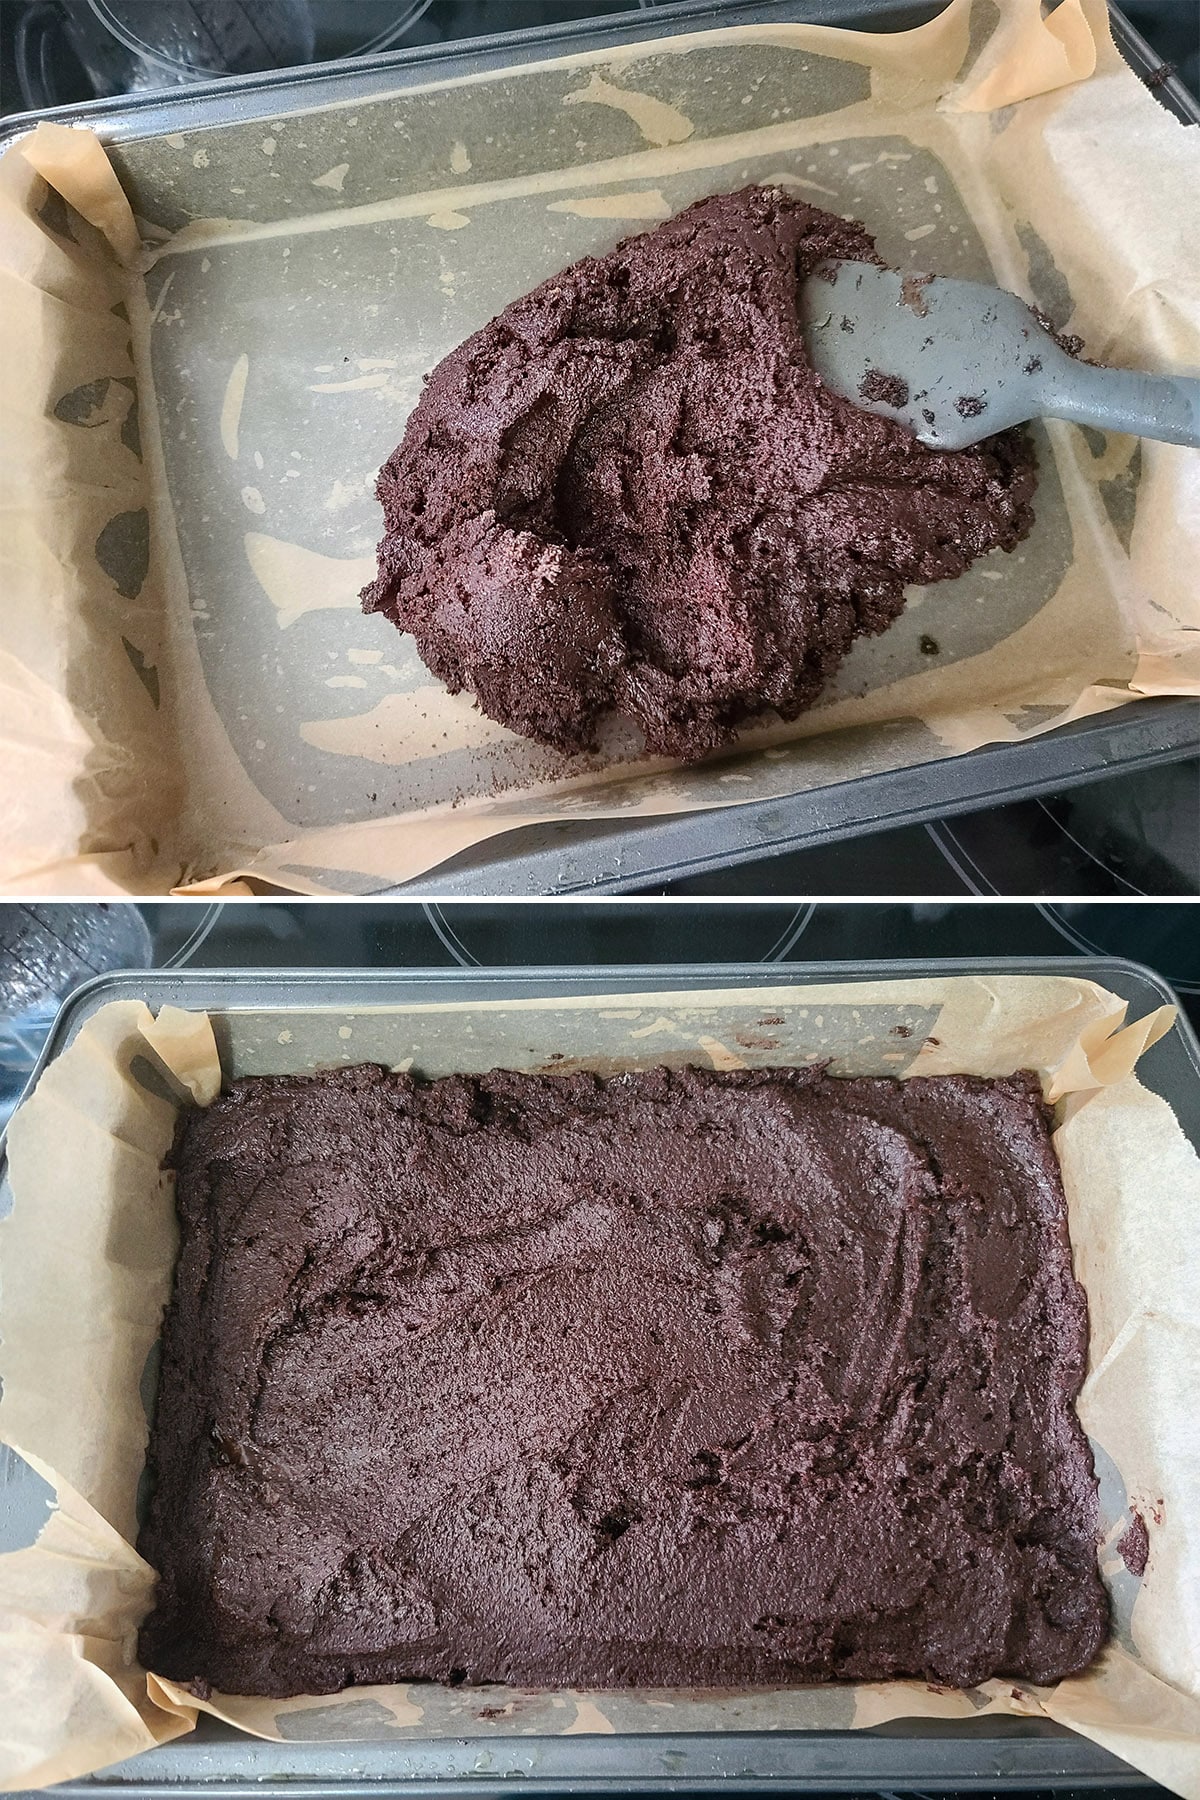
Let cool completely to room temperature before proceeding. You can place the pan on a wire rack to help it cool faster, if you like.

Brownie Glaze
Whisk together powdered sugar, cocoa powder, and salt.
Add milk and vanilla extract, whisk to form a thick, somewhat smooth frosting.
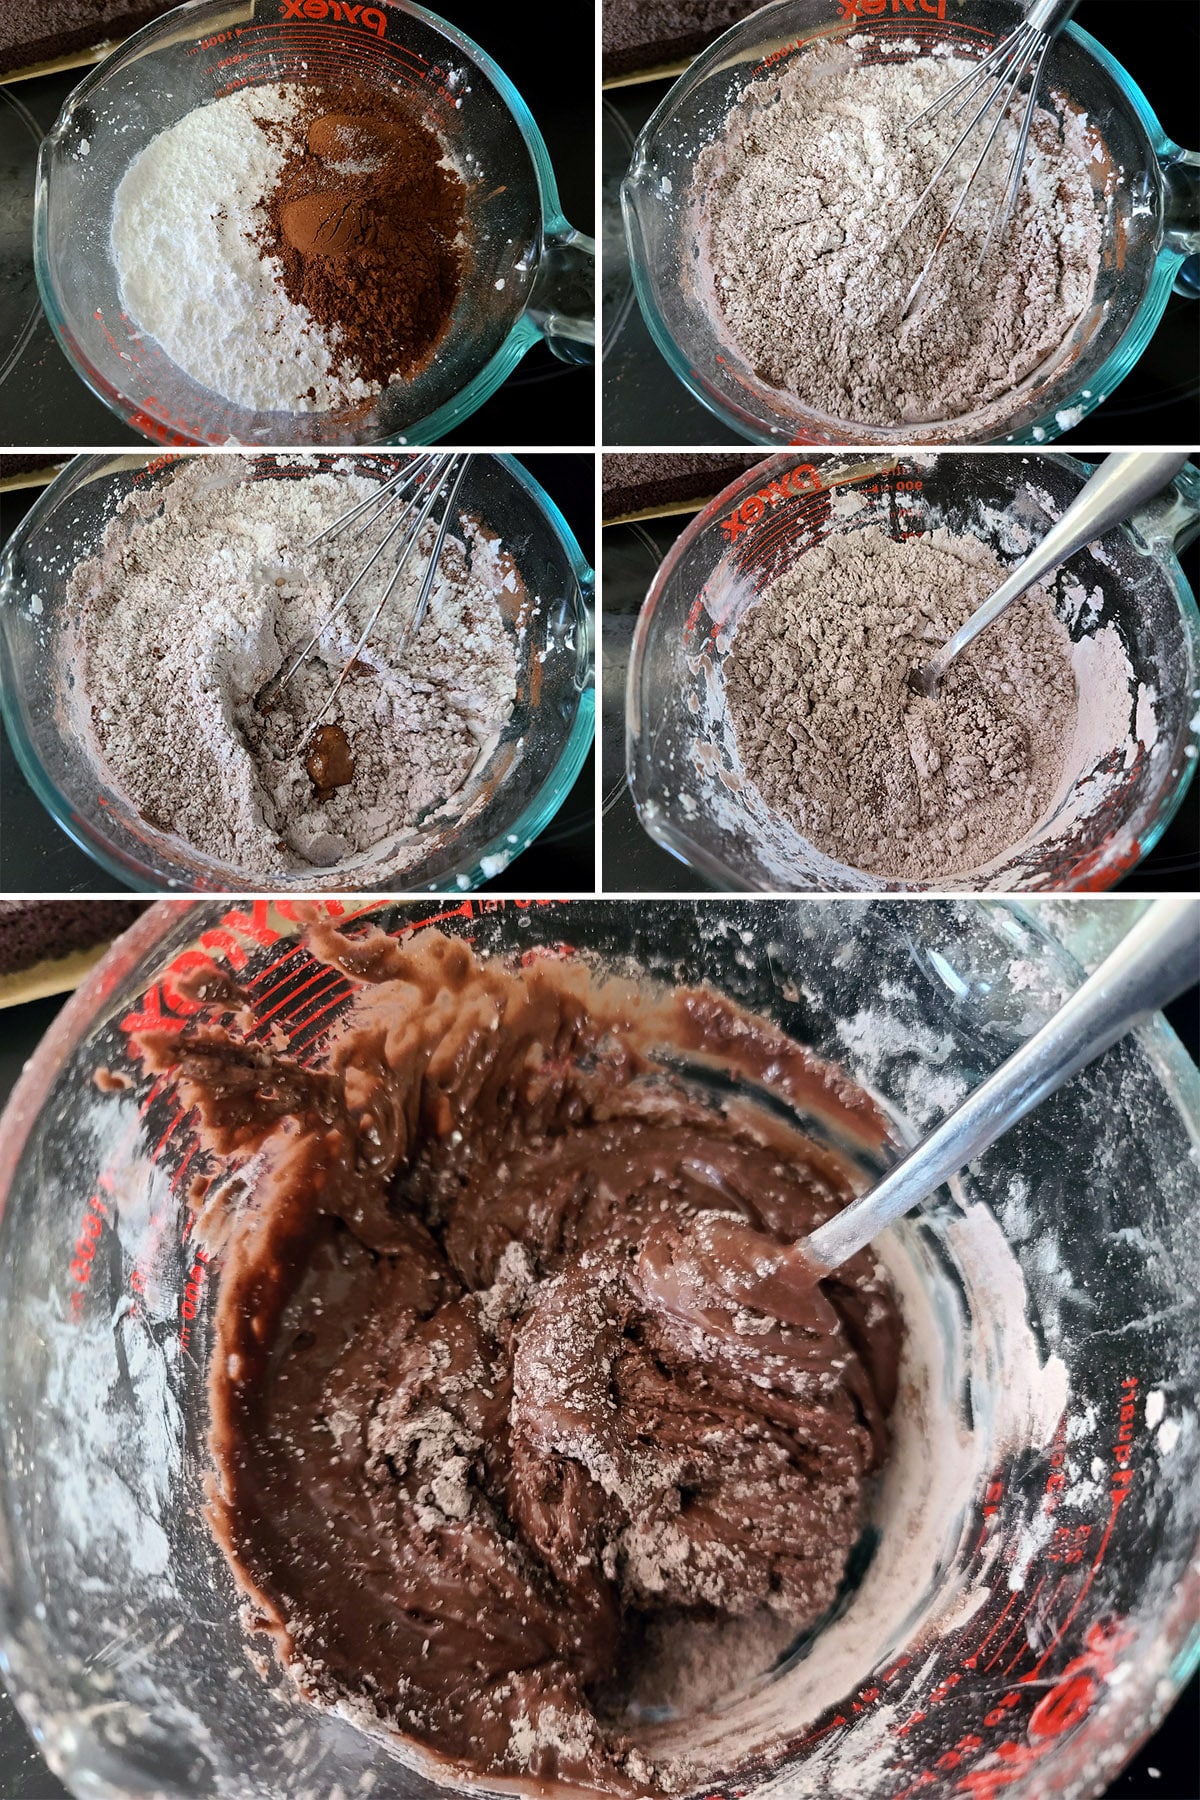
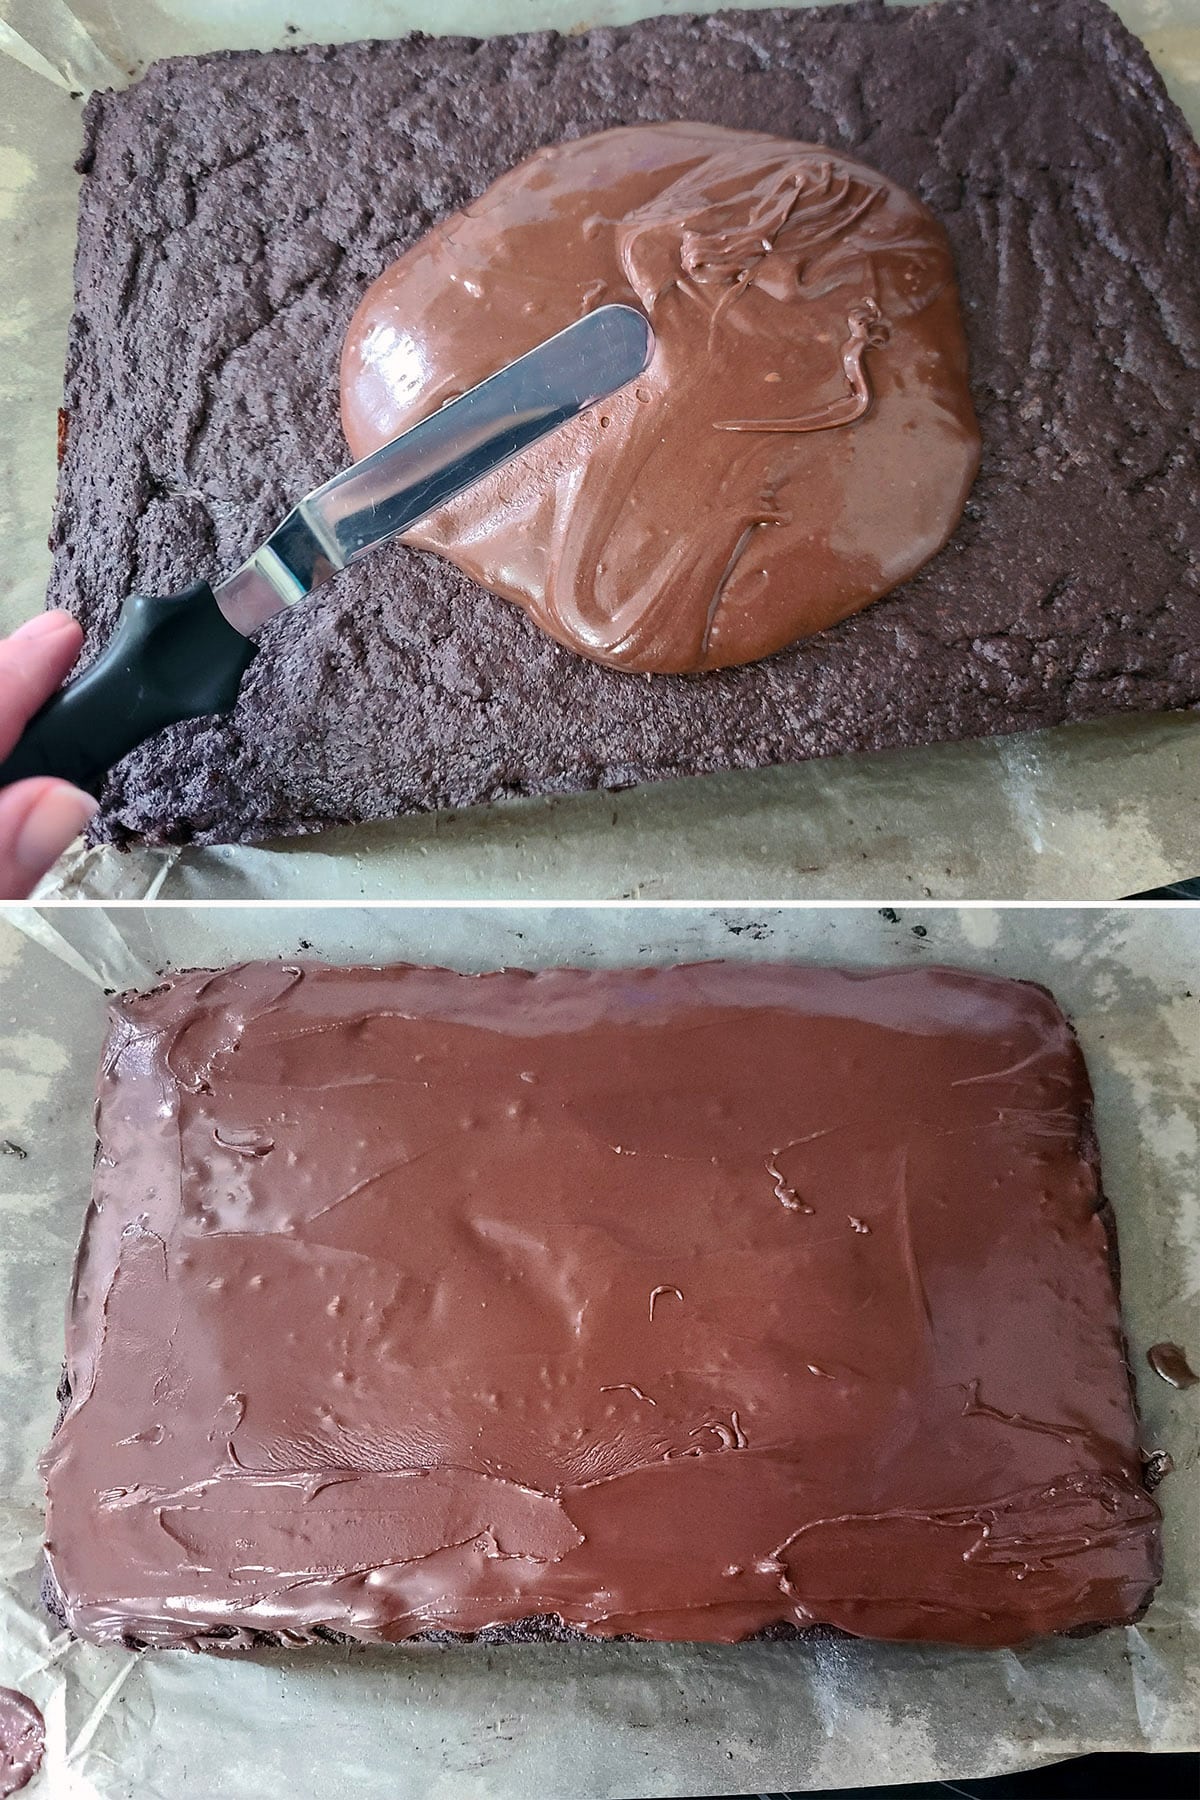
Heat in microwave for 15 seconds. Whisk until smooth and liquid:
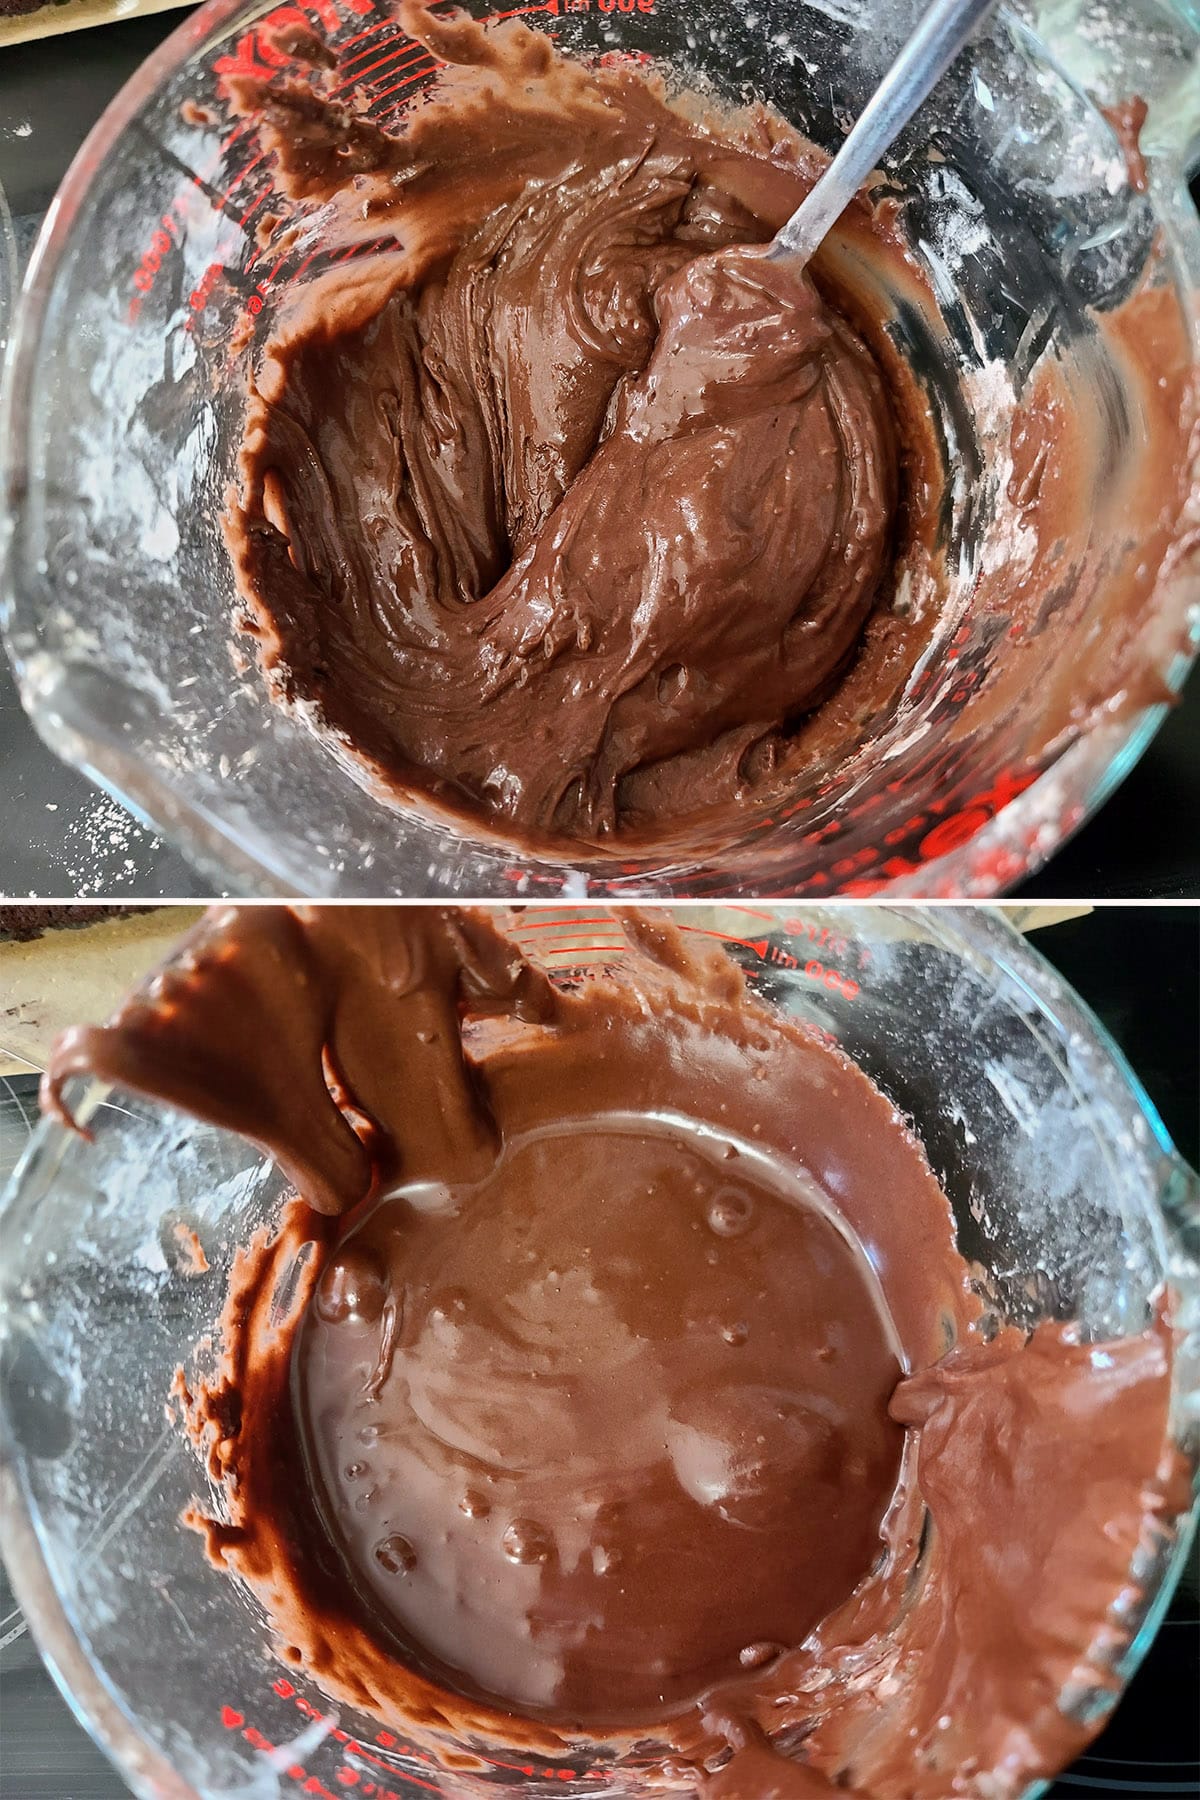
... then pour/spread on cooled brownies.
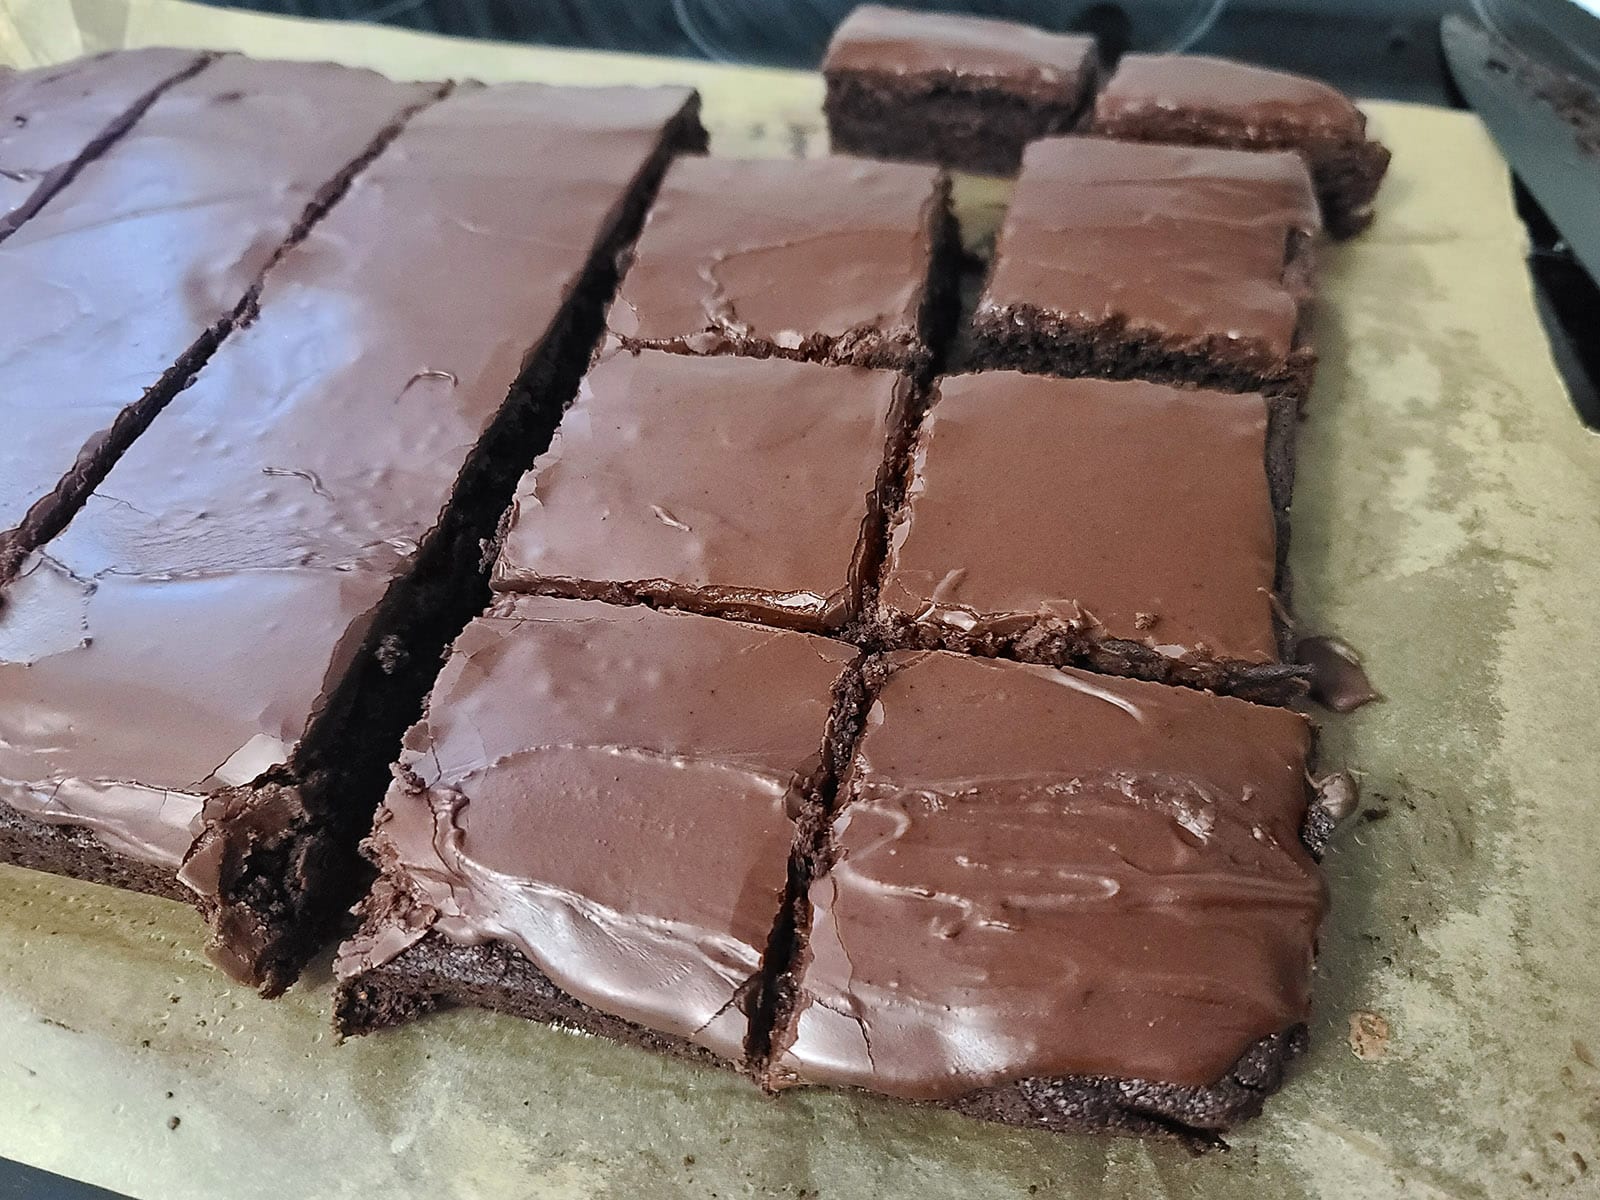
Leftovers can be stored in an airtight container - or on a plate, covered with plastic wrap or aluminum foil - in the fridge.
A Note on Baking Times
Your actual bake time will depend on the accuracy of your oven, and the type of baking pan you use.
I use a nonstick metal pan, and 30 minutes is perfect for my setup.
If you’re using a glass pan, you may find that you’ll need to add a few minutes to the recipe.
Gluten Free Brownie Variations
While these gf brownies are fantastic on their own, there are ALWAYS options!
Gluten Free Double Chocolate Brownies
Add a cup of chocolate chips or Chocolate Chunks. I usually prefer Semi-Sweet Chocolate Chips or Milk Chocolate Chips, my husband likes good quality unsweetened chocolate or dark chocolate.
Or two cups, whatever!
You can also do a cup or two of candy coated chocolate bits - Smarties, M & Ms, Reese’s Pieces, etc.
Gluten-Free Coffee Chip Brownies:
Use a mortar and pestle to rough crush ⅓ cup coffee beans of your choice.
Add to the batter along with some Chocolate Chunks / chips.
Gluten-Free Black Forest Brownies:
Swap out half of the chocolate chunks / chips for chopped, well drained maraschino cherries.
Once brownies are cool, drizzle with melted White Chocolate.
Gluten Free Cookies N Cream Brownies:
Use 1 cup of Chocolate Chunks or chips, along with 1 ½ cups crushed up Gluten-Free Oreo Cookies.
Optionally, drizzle cooled brownies with melted white chocolate.
Gluten Free Peanut Butter Pretzel Brownies:
Use 1 cup of Peanut Butter Chips and 1 ½ cups of broken Gluten-Free Pretzel pieces in the batter.
Optionally, drizzle the cooled brownies with melted peanut butter chips or caramel.
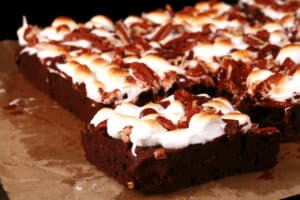
Gluten Free Rocky Road Brownies
Allow freshly baked brownies to cool for 15 minutes or so.
Sprinkle mini marshmallows over the top, completely covering the surface with a single layer of marshmallowy goodness.
Sprinkle chocolate chips and chopped walnuts over the marshmallows, using as much or as little as you'd like.
Return brownies to the oven, broiled for a few minutes, until the top is nicely toasted. Be sure to keep a CLOSE EYE on it, they will burn easily!
Gluten Free S’Mores Brownies:
Use 1 cup of chocolate chips or chunks, along with 1 ½ cups broken up Gluten-Free Graham Crackers.
(Try my Homemade Gluten Free Graham Crackers Recipe - SO much better than anything you can buy!)
After baking, follow “Rocky Road Brownies” directions, above - I’ll usually omit the nuts from the topping.
Gluten Free Vegan Brownies
Swap out the butter for your choice of plant based substitute, and the eggs for flax eggs.
More Gluten-Free Dessert Recipes!
Looking for even more fantastic gluten free recipes for desserts that *everyone* will love? Look no further, here are a few of my easy recipes!
Cherry Cheesecake Fluff Salad
Chocolate Fondue
Chocolate Peanut Butter Confetti Squares
Deviled Strawberries
Gluten-Free Brandied Apple Crisp
Gluten Free Butter Tart Bars
Gluten-Free Buttertarts
Gluten Free Doughnut Holes
Gluten-Free Earl Grey Pie
Gluten Free Fruitcake
Gluten-Free Lemon Bars
Gluten Free Maple Pumpkin Pie
Gluten-Free Nanaimo Bar Brownies
Gluten Free Puffed Rice Bars
Gluten-Free Pumpkin Spice Mini Doughnuts
Gluten Free Raspberry Bars
Gluten Free Rocky Road Brownies
Gluten-Free Schmoo Torte
Gluten Free Sticky Toffee Pudding
Pina Colada Fluff
Also, be sure to check out our collection of Gluten Free Cookie Recipes!
Share the Love!
Before you chow down, be sure to take some pics of your handiwork! If you post it to Bluesky, be sure to tag us - @CelebrationGen. We're also on Pinterest, so you can save all your favourite recipes to a board!
Also, be sure to subscribe to my free email newsletter, so you never miss out on any of my nonsense.
Finally, if you love this recipe, please consider leaving a star rating and a comment!

Easy Gluten Free Brownies [Thick, Fudgy, & Rich!]
Equipment
- 9 x 13 Baking Dish
Ingredients
Brownies:
- 1 cup Cocoa
- 1 cup Granulated sugar
- 1 cup Light brown sugar packed
- ½ cup Light buckwheat flour
- ¼ cup Sorghum flour
- ¼ cup Coconut flour
- 1 teaspoon Baking Powder
- ½ teaspoon Salt
- 4 Large eggs
- 1 cup Butter melted
- 1 teaspoon Pure Vanilla Extract
Brownie Glaze:
- 2 cups Powdered confectioners / icing sugar
- 2 tablespoon Cocoa powder
- Pinch Salt
- 3 tablespoon Milk
- 2 teaspoon Vanilla extract
Instructions
Brownies:
- Preheat oven to 350°. Prepare 9 x 13 pan with pan spray or shortening, line with parchment paper.
- In large mixing bowl, combine cocoa, sugars, flours, baking powder, and salt. Set aside.
- In a smaller bowl, whisk together melted butter, eggs, and vanilla extract.
- Add egg mixture to the flour mixture, stir until dry ingredients are well incorporated.
- Spread batter into prepared pan, Bake for 30 min. Brownies are done when knife inserted into center comes out just barely clean - but don’t OVER cook them.
- Let cool completely before proceeding.
Brownie Glaze:
- Whisk together powdered sugar, cocoa powder, and salt.
- Add milk and vanilla extract, whisk to form a thick, somewhat smooth frosting.
- Heat in microwave for 15 seconds. Whisk until smooth and liquid, then pour/spread on cooled brownies.
- Allow to set before cutting and serving.




Leave a Reply