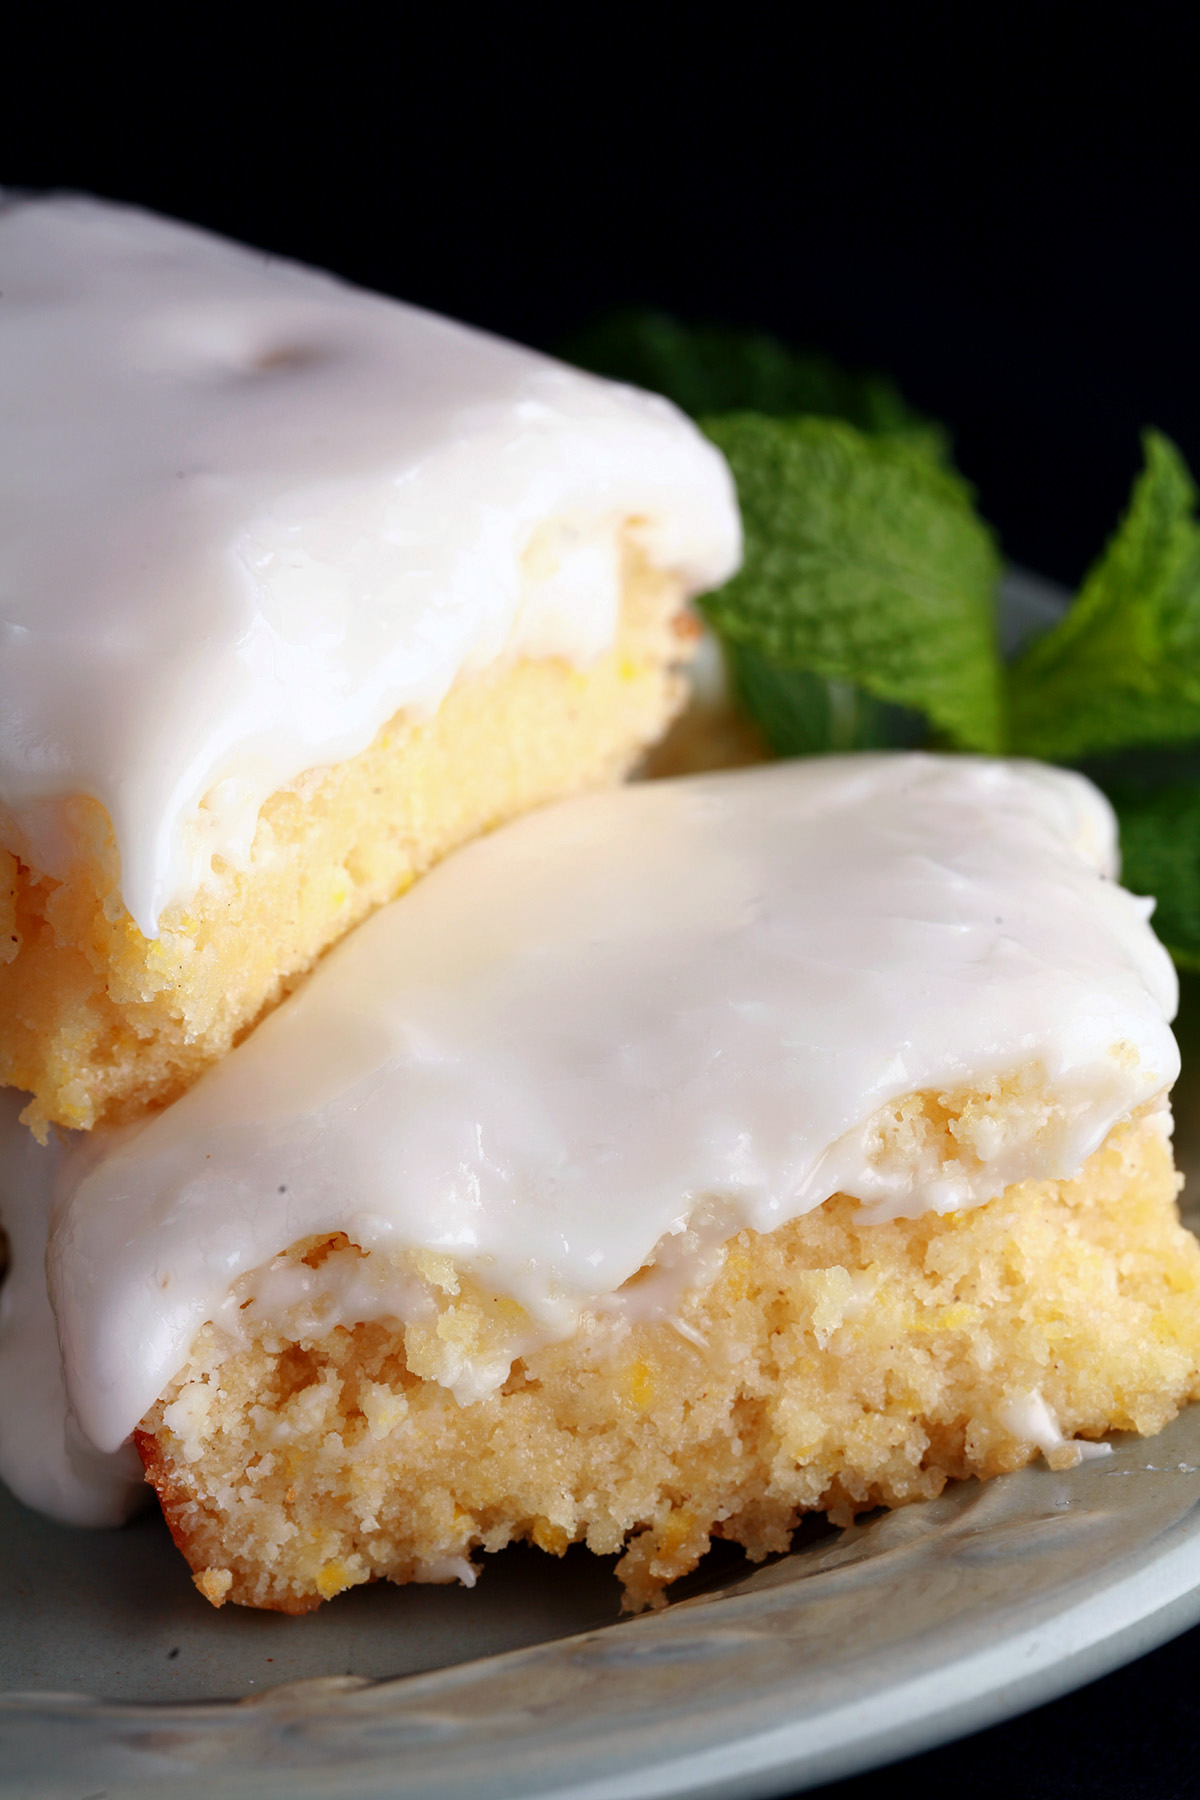
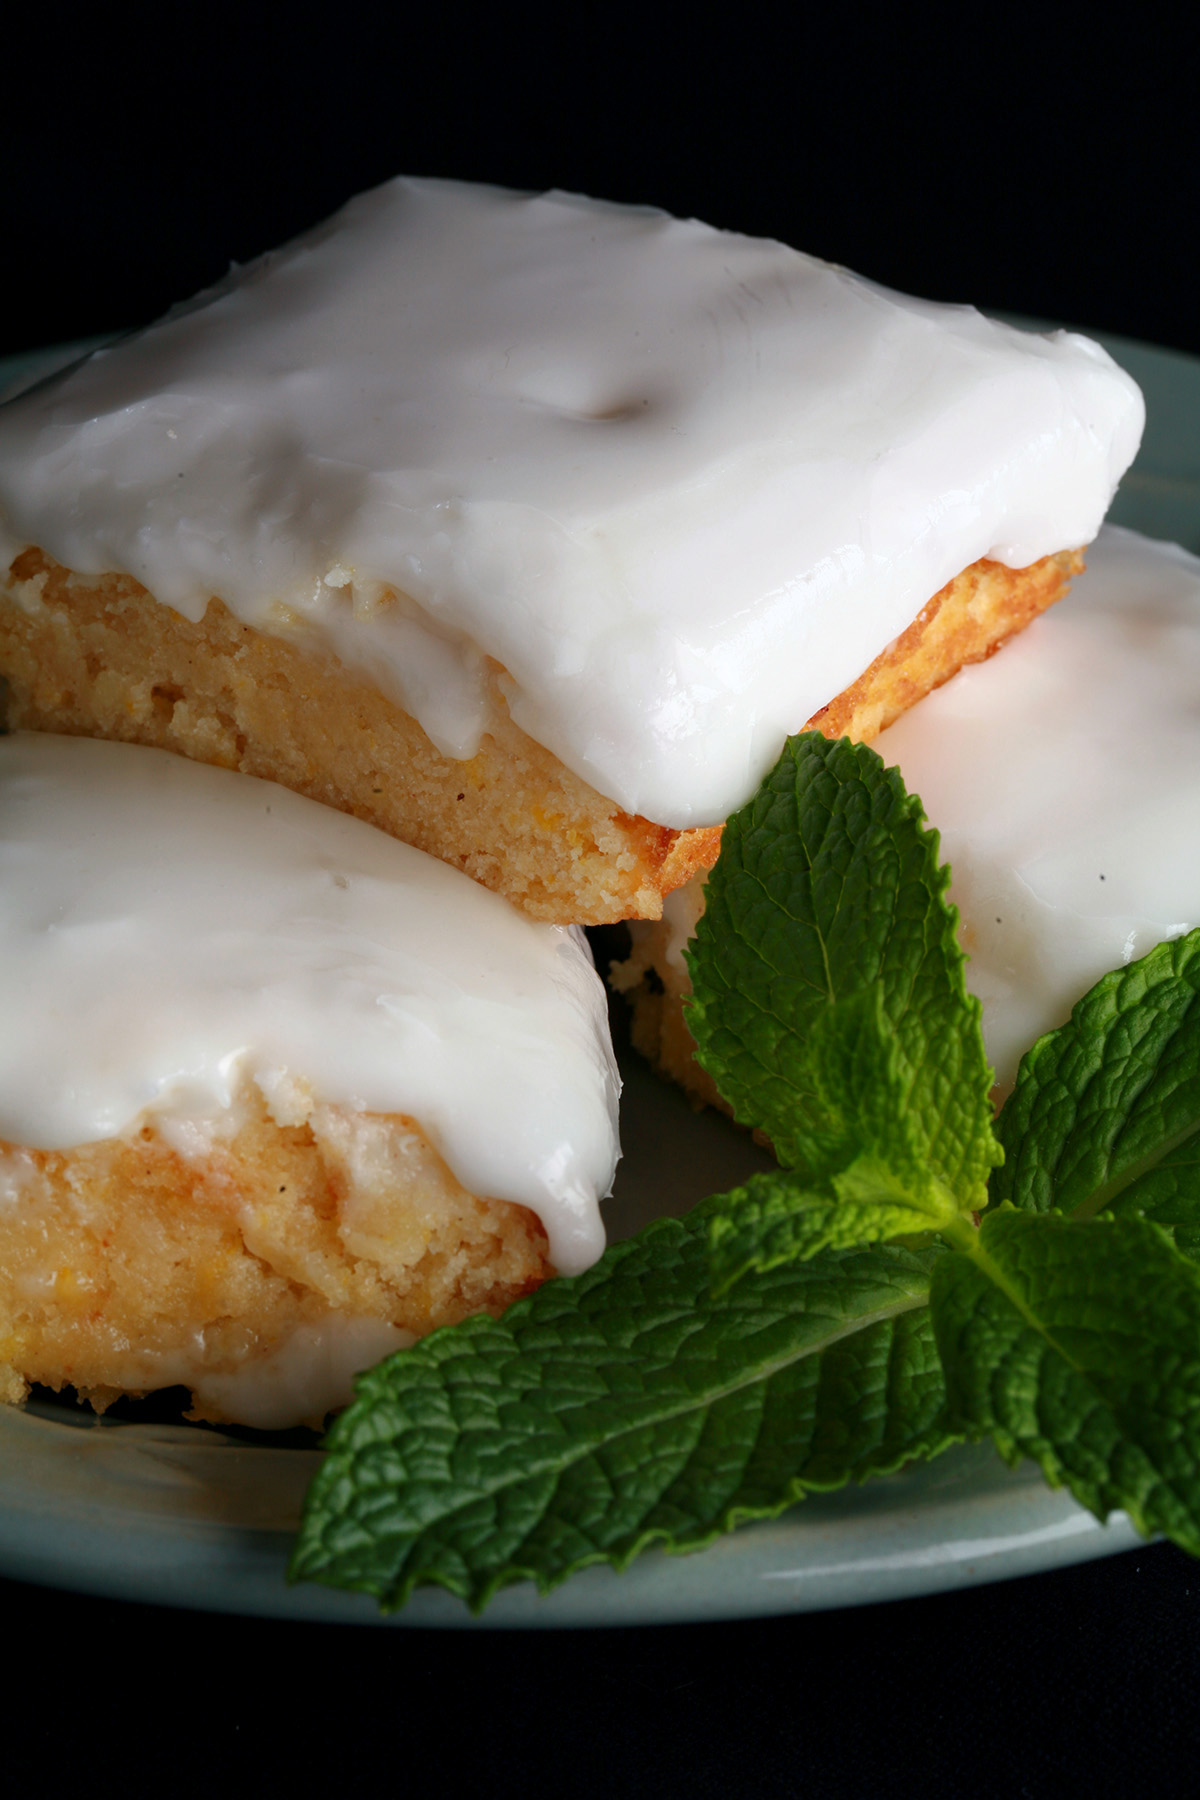
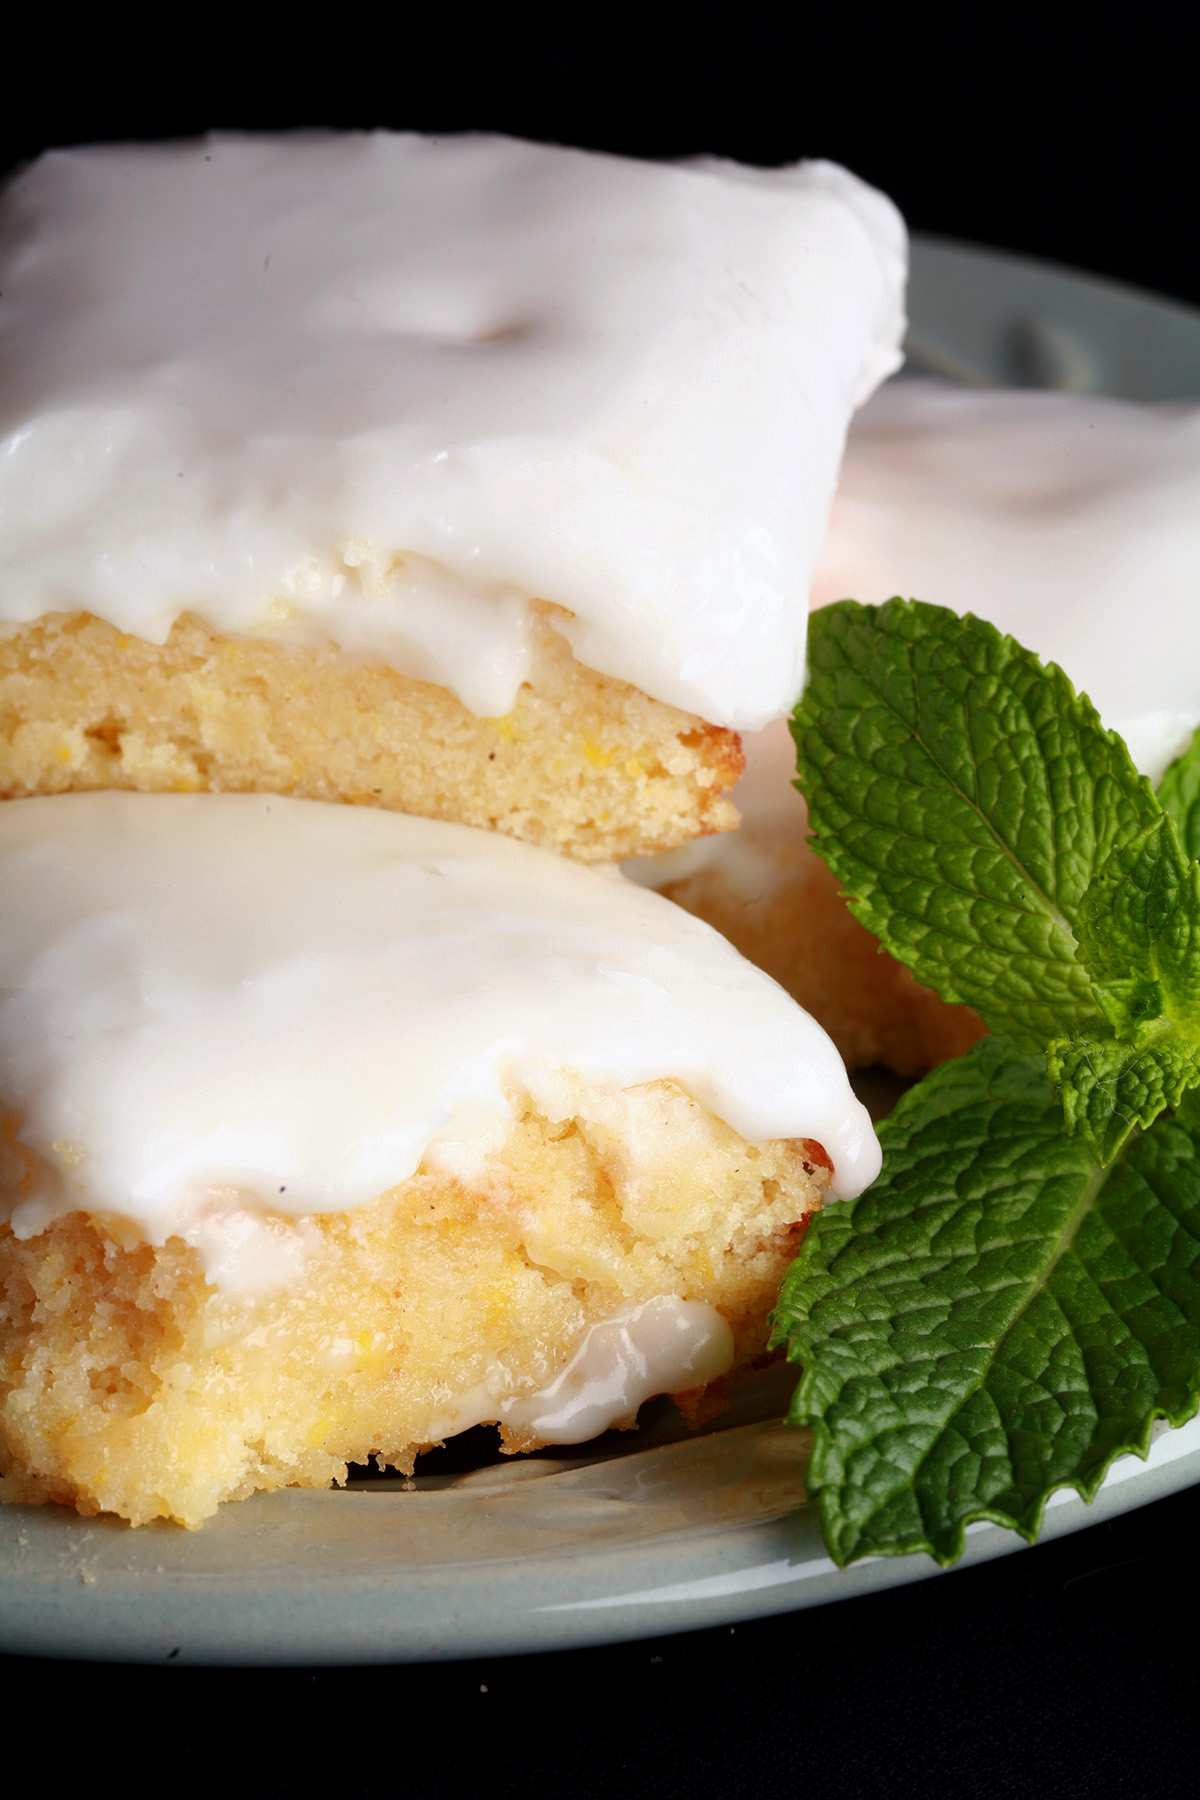
These easy gluten free lemon bars are chewy and satisfying, topped with a citrusy frosting. Think "brownies", but lemon instead of chocolate!

My gluten-free lemon bars recipe veers off a bit from tradition, as I created it to my own tastes.
While traditional lemon bars tend to involve a buttery shortbread crust topped with a creamy lemon filling - usually a lemon curd or lemon custard - This is more a matter of ... lemon flavoured brownies, without the chocolate.
I did contemplate doing a more traditional gluten-free lemon bar recipe - I do have a recipe for a fantastic gluten free shortbread crust - but ultimately THIS was what I wanted in gluten free lemon bars.
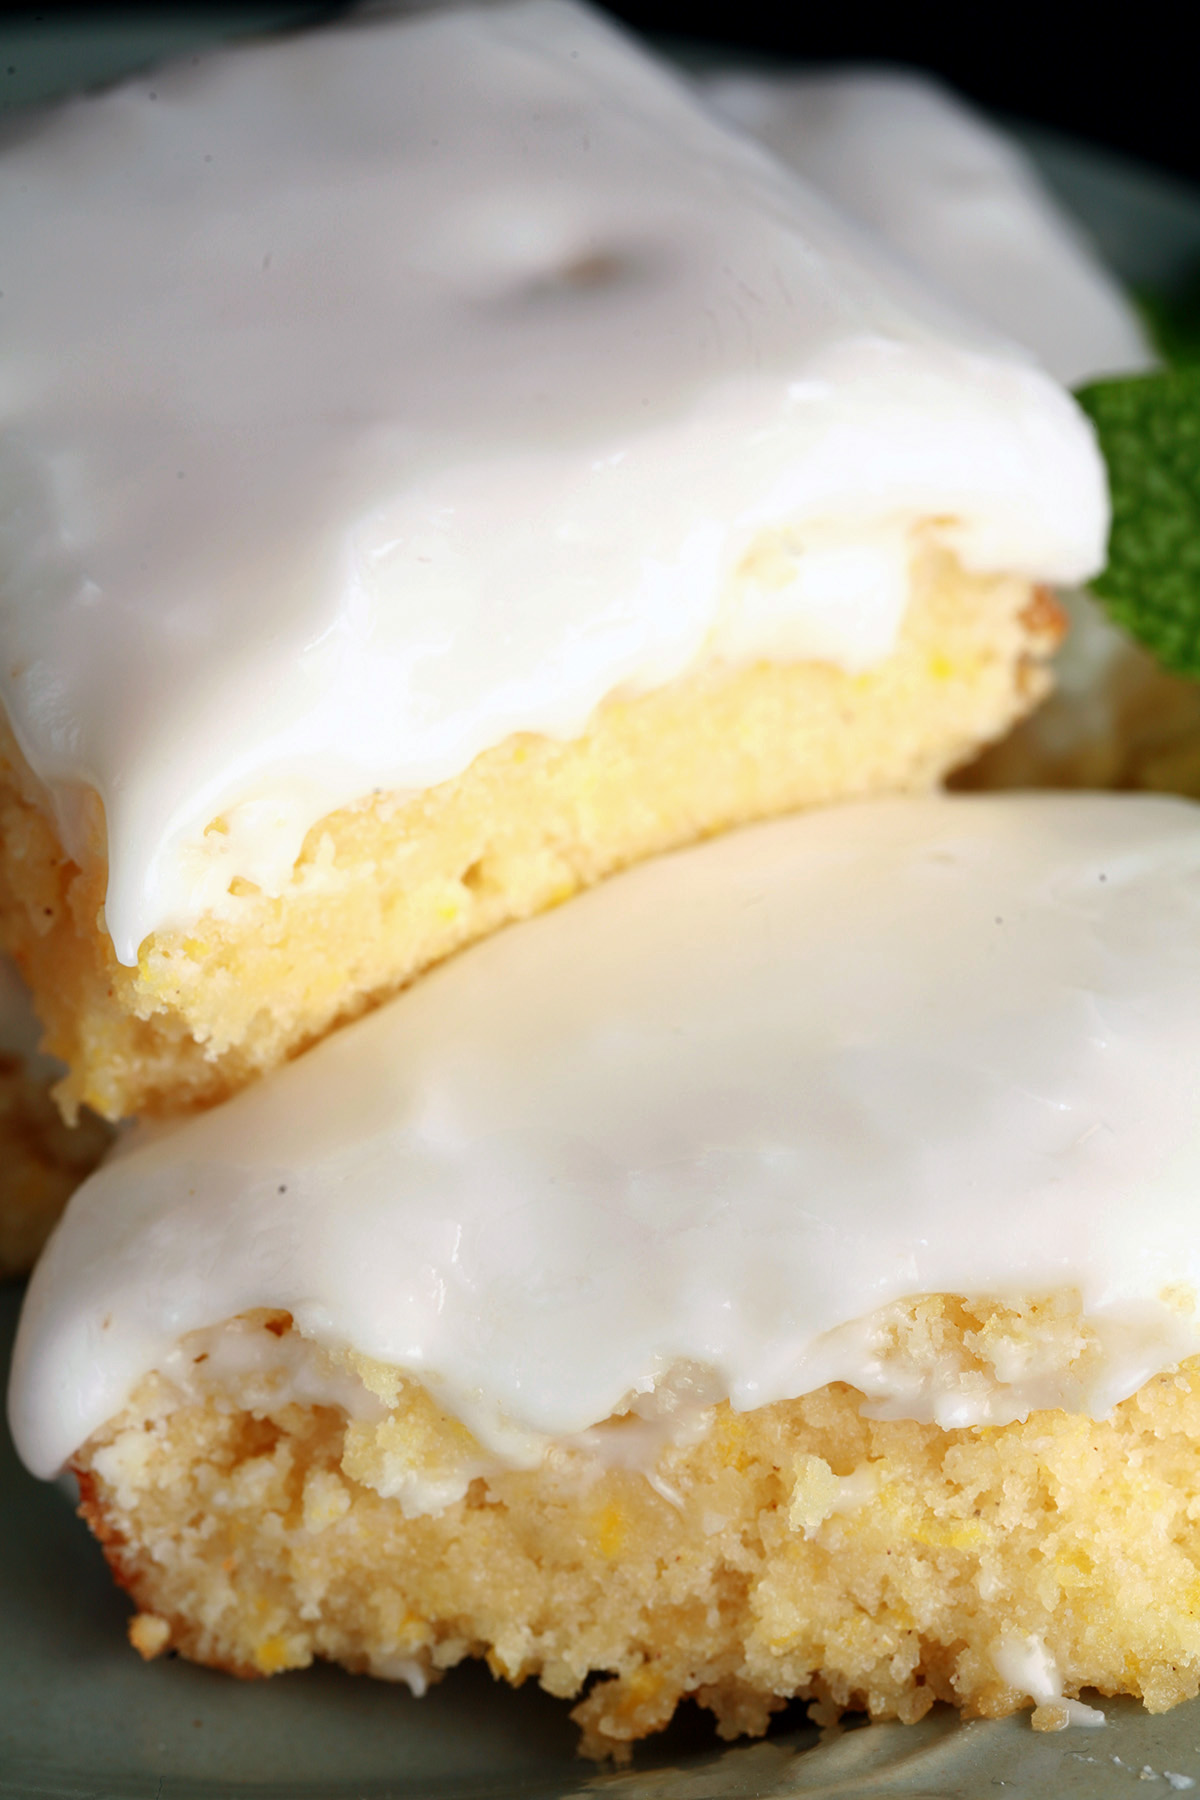
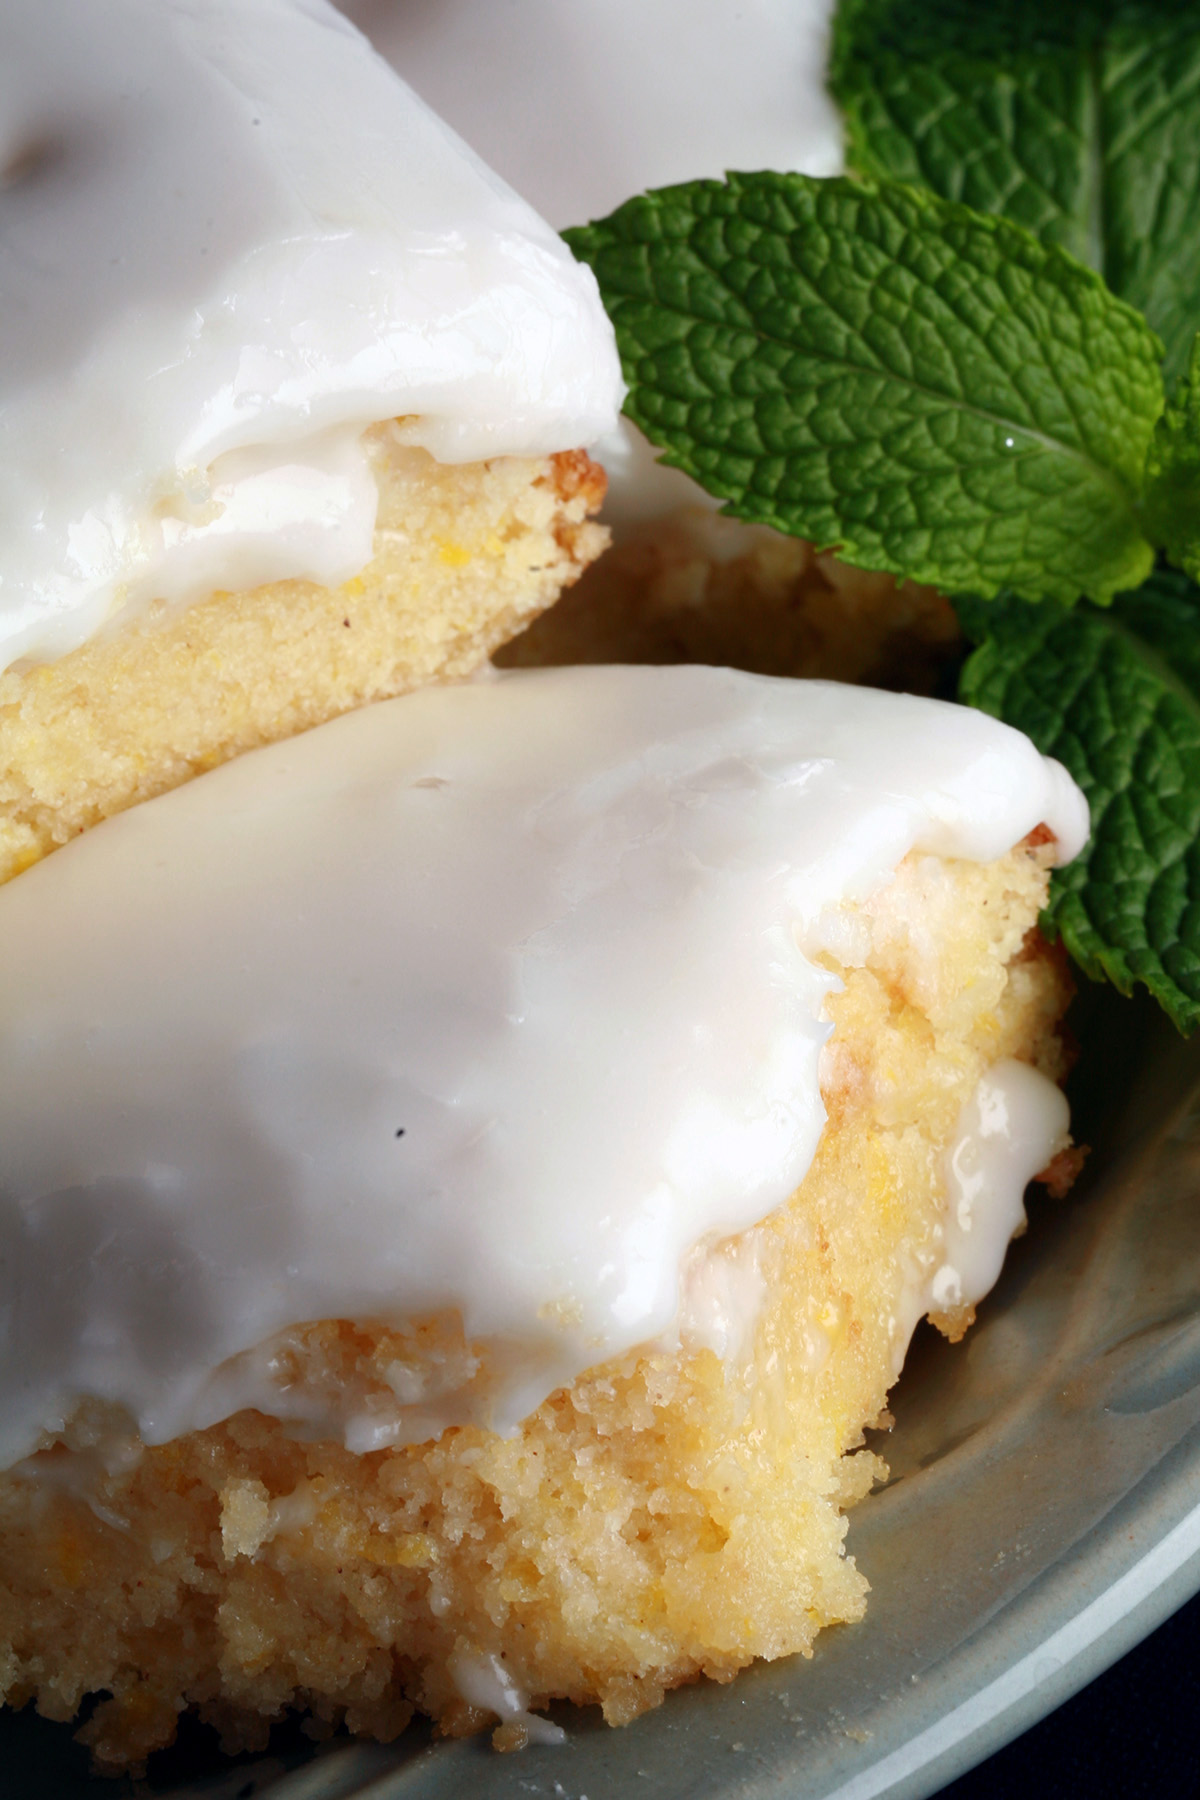
These bars are a lemon lovers dream, one of my favourite lemon desserts ever. They have the best texture - Like a rich, gooey brownie bar - so long as you don’t overcook them.
So, just keep an eye on the baking.
The best way to tell when it’s done? When a knife inserted into the middle comes out ALMOST clean - not fully clean - you’re good to go.
Taking them out when they’re still just a little bit wet looking is the key to making perfect gluten free lemon squares, as they set up a bit more as they cool.
Truthfully, though? Even if you overbake these, they still taste fantastic, just drier.
Maybe that’s part of why I find these to be the best gluten-free lemon bars, and one of my favourite lemon recipes in general - even if I screw them up, they’re still great!
Ingredients
Gluten-Free Flour Blend
As with all of my recipes, this one uses a few different types of gluten-free flour as individual ingredients, rather than using an all purpose flour mixture.
Less convenient? Sure, very slightly... but I find the flavour and texture payoff is well worth it, especially when it comes to things like cookies and pastries.
When it comes to this recipe, though, the need to stick exactly to the recipe and not substitute a blend isn’t nearly as important as some.
You could likely swap the flours out for an all-purpose gluten-free flour without noticing too much of a problem.
Anyway, I use the following flours in this recipe:
Light Buckwheat Flour
Sorghum Flour
Sweet Rice Flour
Coconut Flour
Xanthan Gum
Other Ingredients
Aside from the more specialty gf flour type ingredients, you’ll need a few simple ingredients to round out this recipe:
Fresh Lemons
Lemons are used throughout this recipe, both as juice - in the bars and the glaze - and as lemon zest in the bars themselves.
I use regular lemons, as I love the tart punch of lemon flavor... but you can use Meyer lemons for a more mild punch. A slap of lemon, maybe?
Just be sure to use fresh lemon juice, rather than anything from a jar.
The lemon juice you can buy in a grocery store doesn’t taste right in baking, and besides... you need lemon zest too!
Sugars
This recipe calls for both Granulated sugar (in the bars) and Confectioners / Icing / Powdered Sugar, in the glaze.
Everything Else
Butter room - This should be room temperature, cold butter won’t whip up right!
Large eggs
Baking powder
Salt
Equipment
Aside from measuring spoons and cups, there are a few other bits of kitchen equipment that you’ll either need for this recipe, or that will make things easier for you.
Baking Pan
You’ll need something to bake this in - an 8" x 8" Baking Pan. is perfect for the amount of batter.
Citrus Juicer & Zester
You’ll both zest and juice the lemons for this recipe.
For zesting, I recommend a Microplane zester.
I use one that's kind of a ... triangular box with a handle. Love it, wish I knew where I got it - I've had it for over a decade.
Any decent microplane will work just fine, though!
As for juicing... I'll usually use my Cuisinart Pulp Control Juicer when I'm doing anything with citrus... but this is only 2 lemons. It seems like overkill, TBH.
So, I'll usually use my handheld Lemon Squeezer to juice it, or my Manual Citrus Juicer with Cup, which has been my go-to lately.
As long as you're using something that does a good job of getting the juice out, you can use whatever you want!
Offset Spatula
This is more of a nicety than a requirement, but it’s nice to have an Offset Spatula on hand for spreading the glaze. I like to have a few different sizes, for different applications.
A smallish or medium sized one would be perfect for this recipe, a larger one could be unwieldy to work with, in a small pan like you’ll be using.
How to Make Chewy Gluten-Free Lemon Bars
The full recipe follows at the end of this post. This is a pictorial overview with additional tips and information
Make the Lemon Bars
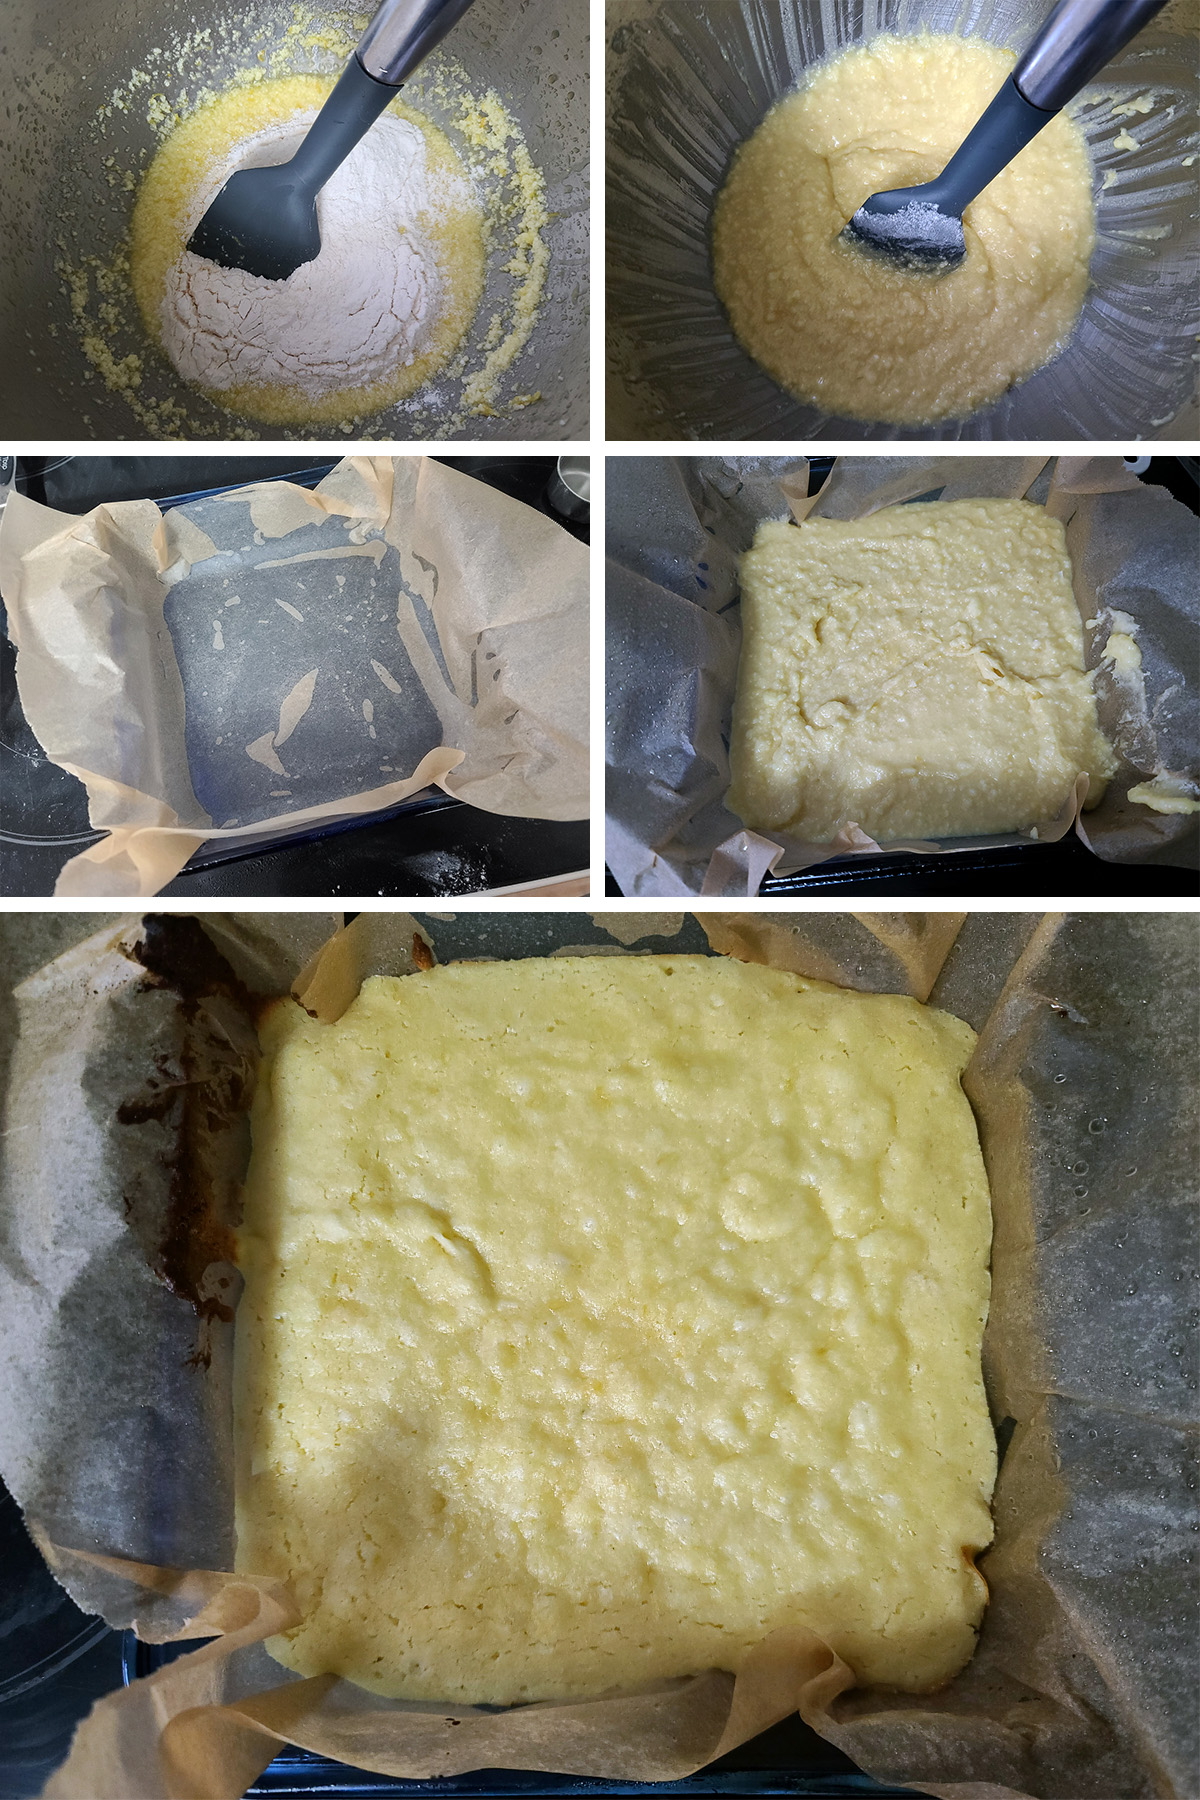
Preheat oven temperature to 350 F (180 C). Grease an 8"x 8" square cake pan with vegetable shortening or baking spray.
For easy removal of the bars, I like to line the baking pan with parchment paper, after spraying with pan spray.
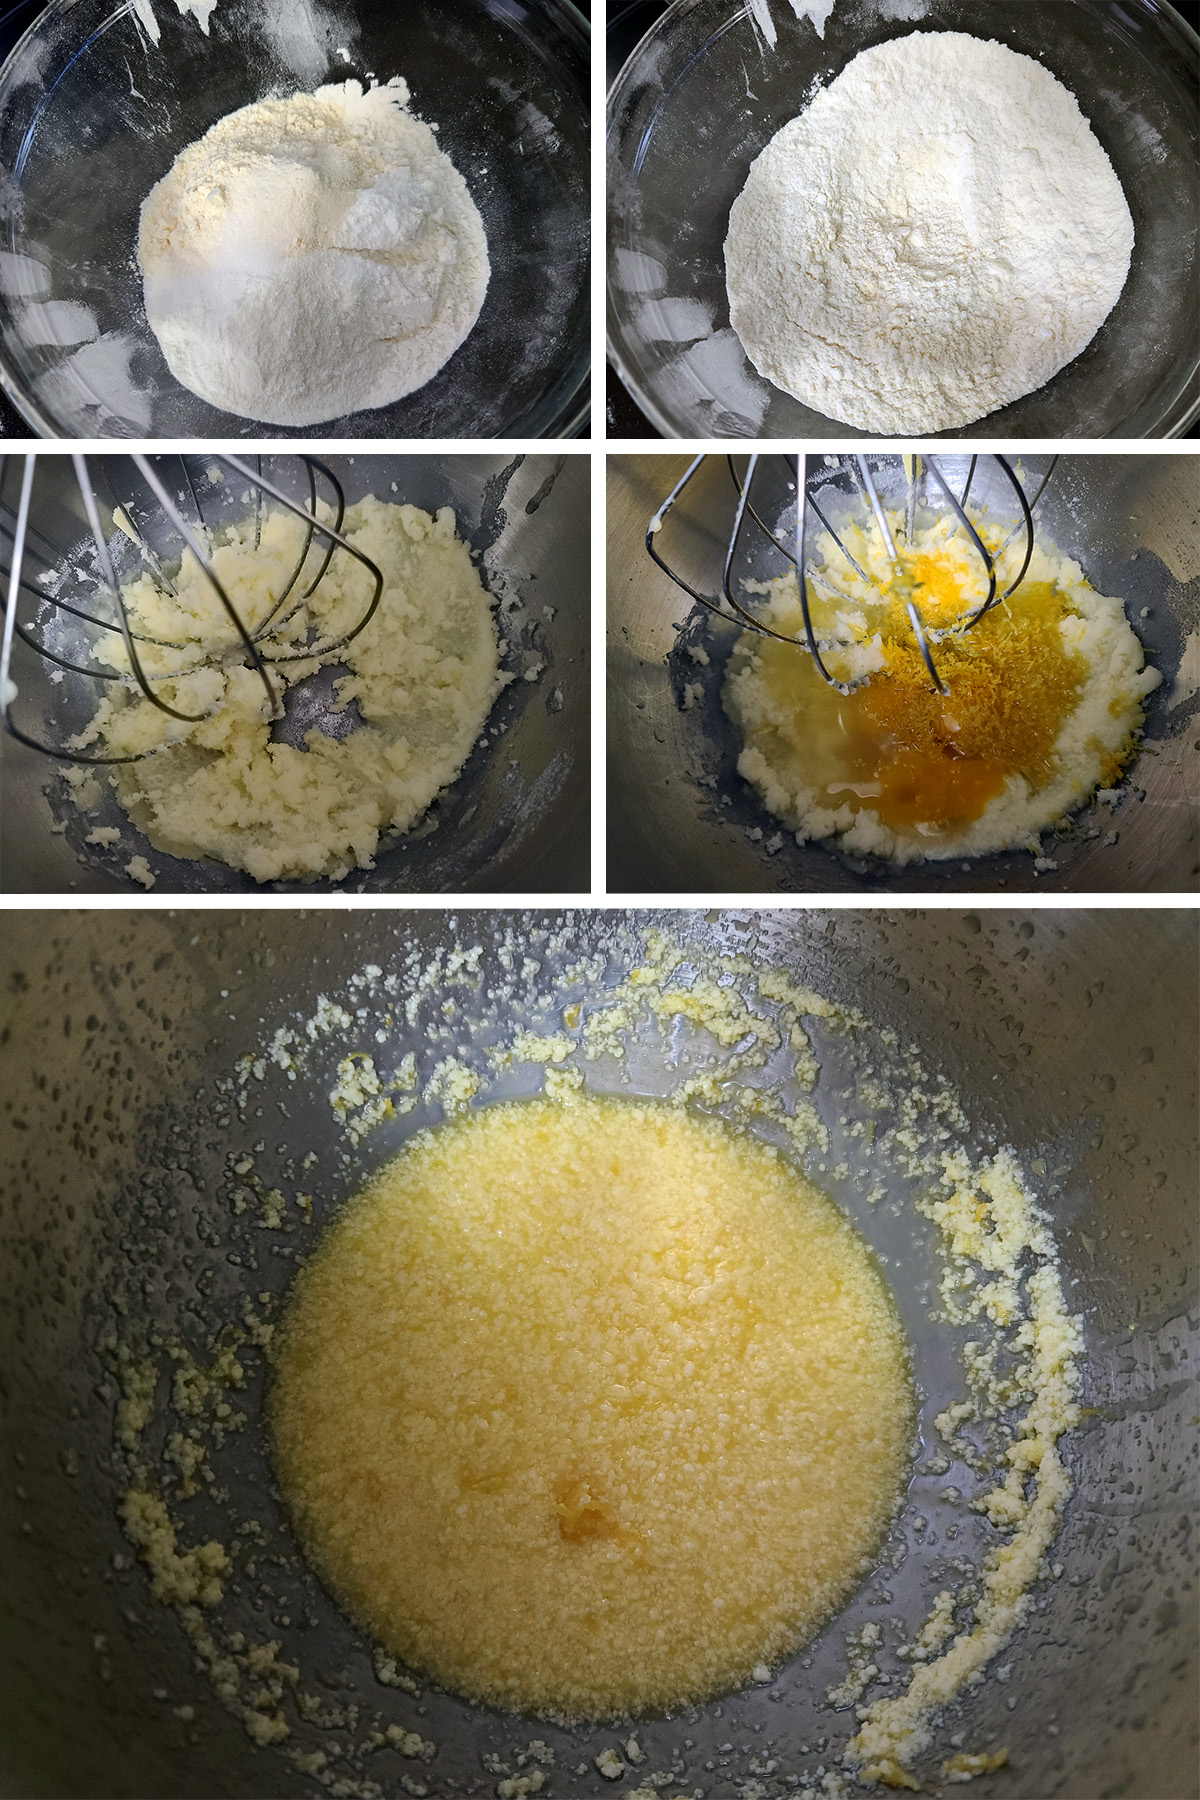
In a large bowl - I like to use a stand mixer set up with a paddle attachment - cream together butter and sugar until pale and fluffy.
Add eggs, lemon juice and lemon zest, continue to beat until well incorporated and smooth.
Transfer batter to prepared baking pan, spreading evenly.
Bake for 20-25 minutes, or until set in the middle and lightly golden brown around the edges. Do not over cook!
For best results, alllow bars to cool completely to room temperature before making the glaze. Placing the pan on a wire rack to allow air to circulate under it will help it cool.
Glaze the Bars
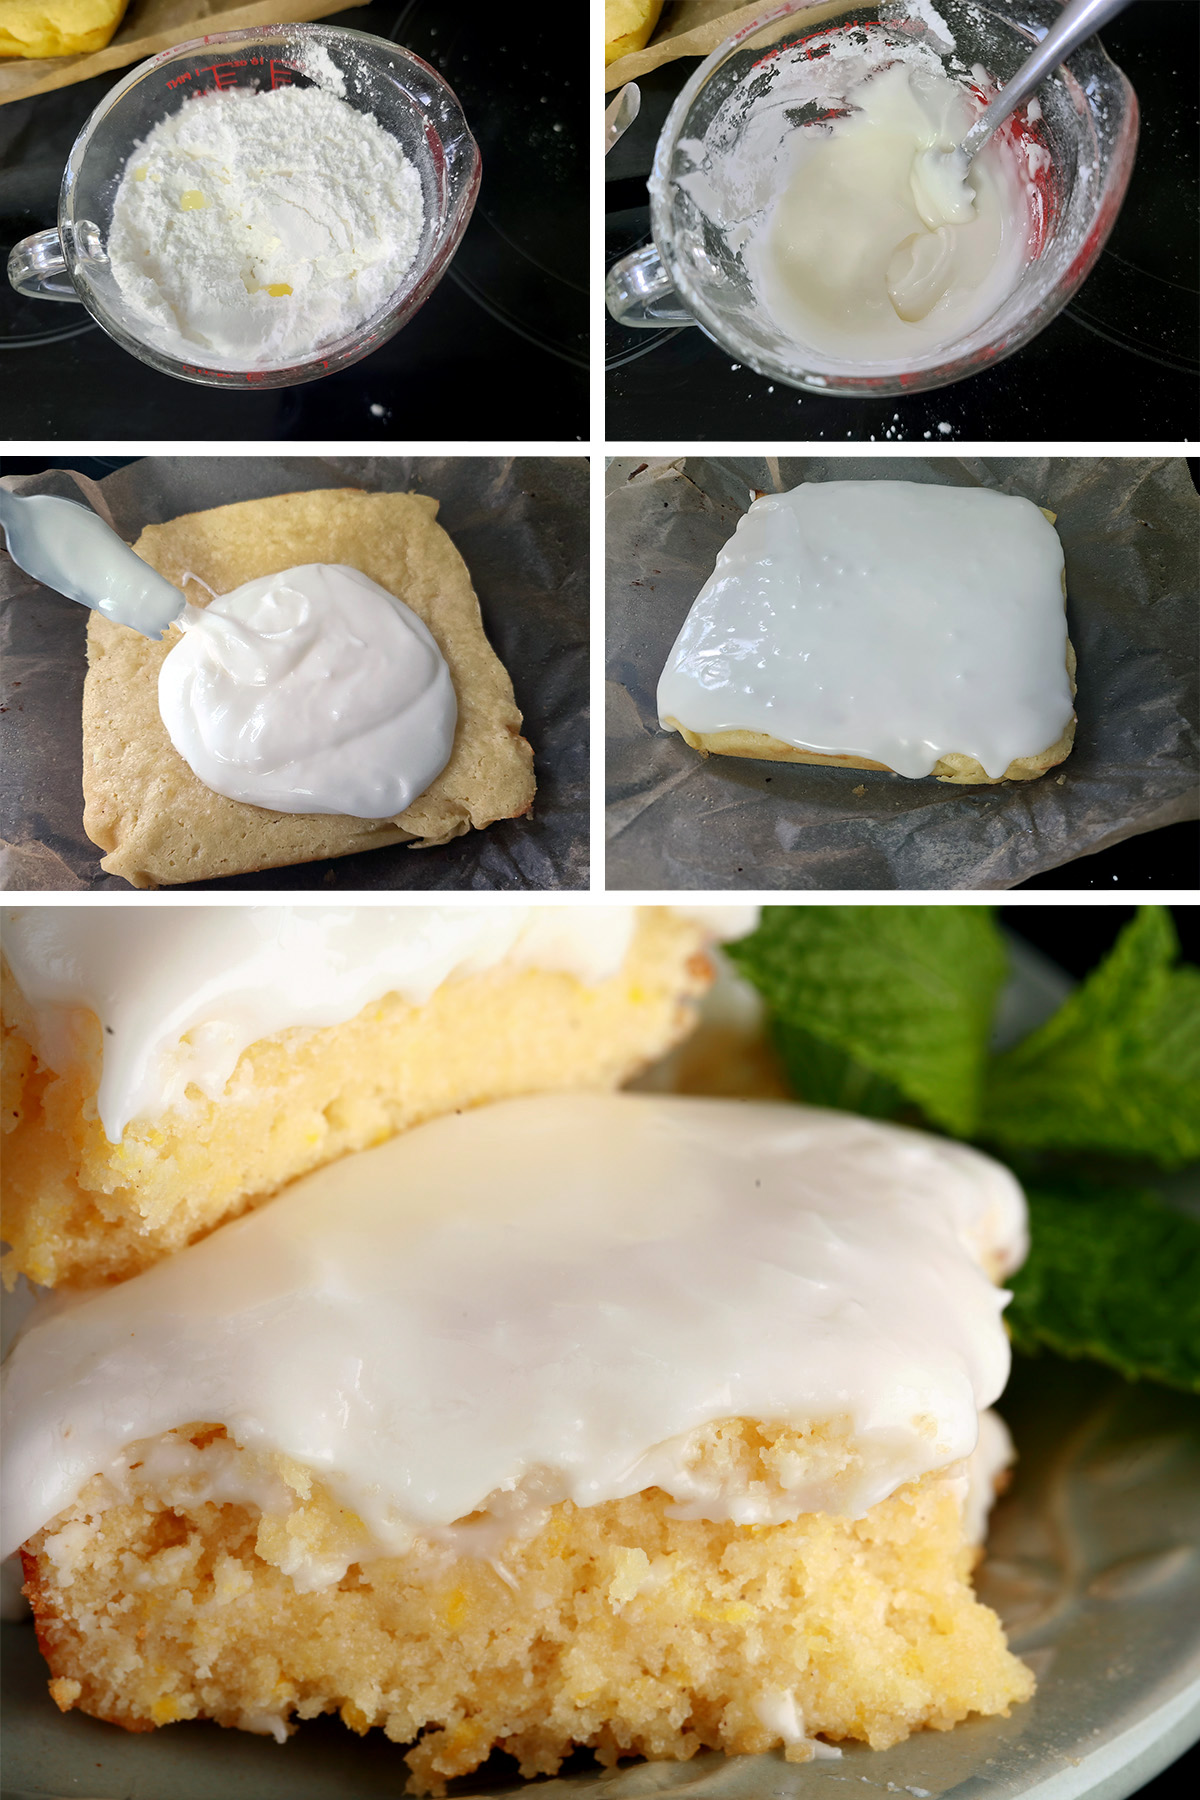
Whisk together lemon juice, salt, and icing sugar until smooth.
Use a spatula, offset spatula, or back of a spoon to spread the desired amount of glaze over the cooled bars in an even layer.
Allow the glaze to set up before using a sharp knife to cut them into bars.
Storing Leftover Bars
Any bars that aren’t being served in a day or two can be covered with plastic wrap - or transferred to an airtight container - and chilled.
They’ll taste best when allowed to warm up to room temperature before serving.
More Gluten-Free Dessert Recipes!
Looking for even more fantastic gluten free recipes for desserts that *everyone* will love? Look no further, here are a few of my favorite recipes!
Cherry Cheesecake Fluff Salad
Chocolate Fondue
Chocolate Peanut Butter Confetti Squares
Deviled Strawberries
Easy Gluten Free Brownies
Gluten-Free Brandied Apple Crisp
Gluten Free Butter Tart Bars
Gluten-Free Buttertarts
Gluten-Free Doughnut Holes
Gluten-Free Earl Grey Pie
Gluten-Free Fruitcake
Gluten-Free Maple Pumpkin Pie
Gluten-Free Nanaimo Bar Brownies
Gluten-Free Puffed Rice Bars
Gluten-Free Pumpkin Spice Mini Doughnuts
Gluten-Free Raspberry Bars
Gluten Free Rocky Road Brownies
Gluten-Free Schmoo Torte
Gluten Free Sticky Toffee Pudding
Pina Colada Fluff
Also, be sure to check out our collection of Gluten Free Cookie Recipes!
Share the Love!
Before you chow down, be sure to take some pics of your handiwork! If you post it to Bluesky, be sure to tag us - @CelebrationGen. We're also on Pinterest, so you can save all your favourite recipes to a board!
Also, be sure to subscribe to my free email newsletter, so you never miss out on any of my nonsense.
Finally, if you love this recipe, please consider leaving a star review and a comment!
Gluten Free Lemon Bars
Equipment
- Citrus juicer
- Zesting plane
Ingredients
Lemon Bars:
- ½ cup Butter room temperature
- 1 cup Granulated sugar
- 3 Large eggs
- Juice of one lemon
- Zest from two lemons
- ¼ cup Light buckwheat flour
- ¼ cup Sorghum flour
- ¼ cup Sweet rice flour
- ¼ cup Coconut flour
- ½ teaspoon Baking powder
- ½ teaspoon Xanthan gum
- ½ teaspoon Salt
Glaze:
- 2 cups Confectioners / Icing / Powdered Sugar
- Juice of one lemon
- Pinch Salt
Instructions
Lemon Bars:
- Preheat oven to 350F (180C). Grease an 8"x 8" square cake pan with vegetable shortening or baking spray.
- Cream together butter and sugar until pale and fluffy. Add eggs, lemon juice and lemon zest, continue to beat until well incorporated and smooth.
- In a separate bowl, whisk together flours, baking powder, xanthan gum and salt. Add this dry mix to the wet ingredients, stir gently until everything is well distributed.
- Transfer batter to prepared baking pan, spreading evenly.
- Bake for 20-25 minutes, or until set in the middle. Do not over cook!
- Allow bars to cool completely, before making the glaze:
Glaze:
- Whisk together lemon juice, salt, and icing sugar until smooth. Spread desired amount over cooled bars, allow to set up before slicing and serving.






Leave a Reply